
Most gardeners struggle with mint harvesting; they either cut too much and shock the plant, or harvest too little and end up with leggy, weak growth. Getting the timing wrong can ruin the flavor of your mint and reduce your harvest for the entire season.
The good news is that mint responds incredibly well to regular, proper harvesting. When you cut it correctly every 2-3 weeks, your plant becomes bushier, more productive, and provides you with fresh leaves throughout the entire season.
This guide will show you exactly when and how often to harvest mint for maximum flavor and plant health.
You’ll learn the best cutting techniques, proper timing, and simple aftercare steps that keep your mint thriving from spring through fall.
How Often to Harvest Mint
Regular harvesting keeps your mint plants healthy and productive throughout the growing season. Mint grows quickly and responds well to frequent cutting; it becomes bushier and stronger when trimmed regularly.
Most gardeners can harvest their mint every 2-3 weeks during spring and summer, cutting up to one-third of the plant each time.
Regular trimming prevents the plant from becoming leggy, stops it from flowering too early, and provides you with fresh leaves throughout the season.
The key is finding the right balance – harvest often enough to keep the plant compact, but not so much that you stress it out.
Harvesting Techniques of Mint
Tools & Hygiene
| Tool/Method | Best Practice | Benefit |
|---|---|---|
| Scissors | Use sharp, clean garden scissors | Makes clean cuts without crushing stems |
| Pruning Shears | Choose bypass shears over anvil-type shears | Prevents stem damage and disease entry |
| Tool Cleaning | Wipe with rubbing alcohol between plants | Stops bacteria and fungus from spreading |
| Blade Maintenance | Keep tools sharp and rust-free | Ensures clean cuts that heal faster |
Stem Cutting vs. Leaf Plucking
| Method | How To Do It | Results | Don’t Do This |
|---|---|---|---|
| Stem Cutting | Cut whole stems above leaf nodes | The plant grows bushier and stronger | Don’t cut below 2-3 leaf sets |
| Leaf Plucking | Avoid this method | Weakens the plant over time | Don’t pick individual leaves |
| Cutting Amount | Remove up to 2/3 of the plant height | Good harvest without stress | Don’t take more than 50% at once |
| Recovery Time | Leave enough leaves for energy | Plant bounces back in 7-10 days | Don’t cut too close to soil |
Mint Harvesting: 4 Easy Methods for Healthy Plants
Learn the best ways to harvest mint, whether you need a handful of fresh leaves for tea or a full batch for drying, while keeping your plants thriving all season long.
Method A: Harvesting by Stem
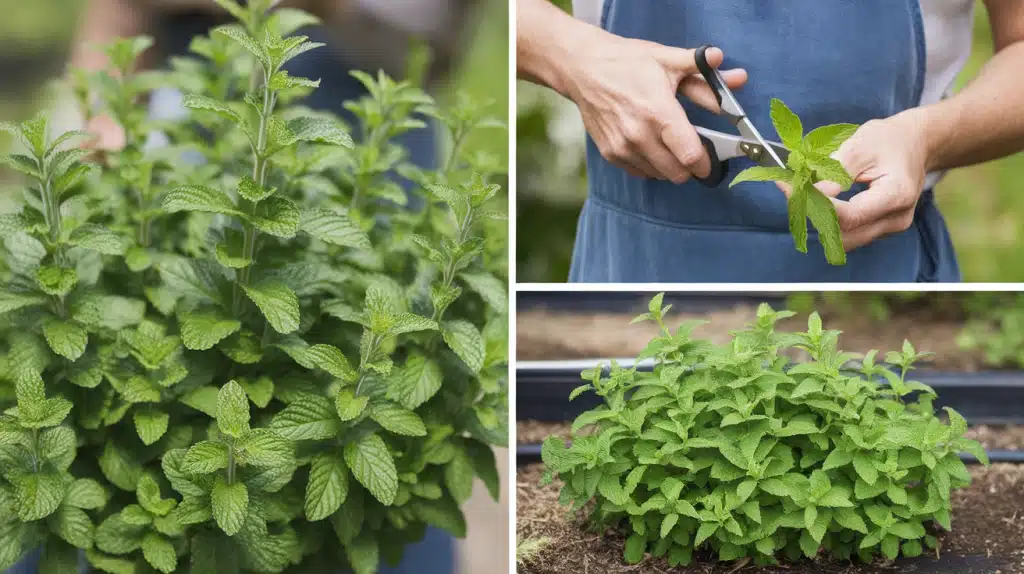
This method keeps your mint plant healthy and bushy. When you cut stems correctly, the plant grows back even stronger. Most gardeners prefer this approach because it gives good results without harming the plant.
Steps:
- Find a healthy stem with lots of leaves
- Cut 1/3 to 2/3 down the stem, about 1/4 inch above a leaf node
- Make sure at least 2 sets of leaves remain on the lower part of the stem
- This stimulates two new shoots to grow from that node
Ideal for regular harvesting and shaping the plant.
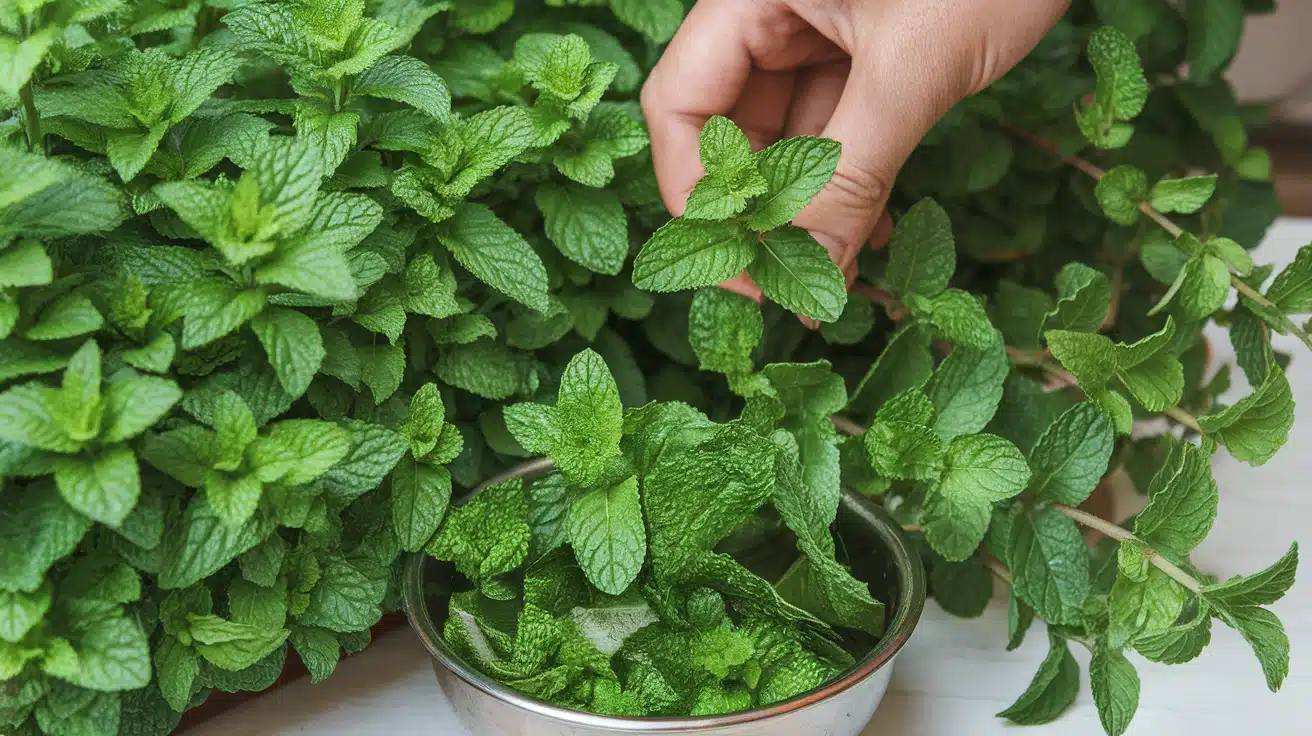
Method B: Pinching Individual Leaves
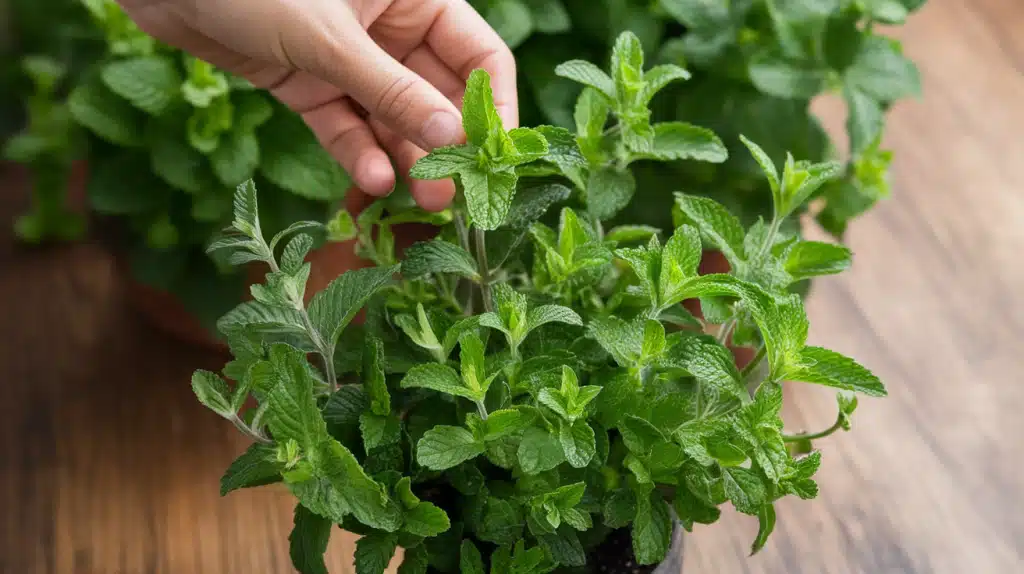
Use this method when you only need a few leaves for cooking or tea. It works well for quick kitchen needs, but won’t help your plant grow better. Think of it as emergency harvesting when you need mint right away.
Steps:
- Pick the biggest, healthiest leaves from the top
- Avoid stripping all leaves from one stem—leave plenty for photosynthesis
- Use only when harvesting small quantities for tea, garnish, or cooking
Handy for light kitchen use, not for long-term yield.
Method C: Shearing or Mowing
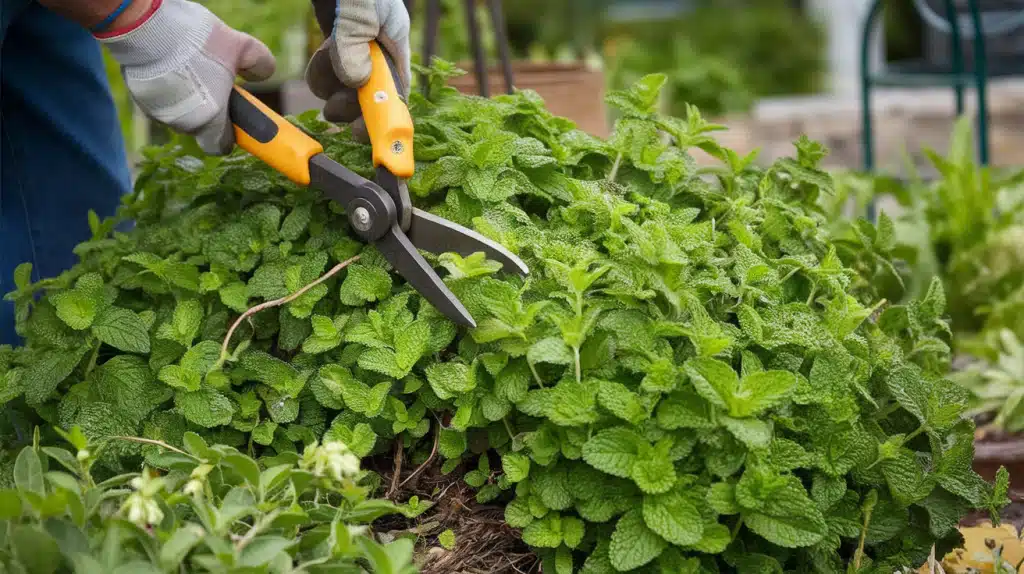
This aggressive method works great when you have lots of mint and want to harvest it all at once. Your mint will look bare after cutting, but it bounces back fast. Perfect for making dried mint or mint oil.
Steps:
- Wait until the mint is bushy and near blooming, usually mid-season
- Use garden shears or trimmers to cut the whole plant down to 2–3 inches above the soil
- Do this twice a season (early and late summer)
- Water and lightly fertilize to encourage regrowth
Great for bulk harvests—mint bounces back quickly.
Method D: Root Harvesting
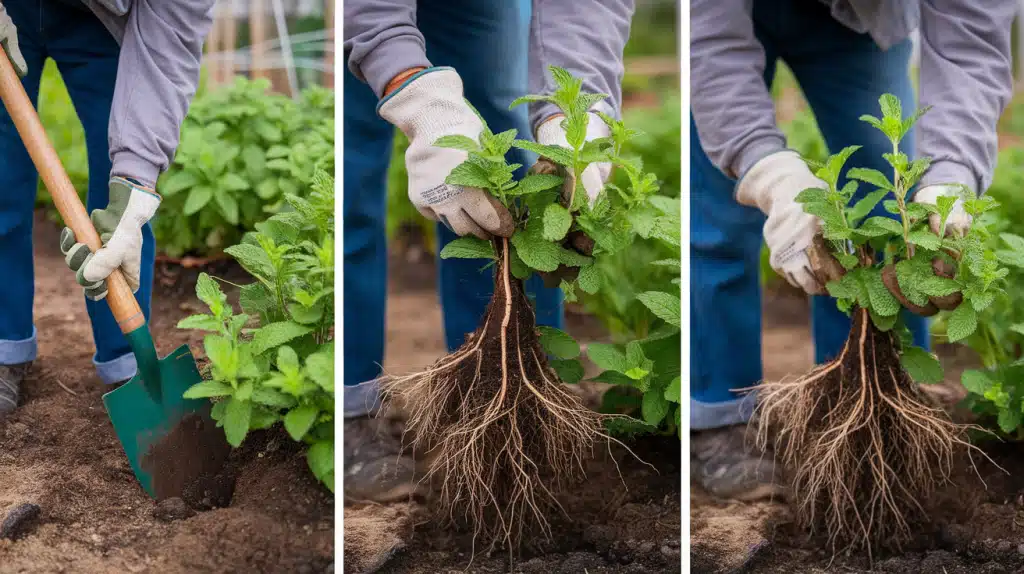
This method helps control mint’s spread while giving you new plants. Mint roots spread fast underground, so digging some out keeps your garden organized. You can plant the roots elsewhere or give them to friends.
Steps:
- Dig out a portion of the mint roots (rhizomes) from around the edges
- Cut rooted stems with healthy foliage attached
- Replant in containers or new beds, or compost to reduce the spread
- Water the transplanted sections thoroughly
Use with care, intended primarily for garden management rather than harvesting leaves.
What to Do After You Harvest Mint
Taking care of your mint after harvesting helps it recover faster and grow back stronger. Water your mint plants deeply immediately after cutting – this provides the roots with extra moisture to support new growth.
The soil should feel moist, not just damp, about 2-3 inches down. Before you start cutting, always check for any yellow, brown, or spotted leaves and remove them first. These sick leaves can spread disease to healthy parts of the plant.
Clean up any fallen leaves around the base, too. This simple aftercare routine keeps your mint healthy and ready for the next harvest in just a few weeks.
Mint Storage & Preservation
| Method | How | Use For |
|---|---|---|
| Fresh | In water (cup) with a plastic cover or wrapped in a damp towel | Short-term use (3–5 days) |
| Drying | Hang bundles or use dehydrator (100–115°F); jar storage | Long-term tea, spice |
| Freezing | Freeze chopped leaves in water/oil in ice cube trays | Cooking, drinks |
Smart Tips for Harvesting Mint Right
- Harvest before flowering to avoid bitterness. Cut your mint regularly before flower buds appear – once it flowers, the leaves turn bitter and lose their fresh taste.
- Avoid cutting into woody, older stems. Always cut just above young, green nodes and avoid the tough, brown stems at the bottom of the plant.
- Keep mint in pots or contained beds. Plant mint in containers or use root barriers because it spreads fast and can take over your entire garden.
- Watch for disease/pests; don’t harvest damaged foliage. Skip any leaves with spots, holes, or yellowing – only harvest healthy, green foliage for the best flavor and safety.
Conclusion
Regular mint harvesting is the secret to a productive, healthy herb garden.
When you cut your mint every 2-3 weeks using proper stem-cutting techniques, you get fresh leaves all season while keeping your plants strong and bushy.
Remember to water deeply after each harvest and remove any diseased leaves before cutting.
The key is consistency – don’t let your mint get leggy or start flowering if you want the best flavor. Whether you’re pinching a few leaves for tea or doing a full shearing for bulk storage, always leave enough foliage for the plant to recover quickly.
With these simple harvesting methods, your mint will reward you with months of fresh, flavorful leaves. Start harvesting regularly this season and watch your mint plants become more productive than ever before.
What’s your favorite way to use fresh mint? Share your harvesting tips in the comments below!
Frequently Asked Questions
How Do You Pick Mint Leaves So They Keep Growing?
Cut whole stems just above the leaf nodes instead of plucking individual leaves – this encourages the plant to grow back bushier and stronger.
How Do You Harvest and Preserve Fresh Mint?
Store cut stems in water like flowers, cover them with plastic, and keep them in the fridge. Alternatively, freeze chopped leaves in ice cube trays filled with water.
How to Harvest Mint and Dry It?
Cut stems in the morning, bundle them together, and hang upside down in a dark, airy spot until the leaves are completely crisp.
Does Mint Grow Back After Picking?
Yes, mint grows back quickly after harvesting – usually within 7-10 days, you’ll see new growth from the cuts you made.