

Ever stared at a pile of pillows? Your bed never looks like those perfect ones in magazines. You’re not alone. This common problem frustrates many people.
Queen beds have plenty of space for pillows, but knowing how to arrange them can be a puzzle.
The right pillow setup changes everything. It transforms your bedroom instantly. No design skills are needed, and no fancy pillows are required—just a few simple tricks.
A well-arranged bed isn’t just pretty to look at. It creates a cozy spot to relax, welcomes you after a long day, and makes your room feel finished.
This guide shows you easy ways to arrange pillows on your queen bed. Try the classic hotel style. Go for casual comfort—mix and match patterns.
Your perfect bed awaits. These tips will help you create a bed that looks amazing and feels even better.
Why Pillow Arrangement Matters
A messy bed makes a messy room—it’s that simple. The way you arrange pillows can make or break your bedroom’s look. Pillows take up a large part of your bed’s visible area, drawing the eye first when someone enters the room.
Good pillow placement does more than look nice. It creates a feeling of calm. It adds layers and depth to your bedroom design.
A thoughtful arrangement shows care and attention to detail. It turns an ordinary bed into the highlight of your room.
Pillows also serve a key comfort role. They support your back when you sit up to read. They prop your head while watching TV. The right arrangement keeps useful pillows within easy reach.
Order matters in bedrooms. A tidy, well-arranged bed helps reduce stress. It signals your brain that this space is for rest. This small effort pays off in both style and comfort.
Basic Guidelines for Pillow Arrangement on a Queen Bed

Setting up pillows doesn’t need to be hard. Follow these simple steps to create a bed that looks put together and feels great. Work from back to front for best results.
1. Start with the Pillow Backing Layer
Begin with your sleeping pillows. Stand them up against the headboard. For a queen bed, use two standard or queen-sized pillows side by side.
These create your base layer. Make sure they touch in the middle with no gap. Prop them up tall and straight.
2. Add Pillows in the Middle
Next comes your middle row. In front of your base layer, place two medium-sized pillows. These can be standard pillows in decorative cases or Euro shams.
They should overlap the back pillows slightly. This middle row adds depth and interest to your bed.
3. Final Touches: Front Row of Pillows
The front row makes the biggest impact. Add two smaller decorative pillows here. Accent pillows work great. Try different shapes like squares or rounds.
This is where you can play with colors and patterns. For a finished look, add a small lumbar pillow in the very center. This final touch pulls everything together.
Different Pillow Styles for Various Looks
Pillows are the perfect way to express your style and make your bed feel just right. Let’s check out some easy styles to help you create your ideal bed setup!
1. Casual and Cozy Look

When you want your bed to feel as inviting as a hug, the casual and cozy look is the way to go. Think larger, fluffy pillows paired with a few throw pillows for a relaxed vibe. It’s the perfect way to make your Queen bed look soft, warm, and effortless—just like a place you’d want to curl up and relax.
Additional Tips:
-
- Choose soft, breathable fabrics like cotton or jersey knit for maximum comfort.
- Layer pillows with different shapes and sizes to create a cozy, inviting feel.
- Add a chunky knit throw blanket at the foot of the bed to enhance the cozy vibe.
2. Formal and Structured Look
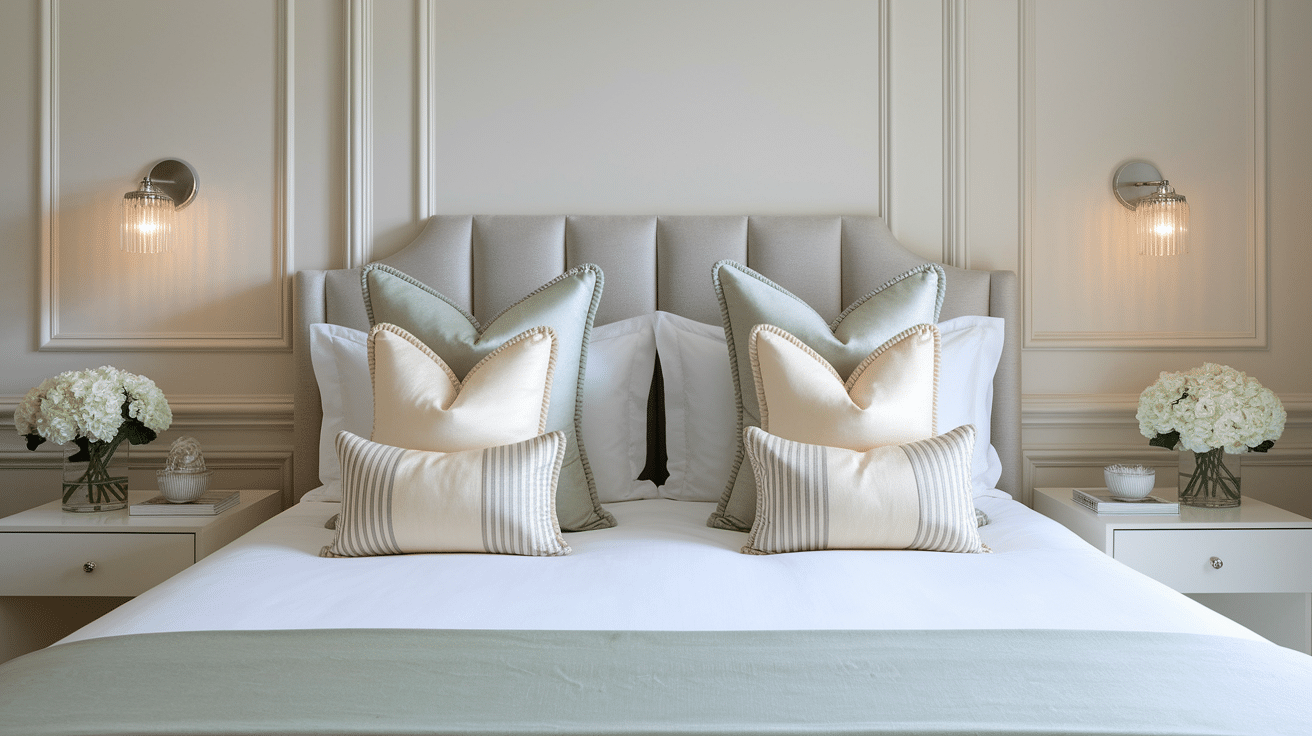
If you’re aiming for something a bit more polished, the formal and structured look might be just what you need. This style uses symmetrical pillow arrangements with neatly stacked pillows for a clean, refined appearance. It’s simple but effective—ideal for making your space feel neat, sophisticated, and ready to impress.
Additional Tips:
-
- Use pillow covers in luxurious materials like satin or silk for an elegant touch.
- Stack pillows in layers from the back to the front, making sure they are perfectly aligned.
- Stick to neutral or soft tones like white, beige, or gray for a timeless look.
3. Bohemian Style with Mixed Textures
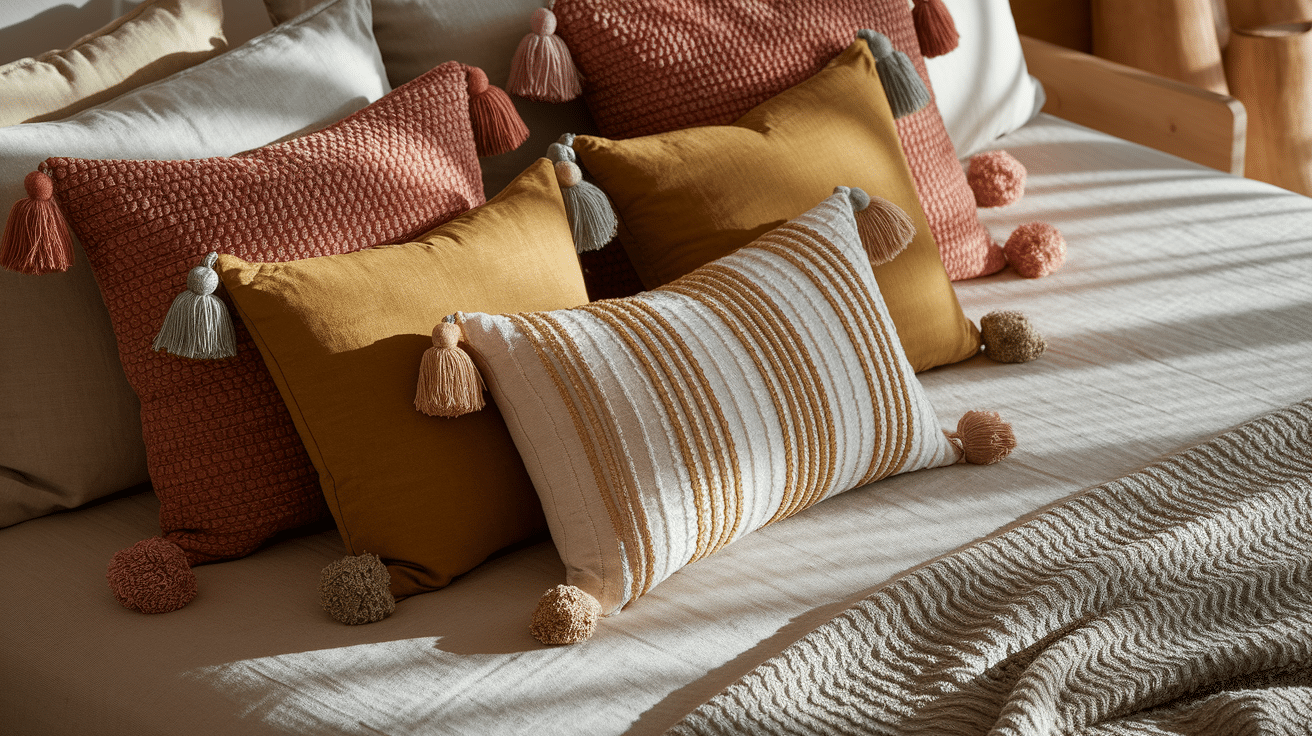
For those who love a bit of personality and flair, the boho style is a fun way to mix things up. Combine pillows of different sizes, textures, and patterns to create an effortlessly eclectic look. Don’t be afraid to mix velvet, linen, and knitted pillows—this laid-back style is all about expressing individuality in a cozy, relaxed way.
Additional Tips:
-
- Embrace earthy tones like terracotta, mustard, and sage green for a warm, inviting vibe.
- Use pillows with fun details like tassels, pom-poms, or fringe for added texture and charm.
- Layer large pillows in the back with smaller ones in the front for a natural, relaxed look.
4. Minimalist and Sleek Arrangement
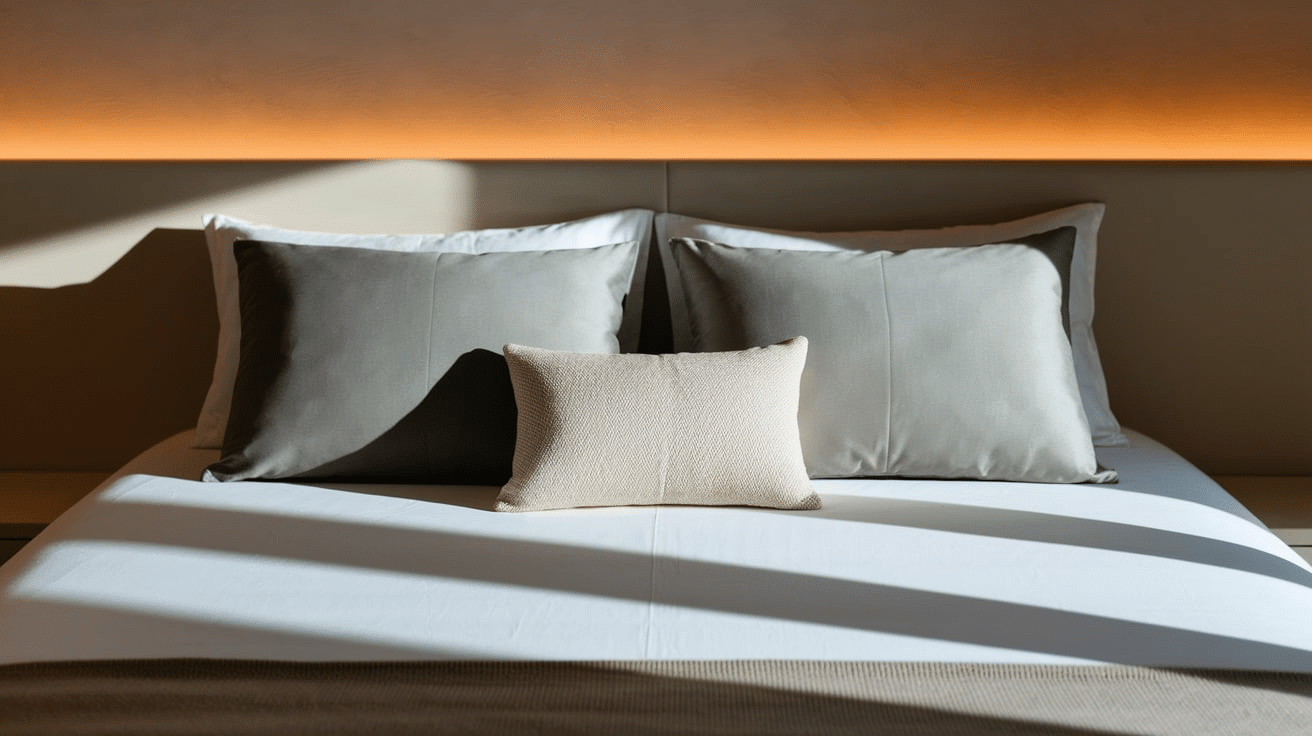
If you prefer a less-is-more approach, a minimalist pillow arrangement will do wonders for your Queen bed. Stick to a simple, clean design with fewer pillows. Choose solid colors or subtle patterns to keep things calm and uncluttered. This style is all about making a statement through simplicity and making your bed look stylish without much fuss.
Additional Tips:
-
- Opt for solid color pillows in neutral shades for a clean and calming effect.
- Keep the arrangement symmetrical for a neat, organized look.
- Use just two large pillows for a sleek and uncluttered feel.
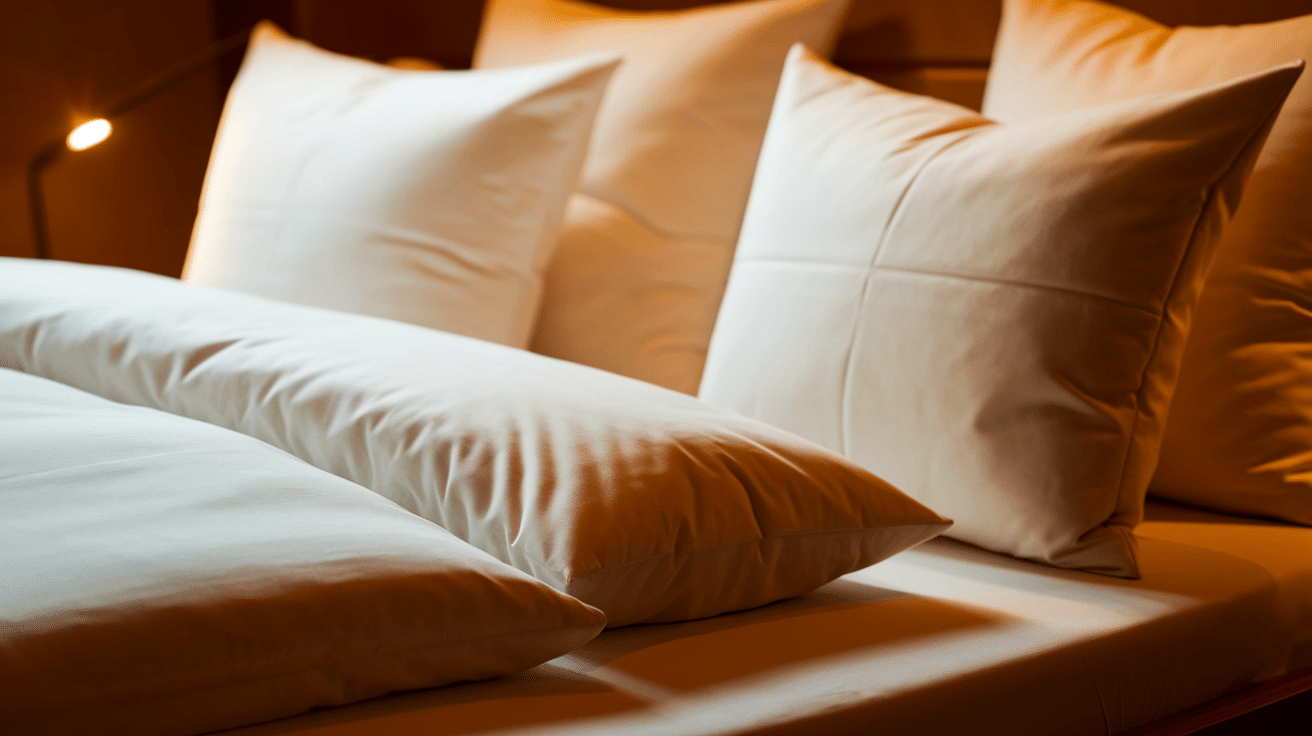
5. Luxurious Hotel-Inspired Look
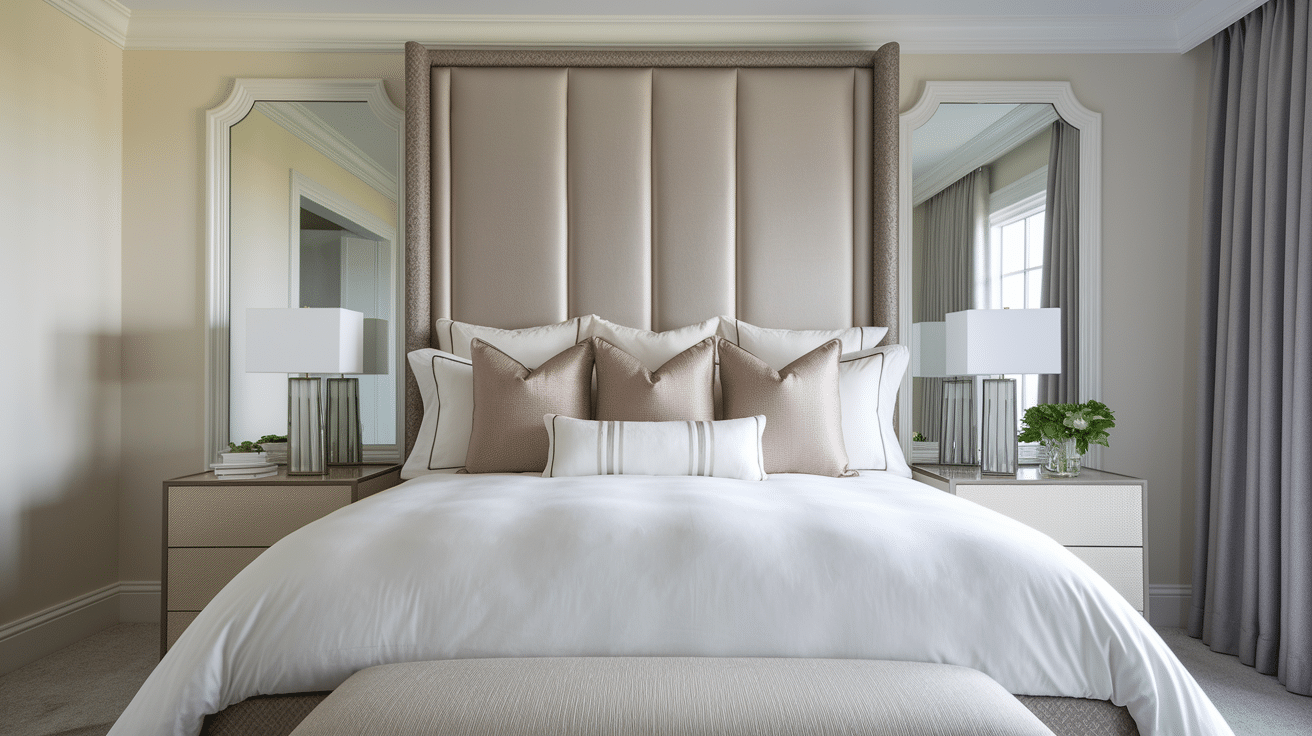
Who doesn’t want that luxurious hotel vibe at home? To create a plush, refined look, layer several plush pillows on your bed, making sure they’re fluffed just right. A mix of large square pillows and smaller decorative cushions will give your bed that high-end hotel feel—so you can sleep like royalty every night.
Additional Tips:
-
- Invest in high-quality pillows with down or memory foam fillings for added luxury.
- Fluff your pillows every morning to keep them looking full and inviting.
- Arrange large pillows at the back and smaller decorative pillows in front for a balanced look.
Maintaining a Neat and Tidy Bed
A perfect pillow setup needs proper care. These simple habits make a big difference.
Keeping Pillows Fresh and Clean
- Wash pillow covers every two weeks to prevent dirt and oil buildup.
- Fluff pillows daily with a quick shake to maintain their shape.
- Always check care labels before cleaning to avoid damage.
- Rotate pillows weekly to ensure even wear and prevent flattening.
- Use pillow protectors under decorative cases to block dust and extend pillow life.
Storing Extra Pillows
- Never store pillows on the floor where they’ll collect dust and get flattened.
- Utilize under-bed storage containers with clear tops for easy visibility.
- Try vacuum-seal bags to reduce bulky pillows to half their size.
- Hang a decorative basket on the wall as both storage and room décor.
- Keep a storage bench at the foot of your bed for quick morning/evening transitions.
- Choose breathable containers over airtight plastic to prevent moisture and mildew.
Remember, the effort you put into maintaining your pillows pays off every day. A well-kept bed becomes your sanctuary—a place that welcomes you each night and sends you off refreshed each morning.
Small habits make the biggest difference in keeping your bedroom looking magazine-worthy with minimal daily effort.
Pillow Perfect: Your Bed, Your Way
Arranging pillows on your queen bed doesn’t have to be complicated. With the right approach, you can create a bed that looks stunning and feels cozy.
Remember that your bed is the center of your bedroom. The time you spend making it look good pays off.
You’ll enjoy better sleep in a well-kept space, and your room will look more put together with minimal effort.
Try these tips today. If starting with just one layer feels easier, add more pillows as you get comfortable with the process. Take a picture of your bed before and after to see the difference.
Ready to improve your bedroom? Begin with your pillows right now!