
Store-bought nightstands rarely fit your space just right. They cost too much and often fall apart after a year. Building your own solves both problems at once.
This guide shows you how to build a sturdy nightstand from scratch. No fancy skills needed: just basic tools and a weekend of your time.
You’ll learn exactly which materials to buy, how to cut and assemble each piece, and how to add a professional finish that looks store-bought.
We’ll cover frame assembly, drawer installation, finishing techniques, and customization ideas. By the end, you’ll have a nightstand that matches your bedroom perfectly and costs half the price.
Why Build Your Own Nightstand?
Building your own nightstand gives you complete control over the design and size. You can make it match your bedroom perfectly. Plus, you save money compared to buying from a furniture store.
The best part? You get the satisfaction of creating something with your own hands. It feels good to build furniture that works exactly how you want it to.
Here’s why DIY is worth it:
- Custom fit: Make it the exact height and width for your bedroom space.
- Your style: Choose the wood type, finish, and design you love.
- Save money: DIY costs less than store-bought furniture.
- Perfect storage: Add drawers or shelves based on what you actually need.
- Personal achievement: Feel proud every time you see it in your room.
- Better quality: Use solid materials that last longer than cheap alternatives.
Should Nightstands Be Taller or Shorter Than Beds?

Your nightstand should be about the same height as your mattress top. Most experts recommend keeping it within 2 to 4 inches of your mattress height.
This makes it easy to reach your phone, lamp, or water glass without stretching or bending.
Key Height Guidelines:
- Ideal height: Level with your mattress top or 2 to 4 inches below
- Standard mattress height: 24 to 30 inches from the floor
- Recommended nightstand height: 24 to 28 inches tall
- Too low: You’ll strain your back reaching down constantly
- Too high: Looks awkward and makes items hard to grab
- Best test: You should reach the surface comfortably while lying in bed
Measure from the floor to the top of your mattress before you build. This ensures your nightstand fits perfectly with your bed setup and keeps everything within easy reach at night.
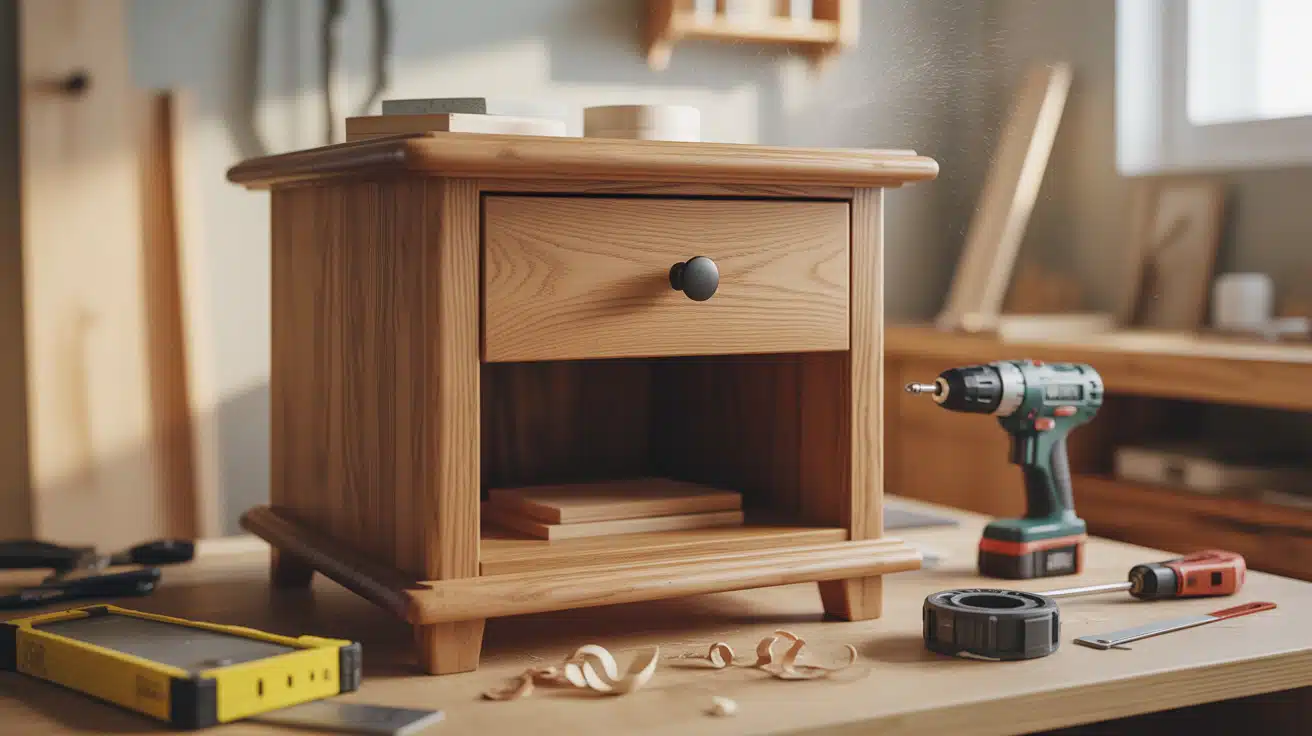
DIY Nightstand: Easy Step-by-Step Tutorial
Build custom bedroom furniture this weekend with just basic tools and materials. These complete steps take you from raw wood to a finished nightstand you’ll use for years.
Tools and Materials You’ll Need
Before you start building, gather everything you need. Here’s a complete list of tools and materials for this project.
| Tools | Materials |
|---|---|
| Table saw | Red Oak plywood |
| Drill | 2×4 boards (for ripping to 2×2 strips) |
| Pocket hole jig | 1×3 plywood strip (for trim) |
| Wood glue | 1×2 plywood strip (for front shelf) |
| Clamps | Birch plywood (for drawer box) |
| Measuring tape | Wood screws |
| Screwdriver | Iron-on edge banding |
| Sandpaper | 14″ ball bearing drawer slides |
| Safety glasses | Black drawer knobs |
Pro Tips:
- Get all materials before you start to avoid mid-project store runs.
- Choose quality plywood with minimal defects for a cleaner finish.
- Double-check your measurements before buying materials.
- Rent tools you don’t own instead of buying them for one project.
Step 1: Cutting and Preparing Materials
Start by cutting your 2×4 boards into smaller sections. Use a table saw to rip them into 1.5-inch-wide strips. These will become the legs and support pieces for your nightstand frame.
Materials Used:
- Red Oak plywood
- 2×4 boards
Step 2: Assembling the Frame
Glue the 2×2 pieces together to form two U-shaped frames. Drill dowel holes and label each joint to make assembly easier. Then secure everything with wood glue and screws for a strong foundation.
Materials Used:
- Red Oak plywood
- Wood glue
- Screws
- Pocket hole screws
Step 3: Cutting and Attaching the Side Panels
Cut the side panels from plywood to fit between your frames. Drill pocket holes where the shelves and drawers will attach. Then secure the side panels with pocket-hole screws for a clean look.
Materials Used:
- Red Oak plywood
- Pocket hole screws
Step 4: Installing the Shelves
Cut and prepare both the top and bottom shelves from plywood. Apply edge banding to the front edge of the top shelf for a finished look. Attach a 1×2 strip to the front of the bottom shelf, then install both shelves using pocket-hole screws.
Materials Used:
- 3/4-inch plywood
- 1×2 plywood strip
- 1×3 plywood strip
- Pocket hole screws
Step 5: Building and Installing the Drawer
Build the drawer box using Birch plywood with a Red Oak front panel. Install the ball bearing drawer slides on both sides. Use shims to align the drawer front perfectly before attaching it.
Materials Used:
- Birch plywood
- Red Oak (for drawer front)
- 14-inch ball bearing drawer slides
- Pocket hole screws
Step 6: Adding the Top and Finishing Touches
Cut the top panel and apply iron-on edge banding to all exposed edges. Attach the top securely with screws from underneath. Apply Minwax Weathered Oak stain, then apply a clear polyacrylic coat. Finish by installing the black drawer knob.
Materials Used:
- 3/4-inch plywood (for the top)
- Iron-on edge banding
- Minwax Weathered Oak stain
- Minwax Polyacrylic clear coat
- Black drawer knob
Video Tutorial
Special thanks to Shara Woodshop Diaries for providing valuable insights in their video, which I referenced while creating thisguide: How to Build a Nightstand with Drawer | FROM PLYWOOD & 2x2s
How to Customize Your Nightstand Design?
You can make this nightstand your own in many ways. Change the size to fit your bedroom space perfectly. Pick different wood types or paint colors that match your room.
Add more drawers if you need extra storage. You can also skip the drawer and add open shelves instead. Try different stain colors or go with a painted finish.
The hardware you choose matters too. Swap the black knobs for brass, silver, or wooden pulls. You can even add features like a charging station or a small lamp shelf on top.
The best part about building your own? Every choice is yours to make.
11 Creative Nightstand Designs You Can Build
Want to try something different than the basic design? Here are 11 popular nightstand styles you can build using the same techniques from this guide.
1. Minimalist Wooden Design with Thin Legs
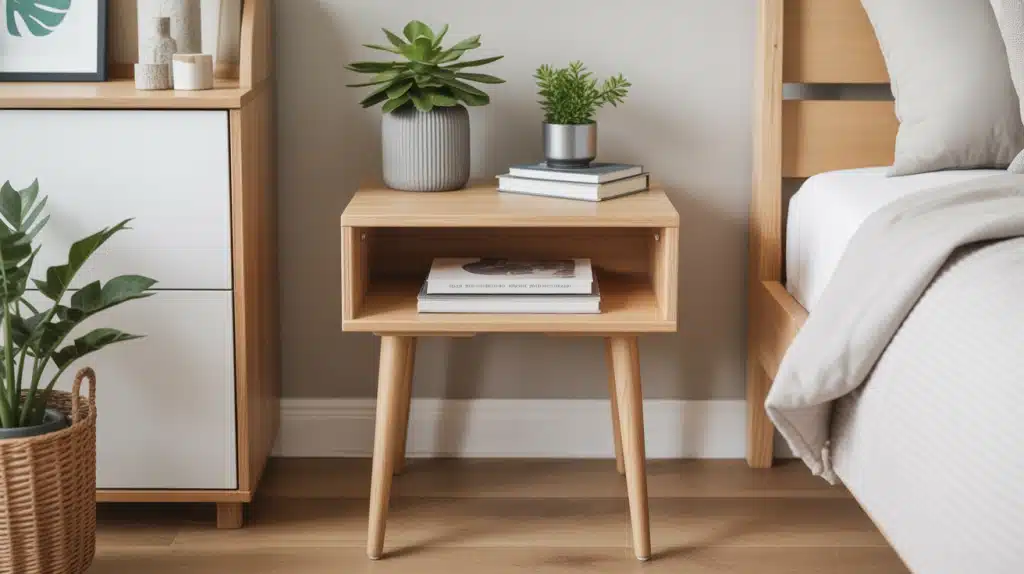
This design keeps things clean and straightforward. Use thin, tapered legs to create a light and airy feel. It works great in small bedrooms where you want furniture that doesn’t feel heavy.
2. Nightstand with Built-in USB Ports for Charging Devices

Add USB ports or outlets right into your nightstand. You can charge your phone and tablet without hunting for wall outlets. Drill holes in the back panel to run the cords through neatly.
3. A Rustic Nightstand with Open Shelving

Skip the drawer and go with open shelves instead. Use reclaimed wood or distressed finishes for that farmhouse look. This style gives you easy access to books and keeps your bedside essentials visible.
4. Nightstand with a Combination of Wood and Metal Legs
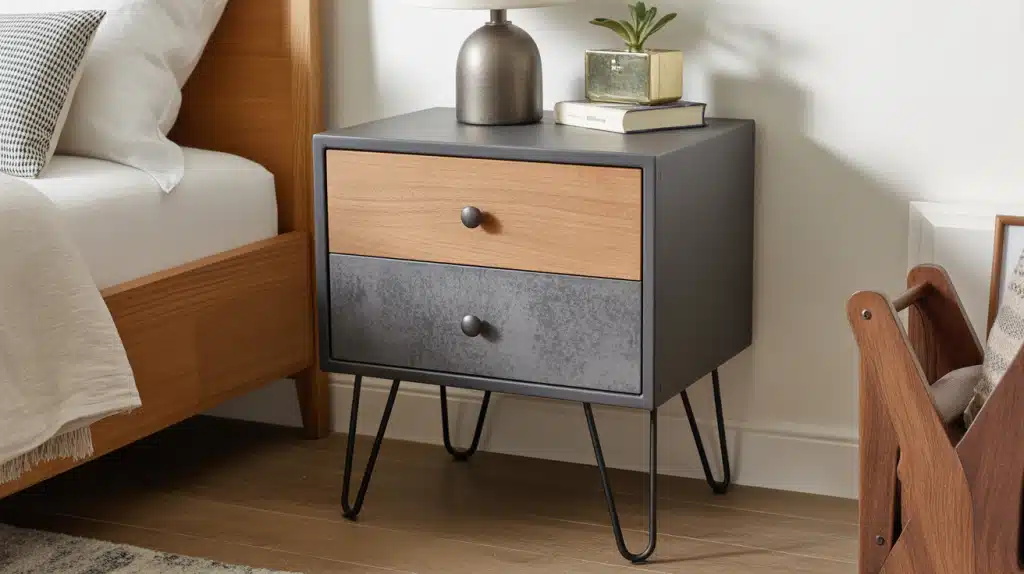
Mix materials for a modern industrial vibe. Use wooden panels for the body and metal pipes or hairpin legs for support. This contrast adds visual interest and feels contemporary.
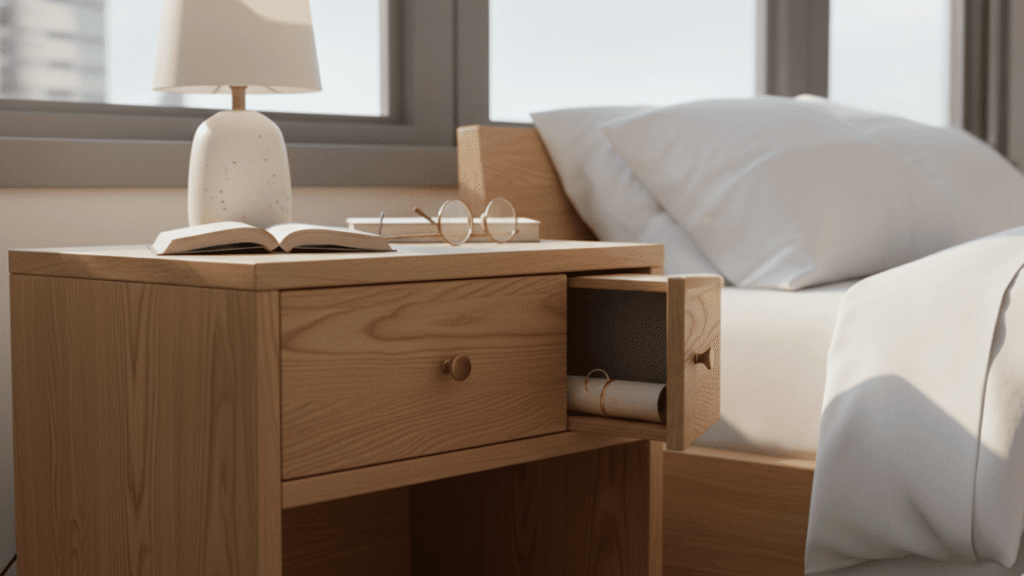
5. Compact Nightstand with a Drawer for Storage
Build a smaller version if you have limited space. One drawer is enough to hide clutter and keep things organized. This design fits perfectly in tight corners or smaller bedrooms.
6. Modern Nightstand with Geometric Shapes
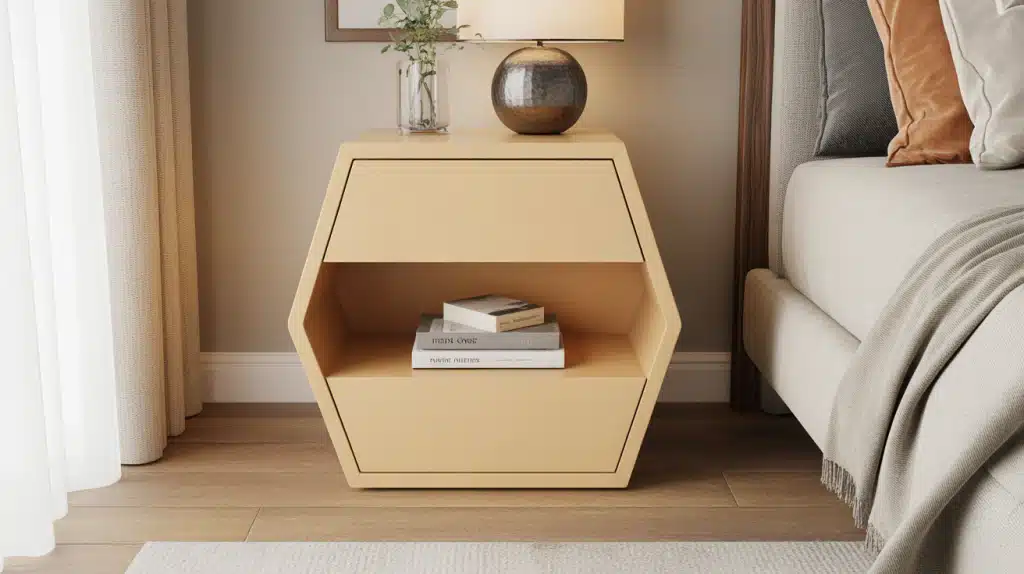
Play with angles and shapes instead of standard rectangles. Try hexagonal shelves or asymmetric designs. These unique forms become a statement piece in your bedroom.
7. Vintage-Inspired Nightstand with Intricate Detailing
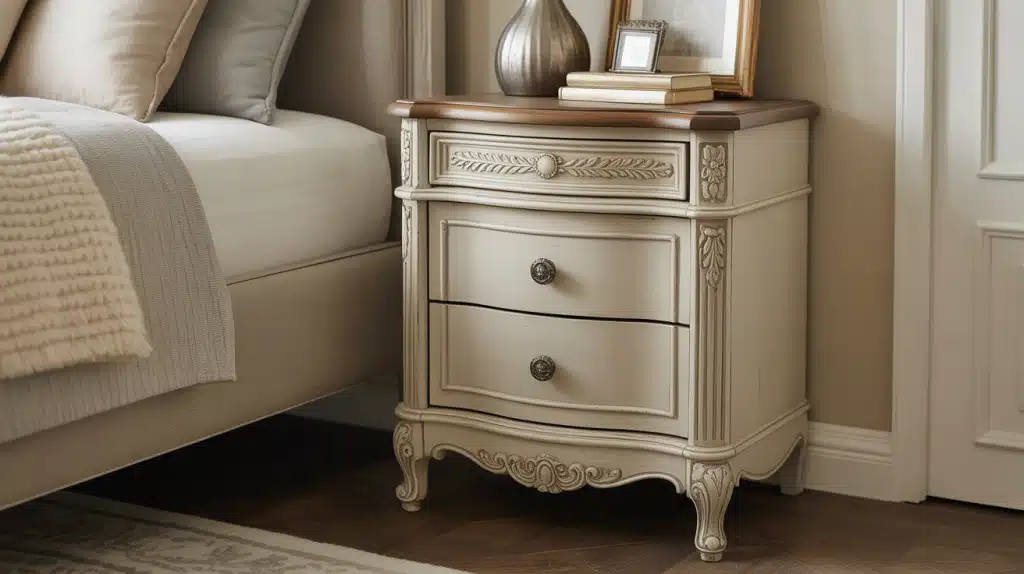
Add decorative trim, carved details, or ornate hardware. Use darker stains and antique-style knobs for an old-world charm. This style pairs well with traditional bedroom furniture.
8. Nightstand with a Built-in Lamp Holder
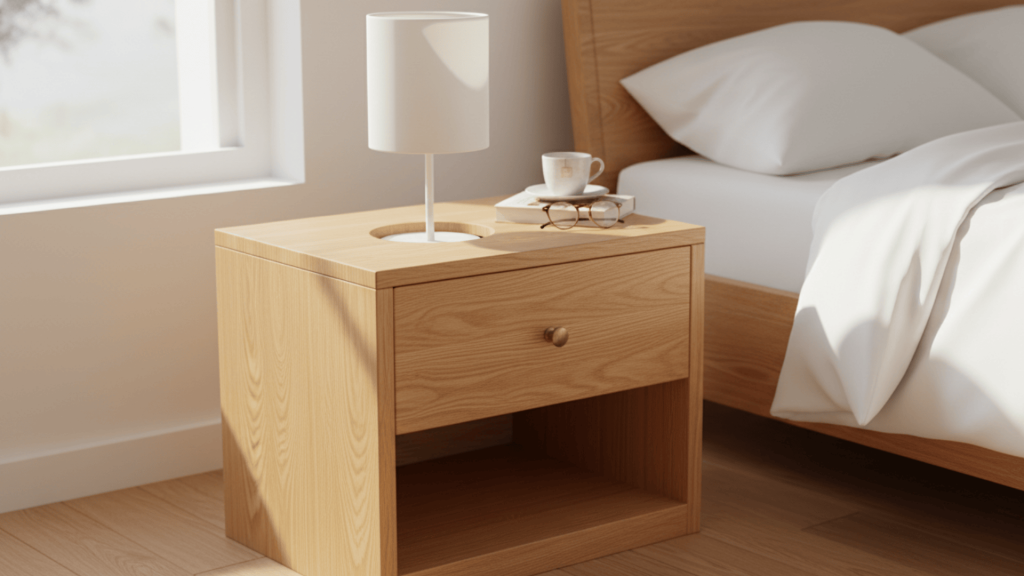
Create a dedicated spot for your bedside lamp. Cut a hole in the top or add a raised platform. This keeps your lamp secure and frees up surface space.
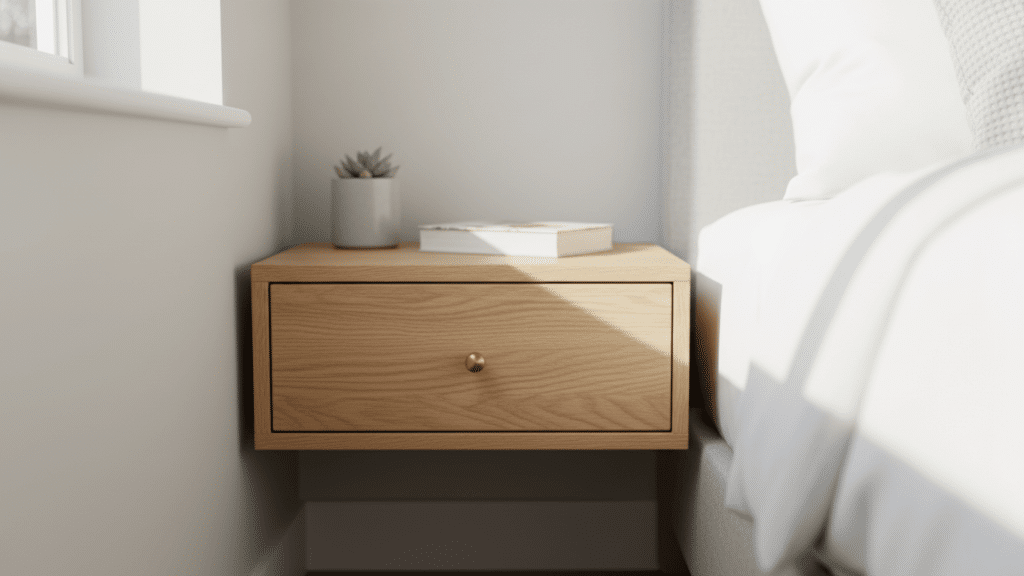
9. Floating Nightstand for a Clean, Airy Look
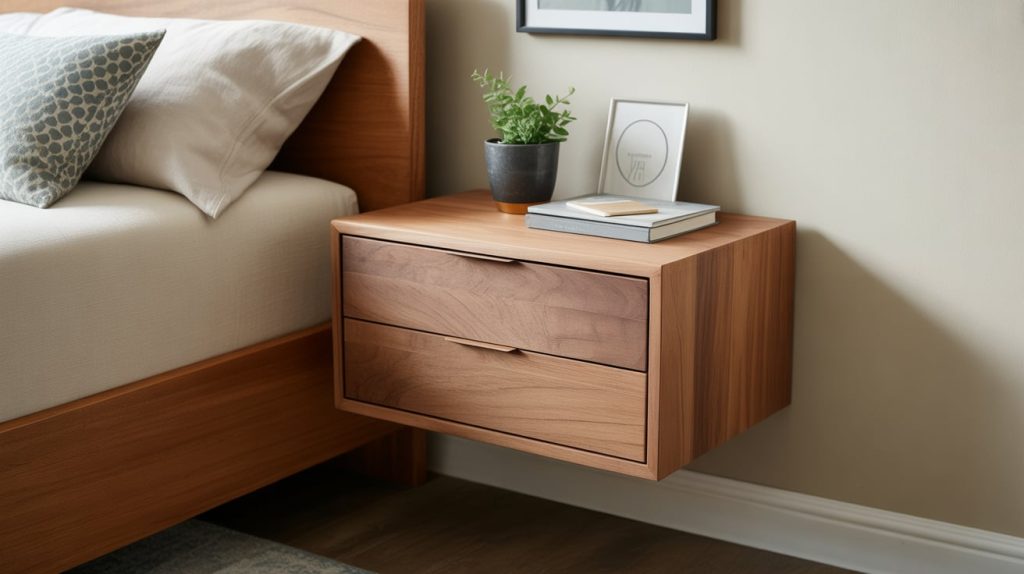
Mount your nightstand directly to the wall without legs. This creates the illusion of more floor space. It also makes cleaning under your furniture much easier.
10. Nightstand with a Hidden Compartment for Valuables
Add a secret drawer or hidden shelf behind a false panel. This gives you a secure spot for jewelry or important documents. Only you will know where your valuables are stored.
11. Bold Nightstand with Contrasting Color or Finish Accents
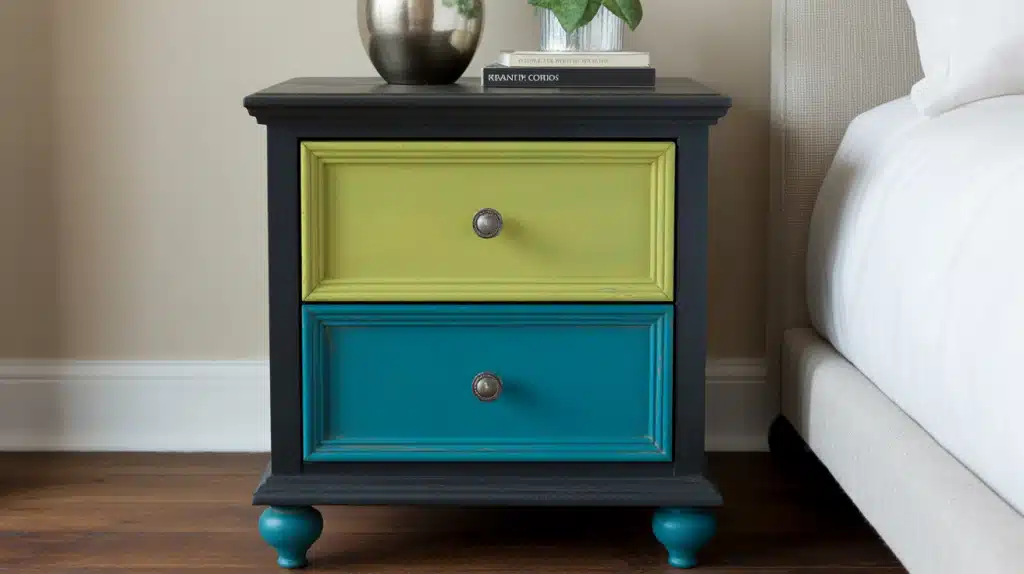
Paint the drawer front a different color than the body. Try bright blues, greens, or even black for drama. You can also use two-tone stains for a subtle contrast that still makes a statement.
Tips for Building Your DIY Nightstand
Follow these simple tips to avoid mistakes and get professional results. These lessons come from builders who have made the errors, so you don’t have to.
- Measure Twice, Cut Once: Always double-check your measurements before cutting to avoid wasting materials and time.
- Take Your Time: Let stain and finish dry thoroughly between coats for the best results.
- Use Pocket Holes for Neat Joints: Pocket holes hide screws and create strong, professional-looking connections.
- Customize the Size: Adjust the height and width to fit your bedroom and mattress height perfectly.
- Test Fit Everything: Do a dry assembly without glue first to make sure all pieces fit together correctly.
The Bottom Line
Building your own nightstand is easier than you think. You now have all the steps, from cutting materials to applying the final finish.
This project saves you money and gives you furniture that fits your space perfectly. Plus, you get the satisfaction of making something with your own hands.
Ready to start? Grab your tools and materials this weekend. Take your time with each step and don’t rush the finishing process. Your bedroom deserves furniture that works for you, not against you.
Have questions or want to share your finished nightstand? Drop a comment below. We’d love to see what you build and help with any challenges along the way.