

Ever looked at standing desk prices and thought, “I could build that myself”?
You’re right. You can.
Building your own DIY standing desk isn’t just about saving money. It’s about creating a workspace that fits your exact needs. You choose the wood, the size, and the style. No compromises.
This guide walks you through building a custom standing desk using a FlexiSpot E7 Pro Plus frame and a handmade oak butcher block top.
You’ll learn how to plane wood, create strong glue joints, and assemble everything into a desk you’ll use every day.
The best part? You don’t need to be an expert woodworker. Just follow each step, take your time, and you’ll have a beautiful desk that lasts for years.
Building Your DIY Standing Desk: Step-by-Step Process
Getting the right supplies makes this project easier. Here’s what to gather before you start.
Materials & Tools You’ll Need
| Materials | Tools |
|---|---|
| Raw oak boards (rough cut) | Thickness planer |
| FlexiSpot E7 Pro Plus adjustable frame | Table saw or circular saw |
| Wood glue (waterproof type) | Orbital sander (80, 120, 220 grit) |
| Wood finish (polyurethane or oil-based) | Router with roundover bit |
| Screws for frame attachment | Power drill with bits |
| Drawer slides (optional for storage) | Bar clamps (4-6 minimum) |
| Wood filler for gaps | Measuring tape and square |
Pro Tip: Buy more oak boards than you think you need. Wood has defects, and you’ll want options when arranging your pattern.
Step 1: Prepare the Wood
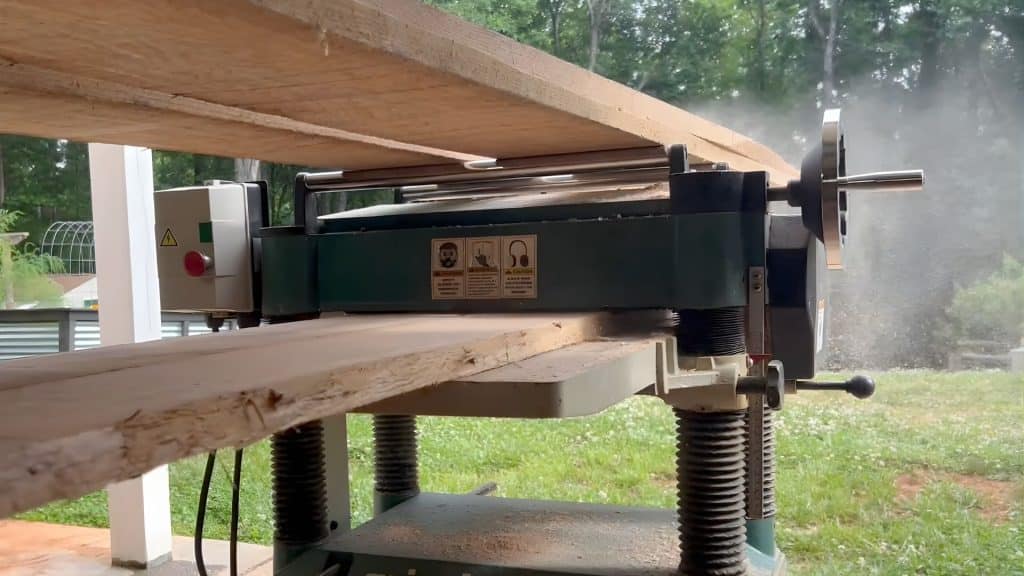
Start with rough oak boards that aren’t smooth or flat yet. Run each board through your thickness planer, making multiple passes and removing a little material each time.
Flip the board and plane the other side until both surfaces are smooth and parallel. Check each board with a straightedge to ensure there’s no twist or bow. This step takes time, but flat boards make everything easier later.
Step 2: Cut and Arrange Your Pattern
Set your table saw to rip strips about 1.5 inches wide from your flat boards. Lay out all your strips on the floor or a large table to design your pattern.
Arrange them to show off the grain, mixing lighter and darker pieces while staggering the joints so seams don’t line up. Mark the order with chalk or tape so you’ll glue them in this exact sequence.
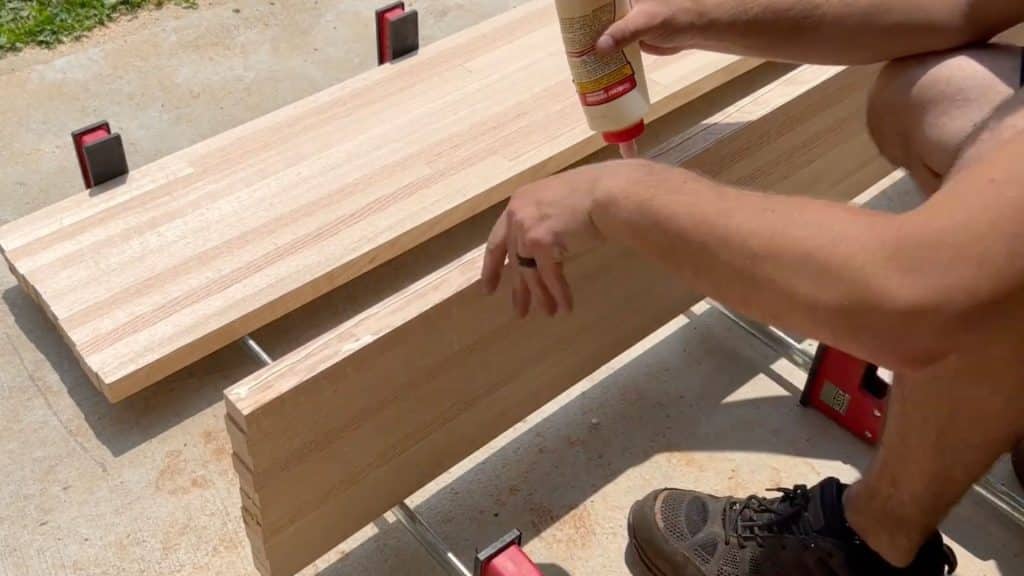
Step 3: Glue and Clamp Your Panels
Split your strips into two manageable panels instead of working with all strips at once. Apply wood glue to the edges of each strip and press them together in the order you marked.
Place bar clamps every 8-12 inches, alternating above and below to prevent bowing. Let the first panel dry overnight, then repeat for the second panel, and run both through the planer again after drying.
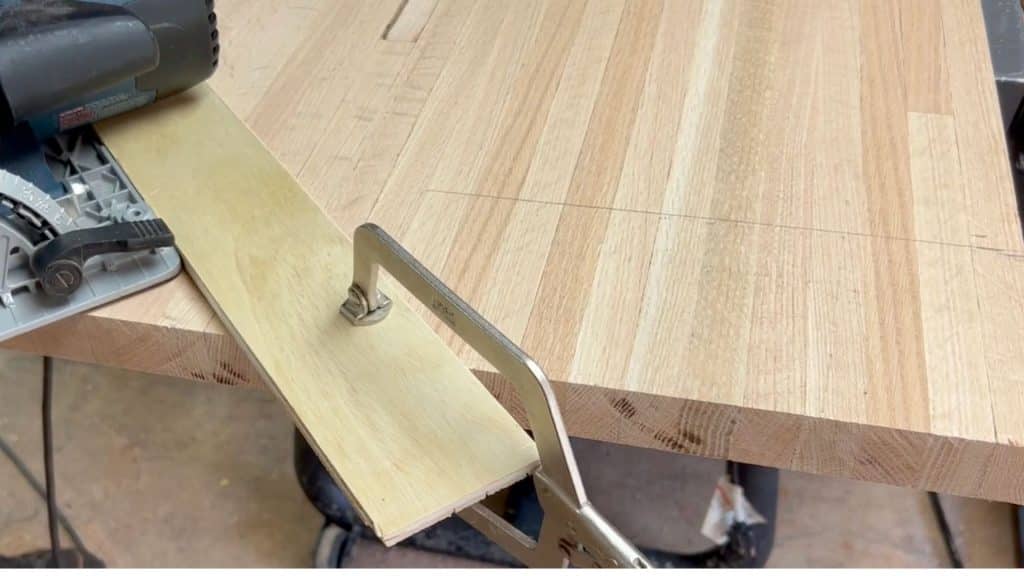
Step 4: Join the Panels and Shape the Top

Apply glue to the long edge of one panel and press the second panel against it. Clamp across the joint with at least 3 clamps and wait 24 hours for the joint to fully cure.
Use a speed square to mark perfectly square ends, then cut them; measure and cut 45-degree angles at each corner. Run a router with a roundover bit along the top edges to create a smooth, comfortable edge.
Step 5: Sand and Apply Finish
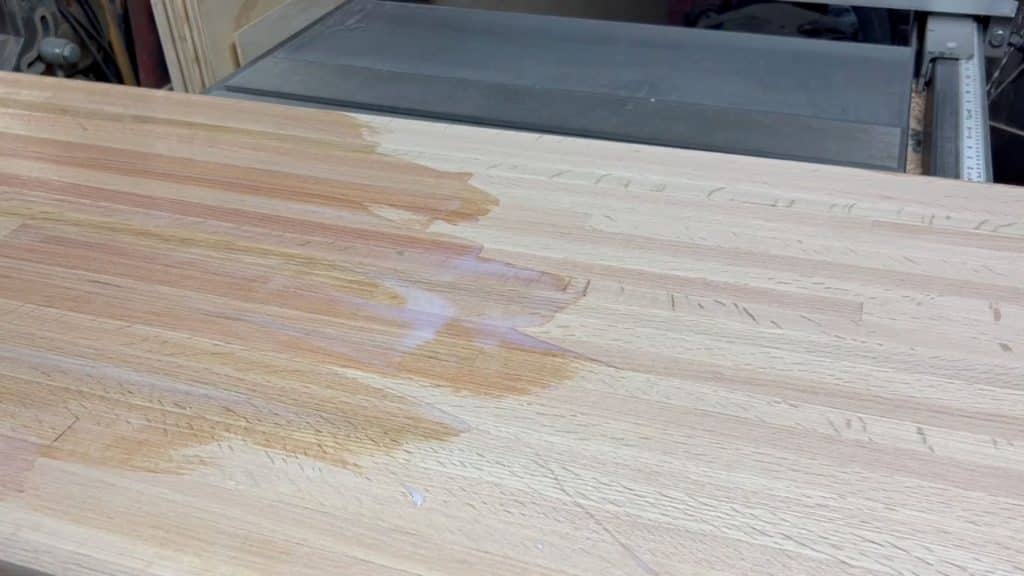
Start sanding with 80-grit sandpaper to remove router marks and planer lines, then move to 120-grit, and finish with 220-grit for a smooth feel. Fill small gaps between strips by mixing sawdust with wood glue, then pressing it into the gaps with a putty knife.
Apply the finish to the bottom first, then flip and apply to the top, using 3-4 thin coats and lightly sanding between coats. Wait the full recommended time between coats to avoid a sticky finish.
Step 6: Assemble Frame and Test
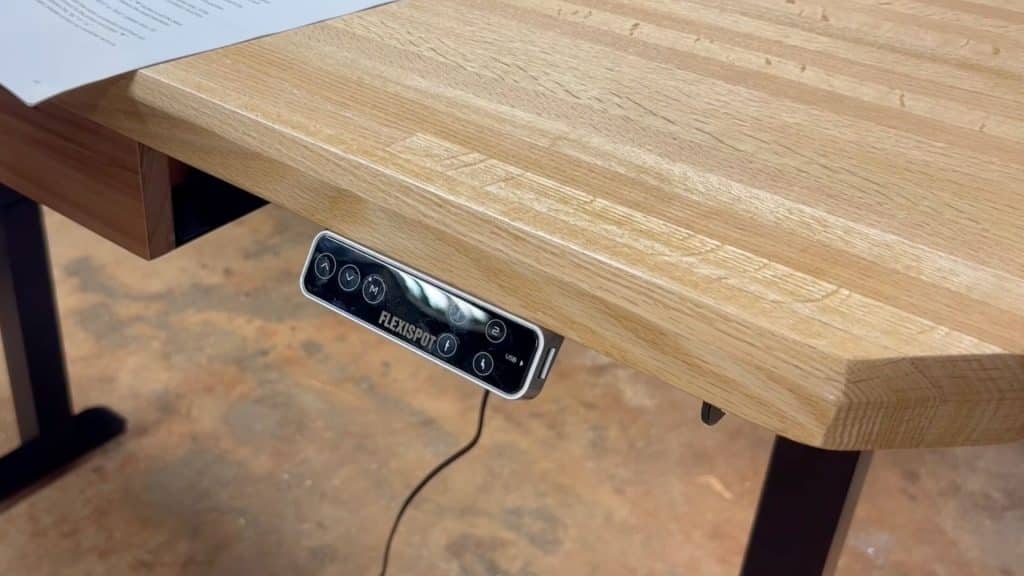
Flip your finished desktop upside down on a protected surface and lay out the FlexiSpot E7 Pro Plus frame. Mark screw holes carefully, drill pilot holes to prevent splitting, and attach the frame with the provided screws.
Get help flipping the desk upright since oak is heavy, then plug in the frame controller and set your preferred height positions. Test raising and lowering several times, and adjust the height so your elbows bend at 90 degrees while typing.
Viedo Tutorial
I’d like to give credit to SimonSaysDIY for their informative video, which served as a reference for this guide.
Pro Tips for Building a DIY Standing Desk
Building a DIY standing desk requires attention to detail. These tips help you avoid common mistakes and ensure your project turns out great.
- Always finish both sides of your desktop. Wood absorbs moisture from the air, and when only one side has a finish, unequal expansion can cause warping. Apply the same number of coats to both top and bottom surfaces to keep your desktop flat for years.
- Use plenty of clamps for even pressure. Space them 8-12 inches apart along the entire length and alternate clamps above and below to prevent bowing. More clamps mean better glue joints and a stronger, longer-lasting desktop.
- Keep glue joints tight and clean. Apply just enough glue to cover the surface without excess dripping out. Wipe away squeeze-out immediately with a damp cloth before it dries, as clean joints bond better and look more professional.
- Plan workspace support for flipping heavy oak tops. A finished butcher block desktop weighs 60-80 pounds or more, so get a helper before attempting to flip it. Clear a large area and use furniture blankets to protect the finished surface.
- Test your tools before starting. Make sure your planer blades are sharp and your saw cuts straight. Dull tools create more work and dangerous situations, so replace blades or bits that show wear.
- Sand between finish coats for better adhesion. Light sanding with 320-grit paper between coats removes dust nibs and creates a better surface for the next layer. This extra step makes your final finish smoother and more professional-looking.
- Let the glue cure fully before moving to the next step. Rushing the drying process weakens joints and can ruin hours of work. Wait the full 24 hours between glue-ups, even when you’re excited to keep building.
Follow these tips and your DIY standing desk will turn out better than expected. Small details make a big difference in the final result.
Conclusion
There you have it, your own custom DIY standing desk.
You now have a workspace built exactly how you want it. The oak top will handle years of daily use. The adjustable frame lets you switch positions as your body needs.
And here’s something great: the skills you picked up during this build work change to other projects, too.
Want a matching shelf? A monitor stand? You know how to do it now.
Ready to get started? Grab your materials list and set aside a weekend. Your back will thank you for it.
Have questions about your build?
Drop them in the comments. We’d love to see photos of your finished desk, too!