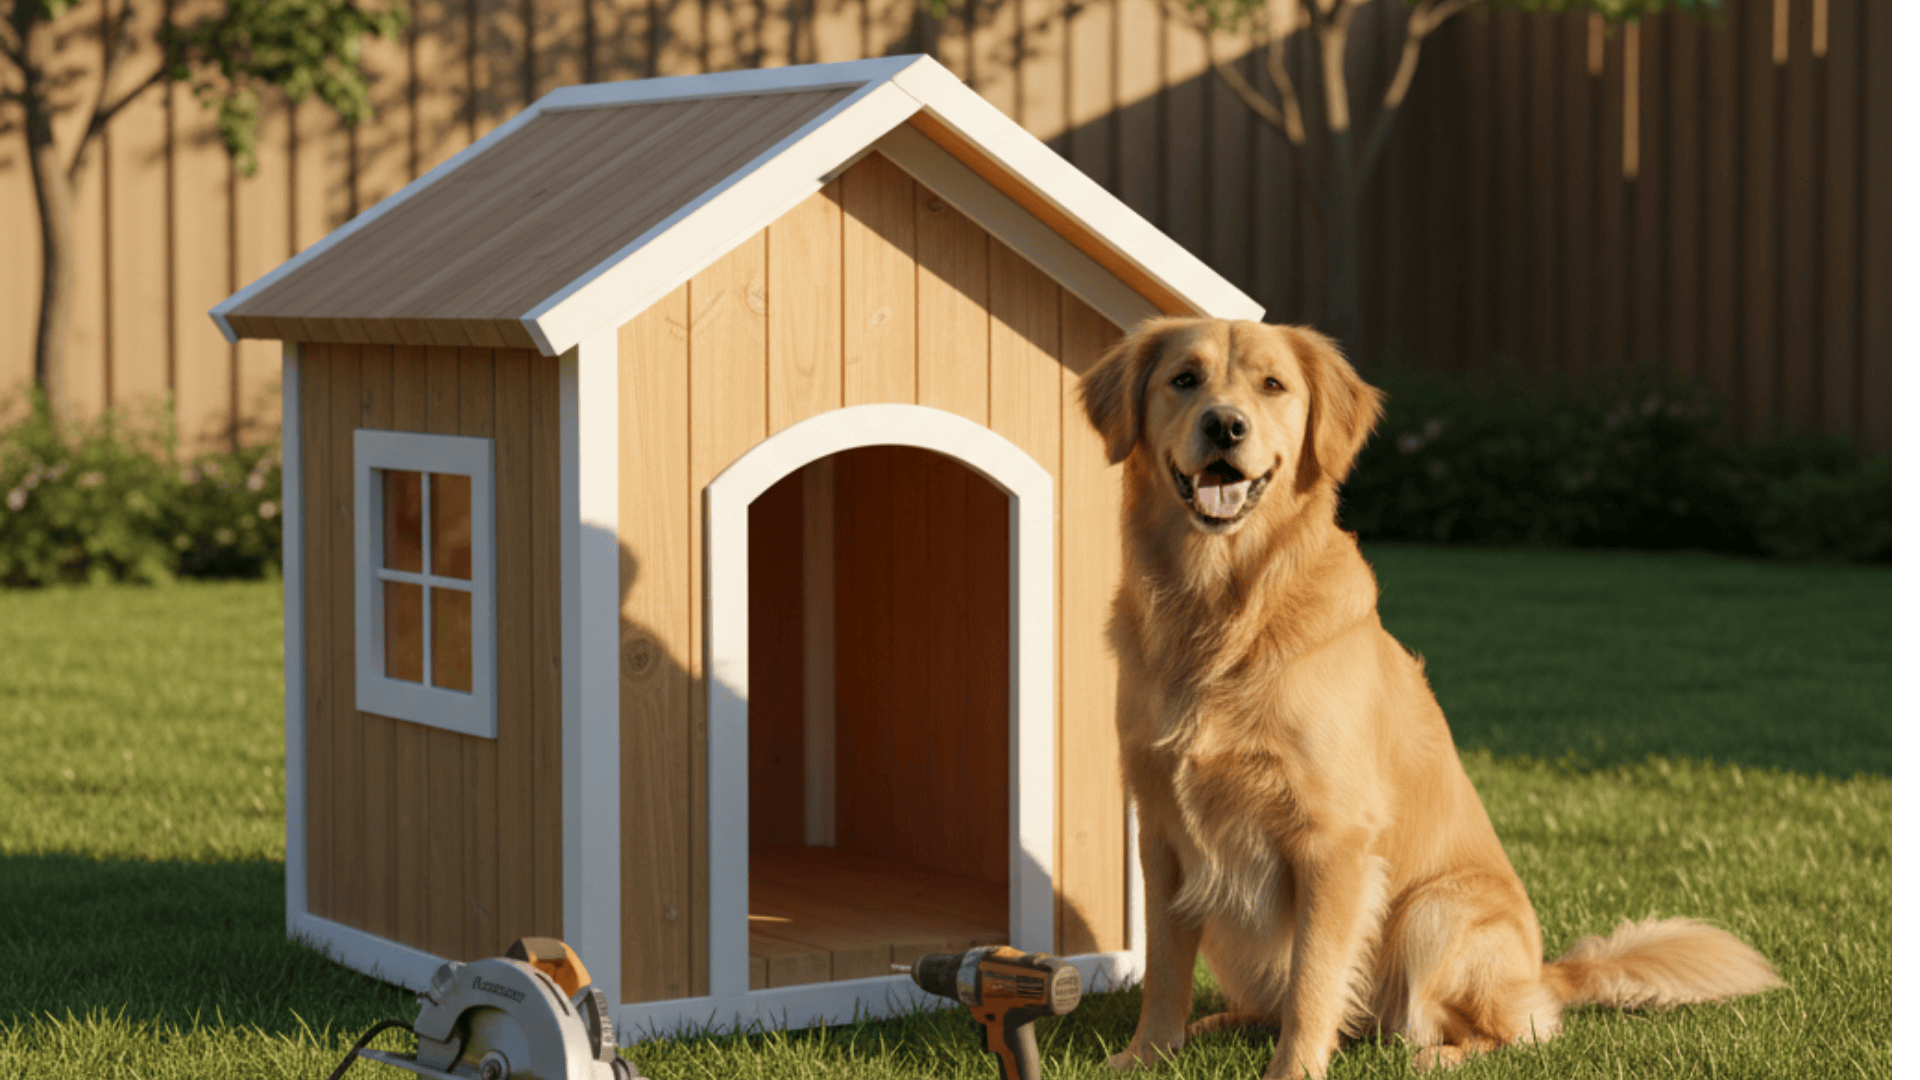

Creating a custom doghouse is one of the most rewarding DIY projects for pet owners. It blends practical craftsmanship with genuine care, giving your dog a safe, cozy, and stylish home.
This guide provides detailed, step-by-step instructions for building a doghouse from scratch, using standard tools and easily available materials.
If you’re looking for dog house plans, want to understand framing basics, or hope to personalize your build with modern touches, you’ll find everything here to make a strong, weatherproof, and attractive doghouse that fits your pet perfectly.
Building a Doghouse: Step-by-Step Instructions
Building this doghouse follows simple framing logic: start from the base, add walls, finish with the roof, and trim.
Materials RequiredGather your materials before starting to streamline the build process. Use durable, weather-resistant wood and exterior finishes to ensure your doghouse withstands all seasons. Main Materials
Tools Miter or circular saw, drill/driver, pilot bits, tape measure, speed square, utility knife, clamps, safety glasses, and a brad nailer (optional). |
Step 1: Build the Base

Cut your 2x2s to size and assemble a rectangular frame using deck screws. Check for squareness using a speed square.
The base provides the foundation, so make sure it’s level and sturdy before proceeding to the next step. Add corner reinforcements if needed for extra strength.
Step 2: Frame the Walls
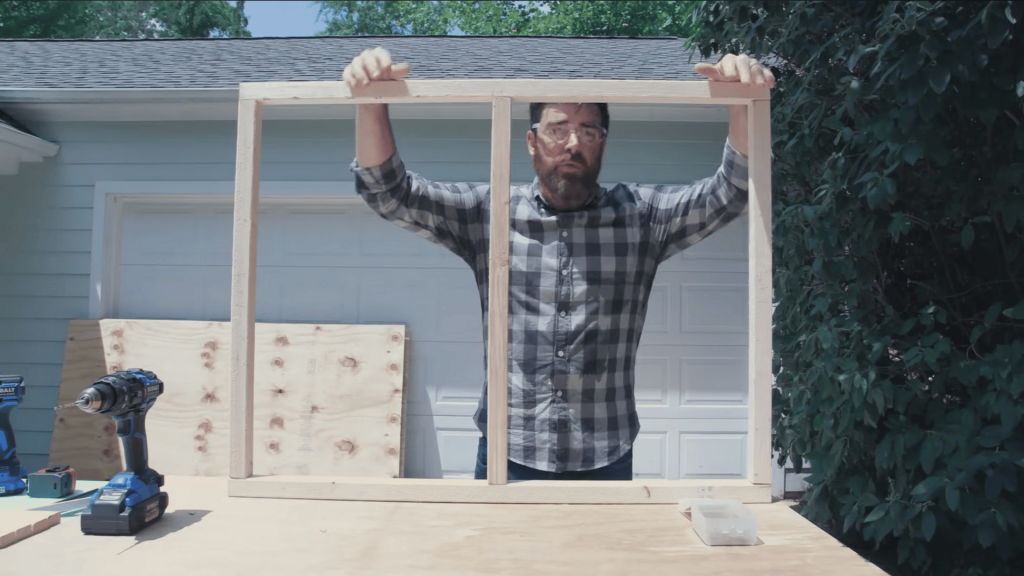
Measure and cut vertical studs and top/bottom plates for each wall. Pre-drill ends to avoid splitting. Assemble using screws, keeping edges flush.
Label each wall panel for easier assembly. The frames will gain rigidity once joined together on the base.
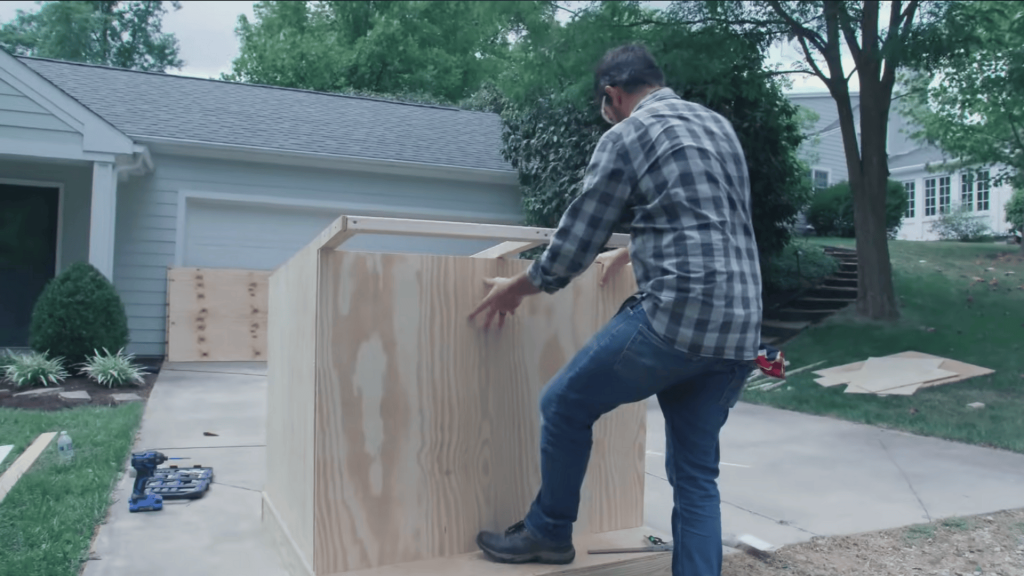
Step 3: Attach Walls to the Base
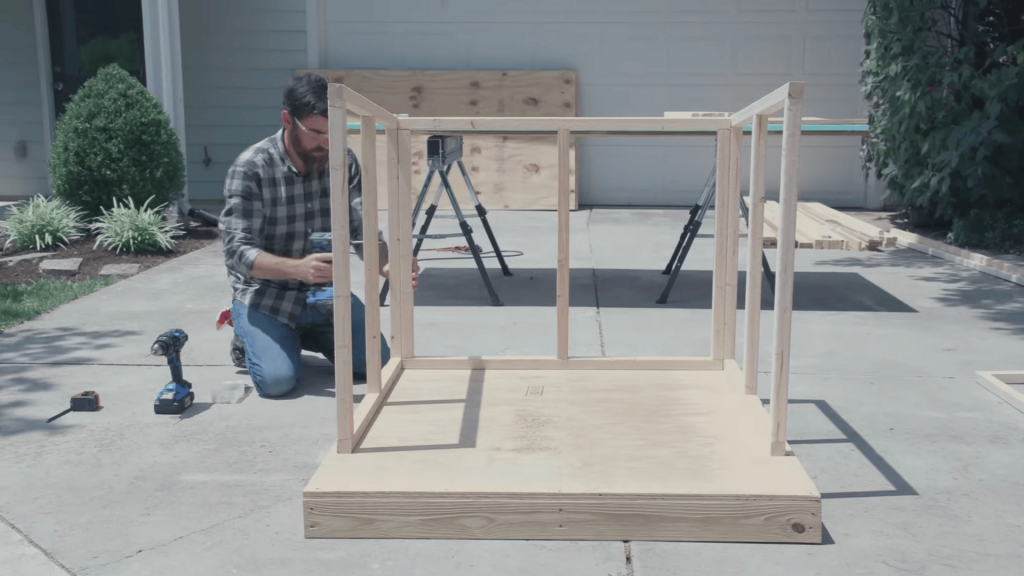
Start by attaching the back wall to the base; this gives you a stable guide. Add side walls next, ensuring each corner is flush and square.
Finally, attach the front wall. The assembled structure should now stand freely with balanced alignment on all sides.
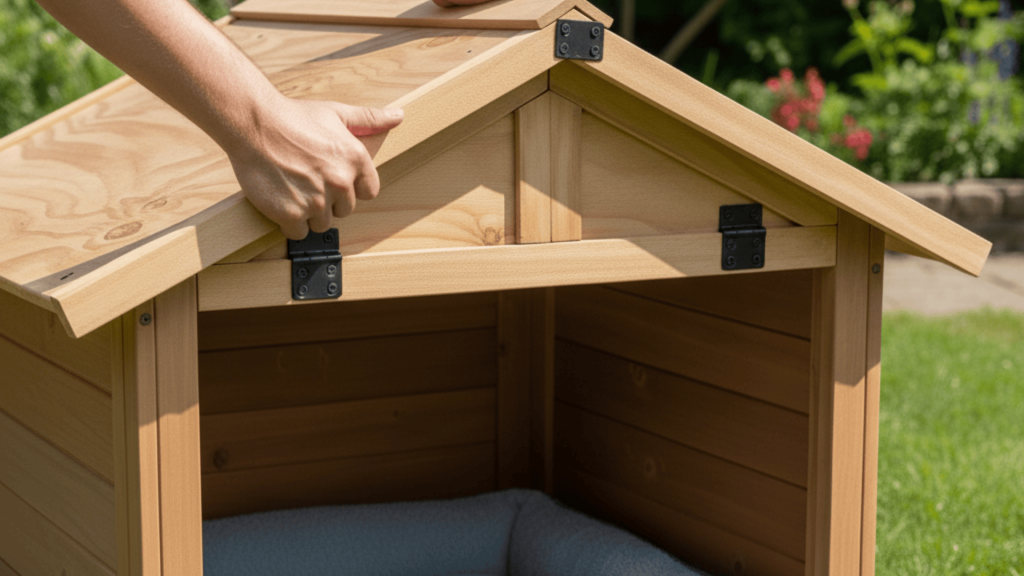
Step 4: Construct and Install the Roof Frame
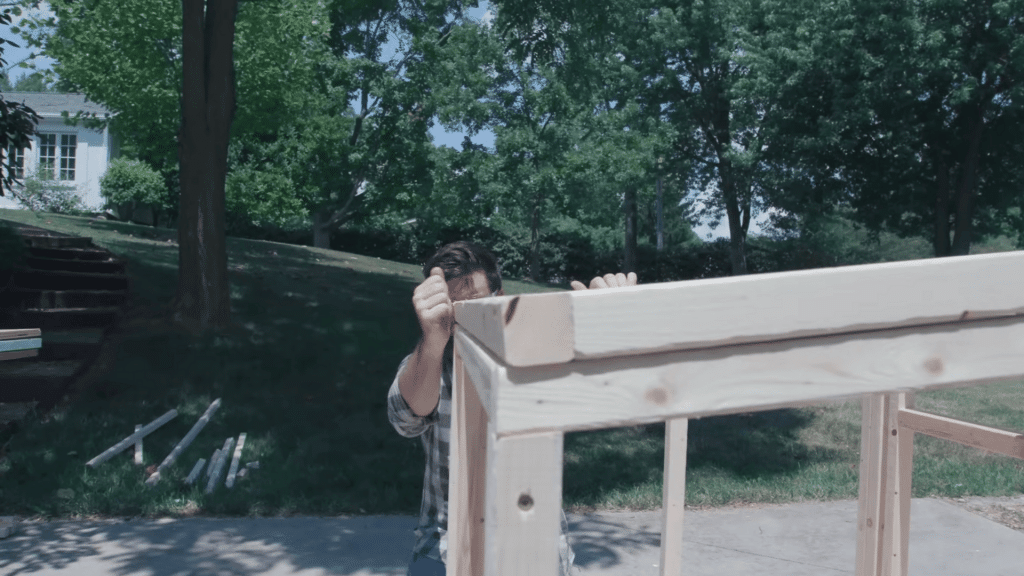
Assemble roof rafters with a slight pitch for rain runoff. Attach to wall frames with screws. Ensure a front overhang of 10–12 inches for added weather protection.
Secure connections tightly; the roof frame ties the walls together for maximum stability.
Step 5: Add Plywood Panels
Cut plywood for the walls and roof, ensuring consistent vertical grain for a clean finish. Attach using wood screws, spacing evenly.
Trace and cut the front door opening, approximately two to four inches wider than your dog’s shoulders. Sand edges for smoothness.
Step 6: Install Roofing and Finish Exterior
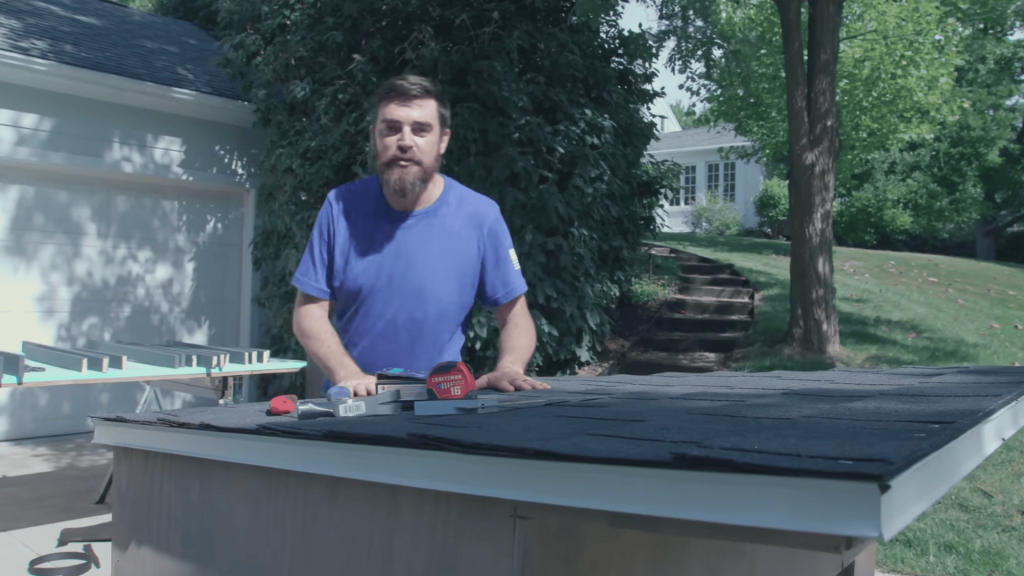
Lay roofing felt and drip edge, followed by shingles for full coverage. Attach trim boards around edges using brad nails and adhesive.
Apply paint or stain once dry. Inspect every interior surface to ensure no sharp screws or splinters remain.
Step 7: Final Touches and Optional Upgrades
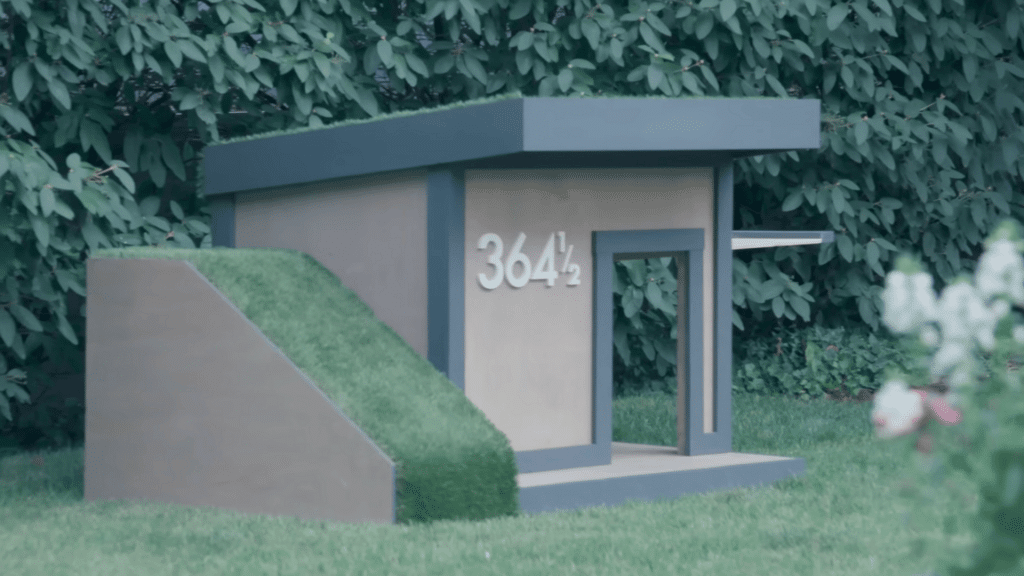
Add comfort and style with simple enhancements. A hinged side door boosts airflow, while a rooftop ramp with turf offers a sunny lounging space.
For year-round coziness, include an insulated base. The result: a sturdy, modern, weatherproof doghouse that keeps your pet comfortable and happy in every season.
Video Tutorial
Special thanks to Lowe’s Home Improvement for providing valuable insights in their video, which I referenced while creating this guide.
Customization Options
Personalizing your doghouse not only adds function but also makes it a reflection of your pet’s personality.
These creative upgrades elevate comfort, style, and convenience while keeping the design practical and easy to maintain.
1. Built-In Storage Bench
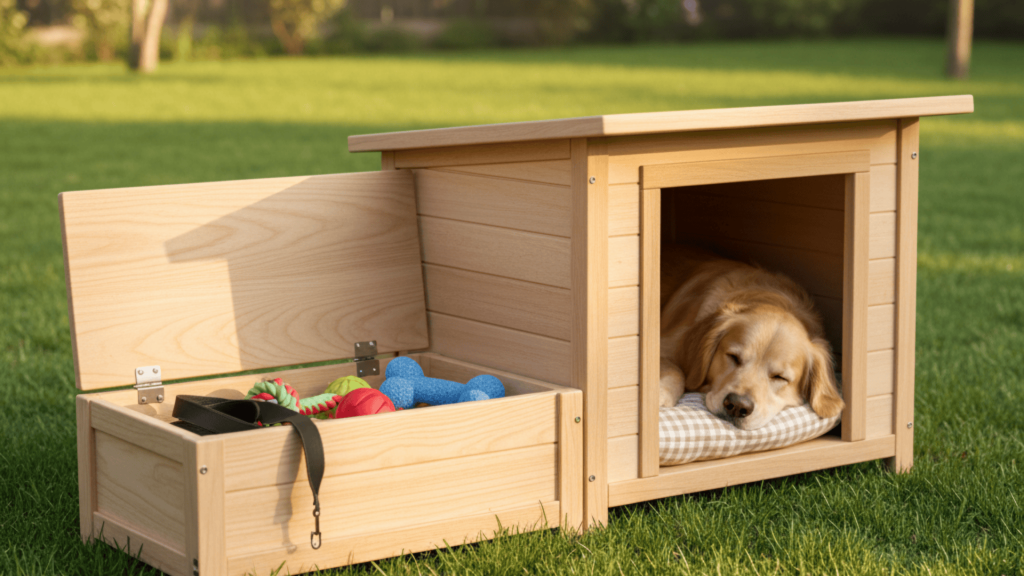
Integrate a compact side bench with a lift-up lid to store leashes, toys, and grooming items.
It keeps clutter hidden while doubling as a resting or seating spot, maintaining a neat, cohesive look for your outdoor setup.
2. Solar Lighting and Ventilation Fan
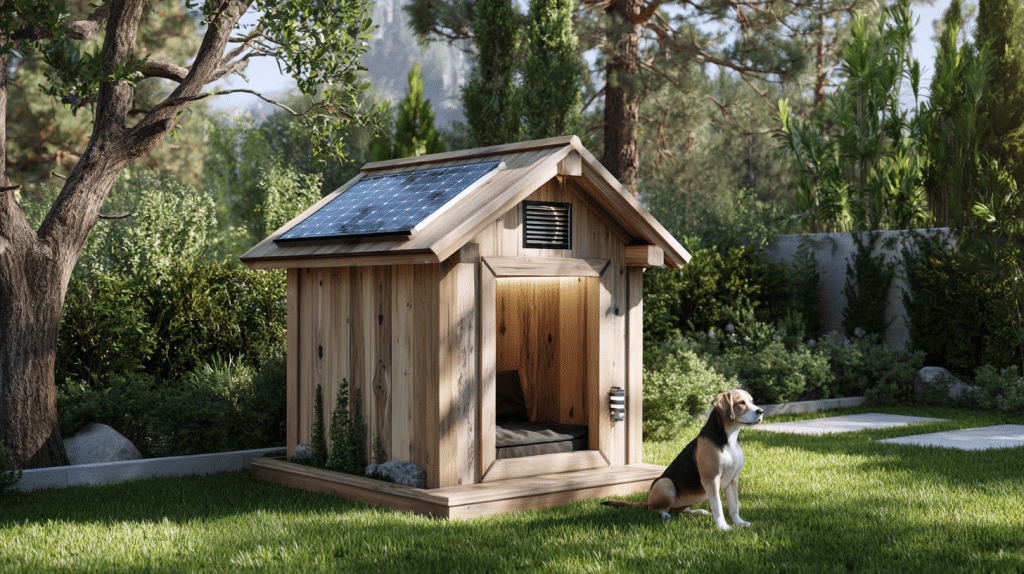
Install a small solar-powered LED light or fan on the roof for eco-friendly comfort.
The light enhances nighttime visibility, while the fan keeps air circulating, preventing heat buildup during warmer months for better airflow and safety.
3. Removable Roof Panel
Add hinges or latches so the roof can lift or detach for quick cleaning and seasonal maintenance.
It simplifies interior access, improves hygiene, and lets you refresh bedding easily, ideal for multi-dog households or frequently used outdoor shelters.
Troubleshooting Tips
A few smart building habits can make your project faster, cleaner, and longer-lasting. These quick tips ensure a smoother build process and a more comfortable, durable doghouse for your pet.
- Pre-drill screw holes to prevent 2x2s from splitting.
- Use exterior-grade materials to extend the doghouse’s lifespan outdoors.
- Measure your dog’s height and width before cutting the doorway; keep it 2–4 inches wider than their shoulders.
- Allow proper ventilation with a rear vent or a small gap under the roofline.
- Keep your tools organized and label all wood pieces during cutting for faster assembly.
Follow these tips for a sturdy, weatherproof, and pet-safe doghouse that’s built to last.
Conclusion
Building a doghouse from scratch combines creativity, practicality, and care. With basic tools and clear planning, you can craft a strong, stylish shelter that perfectly fits your pet’s needs.
Each step ensures stability, comfort, and weather protection, while upgrades add personality and function.
Now that you’ve learned how to build a doghouse, gather your materials, follow the guide, and create a custom retreat your dog will love for years.
Have you tried building your own doghouse using these plans? Share your results, modifications, or creative ideas in the comments below; we’d love to see how your project turned out!