
Need a solid workbench but don’t want to spend $500 at the store?
Most DIYers think building furniture requires advanced skills and expensive tools. Wrong. You can build a sturdy workbench for under $170 using basic lumber and a few simple tools.
No fancy joinery. No complicated plans. Just six 4×4 posts, some 2x4s, and five straightforward steps.
This guide shows you exactly how to build a workbench from start to finish. You’ll learn the best height and depth for comfortable work. We’ll cover bright garage workbench ideas for any space.
Plus, you’ll see how finishing touches protect your bench for years of heavy use.
What Makes a Good Workbench?
A good workbench needs to be strong enough to handle heavy projects without wobbling. It should stand firm when you’re sawing or hammering.
The height matters too. You want to work comfortably without bending over or reaching up constantly. Depth should give you enough space to spread out tools and materials.
Most store-bought benches come in standard sizes that don’t fit everyone’s needs. Building your own lets you choose the exact height and width that works for your body and your space.
You can make it as long or as deep as your garage allows. That’s the real benefit of DIY.
Best Height and Depthfor a Workbench
Getting the size right makes all the difference. Build too high or too deep, and you’ll regret it every time you work.
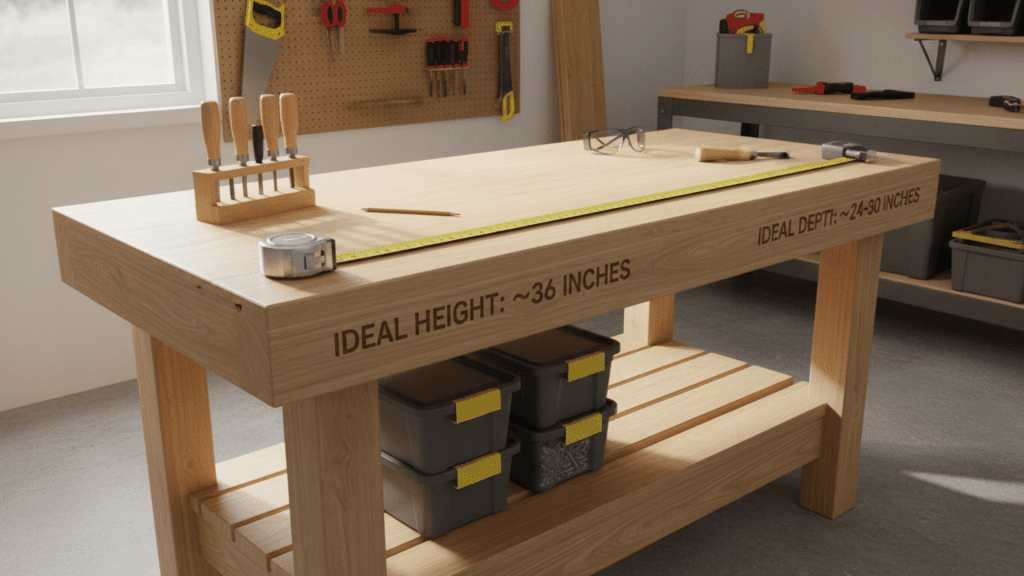
Ideal Height for a Workbench
Most comfortable workbenches fall between 34 and 38 inches tall. The right height depends on your height and the type of work you do. A height of 36 inches works best for the average person.
At this height, you can work without bending your back or straining your shoulders. Your elbows should bend at about 90 degrees when your hands rest on the surface.
Too low forces you to hunch over. Too high makes you reach up and quickly tire your arms.
Ideal Depth for a Workbench
The sweet spot for workbench depth is 24 to 30 inches. This gives you plenty of room to spread out projects and tools. Going deeper than 30 inches creates problems.
You can’t reach items at the back without leaning forward awkwardly. Extra depth also makes the bench take up more floor space in your garage.
Deeper benches can feel less stable when you push or pull on projects near the front edge. Stick to 24 to 30 inches for the best balance of workspace and comfort.
How to Build a Workbench: 5 Simple Steps
You know what makes a good workbench. Now let’s build one. These five steps take you from cut lumber to a finished bench that’s ready for serious work.
Materials and Tools List:
| Category | What You Need |
|---|---|
| Lumber | 4×4 posts, 2×4 boards, 2×8 boards, deck boards, 1x supports |
| Hardware | Wood screws, lag bolts, and washers |
| Tools | Chop saw, impact driver, chisels, table saw (optional) |
Step 1: Build and Notch the Legs
Start by cutting six 4×4 posts to your desired height. Most people choose between 34 and 38 inches tall. Next, create notches in each leg where the side frames will sit.
These notches keep the frame locked in place and prevent side-to-side movement. Use a chop saw to make the cuts and chisels to clean them up.
Materials Used:
- Six 4×4 posts (cut to height)
- Wood screws (temporary holding)
Step 2: Build the Two Side Frames
Cut your 2×4 boards to 93 inches long for the top and bottom rails. Lay three legs flat and attach the 2x4s using screws. Mark the center point on each rail for the middle support beam.
Repeat this process to build the second frame. Don’t worry about making these permanent yet.
Materials Used:
- 2×4 boards (93 inches each)
- Wood screws (temporary assembly)
Step 3: Install the Shelf Supports
Cut one-by boards to fit along the inside of your side frames. These act as ledges for the bottom shelf to rest on. Attach them about 6 to 8 inches up from the bottom of the legs.
Make sure they’re level before securing with screws.
Materials Used:
- 1x boards (cut to frame depth)
- Wood screws
Step 4: Assemble the Full Workbench Frame
Stand both side frames upright and connect them with 4×4 posts at the back. Add 2×4 cross braces between the front legs for extra support.
Now go back and replace all temporary screws with lag bolts and washers. This makes the frame rock solid.
Materials Used:
- 4×4 posts (back support)
- 2×4 boards (cross bracing)
- Lag bolts
- Washers
Step 5: Install the Bottom Shelf and Workbench Top
Lay deck boards across the shelf supports to create storage space below. Space them evenly and screw them down.
Finally, place your 2×8 boards on top of the frame to form the work surface. Secure them with screws at 12-inch intervals. Your workbench is now ready to use.
Materials Used:
- Deck boards (bottom shelf)
- 2×8 boards (benchtop)
- Wood screws
Video Tutorial
Special thanks to Firewood For Life for providing valuable insights in their video, which I referenced while creating this guide.
Estimated Cost to Build a Workbench
Building your own workbench costs far less than buying one from a store. You’ll spend around $150 to $170 for materials if you shop at standard home improvement stores.
Prices vary by location and lumber quality. The good news is you get a stronger, more customized bench for your money. Store-bought benches in this size range typically cost $300 to $500 or more.
Cost Breakdown:
| Item | Estimated Cost |
|---|---|
| 4×4 posts | $40 – $50 |
| 2×4 boards | $35 – $45 |
| 2×8 boards | $30 – $40 |
| Deck boards | $20 – $25 |
| 1x boards | $10 – $15 |
| Screws and lag bolts | $23 – $32 |
| Total DIY Cost | $150 – $170 |
| Pre-made bench | $300 – $500+ |
| Your Savings | $150 – $330 |
Optional Upgrades: Wood sealer ($15-$25), pegboard ($20-$30), power strip ($15-$25), LED lights ($20-$40), casters ($30-$50).
7 Smart Garage Workbench Ideasfor Any Space
Your basic build is solid, but maybe you need something different. Here are seven workbench designs that solve specific garage problems and fit unique spaces.
1. Fold-Down Wall-Mounted Workbench

Perfect for small garages with limited floor space. This bench mounts to the wall and folds up when you’re not using it.
You can park your car right underneath it. Just fold it down when you need a work surface. Most designs use heavy-duty hinges and support brackets to safely hold weight.
2. Rolling Workbench With Lockable Casters
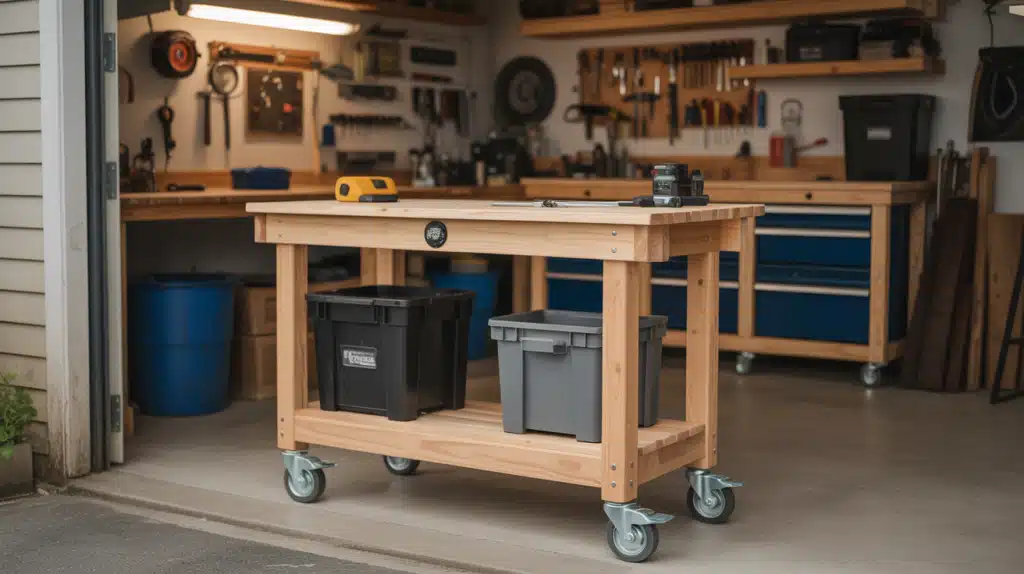
This mobile bench lets you move your workspace anywhere in the garage. Add heavy-duty wheels with locks on the bottom of each leg.
Roll it outside for messy projects or next to your car for repairs. Lock the casters when you need stability. This works great if you switch between different project areas often.
3. Workbench With Built-In Miter Saw Station

Cut a slot in your benchtop to mount a miter saw flush with the surface. This creates extended support on both sides of the blade. You can cut longer boards without needing extra stands.
Add measuring tape along the edges for quick reference. This setup saves space and improves accuracy for woodworking projects.
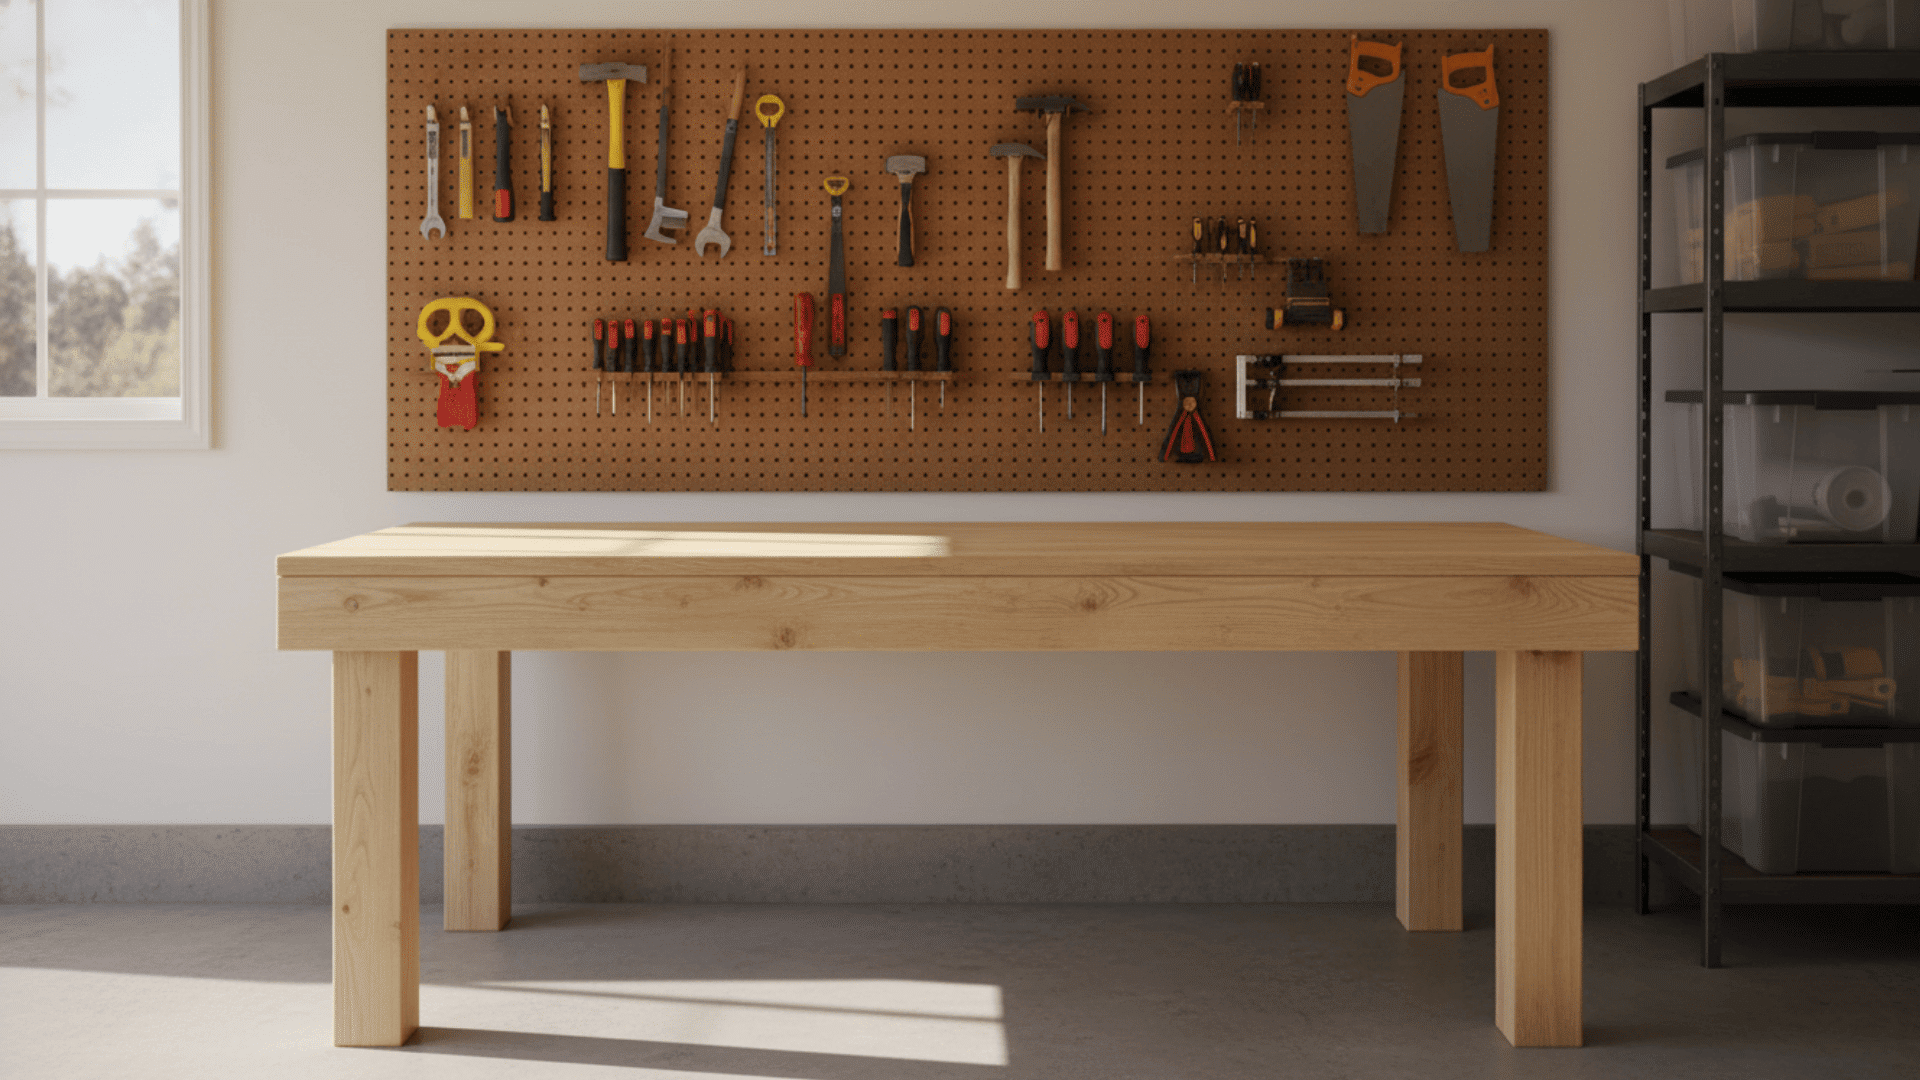
4. Tool Wall or Pegboard Backing Workbench
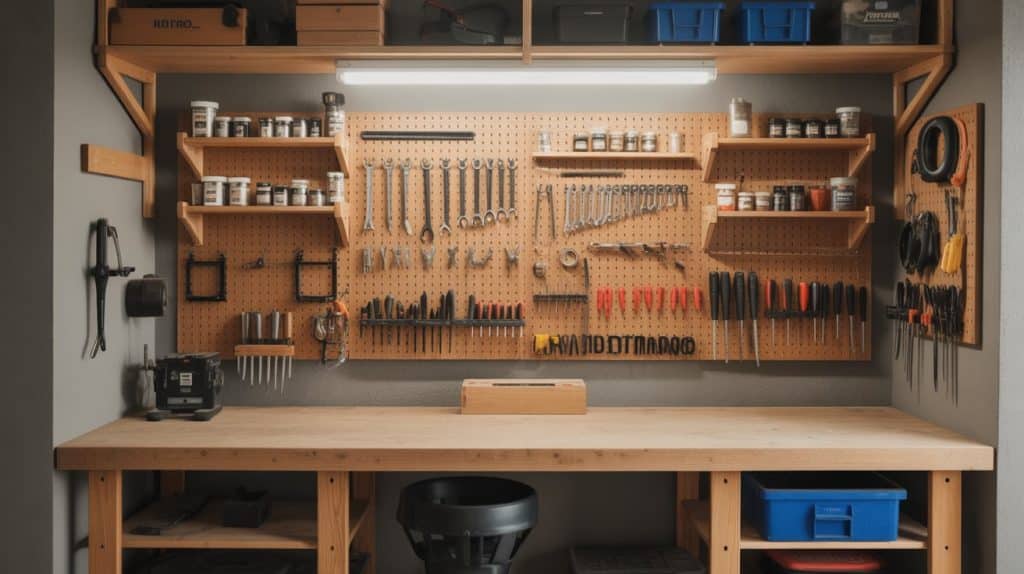
Mount a pegboard or slat wall directly behind your workbench. Hang frequently used tools within arm’s reach. This keeps your work surface clear and organized.
You spend less time searching for tools. Add hooks, shelves, and holders to customize the storage layout. Paint the pegboard a bright color to make tools easier to spot.
5. Heavy-Duty Workbench With Double Bottom Shelves
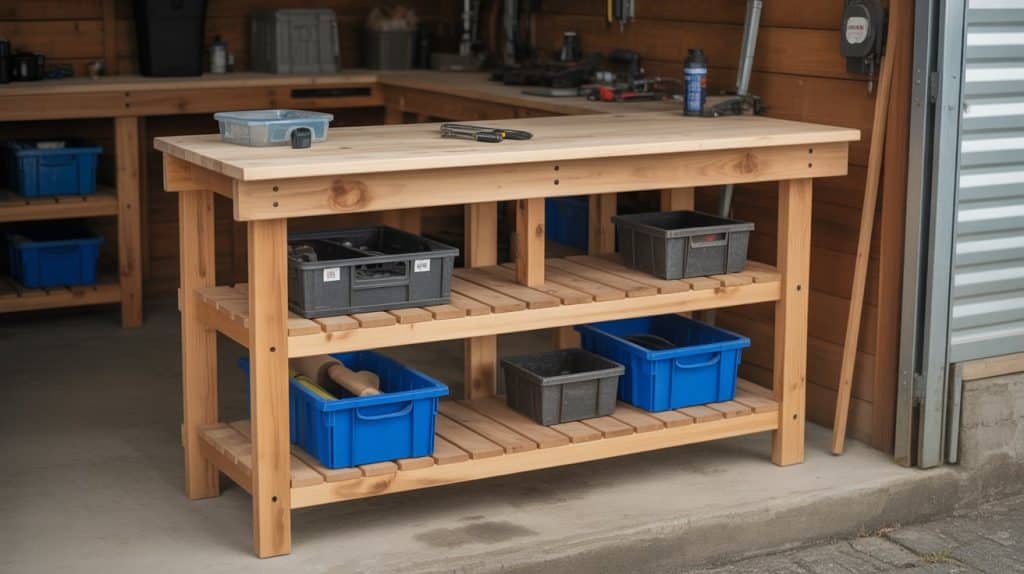
Build two shelves below your work surface instead of one. The extra storage holds power tools, paint cans, and larger supplies.
Use thicker lumber like 4x4s for the legs to support the added weight. This design works well if you have lots of equipment but limited wall space.
6. Workbench With Integrated Power Strip and Lighting
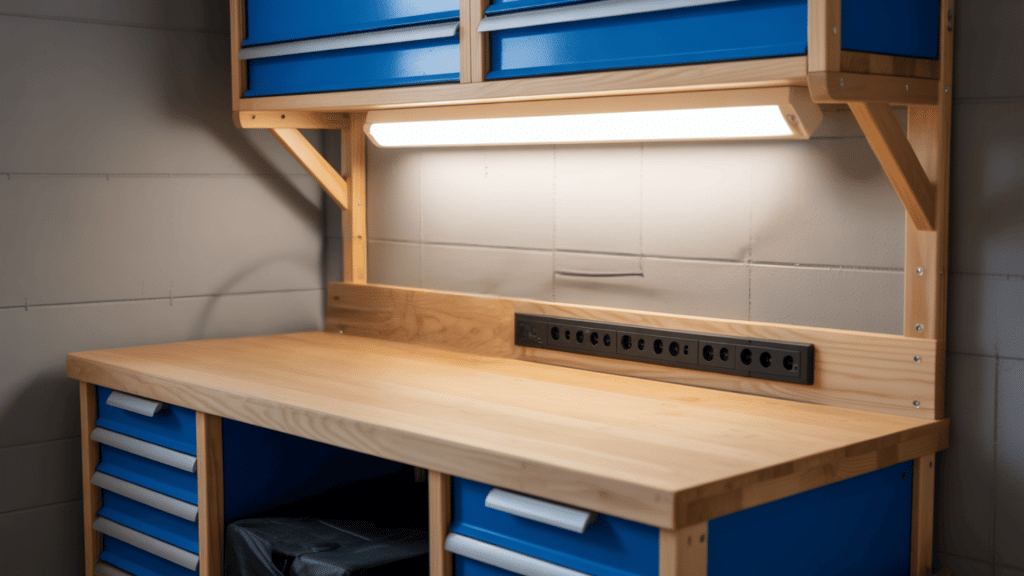
Mount a power strip along the back edge or underside of your benchtop. Add LED shop lights underneath the top shelf or above the work area.
Now you have power and light right where you need them. No more running extension cords across the garage. This setup makes evening projects much easier.
7. Compact Corner Workbench for Small Garages
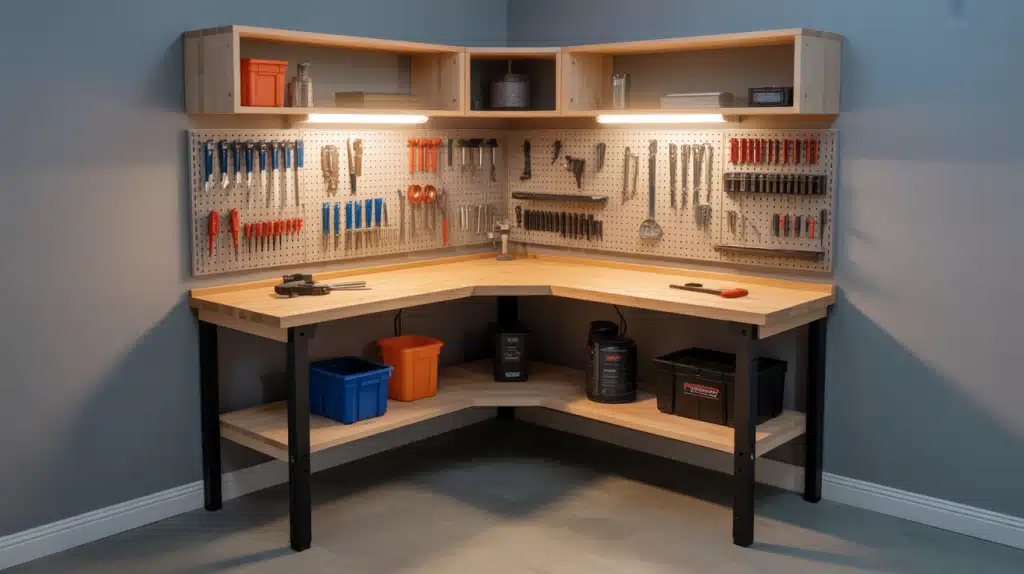
Build an L-shaped bench that fits into an unused corner. This maximizes workspace without blocking the center of your garage. One side can hold tools while the other provides a work surface.
Corner benches often feel more stable because two walls support them. Great for tight spaces where a full-length bench won’t fit.
Make Your Workbench Last: Protection Tips
You’ve built a solid bench. Now protect your investment. These simple finishing touches prevent damage and keep your workbench working hard for decades.
- Sanding and Sealing the Top: Sand the benchtop smooth to prevent splinters and make cleanup easier after messy projects.
- Adding Protective Finishes: Apply polyurethane, varnish, or oil-based finish to protect wood from stains, chemicals, and wear.
- Preventing Moisture Damage: Keep the bench away from water sources and seal all exposed wood to stop warping and rot.
- Installing Rubber Feet or Pads: Add rubber pads under each leg to protect your garage floor and reduce vibration during work.
- Reinforcing High-Stress Joints: Check bolts and screws every few months and tighten any that have loosened from heavy use.
- Adding Metal Corner Brackets: Install L-brackets at corner joints for extra strength where the legs meet the frame rails.
Final Thoughts
Building a workbench is simpler than most people think. You don’t need expert carpentry skills or a workshop full of tools.
Six legs, some cross bracing, and a solid top create a bench that handles years of hard work. For less than $200, you get precisely the size and height that fits your body and space.
The Step process takes at most a weekend. Start with notched legs, build the frames, add shelf supports, assemble everything, and finish with the top.
Ready to build yours? Grab your materials list and head to the hardware store. Have questions about your build? Drop a comment below and share your progress.
We’d love to see how your workbench turns out.