
Do you wish your kitchen had more storage space?
Walking into a messy kitchen with items scattered on counters and cabinet spaces filled to the brim can make cooking feel like a chore.
Limited storage makes it difficult to keep track of groceries, leading to waste and frustration when one can’t find what one needs.
You can create extra storage space by building pantry shelves yourself, even if you’ve never handled tools before.
I’ll provide step-by-step instructions for building strong, practical shelves to help you organize your kitchen supplies without spending hundreds on pre-made units.
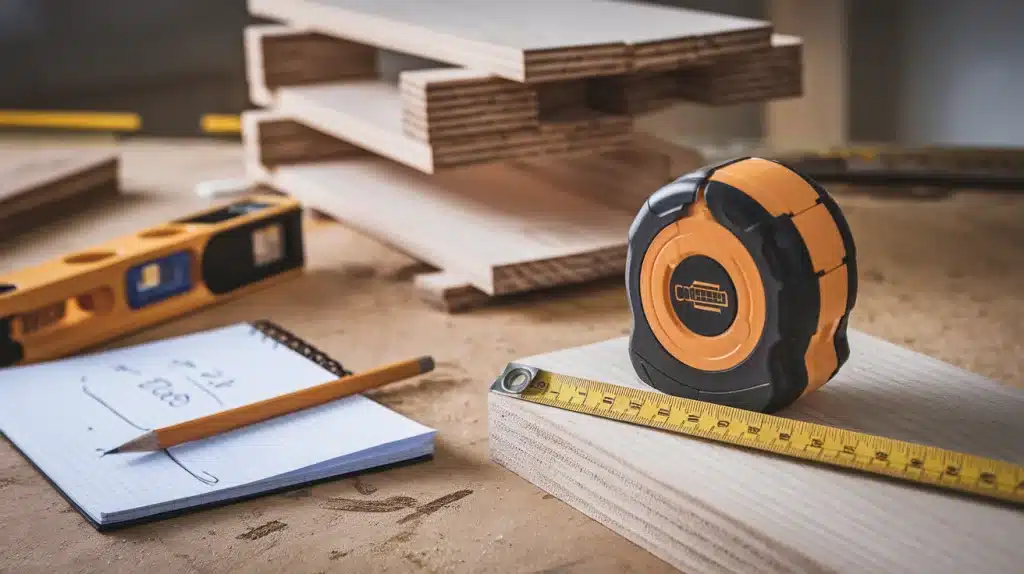
Planning and Preparation for Your Pantry Shelves
| Step | Details |
|---|---|
| Assessing Your Pantry Space | Measure the height, width, and depth of your pantry. Identify obstacles like pipes, outlets, or uneven walls that may impact installation. |
| Choosing a Design | Decide between fixed or adjustable shelves. Choose open shelving for easy access or closed cabinets for a cleaner look. |
| Gathering Tools and Materials | Tools: saw, drill, screws, level, measuring tape. Materials: plywood, pine, or MDF. Finishing options: paint, stain, or sealant. |
Step-by-Step Guide to Building Pantry Shelves
Step 1: Prepare the Support Structure
Start by checking your wall structure. Look for studs where you can attach supports. If you can’t find studs in the right spots, you’ll need to add wooden blocks to the wall.
These blocks create strong points for attaching your shelves. Make sure these support pieces stick out far enough from the wall to give your shelves proper support.
This step forms the base of your entire shelf system, so take time to get it right.
Step 2: Create Strong Bracing
The key to sturdy shelves lies in the bracing method. Instead of using plain pine boards, which can bend or bow over time, make your own stronger supports.
Glue two pieces of 3/4-inch plywood together. This creates a thicker, more stable board that won’t bend under weight.
Once the glue dries, add pocket holes at each end. These holes let you attach the bracing firmly to your wall supports.
Step 3: Install Support Cleats
Begin the main structure by marking the shelf heights on all walls. These marks will guide you in placing your support cleats.
Install each cleat with the proper anchors, checking with a level as you go. Ensure that the heights on all walls match perfectly.
These cleats will hold your shelf weight, so secure them well. Test each one by pushing up and down to ensure they’re firmly attached.
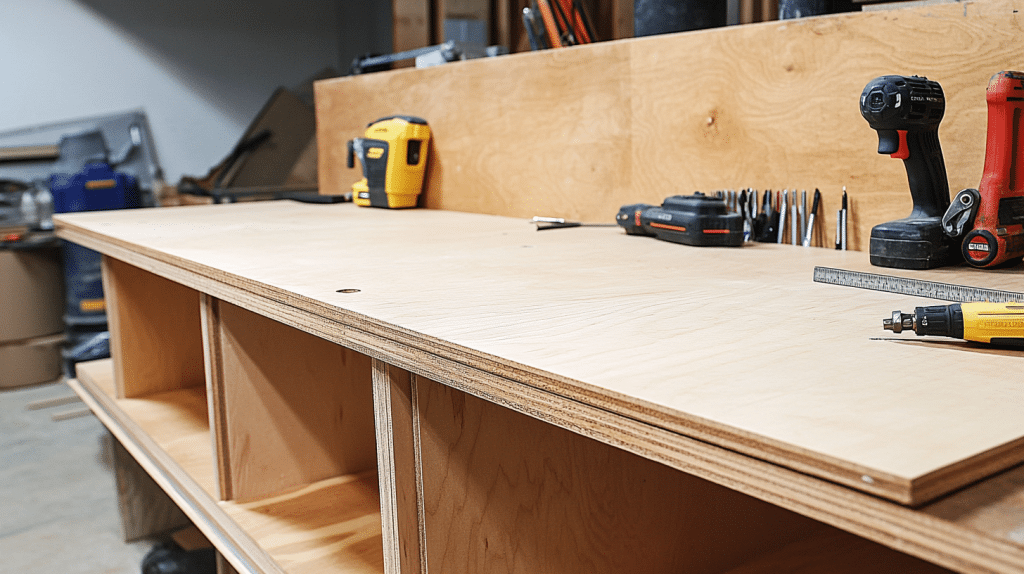
Step 4: Build Shelf Frames
Take careful measurements between your walls before cutting any shelf pieces. Cut your plywood to fit these spaces exactly.
For the bottom shelf, which will hold heavier items like mixers and blenders, add extra support strips.
If your walls aren’t perfectly square (most aren’t), you might need to cut some edges at slight angles. Test fit each shelf before final installation.
Step 5: Add Finishing Touches
The final phase makes your shelves look professional. To hide the supports, start by adding thin plywood underneath each shelf.
Then, attach hardwood trim pieces to all visible shelf edges. Sand everything smooth, then fill any nail holes with spackling compound.
Run a bead of caulk along all seams where shelves meet walls. Apply one coat of primer, check for spots you might have missed, and fill them.
Finish with two coats of paint for complete coverage. Remember to touch up the back walls where they were marked during installation.
Check out this step-by-step video tutorial by Pat’s Home Projects and More to learn how to build your DIY pantry shelves and bring your project to life!
Common Mistakes to Avoid When Building Pantry Shelves
Measurement Mistakes
Always measure twice before cutting. Check the angles and depths needed for each wall to ensure your items are properly positioned.
Write down all numbers and mark cutting lines. Small errors can lead to gaps and poor fits between shelves and walls.
Material and Tool Choices
Don’t pick cheap materials to save money. Use thick plywood that won’t sag. Choose quality screws and brackets.
Get the right tools – a good level, drill, and saw make work safer. Never skip wood glue or proper supports.
Support and Weight Issues
Find wall studs before mounting shelves. Plan for the weight of stored items. Add extra support for heavy appliances.
Check that brackets match your load needs. Proper wall support stops shelves from sagging or falling.
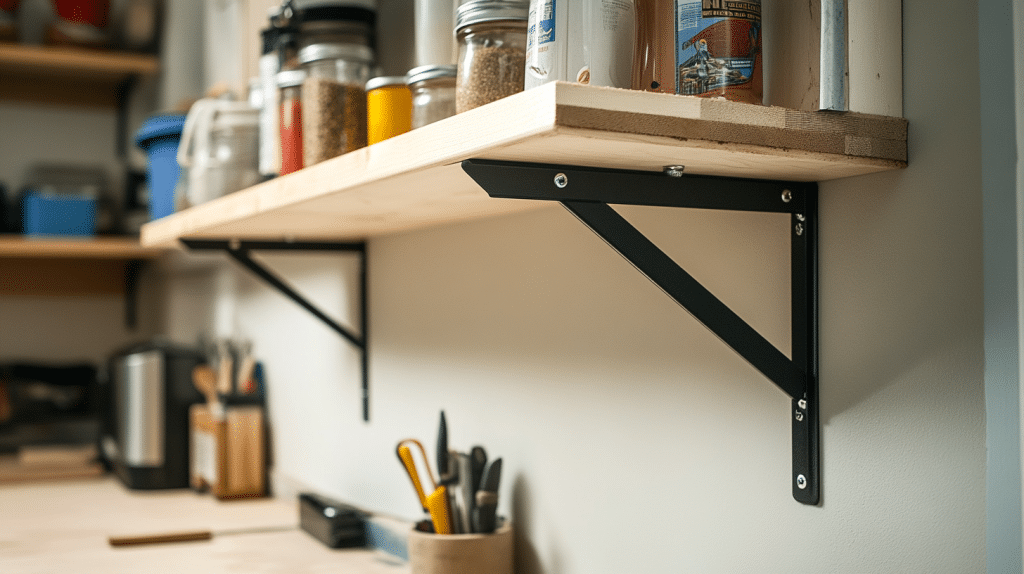
Tips for Organizing and Styling Your Pantry Shelves
Using Baskets, Jars, and Labels
- Store similar items in clear containers or matching baskets
- Transfer dry goods (flour, sugar, rice) into airtight glass jars
- Add clear labels showing contents and expiry dates
- Use small baskets for snacks and packet items
- Pick larger baskets for paper goods and bulky items
- Group cooking ingredients by type (baking, breakfast, snacks)
Stacking Items Efficiently
- Place heavy appliances on the bottom shelves
- Keep everyday items at eye level
- Stack canned goods with labels facing forward
- Store lighter items on upper shelves
- Arrange boxes vertically like books
- Keep a step stool handy for top shelves
- Leave some space between items for easy grabbing
Making Your Pantry Look Good
- Select containers in the same style
- Use clear storage to see contents easily
- Pick baskets in neutral shades
- Display attractive containers at eye level
- Sort items by color for easy finding
- Maintain space between groups of items
- Keep items back from shelf edges
- Clean shelves regularly for a fresh look
Maintenance and Care for DIY Pantry Shelves
Your handmade pantry shelves can serve you well for many years with proper care. Here’s how to keep them in top shape:
Essential Care Guide
A clean pantry makes food storage safer and more pleasant. Start your cleaning routine by removing items from one shelf at a time.
Use a soft microfiber cloth to wipe down surfaces and catch dust in corners. Mix gentle dish soap with warm water for sticky spots. Dry each area well with a clean cloth to stop water damage.
Keep your pantry fresh by letting the air move freely. Open the door for a few minutes each day. Add basic shelf liners to catch spills and stop scratches.
Safety and Structure Checks
Checking your shelves should be part of your monthly home tasks. Test each shelf by pressing down gently – they should feel solid and steady.
Look for any loose screws in brackets and supports. Keep a screwdriver handy to fix loose spots right away.
Pay attention to how your shelves look and sound. Watch for shelves that start to sink in the middle. Listen for creaking when you put items away.
Fix small issues fast to stop bigger problems. Replace any shelf that shows cracks or damage.
Quick Care Tips
- Clean spills as soon as they happen
- Check shelf supports every month
- Keep your screwdriver close by
- Look at shelf joints often
- Feel for loose brackets
- Listen for odd sounds
- Replace broken parts fast
Conclusion
Building your own pantry shelves offers more than just extra storage space – it’s about creating a practical solution that fits your exact needs.
By following these steps and maintenance tips, you can build sturdy shelves that work well in your kitchen.
While the project takes time and attention to detail, the results are worth the effort.
Your new shelves will help keep kitchen items organized and easy to find, making cooking and meal prep smoother.
Well-maintained DIY shelves can serve your kitchen needs for many years, proving that sometimes the best storage solutions are the ones we create ourselves.
Plus, you’ll feel satisfied knowing you built something useful with your own hands.
