
Crown molding corners frustrate even experienced DIYers.
One wrong cut and you’re left with gaps that scream amateur work. The problem? Most tutorials skip the crucial part about orientation and spring angles.
But cutting crown molding corners becomes simple once you understand three things: how to position the molding upside down on your saw, when to cut into versus away from the board, and why the long point location matters.
In this guide, you’ll learn the exact steps for inside and outside corner cuts, how to set up your miter saw correctly, and the budget-friendly tools that make installation easier.
What Is Crown Molding?
Crown molding is decorative trim that runs along the top of walls where they meet the ceiling. It adds visual interest and hides gaps between the wall and ceiling.
The angles matter because crown molding sits at a spring angle (usually 38° or 45°) rather than flat against either surface. Getting clean, tight joints requires precise cuts at the corners.
Without accurate cutting, you’ll end up with visible gaps that ruin the finished look.
How Crown Molding Angles Work?

Most crown molding cuts use a 45° miter angle for standard 90° corners. You flip the molding upside down on the saw because it needs to sit at its natural spring angle (38°, 45°, or 52°) while cutting.
This spring angle is the angle at which the molding naturally rests between the wall and ceiling.
Crown stops or painter’s tape create reference lines on your saw to hold the molding at the correct angle every time.
For inside corners, the long point goes at the bottom, and you cut into the board. For outside corners, the long point goes at the top, and you cut away from the board.
Quick Rule: Cut into the board for inside corners, cut away from the board for outside corners.
Cut Crown Molding Corners in 5 Simple Steps
Now that you understand the angles and tools, let’s get into the actual process. Follow these five steps to cut and prepare your crown molding corners like a professional.
Tools and Materials You’ll Need:
| Tool / Material | Purpose |
|---|---|
| Crown molding | Main trim piece used for the project |
| Tape measure | Gets accurate wall-to-wall measurements without bending |
| Pencil | Marks wood and walls; carpenter or mechanical style erases easily |
| Stud finder | Locates studs behind walls for secure nailing |
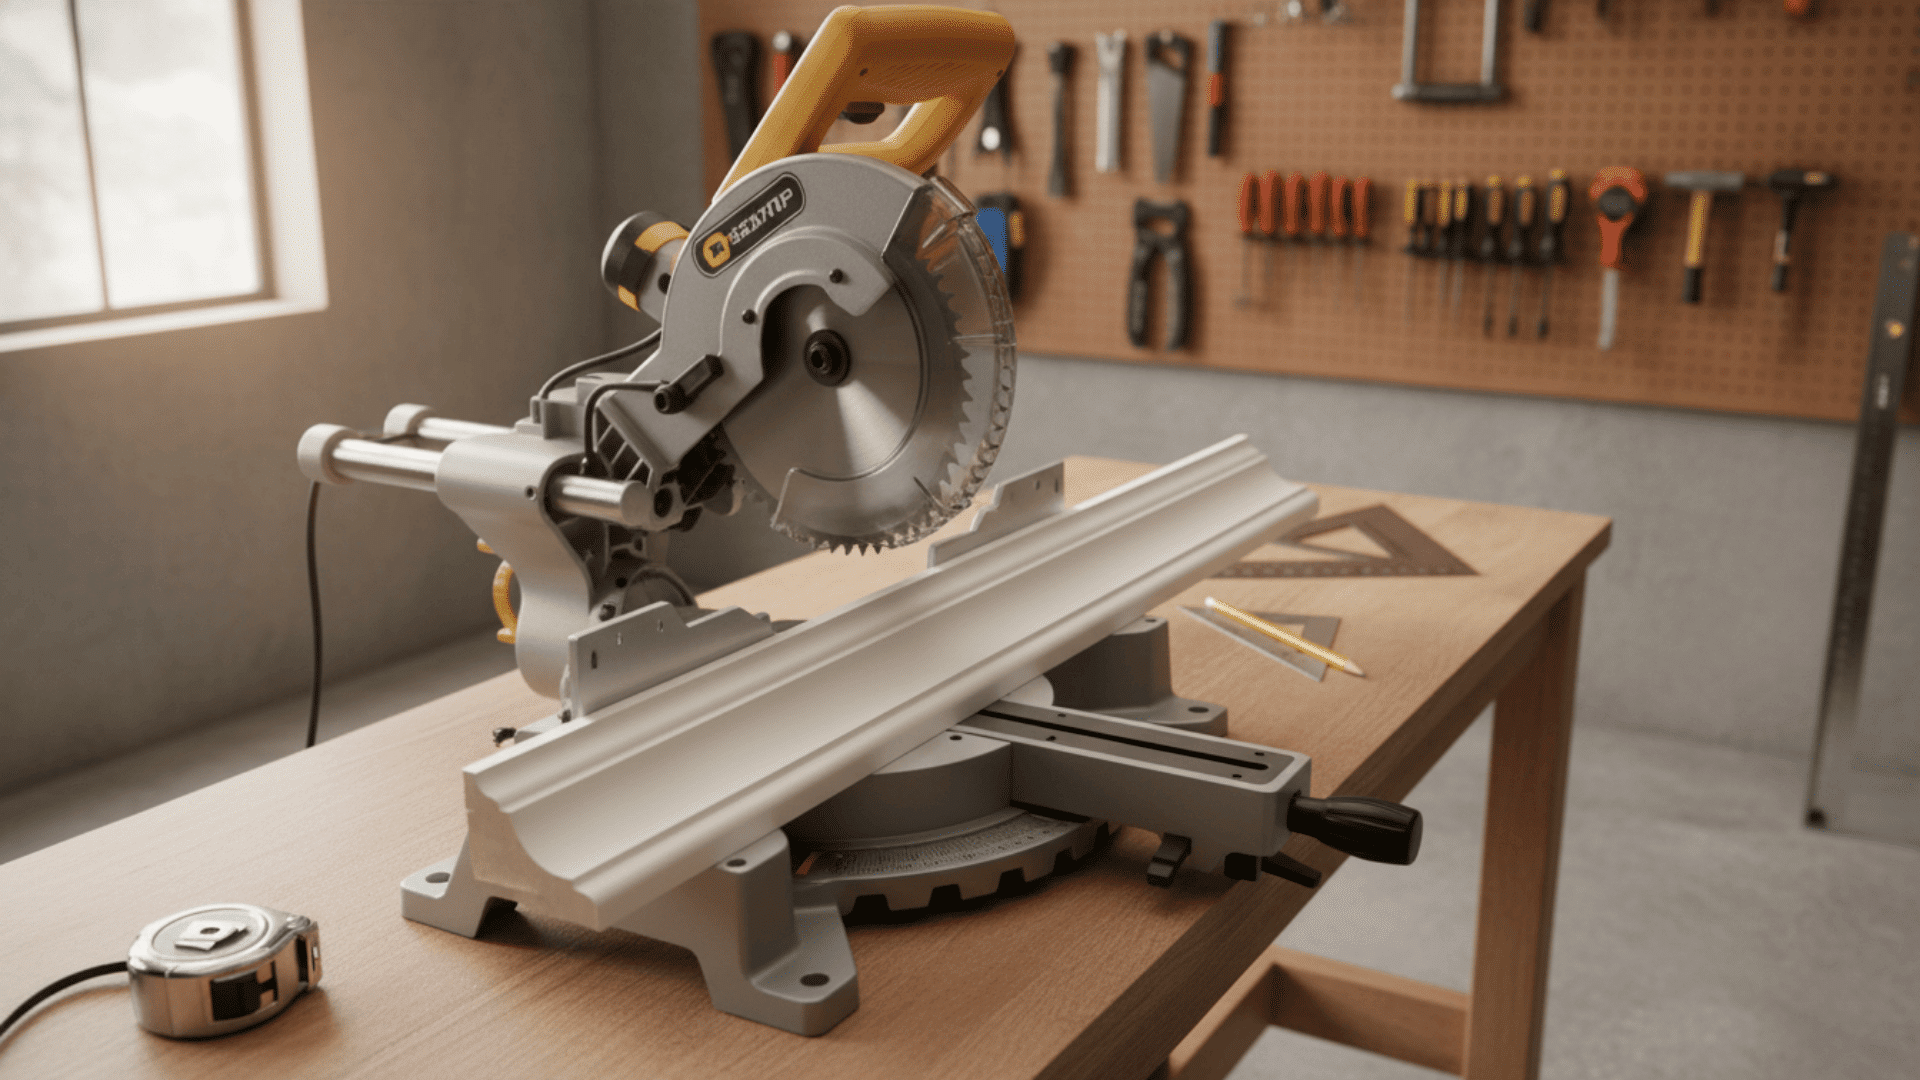
| Miter saw | Makes precise angled cuts for inside and outside corners |
| Square | Checks saw calibration to ensure accurate 90° cuts |
| Crown stops or painter’s tape | Holds molding at the correct spring angle on the saw |
| Safety goggles | Protects eyes from wood chips and debris |
| Brad nailer + nails | Secures molding to walls and ceiling |
| Stop molding | Reference trim beneath crown (optional) |
| Ladder | Provides safe access to the ceiling height |
Step 1: Measure and Mark the Wall
Start by marking the height where your crown molding will sit on the wall. Use your tape measure to get accurate wall-to-wall measurements without bending or arching it.
If you’re using stop molding beneath the crown, install that first as your reference line.
Materials Used:
- Tape measure
- Pencil
- Stop molding (if used)
Step 2: Locate and Mark Studs
Run your hand along the wall to feel for slight bumps that indicate studs. Use a stud finder to confirm their location; they are typically spaced about 16 inches apart.
Mark each stud location with a pencil so you know where to nail later.
Materials Used:
- Stud finder
- Pencil
Step 3: Identify the Top and Bottom of the Crown Molding
Look at your crown molding and find the detailed profile side. That’s usually the bottom edge that faces the floor.
Remember that you’ll flip it upside down on the saw, so the bottom becomes the top during cutting. Get familiar with which end creates inside cuts versus outside cuts.
Materials Used:
- Crown molding
- Pencil
Step 4: Set Up and Calibrate Your Miter Saw
Attach crown stops or use painter’s tape to create reference lines on your saw fence. Check your saw’s accuracy with a square to confirm it cuts accurate 90° angles.
Label the top position with tape so you always place the molding the same way.
Materials Used:
- Miter saw
- Square
- Crown stops or painter’s tape
- Pencil
- Safety goggles
Step 5: Make Your Cuts (Inside and Outside Corners)
Place the molding upside down against the fence. For outside corners, cut away from the board length with the long point at the top.
For inside corners, cut into the board length with the long point at the bottom. Make slow, controlled cuts to prevent splintering. Always test-fit your pieces before nailing them up.
Materials Used:
- Miter saw
- Crown molding
- Pencil
- Safety goggles
Video Tutorial
Special thanks to Paul Ricalde for providing valuable insights in their video, which I referenced while creating this guide.
How Much Does Crown Molding Cost?
Crown molding projects don’t have to break the bank. Here’s what you can expect to spend and where you can save money without sacrificing quality.
| Item | Cost Range | Budget Tips |
|---|---|---|
| MDF Crown Molding | $0.50 – $2 per foot | Great for painted finishes; lightweight and easy to cut |
| Pine Crown Molding | $1 – $4 per foot | Good mid-range option; can stain or paint |
| PVC Crown Molding | $2 – $5 per foot | Moisture-resistant; ideal for bathrooms or kitchens |
| Hardwood Crown Molding | $5 – $15+ per foot | Premium option; best for staining projects |
| Buying a Miter Saw | $150 – $600+ | Worth it if you plan multiple projects |
| Renting a Miter Saw | $30 – $60 per day | Wise choice for one-time projects |
| Crown Stops | $15 – $40 | Helpful but not required |
| Painter’s Tape Alternative | $5 – $10 | Works just as well as crown stops for reference lines |
| Brad Nailer Rental | $20 – $40 per day | Faster than hand nailing; worth the rental cost |
Money-Saving Tip: Use painter’s tape to mark reference lines on your saw instead of buying crown stops. It costs less and works perfectly for holding your angles consistent.
Types of Crown Molding Cuts
Before you start cutting, you need to know which type of cut you’re making. Each corner requires a different approach based on how the walls meet.
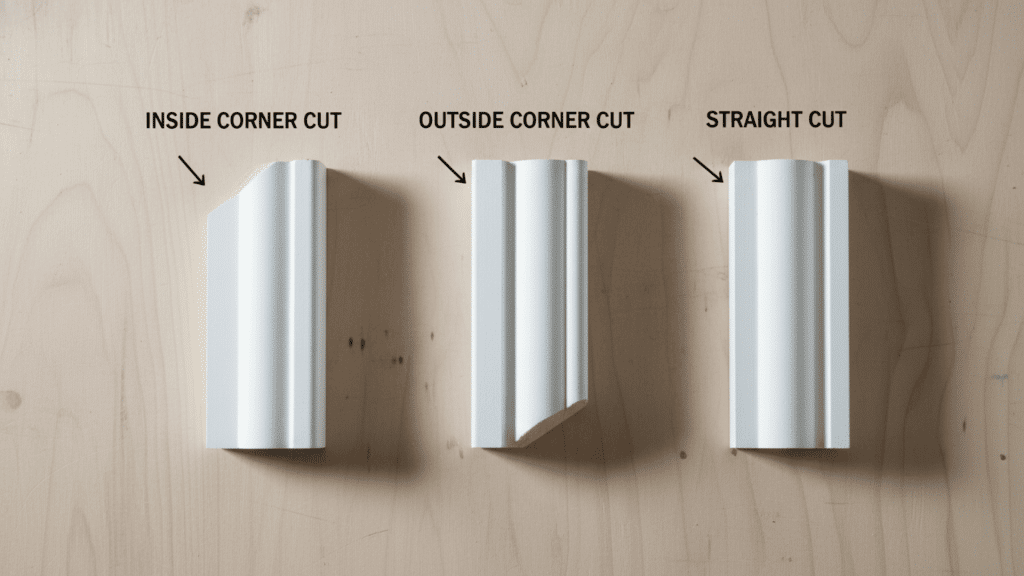
1. Inside Corner Cuts
Inside corners are where two walls meet, and the molding angles inward toward you. The long point sits at the bottom edge of the molding when it’s upside down on your saw.
Your blade cuts into the length of the board, removing material from the face. This creates the tight joint you need where walls come together.
2. Outside Corner Cuts
Outside corners wrap around a wall that projects outward into the room. The long point sits at the top edge when the molding is upside down on the saw.
Your blade cuts away from the length of the board, taking material off the back. Think of it as the opposite of an inside cut in every way.
3. Straight or Butt Cuts
Straight cuts are simple 90° cuts used where molding ends at a doorway or wall. You also use them when molding meets another surface, like a cabinet or beam.
These don’t require any angle and are the easiest cuts you’ll make. Just set your saw to 0° and cut straight across.
Tips for Perfect Crown Molding Angles
Even experienced DIYers make mistakes when cutting crown molding. These simple tips will help you avoid common errors and get clean, professional joints every time.
- Always label top and bottom: Mark the top edge with tape or pencil so you never flip the molding the wrong way during cuts.
- Keep molding tight against the saw fence: Any gap between the wall and molding creates inaccurate angles and sloppy joints.
- Verify calibration before every project: Use a square to check that your saw cuts true 90° angles before making any cuts.
- Practice with scrap pieces before final cuts: Test your angles on leftover pieces to build confidence and avoid wasting good material.
- Cut away from the board = outside corner: When your blade moves away from the board length, you’re making an outside corner cut.
- Cut into the board = inside corner: When your blade cuts into the board length, you’re making an inside corner cut.
Final Thoughts
Cutting crown molding corners doesn’t require professional skills or expensive tools.
You need to understand the basic rules: flip the molding upside down, cut into the board for inside corners, and cut away from the board for outside corners.
Set up your saw with reference lines, verify your angles, and test cuts on scrap pieces first.
Start with one room to build your confidence. The satisfaction of seeing tight, professional-looking joints makes the learning curve worth it.
Ready to transform your space? Grab your miter saw and try these techniques on your next project. Have questions? Drop them in the comments below.