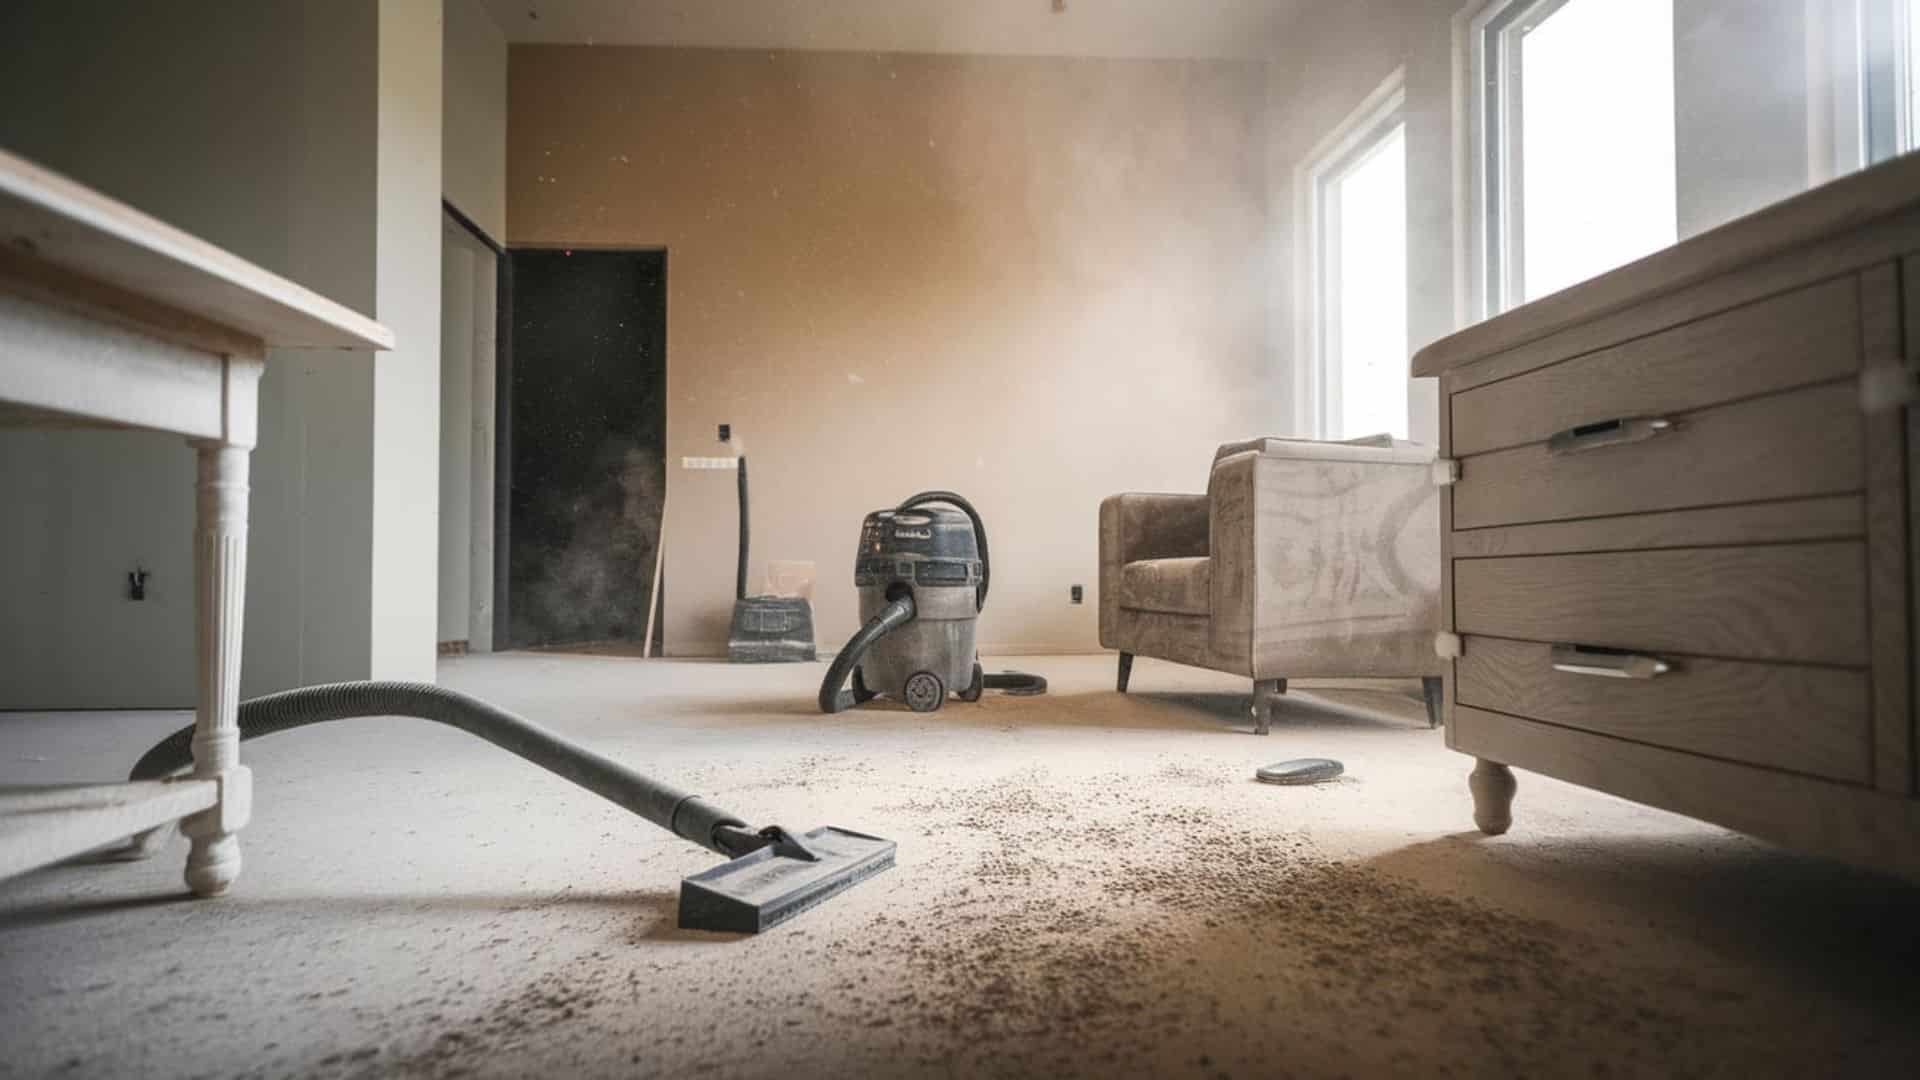
Construction projects leave behind a fine layer of dust that gets into every corner of your home.
What most people don’t realize is that regular household cleaners won’t effectively tackle construction dust; a specific approach is needed to avoid spreading it around or damaging surfaces.
I’ve spent years dealing with post-construction cleanup, and I’ve learned the exact steps that save you hours of frustration.
This method will help you get your space spotless without making the mess worse or wasting money on the wrong products.
Let me show you the proven techniques that make construction dust cleanup manageable, even if you’ve never done it before.
Step-by-Step Guide to Clean Post-Construction Dust
Before You Begin, open all windows and doors for fresh air. Set up fans pointing toward windows to blow dusty air outside. This keeps dust from settling back on clean areas.
Close off rooms you’re not cleaning yet. Use plastic sheets or old towels to seal door gaps. Cover furniture with drop cloths or old sheets if you can’t move it. Work on one room at a time to keep things simple and contained.
Gather the Tools and Materials Needed:
| Item | Purpose |
|---|---|
| Vacuum with HEPA filter | Captures fine dust particles without spreading them |
| Microfiber cloths (multiple) | Traps dust better than regular clothes |
| Dust masks | Protects your lungs from breathing in particles |
| Protective gloves | Keeps hands safe from dust and cleaning products |
| Buckets (at least two) | One for soapy water, one for rinsing |
| Mop with a microfiber head | Picks up fine particles from the floors |
| Simple dish soap | Breaks down dust film on surfaces |
| Plastic sheets or old towels | Seals off rooms and door gaps |
| Drop cloths or old sheets | Covers furniture you can’t move |
| Fans for ventilation | Blows dusty air outside while cleaning |
Step 1: Dry Dust All Surfaces First
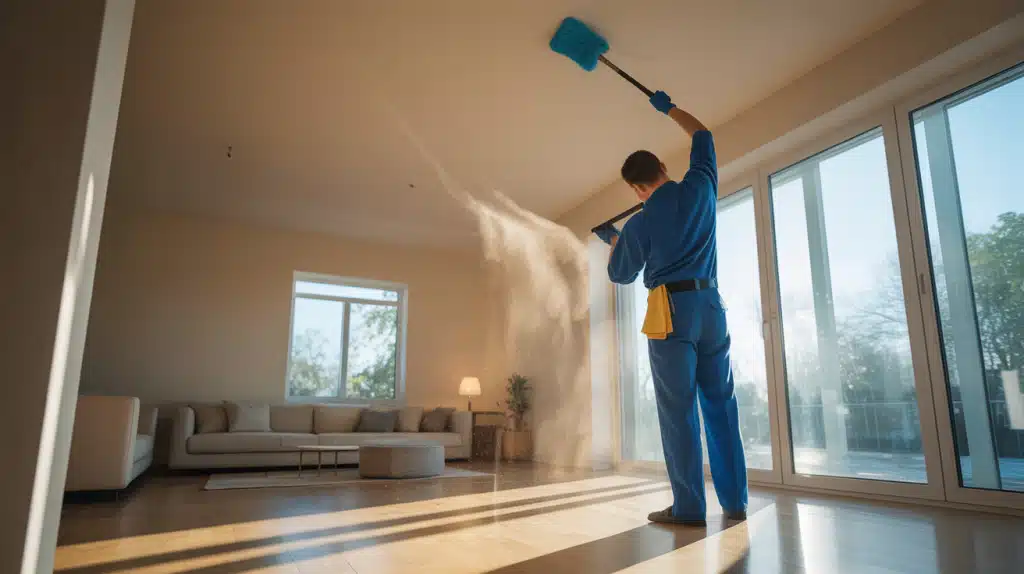
Start at the ceiling and work your way down to the floor. Construction dust settles on everything, so hit ceiling fans, light fixtures, and the tops of door frames first.
Use dry microfiber cloths because they grab particles instead of just moving them around. Don’t use wet cloths yet – moisture makes dust stick and creates streaks.
Work in sections and shake out your clothes outside frequently. Pay attention to places you might miss, like window sills, picture frames, and the tops of cabinets. This step removes the loose dust before you start the deeper cleaning.
Pro Tip: Use a long-handled duster for high places instead of climbing on chairs. It’s safer and faster.
Step 2: Vacuum Thoroughly
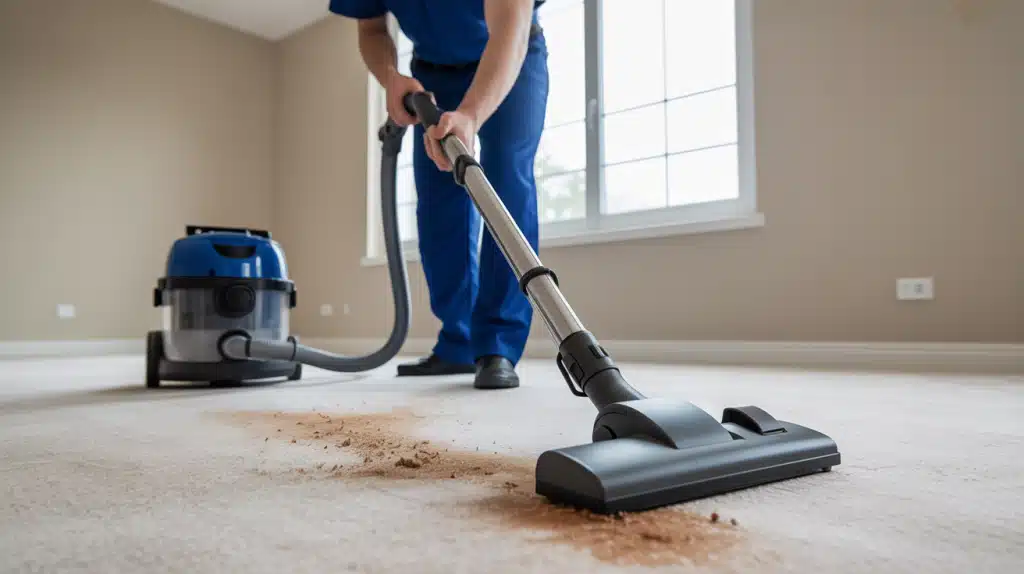
Focus on soft surfaces first, such as carpets, rugs, curtains, and furniture cushions. Construction dust gets deep into fabric fibers where regular cleaning won’t reach it.
Use your vacuum’s brush attachment for upholstery and curtains. Don’t forget to vacuum air vents, baseboards, and corners where dust collects.
Go slowly and make several passes over carpeted areas. The fine particles need time to get sucked up properly. Clean out your vacuum bag or empty the canister halfway through if it gets full.
Pro Tip: Vacuum furniture cushions on both sides, and don’t forget to get under and behind furniture where dust hides.
Step 3: Damp Wipe Surface
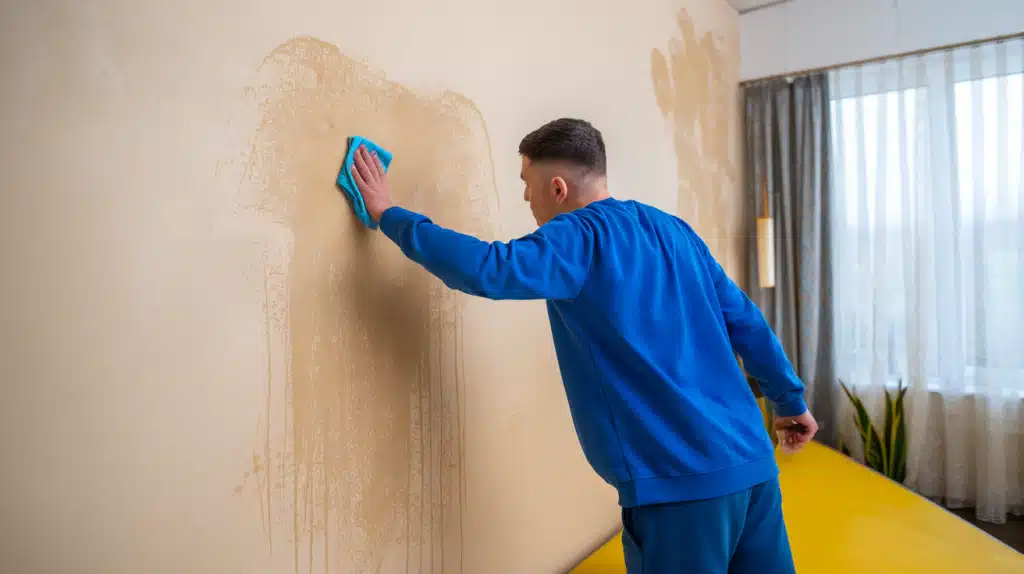
Now you can use damp cloths on hard surfaces like walls, baseboards, countertops, and tables. Mix a small amount of dish soap with warm water; nothing fancy is needed. Wring out your clothes so they’re just slightly damp, not soaking wet.
Start high and work down again. Rinse your clothes often in clean water so you’re not just spreading dust around. For stubborn spots, let the damp cloth sit on the area for a minute before wiping.
Pro Tip: Use two buckets – one with soapy water and one with clean rinse water. This keeps your cleaning water fresher longer.
Step 4: Mop the Floors
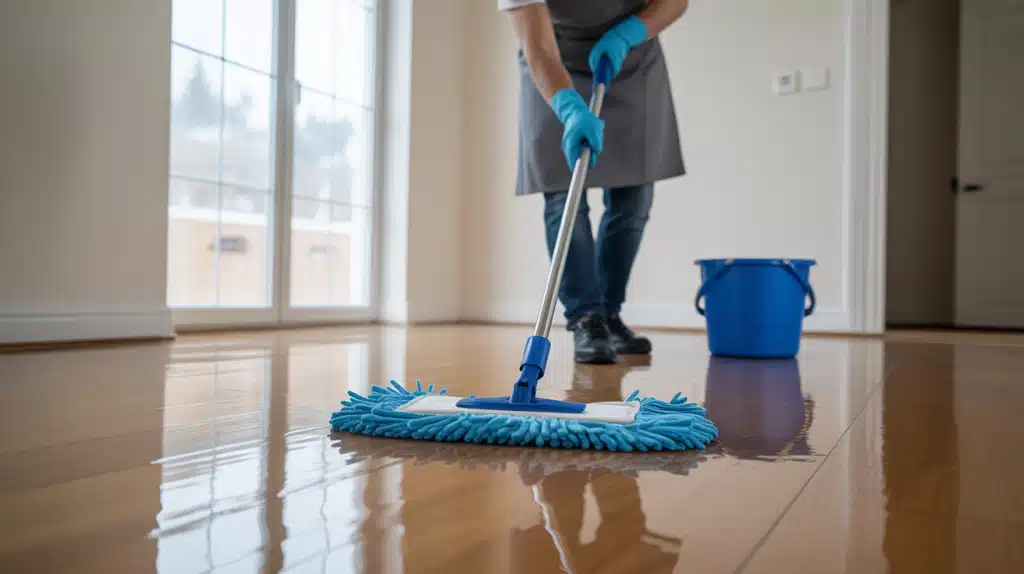
Save floors for last since dust from other surfaces will fall down during cleaning. Use a microfiber mop if you have one – it picks up fine particles better than string mops. Start with just water for the first pass to get the loose dust, then use a mild floor cleaner for the second pass.
Change your mop water often because dirty water just spreads dust around. Work in small sections and rinse the mop between areas. Don’t forget to clean along baseboards where dust collects.
Pro Tip: Put a few drops of dish soap in your mop water – it helps break down the fine dust film that construction creates.
Step 5:Clean Air Vents and Replace Filters
Remove vent covers and wash them in soapy water in your sink or bathtub. Use an old toothbrush to scrub out dust from the slots. While they dry, vacuum inside the ductwork as far as you can reach with your hose attachment.
Replace your HVAC filters with new ones. Construction dust clogs them quickly. Check your filter monthly for the next few months because leftover dust will keep circulating until it’s all gone.
Pro Tip: Take a photo of your filter before removing it so you remember which direction it goes back in. The arrow should point toward the furnace.
Special Considerations for Cleaning Different Surfaces
1. Wood and Laminate
Wood and laminate floors hate too much water. Construction dust can scratch these surfaces, so be gentle. Use a barely damp microfiber cloth for the first wipe, then follow with a dry cloth right away. Regular wood cleaner works fine, but test it in a hidden spot first.
For laminate, plain water often works best. If you need soap, use just a tiny amount. Never let water sit on these floors because it can cause warping or damage the finish. Work in small sections and dry each area completely.
2. Tiles and Grout
Tile handles water well, but grout is more fragile. Use warm water and mild dish soap for most cleaning. Avoid harsh cleaners or bleach on grout because they can break it down over time. Construction dust gets stuck in grout lines, so use an old toothbrush to scrub gently.
For stubborn spots, make a paste with baking soda and water. Let it sit for a few minutes, then scrub lightly. Rinse well with clean water and dry with a towel to prevent water spots.
3. Windows and Glass
Windows get a film from construction dust that regular wiping won’t remove. Use glass cleaner or mix white vinegar with water for a cheap solution. Clean window tracks first because they collect lots of dust and debris.
Wipe the glass with a lint-free cloth or paper towels. Work from top to bottom to avoid streaks. Don’t forget window frames – they hold dust too. Clean both sides of the glass if possible for the best results.
Conclusion
Proper construction dust cleanup protects your family’s health and prevents long-term damage to your home. The five-step process ensures you remove every particle safely.
Remember to work methodically from ceiling to floor, use HEPA filtration, and change your cleaning water frequently. Different surfaces need different care, so adjust your approach for wood, tile, or glass accordingly.
The time you spend now doing this cleanup correctly saves you from months of breathing problems and expensive repairs later. Construction dust won’t disappear on its own it needs your attention.
Start with one room today and work through your home systematically. Your clean, healthy living space will be worth every minute of effort you put into this process.

