
Notice those pesky bubbles forming on your drywall seams? They’re not just ugly; they can lead to bigger wall problems if left unfixed. Many homeowners struggle with drywall tape that pulls away, creating those tell-tale bumps and ridges.
Good news: fixing and stopping these bubbles isn’t as hard as you might think. With the right tools and steps, you can smooth out those walls without calling a pro.
In this guide, I’ll show you how to spot the early signs of tape failure, fix existing bubbles properly, and apply methods that stop them from coming back. By the end, you’ll know exactly how to handle this common home repair issue.
Let’s get those walls looking smooth again.
What Are Drywall Tape Bubbles?
Drywall tape bubbles are small raised spots that form when the paper or mesh tape lifts away from the joint compound beneath it. They look like small bumps or ridges along wall seams and are often soft to touch.
These bubbles most often show up where two drywall sheets meet, in room corners, and around ceiling joints – places where the tape must bridge gaps.
Unlike blisters, which form when moisture gets trapped in the wall itself, tape bubbles happen during the finish work process due to poor mud application or rushing the drying time.
You can spot true tape bubbles by their linear pattern that follows the path of the hidden seams in your walls.
5 Causes of Drywall Tape Bubbles
1. Poor adhesion: When not enough joint compound is used under the tape, it fails to stick properly to the drywall surface.
2. Air pockets: Bubbles form when the tape isn’t pressed down firmly enough, trapping air between the tape and the wet mud.
3. Wrong tape type: Using paper tape in high-moisture areas or mesh tape without pre-filling joints can lead to lifting and bubbling.
4. Surface issues: Dust, oils, or dirt on the drywall prevents the compound from bonding correctly to the surface.
5. Rushing the process: Applying a second coat before the first layer is fully dry pushes moisture back into the tape, causing it to swell and bubble.
Step-by-Step Guide to Fix Drywall Tape Bubbles
Tools Table:
| Tool | Purpose |
|---|---|
| Utility knife | For cutting and removing loose tape |
| Drywall knife/taping knife | For applying joint compound smoothly |
| Sandpaper | For smoothing dried compound |
| Sanding block | For even sanding of larger areas |
Materials Table:
| Material | Purpose |
|---|---|
| Joint compound | For re-adhering tape and filling voids |
| Drywall tape | For replacing damaged sections |
| Bucket for mixing | If using powdered joint compound |
| Clean cloth | For wiping away dust and debris |
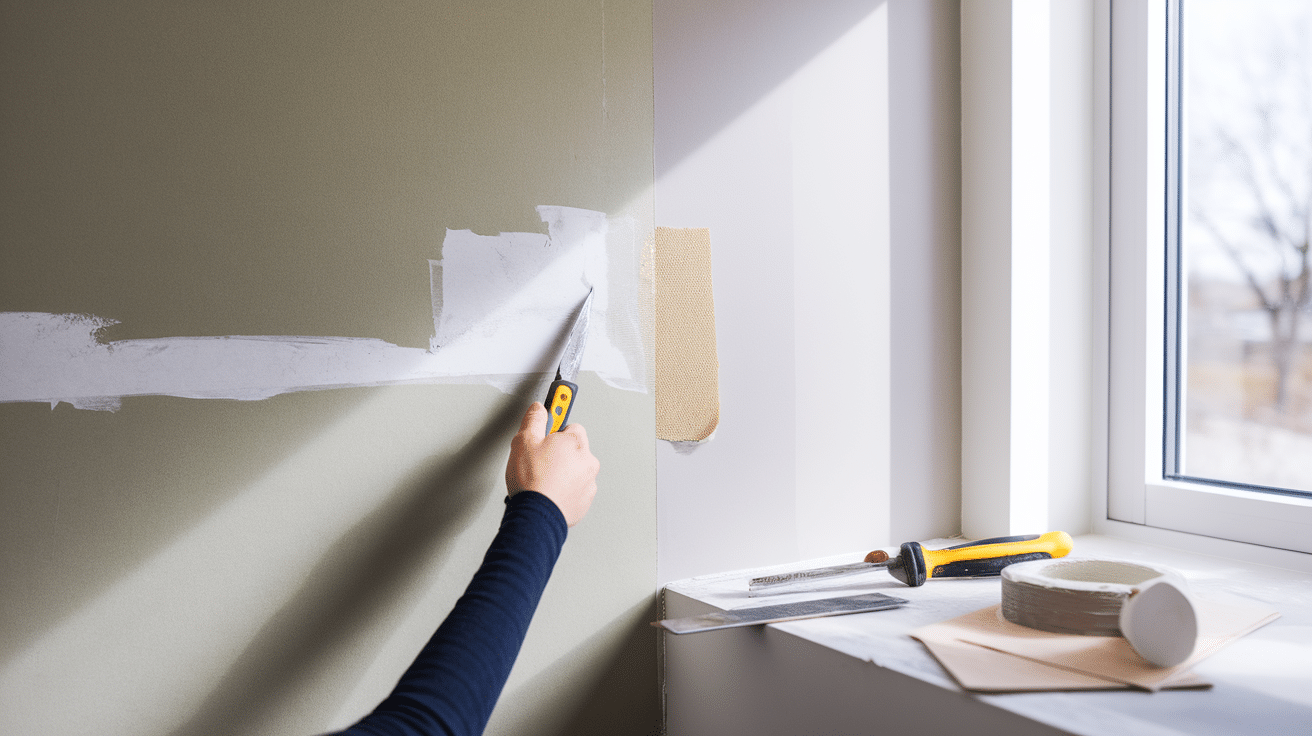
Step 1: Identify the Problem Areas
Look closely at your walls for raised spots along seams and corners. Run your hand over suspect areas to feel for bubbles that might not be visible. These spots will feel soft and may make a different sound when tapped.
- Check all wall seams, especially near windows and doors
- Look at the inside corners where walls meet
- Feel for any raised areas along the ceiling joints
Pro Tip: Examine walls with a light shining across the surface at an angle to make bubbles more visible.
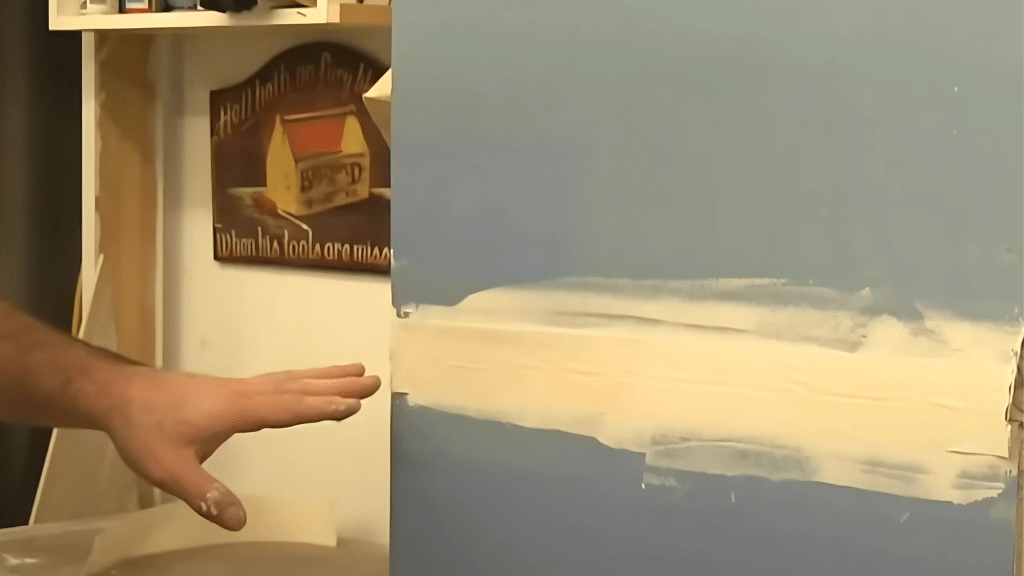
Step 2: Prepare the Bubble for Repair
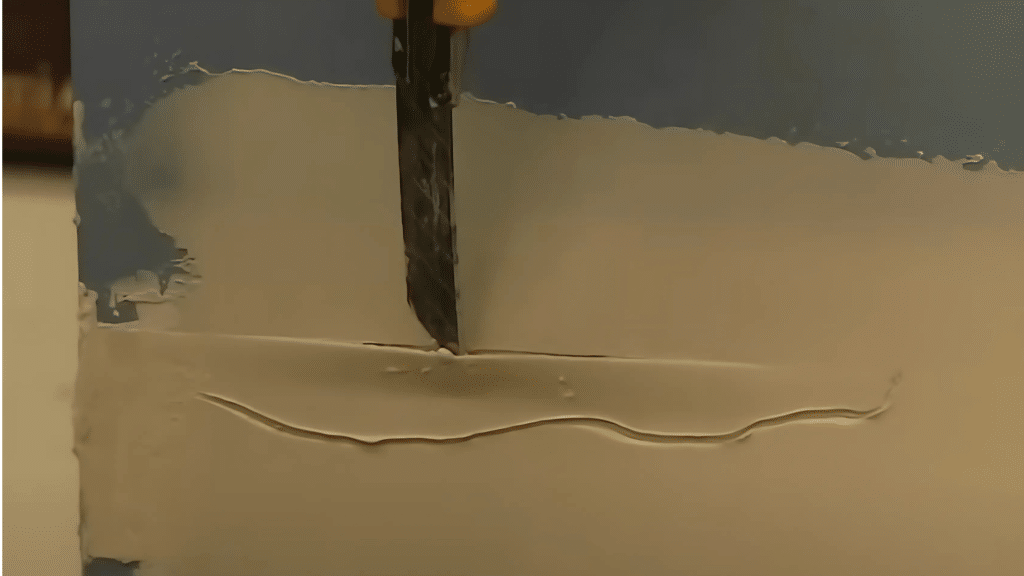
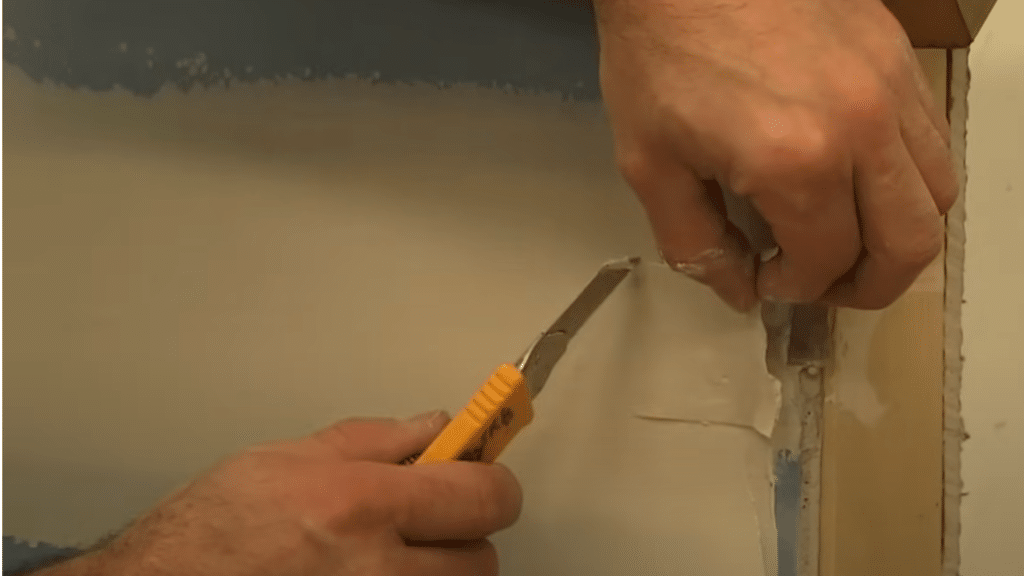
Cut around the bubble with your utility knife, getting back to where the tape is still firmly attached. Only cut what’s loose – don’t remove good sections of tape. Clean out any loose material from the cut area.
- Cut carefully following the bubble’s outline
- Remove only the loose tape sections
- Clean the area of dust and loose compound
Pro Tip: If the bubble crosses over a drywall seam, you must replace that section with new tape to prevent future cracking.
Step 3: Apply New Joint Compound
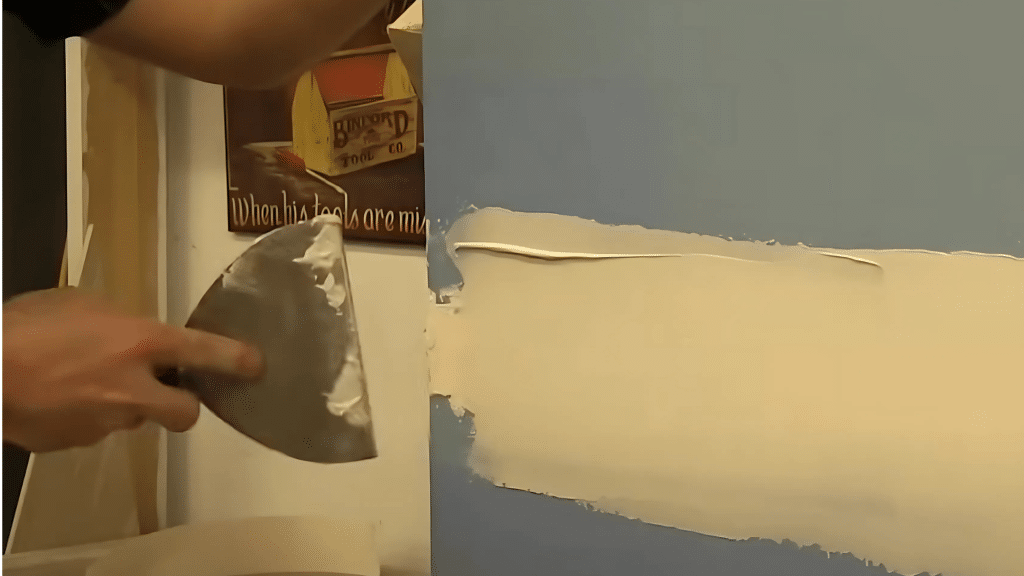
For small bubbles that don’t cross seams, simply fill the void with fresh joint compound. Apply it smoothly with your drywall knife, feathering the edges to blend with the surrounding wall.
- Use enough compound to fill the void completely
- Smooth from the center outward
- Feather edges to blend with existing wall
Pro Tip: Slightly dampen the area around the repair to help the new compound blend better with the old.
Step 4: Replace Tape When Necessary
For bubbles that cross seams, cut a new piece of tape to fit the removed section. Apply fresh mud under the tape, press the new tape firmly into place, and smooth out air bubbles.
- Cut replacement tape slightly longer than the gap
- Apply mud under the entire tape section
- Press firmly to remove air pockets
Pro Tip: For corners, pre-crease your tape down the center for a perfect fit.
Step 5: Allow Proper Drying Time
Let the repair dry completely before adding more layers. This may take 24 hours depending on room conditions. Rushing this step will lead to more bubbles and problems.
- Wait until compound turns completely white
- Check hardness by gently touching with finger
- Ensure no moisture remains before proceeding
Pro Tip: Use a fan to circulate air in the room for faster, more even drying.
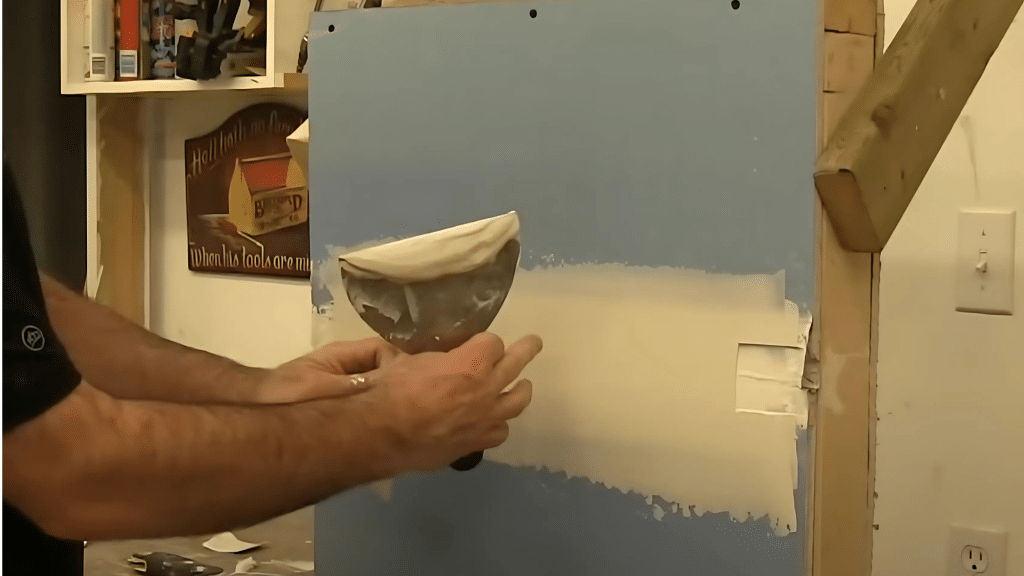
Step 6: Apply Second Coat

Once the first repair coat is dry, apply a wider, thinner coat of compound to blend the repair with the wall. Extend this coat beyond the edges of the first coat by several inches.
- Make this coat wider than the first
- Keep it thin at the edges
- Smooth carefully to minimize sanding later
Pro Tip: Use a wider knife for this coat than you used for the initial repair.
Step 7: Sand and Finish
After the final coat dries completely, sand the area smooth with fine-grit sandpaper. Wipe away all dust before painting or adding texture to match the existing wall.
- Use 150 or 220 grit sandpaper
- Sand in a circular motion
- Feather edges to blend with the wall
Pro Tip: Hold a light at an angle to the wall while sanding to spot any uneven areas that need more attention.
For a visual tutorial, refer to this video by HouseImprovements
Prevention Tips for Drywall Tape Bubbles
Tip 1: Clean Surfaces Thoroughly
Remove all dust, dirt, and debris from drywall joints before applying compound. Even tiny particles can prevent proper bonding. Wipe seams with a clean, slightly damp cloth and allow to dry completely before starting your taping work.
Tip 2: Mix the Compound to the Right Consistency
Your joint compound should be smooth and creamy, similar to thick pancake batter. Too thick and it won’t spread evenly; too thin and it won’t hold the tape properly. When mixing from powder, let it sit for a few minutes before using to remove air bubbles.
Tip 3: Apply the Perfect Amount of Mud
Spread an even layer of compound about 1/8 inch thick along the joint. Too little won’t give the tape anything to stick to, while too much will squeeze out and create lumps. Use your knife at a 45-degree angle for the best control.
Tip 4: Embed Tape with Proper Pressure
After laying tape onto wet compound, use your taping knife to press firmly from the center outward. This pushes out air and excess mud. Make two passes – first down the middle, then on each side – using steady, even pressure.
Tip 5: Select the Right Tape for Each Location
Use paper tape for flat joints and inside corners for the smoothest finish. Choose self-adhesive mesh tape for repairs and areas prone to movement. For wet areas like bathrooms, select fiberglass mesh tape that resists moisture damage.
Common Mistakes to Avoid
• Applying second coats too soon: Adding more compound before the base layer is fully dry forces moisture back into the tape, causing bubbles and extending your project timeline.
• Using too much pressure when taping: Excessive force squeezes out too much compound from under the tape, creating weak spots with insufficient adhesive to hold the tape in place.
• Ignoring room conditions: Working in high humidity or cold temperatures slows drying time and affects how well compound sets, leading to weaker bonds and potential bubbling.
• Mixing old and new compound: Combining partially dried compound with fresh material creates inconsistent texture and adhesion problems that can cause tape to lift over time.
• Sanding between coats too aggressively: Heavy sanding can damage the edges of newly applied tape or thin the compound layer too much, creating weak points that bubble when the next coat is applied.
Conclusion
Dealing with tape bubbles is a common part of drywall work, but now you have the know-how to fix them quickly.
By cutting out loose sections, applying fresh compound, and using new tape when needed, you can make those wall issues disappear.
Remember that good prep work stops most bubbles before they start. Clean surfaces, mix compound well, and take your time with the application. Let each layer dry fully before moving on.
With the steps and tips we’ve shared, you can handle this repair with confidence. Your walls will look smooth and clean again, ready for paint or texture.
Got questions about your drywall project? Share them in the comments below!