Hanging cabinets are an integral part of many home improvement projects, from updating your kitchen to installing wall storage.
Well-installed cabinets add function to a room and create a clean, professional finish. The task may seem overwhelming at first, but it becomes manageable with the right approach.
You’ll learn about the essential tools required and proper workspace preparation, covering everything from wall measurements and marking techniques to final cabinet securing methods.
With the correct methods and some patience, you can create a strong and attractive cabinet setup that’ll withstand the test of time. Let’s get started with the process and get your cabinets properly installed!
Why Proper Cabinet Installation Is Crucial?
Proper cabinet installation is crucial for both safety and functionality. When cabinets are securely hung, they provide a stable storage solution that can safely hold heavy items without the risk of falling or shifting.
Poorly installed cabinets can become unstable, leading to potential accidents, like the cabinet coming loose from the wall or doors becoming misaligned, which can be hazardous in a busy kitchen or bathroom.
Additionally, improper installation can cause significant damage to both the walls and the cabinets themselves.
Misaligned cabinets appear uneven, which harms both aesthetics and function. Following proper hanging steps is crucial to avoid costly, dangerous mistakes.
Materials Required for Hanging Cabinets

When it comes to hanging cabinets, having the right materials is essential for a successful installation. Using the proper materials ensures that your cabinets are securely mounted, stable, and safe for everyday use.
Each material serves a specific purpose to make sure your cabinet installation is sturdy and well-executed.
| Material | Purpose |
|---|---|
| Cabinets | The main structure is to be hung, providing storage space. |
| Screws | Used to secure the cabinet to the wall and the cabinet frame together. |
| Wall Anchors | Provide additional support when securing cabinets to drywall, especially if no studs are available. |
| Studs | Provide strong points for attaching the cabinet securely to the wall, ensuring it remains stable. |
| Cabinet Hanging Brackets | Support the cabinet while it is being mounted to provide extra stability during installation. |
| Wood Glue (Optional) | Used for additional reinforcement, particularly for assembling parts of the cabinet. |
| Shims | Used to adjust the positioning of cabinets to ensure they are level or aligned with surrounding elements. |
Preparing the Space
Preparing the space for cabinet installation is a crucial first step to ensure a smooth and successful project. Clearing the area gives you room to work and helps you avoid obstacles during the installation process.
Proper measurement and marking ensure correct cabinet placement and alignment. Preparing properly prevents issues and results in a neat, functional setup.
Clear the Area
Before installing cabinets, clean and organize the area to ensure sufficient space for safe and efficient work, and to avoid obstructions during installation.
It allows assessing the wall and floor for imperfections before hanging cabinets. A clean workspace prevents accidents, such as tripping over debris, and provides easy access to tools and materials.
Measure and Mark the Wall
Accurate measurements are essential for proper cabinet placement. Begin by measuring your desired height, taking into account standard kitchen or bathroom cabinet heights or your personal preferences.
After marking the height, use a level to draw straight, horizontal lines to align cabinets properly. Measure the cabinet width and position it correctly on the wall. Double-check measurements to ensure precise installation and avoid uneven cabinets.
How to Hang Cabinets: Step-By-Step Instructions
Hanging cabinets is a straightforward task when you follow the proper steps. This guide will walk you through the process to ensure a secure, level, and stable cabinet installation.
Step 1: Find and Mark the Wall Studs
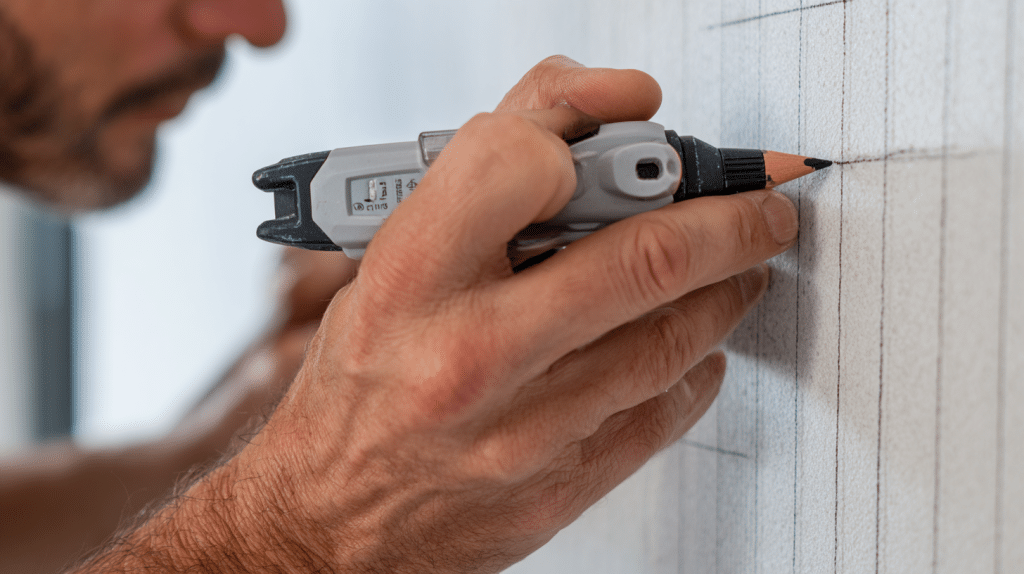
Finding and marking wall studs is key for secure cabinet mounting. Use a stud finder to locate and mark the positions of the studs behind the wall.
Ensure the markings are straight to ensure everything fits perfectly during installation. Securing your cabinets to the studs will help keep them stable and prevent loosening over time.
Pro Tip: Always double-check the position of your studs with a manual knock test or by drilling a small pilot hole to verify the placement before proceeding.
Step 2: Install the Hanging Rail
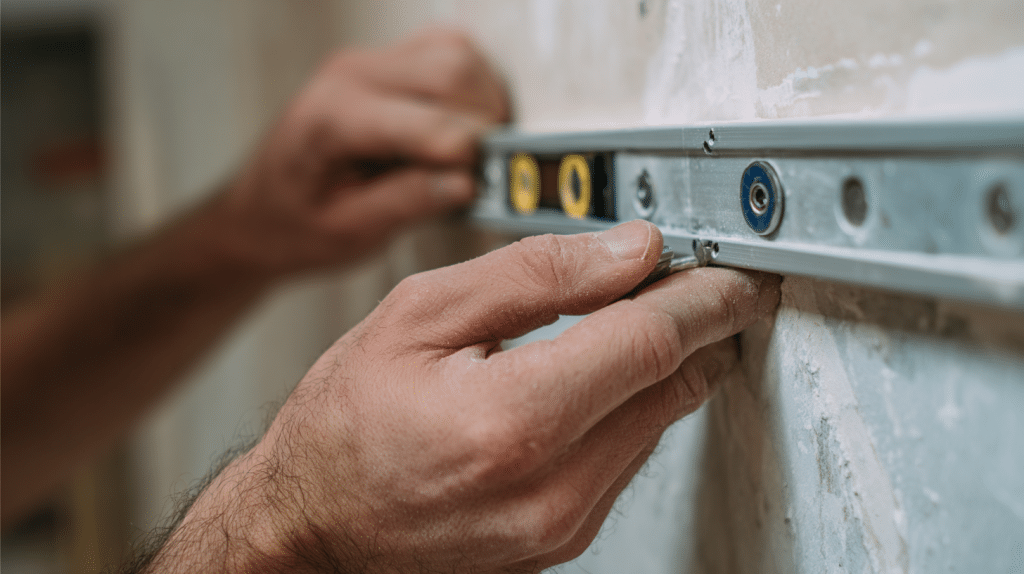
The hanging rail or brackets provide support for the cabinets while you mount them. Attach the rail to the marked stud locations using screws, ensuring that it is level.
It’s crucial to securely fasten the rail so that it can bear the weight of the cabinets without shifting. Use a level to check that the rail is perfectly horizontal before fully tightening the screws.
Pro Tip: If the wall surface is uneven, use shims to ensure that the hanging rail is perfectly level and stable.
Step 3: Mount the Cabinets
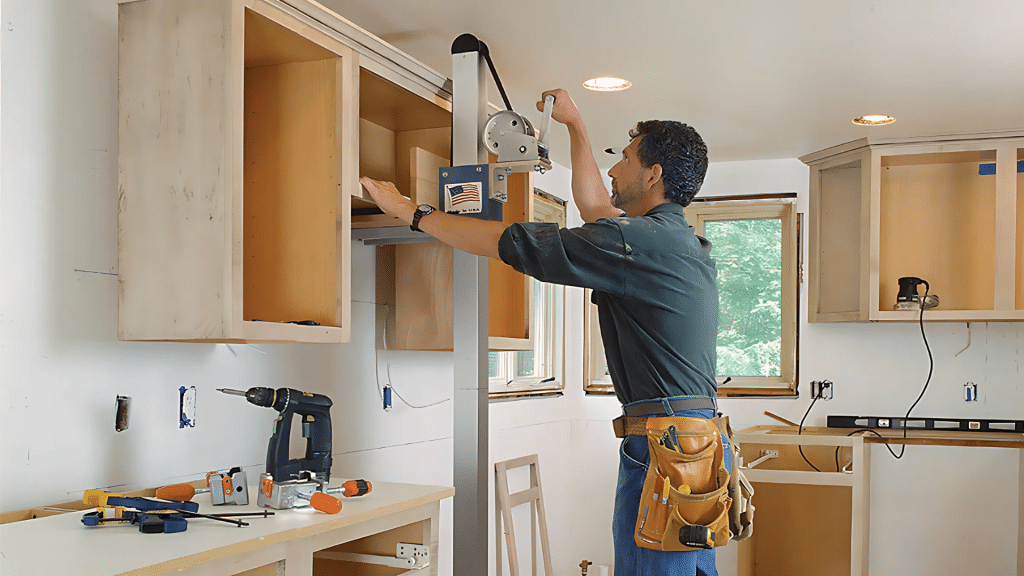
Once the hanging rail is securely in place, carefully lift the cabinets and align them with the rail. Ensure that the cabinet is level before securing it to the rail and wall.
Use screws to attach the cabinet to the wall through the hanging rail and into the studs. It’s helpful to have a second person assist with lifting and positioning the cabinet while you make the final adjustments.
Pro Tip: Use a rubber mallet or a soft tool to gently tap the cabinets into position, avoiding damage to the surface while aligning them.
Step 4: Secure the Cabinets Together
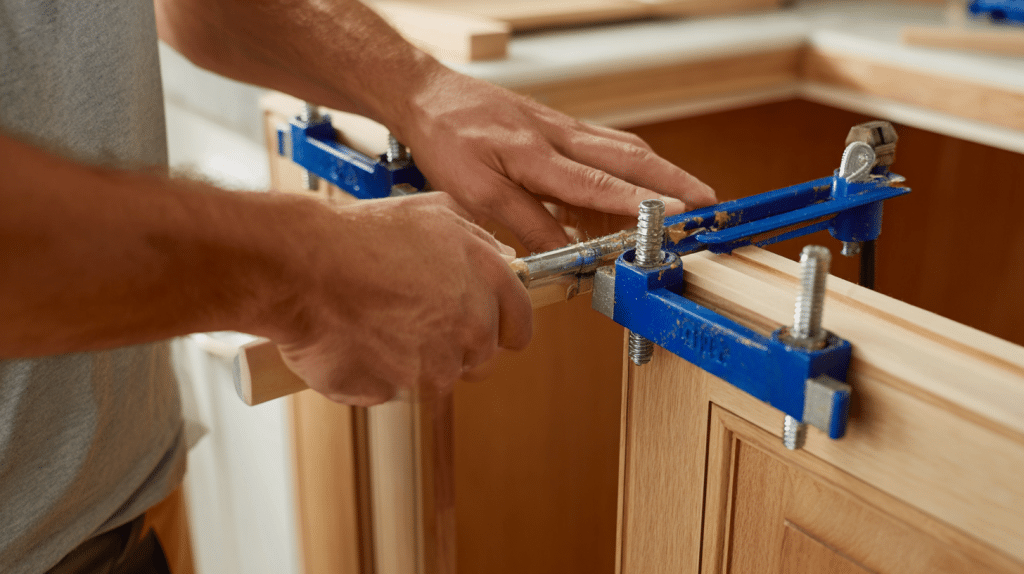
After mounting individual cabinets, fasten them together by aligning the cabinet edges and using screws or brackets to secure the connection.
This step helps create a seamless appearance and adds extra stability to the cabinet row. Ensure the cabinets are flush with each other and recheck the alignment before fully tightening the screws.
Pro Tip: Use clamps to hold the cabinets together while fastening them for better alignment and a cleaner installation.
Video Tutorial
This video tutorial from @Lowes offers a comprehensive visual demonstration of cabinet hanging techniques. The step-by-step walkthrough covers essential methods and practical tips that make the installation process more manageable.
Both beginners tackling their first cabinet project and seasoned DIY enthusiasts will find valuable guidance in this detailed video, helping ensure a smooth installation from start to finish.
Common Issues When Hanging Cabinets
This section will help you troubleshoot problems such as misalignment, stud issues, and weight concerns, while also offering valuable tips for ensuring a smooth and successful installation.
With these solutions and best practices, you’ll be able to prevent mistakes and achieve professional-quality results.
- Misalignment: Cabinets may appear crooked if not correctly aligned, often due to improper measurements or an uneven surface. Always double-check measurements and use a level before securing.
- Wall Stud Issues: If you can’t find studs or there aren’t any where you need, use wall anchors to mount cabinets securely. Make sure the anchors support the weight of the cabinets and contents.
- Weight Issues: Overloading cabinets can cause them to sag or come loose. Be sure to mount cabinets securely into the studs and distribute the weight evenly. Use heavy-duty anchors if necessary for extra support.
Solutions to Prevent Cabinets from Coming Loose:
- Always ensure that cabinets are securely attached to studs for maximum stability and security.
- Use screws that are long enough to penetrate deeply into the studs, and avoid using drywall anchors unless absolutely necessary.
- Tighten screws in the hanging rail and cabinet brackets fully, checking with a level after each adjustment.
Conclusion
Hanging cabinets is straightforward if you locate and mark the wall studs, install the hanging rail, mount the cabinets correctly, and secure them together for a strong and stable setup.
Remember to double-check your measurements, use a level for alignment, and pay attention to weight distribution. With these tips in mind, you’ll be well on your way to completing a successful DIY cabinet installation.
Do you have questions or encounter challenges during your cabinet installation? Drop a comment below to share your experience or ask for help.
Your insights and questions can benefit other DIY enthusiasts tackling similar projects, and we’re always ready to provide guidance when you need it. Happy installing!


