

Want to put in new floors but worried about messing it up?
Many homeowners feel stuck between paying high prices for professional installation or risking mistakes by doing it themselves.
The process can feel overwhelming, especially when you’re staring at stacks of flooring and wondering where to begin.
Good news—you can install laminate flooring yourself. This guide breaks down every step into simple instructions that anyone can follow, even if they’ve never handled a flooring project before.
With basic tools and careful attention to the details we’ll cover, you’ll learn how to create floors that look professionally installed.
Essential Preparations For Installing Laminate Flooring
Measure Your Space The Right Way
Getting your measurements right is crucial. The easiest way is to break your room into simple shapes.
Measure each section separately, then add them together.
Always get about 10% extra flooring to account for cuts and mistakes – trust me, you’ll thank yourself later.
While you’re measuring, count your doorways and measure your walls for quarter-round needs.
Gather Your Tools And Materials
| Material/Tool | Purpose |
|---|---|
| Laminate Flooring Packets | The primary material for the new flooring surface |
| Underlayment Rolls | Acts as a moisture barrier and sound reducer |
| Quarter Round Molding | Used to cover gaps along the edges for a polished finish |
| Transition Strips | Covers the gaps between different types of flooring in doorways |
| Miter Saw | For making clean, precise cuts on laminate planks and trims |
| Pry Bar | Helps to remove old flooring materials and stubborn nails |
| Measuring Tape | Ensures accurate measurements of room dimensions and planks |
| Level | Check if the subfloor is even to prevent uneven flooring |
| Spacers | Maintains expansion gaps between the wall and the laminate |
| Pin Nailer/Small Hammer | Used to attach quarter-round molding and trim pieces |
| Basic Hand Tools | Includes screwdrivers, utility knives, etc., for general tasks |
| Safety Gear | Protects you during the installation process (knee pads, gloves, safety glasses) |
Clean And Ready Your Floor
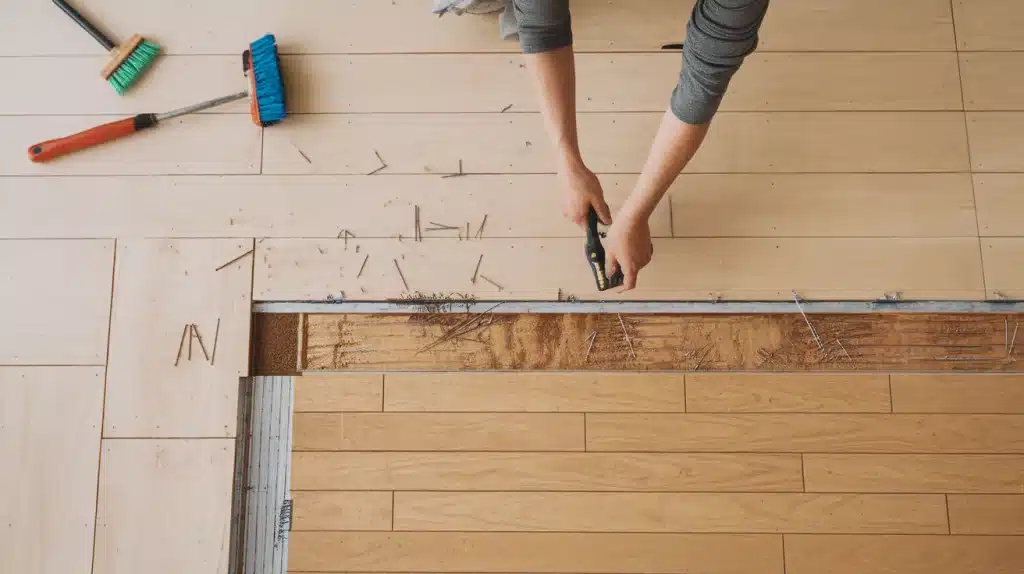
Remove all the old flooring completely—don’t leave anything behind.
Those old nails and staples need to go, too.
Once everything’s up, clean the bare floor well. If you spot any uneven areas, fix them before proceeding.
A clean, level surface makes everything easier later on.
How To Install Laminate Flooring: A Complete Step-by-Step Guide
Step 1: Installing Underlayment
Types of Underlayment And Their Benefits
Let’s discuss what goes under your laminate flooring. The underlayment comes in standard and premium versions, and each serves a purpose.
Standard underlayment acts as a moisture barrier, which is especially important if you’re installing over concrete.
Premium versions offer better sound control and can help prevent mold, which is useful for bathrooms or areas where moisture might be a concern.
Laying And Securing The Underlayment
Roll out your underlayment with the correct side facing up. Some types come with built-in tape on one edge, making the job easier. If yours doesn’t, you’ll need to buy seam tape separately.
Here’s how to do it right:
Start at one wall and roll the underlayment out in strips. The strips should be parallel to the direction in which you’ll lay your flooring. Make sure each piece butts up against the next without overlapping.
Connect pieces with built-in tape by peeling and sticking them. Otherwise, use seam tape to join the edges.
Step 2: Laying The Laminate Flooring
Choosing The Direction of Installation
Picking which way to lay your planks might seem tricky, but here’s what works best: if you’re doing one room, go with the longest wall.
This usually looks better and can make the room feel bigger. If you’re connecting to other rooms, consider how the flooring flows between them.
Starting The First Row
Let’s make your first row count. Cut a few spacers from scrap flooring – these keep a gap between your flooring and the wall for natural movement. For the first row:
- Remove the tongue (the sticky-out part) from planks that go against the wall
- Place your spacers along the wall
- Line up your first plank and work from left to right
- Cut the last piece to fit, leaving that small gap at the end
Assembling Subsequent Rows
Here’s where things get into a rhythm. For the best look:
- Start row two with a plank cut in half
- Connect planks at a slight angle, then press down to lock them
- Tap pieces together gently to close any small gaps
- Keep checking that your rows stay straight
- Stagger your end joints by at least 6 inches – this stops your floor from looking like a ladder
Remember to check your work as you go. A small gap in row three can become a big headache by row ten.
Use a tapping block to snug up the joints, but don’t hit too hard—you don’t want to damage the locking system.
Step 3: Trimming and Fitting Around Obstacles
Using An Oscillating Tool For Trims
Working around door frames can be tricky, but here’s a simple approach. While you can cut door trim without an oscillating tool, having one makes the job much easier. Here’s what to do:
- Place a piece of flooring next to the door frame
- Mark where you need to cut
- Use the oscillating tool to trim the bottom of the frame
- Test fit your flooring – it should slide right under
When marking your cuts, put some masking tape on the flooring first. It’s easier to see your marks on the tape, and it helps prevent the laminate from chipping when you cut.
Ensuring Proper Gaps Around The Room
Temperature changes make flooring expand and shrink. Those spacers you made earlier? They’re stopping your floor from buckling when it expands. Keep them in place along every wall while you work.
For tight spots and corners:
- Take careful measurements
- Mark your cuts accurately
- Flip boards around to mark them – this helps prevent mistakes
- Leave that small gap even in corners
- Use a pull bar to fit the last pieces snugly
Step 4: Adding Finishing Touches
Installing Quarter Round or Baseboards
Now comes the part that makes your floor look complete: the quarter-round. This gives your floor a clean, finished edge. Start by measuring each wall section carefully.
When cutting your pieces, aim for 45-degree angles at the corners—this creates a neat, professional look. Before you start nailing anything down, lay out all your pieces on the floor.
This helps you spot any potential issues before they’re permanent.
A pin nailer is best for this job because it leaves tiny holes that are easy to cover later. If you use a regular hammer and nails, take your time to avoid leaving dents in the molding.
Here’s a pro tip: cut your pieces just a bit longer than you think you need. You can always trim them down, but you can’t add length to a piece that’s too short.
Adding Transition Strips Between Rooms
Transition strips do more than just look good—they protect the edges of your flooring where it meets other types of floors. Start by putting down the metal track.
Sometimes, floors aren’t perfectly even, so you might need small shims to level things out. Once the track is secure, the top piece should press firmly into place.
You want it snug but not so tight that it warps or bends.
Caulking And Final Touch-Ups
The last touches really make your work shine. Run a thin line of caulk where the quarter-round meets the wall.
This same caulk works great for filling small nail holes. Clean up any extra caulk right away—it’s much easier than trying to scrape it off later. Look for gaps under the door trim or uneven spots along the walls.
A little caulk in these areas can hide minor imperfections and give everything a smooth, finished look.
For a detailed visual walkthrough this installation process, watch the step-by-step video tutorial by DIY Tutorials here :
Maintenance Tips for Laminate Flooring
Cleaning Without Damaging the Surface
- Sweep or vacuum regularly to prevent dirt from scratching.
- Use a slightly damp mop—never soak the floor.
- Avoid water pooling between planks to prevent swelling.
- Stick to laminate-specific cleaners for best results.
- Wipe up spills immediately to avoid damage.
- Avoid steam mops and heavy scrubbing, as they can wear down the protective layer.
- Use a plastic scraper (not metal!) for sticky messes.
Preventing Scratches and Dents
- Add felt pads under furniture legs to avoid scratches.
- Check and replace pads on frequently moved chairs.
- Use mats at entryways to trap dirt before it reaches the floor.
- Place area rugs in high-traffic spots like kitchens and living rooms.
- Avoid rubber-backed rugs—they trap moisture and damage the floor.
- Trim your pet’s nails to prevent floor scratches.
- Use a chair mat or softer wheels for rolling office chairs.
Conclusion
Installing laminate flooring takes time and attention, but it’s a project well within your reach.
Remember that each step builds on the last—from preparing your subfloor to laying underlayment, setting planks, and adding the final touches.
The key is to take your time in preparation and stay patient through each phase. Your new floor will be part of your home for years to come.
While the process might seem involved, breaking it down into smaller tasks makes it manageable.
The satisfaction of walking on a floor you installed yourself makes the effort worthwhile.
Keep this guide handy as you work. Careful measuring and proper spacing will help ensure that your floor looks good and lasts.