
Looking at your bare walls and thinking about expensive renovation costs? I get it, traditional wall materials can drain your budget fast.
Here’s what most people don’t know: plywood interior walls can give you that modern, professional look for half the price. I’ve helped dozens of homeowners change their spaces using this simple technique.
You’ll save hundreds of dollars compared to hiring contractors or buying premium materials. Plus, plywood walls install faster than traditional methods, so you can finish your project in just one weekend.
I’m going to walk you through my proven 7-step process that turns any beginner into a wall installation pro. Let me show you exactly how to do this right.
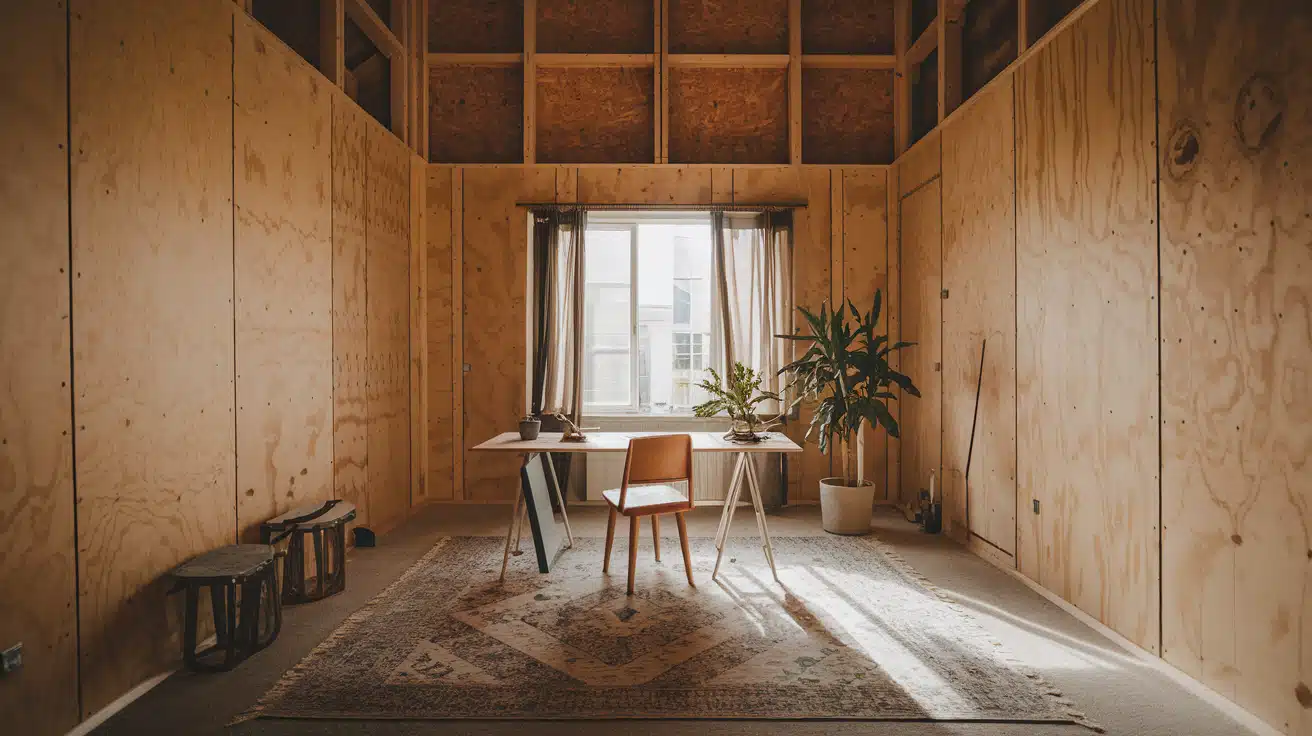
What Are Plywood Interior Walls?
Plywood interior walls are wall systems made from engineered wood panels. These panels consist of thin wood layers glued together at right angles. This construction method creates strong, stable walls for homes and buildings.
Key Features of Plywood Interior Walls
- Cost-effective – Less expensive than solid wood walls
- Quick installation – Faster to build than traditional framing
- Smooth surface – Ready for paint or wallpaper application
- Lightweight – Easier to handle during construction
- Moisture resistant – Better than regular wood in humid areas
- Versatile thickness – Available in multiple sizes for different needs
Plywood walls work well in basements, workshops, and modern home designs. Many builders choose them for accent walls or room dividers. The smooth finish makes decorating simple.
These walls can support moderate weight loads. You can hang pictures, shelves, and light fixtures without special hardware. However, heavy items may need additional support.
Plywood interior walls offer a practical solution for both new construction and renovations. They provide good value while maintaining structural integrity and visual appeal.
Step-By-Step Guide: How To Install Plywood Interior Walls
Learn how to install plywood interior walls with this complete guide covering planning, preparation, installation, and finishing. Follow these 7 simple steps to create attractive, cost-effective walls in your home.
Tools Required
| Tool | Purpose |
|---|---|
| Circular Saw | Cut plywood panels to size |
| Drill/Driver | Install screws into wall studs |
| Level | Ensure panels are straight |
| Stud Finder | Locate wall studs for secure mounting |
| Measuring Tape | Measure wall dimensions and panel sizes |
| Pencil | Mark cutting lines and reference points |
| Safety Glasses | Protect your eyes from wood chips |
| Work Gloves | Protect your hands during installation |
| Sandpaper | Smooth rough edges and surfaces |
Materials Required
| Material | Purpose |
|---|---|
| Plywood Panels (1/2″ or 5/8″) | Main wall covering material |
| Wood Screws (2.5-3 inches) | Secure panels to the wall studs |
| Wood Filler | Fill screw holes and gaps |
| Primer | Prepare the wood surface for paint |
| Paint | Final finish and color |
| Plastic Sheeting | Protect floors during work |
| Fine-tooth Saw Blade | Make clean, smooth cuts |
Step 1: Planning and Measuring
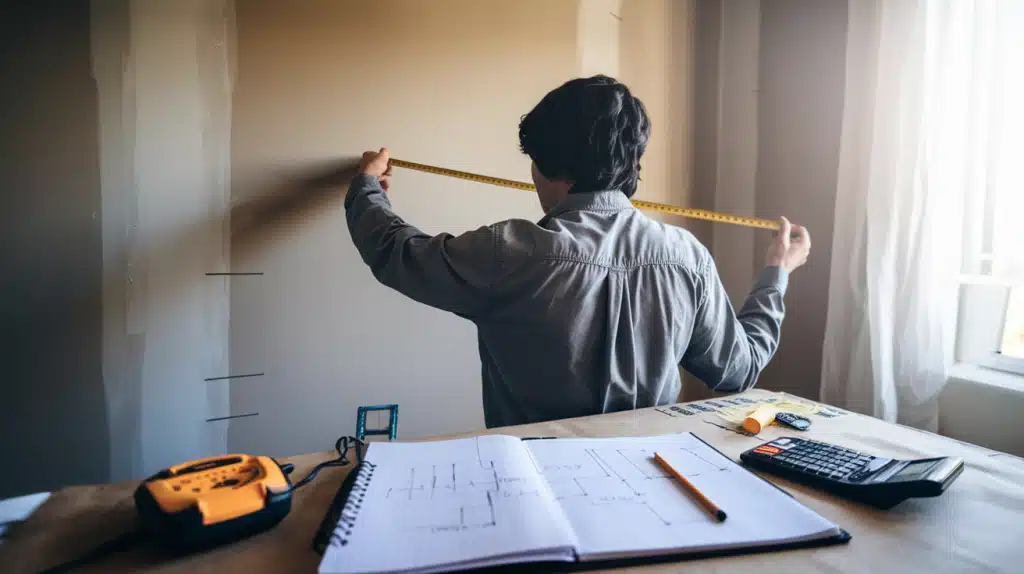
Measure your wall space carefully and calculate the square footage needed. Draw a simple layout plan showing panel placement. Determine stud locations using a stud finder. Plan electrical outlet locations if needed. Mark reference points on walls for accurate installation.
Budget: $15-25 for measuring tools and planning materials.
Step 2: Prepare the Work Area
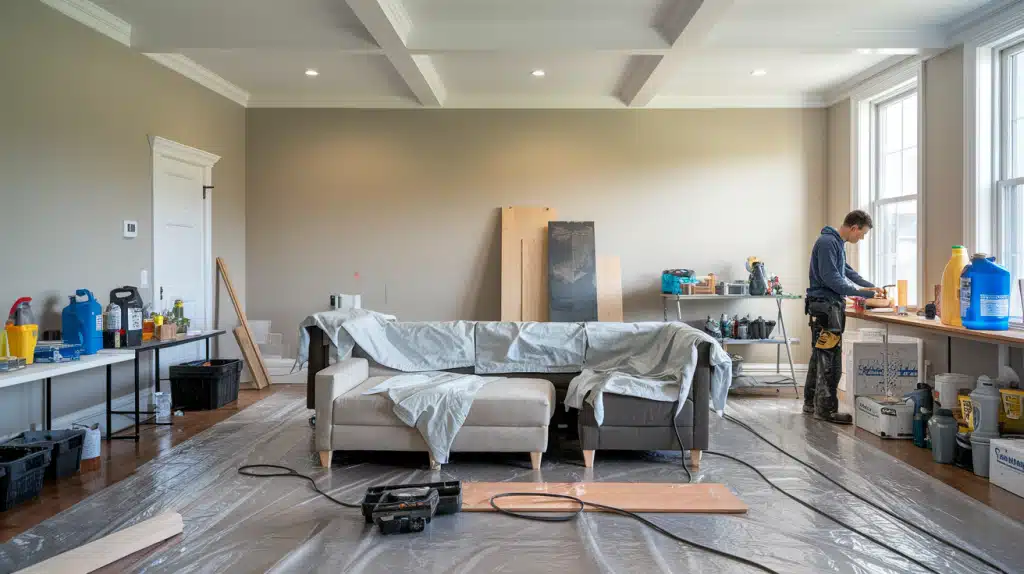
Clear the room of furniture and cover the floors with plastic sheeting. Check existing walls for damage and make repairs. Clean surfaces thoroughly. Set up good lighting and ventilation. Create a safe workspace with proper access to electrical outlets for power tools.
Budget: $10-20 for plastic sheeting, cleaning supplies, and workspace preparation.
Step 3: Cut Plywood Panels to Size
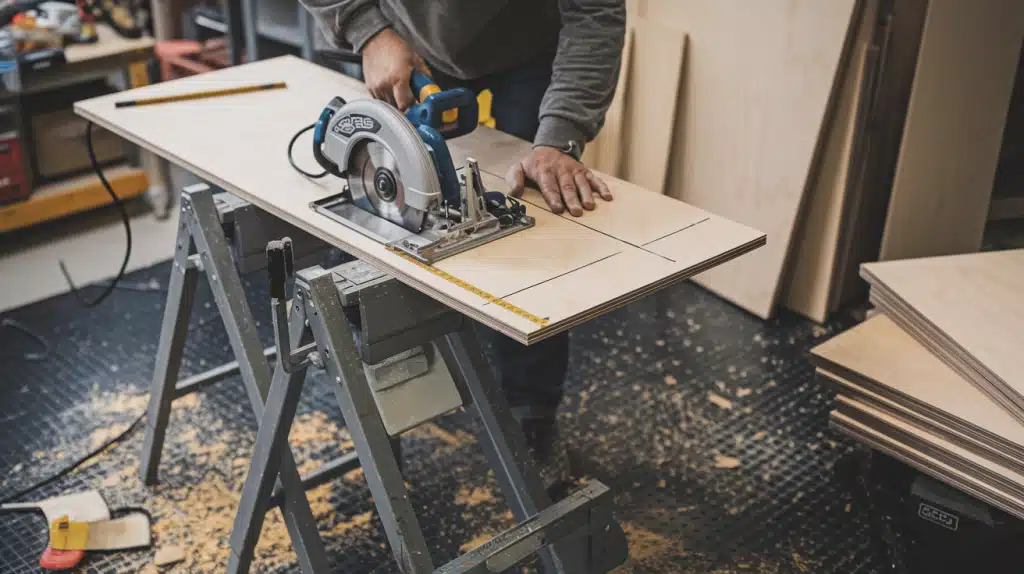
Measure each panel location twice before cutting. Use a circular saw with a fine-tooth blade for clean cuts. Test fit each piece before final installation. Mark electrical outlet locations and cut openings carefully. Keep cut pieces organized and labeled for easy identification.
Budget: $5-15 for saw blades and marking supplies.
Step 4: Install the First Panel at the Corner
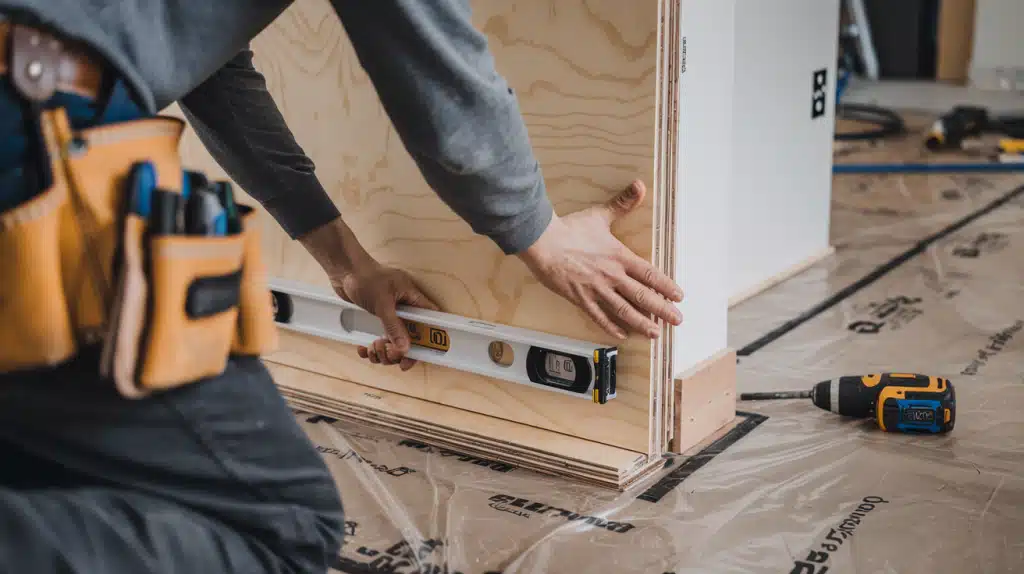
Start installation at the most visible corner for best results. Use a level to ensure the first panel is perfectly straight. This panel sets the standard for all remaining pieces. Secure temporarily with a few screws while checking alignment.
Budget: $3-8 for temporary fasteners and alignment aids.
Step 5: Secure Panels to Wall Studs
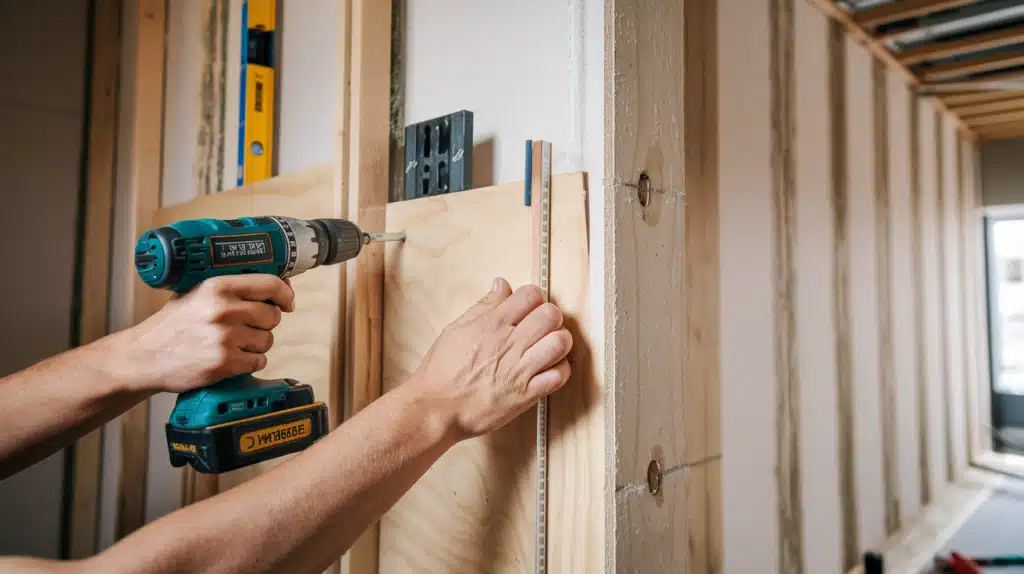
Attach panels using screws every 12 inches along wall studs. Pre-drill holes to prevent splitting.
Drive screws slightly below surface level. Leave 1/8″ gaps between panels for natural wood expansion. Work systematically across the wall surface.
Budget: $20-35 for quality screws and installation hardware.
Step 6: Continue Panel Installation
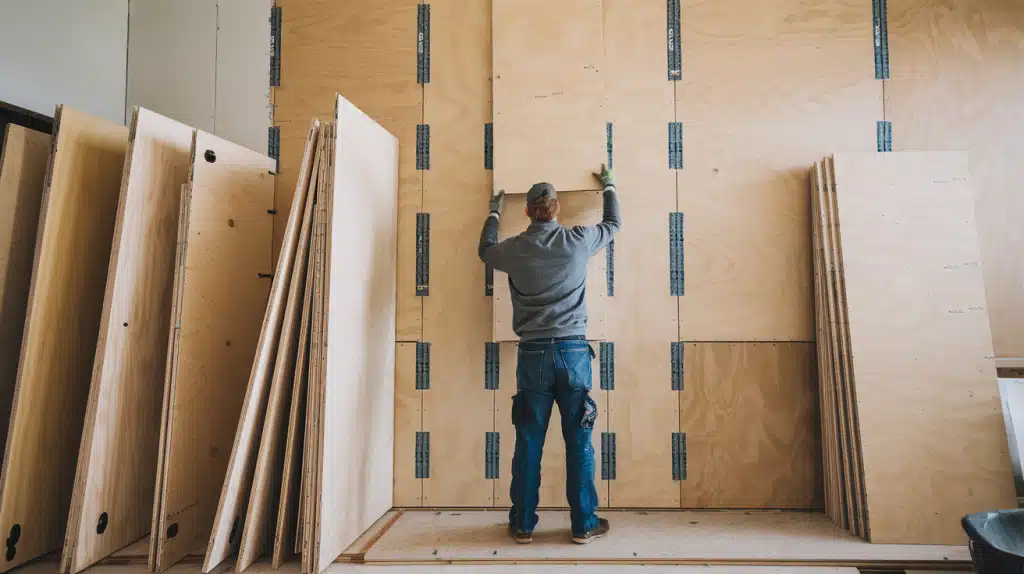
Install the remaining panels following the same process. Check each panel for level and proper alignment. Maintain consistent gaps between all pieces.
Work around electrical outlets and switches carefully. Double-check measurements before making any permanent attachments.
Budget: $10-20 for additional hardware and adjustment materials.
Step 7: Finish and Paint the Surface
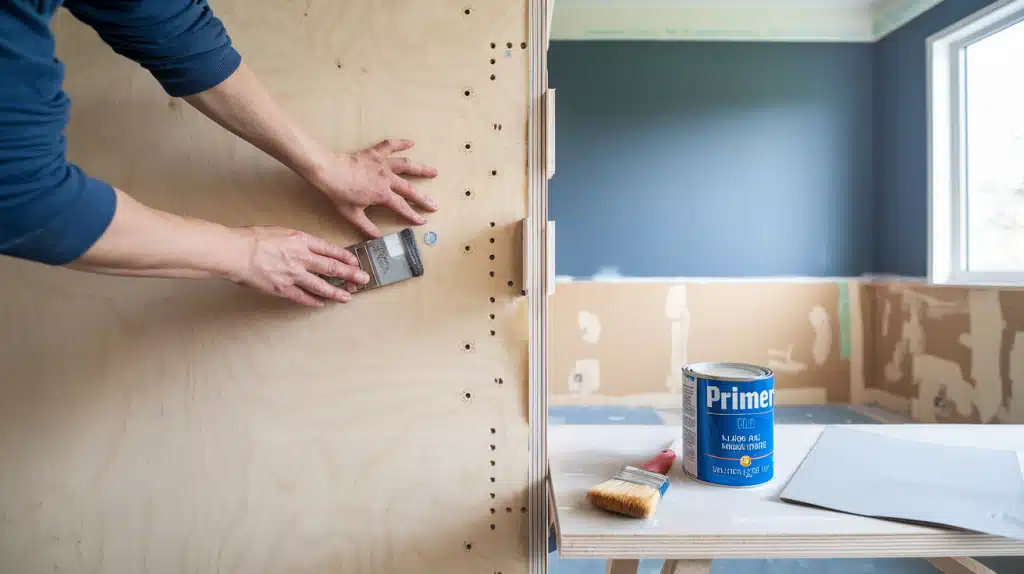
Fill screw holes and gaps with wood filler. Sand smooth once dry using medium-grit sandpaper.
Apply primer designed for wood surfaces. Paint with your chosen color using quality brushes or rollers. Allow proper drying time between primer and paint coats.
Budget: $35-60 for filler, primer, paint, and application supplies.
5 Creative Ideas for Plywood Interior Walls
After mastering how to Install Plywood Interior Walls, explore some creative ideas
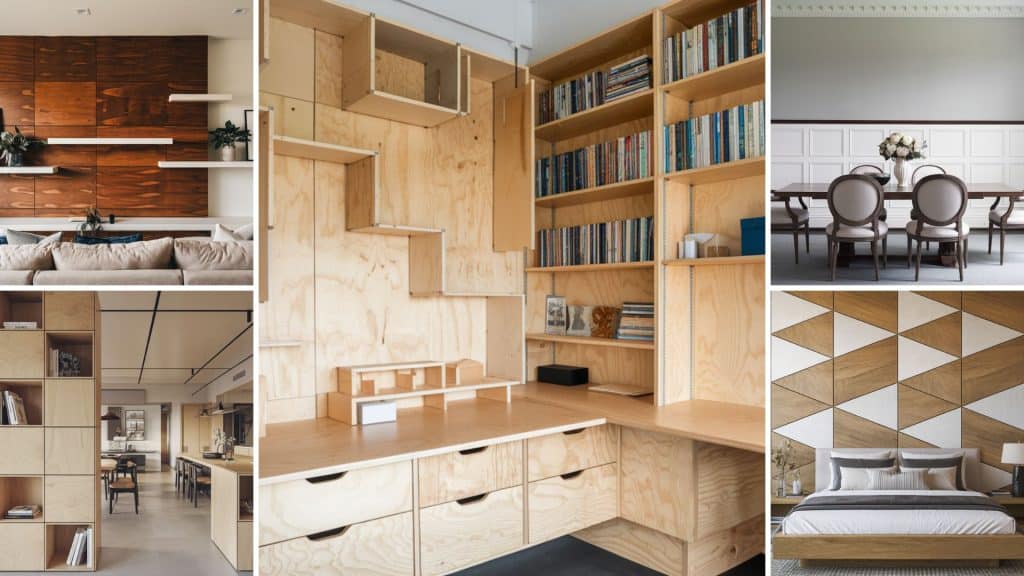
Idea 1: Accent Wall Feature:
Create a striking focal point by installing plywood on one main wall. Choose a rich wood stain or bold paint color. Add floating shelves or artwork to enhance visual appeal. This simple approach transforms any room without overwhelming the space.
Idea 2: Room Divider System:
Build a freestanding plywood wall to separate open floor plans. Include built-in storage cubbies or display niches. This practical solution creates privacy while maintaining an open feel. Perfect for studios, lofts, or large living areas needing defined spaces.
Idea 3: Wainscoting Style Design:
Install plywood panels halfway up the wall for a classic wainscoting look. Paint the top half a different color for contrast. Add chair rail molding along the top edge. This traditional style works well in dining rooms and hallways.
Idea 4: Geometric Pattern Wall:
Cut plywood into various shapes like triangles, hexagons, or rectangles. Arrange pieces in repeating patterns across the wall surface. Use different wood stains or paint colors for each shape. This modern approach creates visual interest and texture.
Idea 5: Built-in Storage Integration:
Combine plywood walls with integrated shelving and storage compartments. Design custom cubbies for books, decor, or entertainment equipment. This functional approach maximizes space while providing attractive wall coverage. Ideal for home offices, bedrooms, or family rooms.
Plywood vs Shiplap Interior Wall Comparison Table
Compare plywood and shiplap interior walls to choose the best option for your project. This quick guide covers cost, installation, style, and performance differences between these popular wall materials.
| Factor | Plywood | Shiplap |
|---|---|---|
| Cost | $45-85 per 100 sq ft | $75-150 per 100 sq ft |
| Installation | Easy, 1-2 days | Harder, 2-4 days |
| Style | Modern, smooth | Rustic, farmhouse |
| Durability | Good | Excellent |
| Maintenance | Low | Medium |
| Weight | Lightweight | Heavy |
| Best For | Offices, basements | Living rooms, bedrooms |
Mistakes to Avoid in Plywood Wall Installation
Avoiding these common pitfalls ensures a cleaner look, better durability, and safer interiors.
Mistake 1
Problem: Rushing measurements leads to wrong panel sizes and wasted materials. Many skip creating a layout plan.
Solution: Measure wall dimensions twice before cutting. Draw a simple sketch showing panel placement. Mark all electrical outlets and switches on your plan.
Mistake 2
Problem: Installing panels without locating studs creates weak attachment points and sagging walls over time.
Solution: Use a reliable stud finder to mark exact stud locations. Mark studs clearly with a pencil before installation. Test the stud finder on known locations first.
Mistake 3
Problem: Installing panels tightly together causes buckling when wood expands with temperature and humidity changes.
Solution: Leave 1/8″ gaps between all panel edges. Use spacers during installation to maintain consistent gaps. Fill gaps with flexible caulk after installation.
Mistake 4
Problem: Cheap nails or short screws cause panels to loosen and create safety issues over time.
Solution: Use quality wood screws 2.5-3 inches long. Place screws every 12 inches along studs. Pre-drill holes to prevent wood splitting.
Mistake 5
Problem: Installing over dirty or damaged walls creates uneven surfaces and poor adhesion of finishes.
Solution: Clean walls thoroughly before installation. Fix holes and damage first. Remove old wallpaper completely. Check walls are level and plumb.
Mistake 6
Problem: Cutting outlet holes after installation damages panels and creates messy work conditions.
Solution: Plan electrical work during the measuring phase. Mark outlet locations clearly before cutting panels. Cut openings during panel preparation, not after installation.
Conclusion
Installing plywood interior walls doesn’t have to be scary or expensive. With the right planning and these 7 steps, you can create professional-looking walls that rival any contractor’s work.
The best part? You now have the knowledge to tackle wall projects throughout your home.
Whether you want accent walls, room dividers, or complete renovations, plywood gives you flexibility without breaking the bank.
Your walls are waiting for that transformation. Start with one small project to build confidence, then expand to bigger spaces as you get comfortable with the process.
Ready to start your first plywood wall project?
Frequently Asked Questions
Can You Put Plywood on Walls Instead of Drywall?
Yes, you can use plywood instead of drywall on walls. It’s cost-effective, installs faster, and provides a smooth surface ready for paint or stain.
How to Seal Plywood for Indoor Use?
Apply wood primer first, then use polyurethane sealant or paint. Sand lightly between coats. This prevents moisture damage and creates a durable finish.
What Is the Fire Code for Plywood Walls?
Fire codes vary by location. Most require fire-rated plywood or fire retardant treatment for interior walls. Always check your local building codes first.