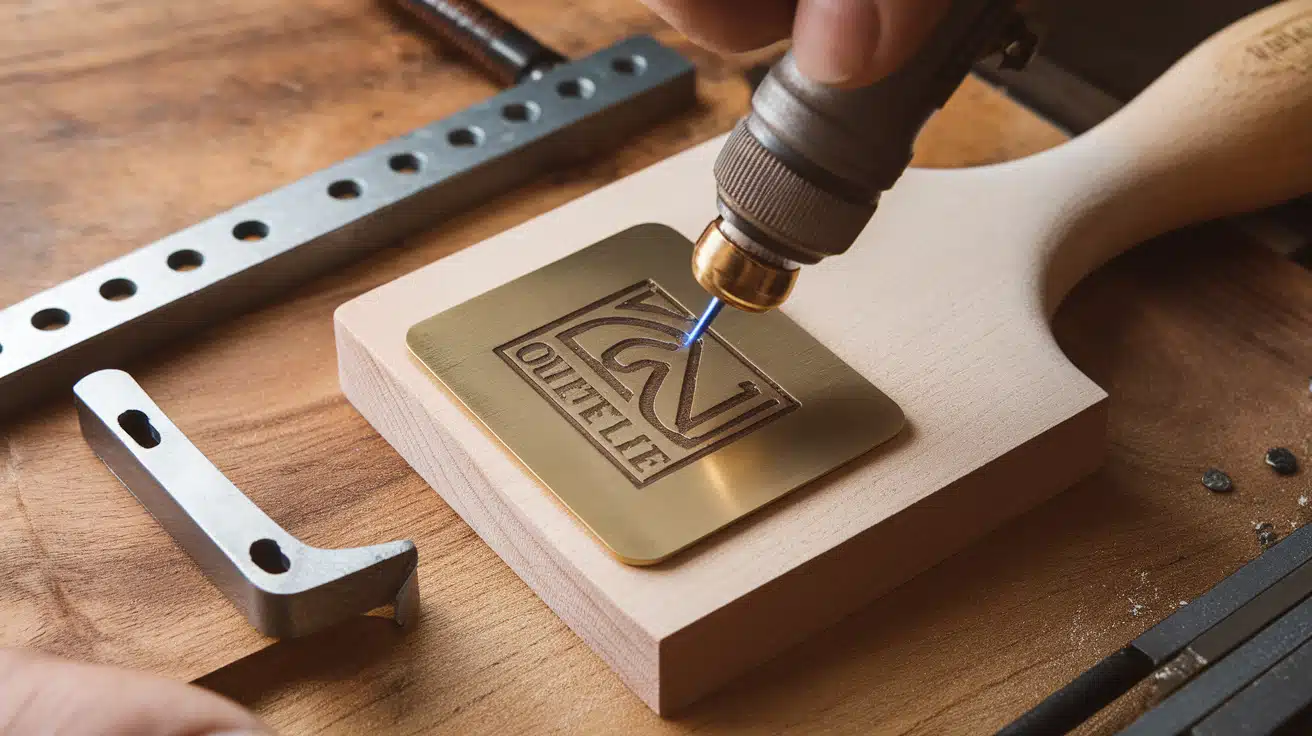
Making your branding iron seems difficult. Most people give up before they start because they think it requires special tools or years of metalworking know-how.
I felt the same way until I made my first branding iron. The truth is, with basic materials and clear steps, anyone can create a custom branding tool at home.
In this guide, I’ll show you exactly how to make a branding iron from start to finish. You’ll learn which materials work best, the simple techniques to shape your design, and how to add a handle that stays cool while the brand heats up.
By the end, you’ll have a working branding iron that makes your mark on wood, leather, or food.
What Makes Branding Irons So Useful?
Branding irons help you mark your work in a way that lasts for years. Unlike stickers or paint that can peel off, a branded mark becomes part of the material itself.
This makes them perfect for woodworkers who want to sign their furniture, leather workers marking belts or bags, and even chefs who brand steaks or bread. The heat creates a permanent mark that won’t fade or wear away with time.
These tools also work faster than other marking methods. Instead of spending time carving letters or applying labels, you simply heat the iron and press it down for a few seconds.
This speed makes branding irons ideal for individuals who produce multiple items and require quick marking. The consistent results mean every mark looks the same, giving your work a professional appearance.
Step-by-Step Guide to Making a Branding Iron
This section walks you through the process of building your branding iron from scratch. You’ll learn all the steps needed to create a tool that marks wood and leather with your custom design.
Tools Used:
| Tool Name | Description |
|---|---|
| X-Acto Knife | Mark clean edges on brass for cutting. |
| Drill Press | Carves the brass logo with Dremel bits at a slow speed. |
| Engraving and Carving Bits | Used for detailed cuts in the brass plate. |
| Hand Saw | Cuts bolts to the right length. |
| Center Finder | Marks the middle of the wooden handle for alignment. |
| Drill Bits (8.5mm, 1.5mm, 3mm, 3.2mm) | For drilling holes in brass, steel, and wood. |
| Countersink Bit | Smooths hole tops for bolt fitting. |
| Wood Rasp | Shape the wooden handle by removing material. |
| File | Smooths the wooden handle after rasping. |
| Sandpaper (180, 220, 400 grit) | Smooths brass and wood surfaces. |
| Thread Tap (M4) | Creates threads in holes for bolts. |
| Blowtorch | Heats the brass for branding. |
| Welding Equipment | Joins steel parts together. |
Materials Used:
| Material Name | Description |
|---|---|
| Brass Bar | 1cm thick, 4cm wide for the logo. |
| Beech Wood | Used for the wooden handle. |
| Steel Plate (L-Bracket) | 4mm thick L-bracket for holding the brass logo. |
| Threaded Steel Rod (10mm) | Links the branding iron to the handle. |
| M4 Bolts | Secures the brass logo to the steel plate. |
| Epoxy Glue | Bond the wooden handle to the steel rod. |
| Spray Adhesive | Attaches the logo template to the brass. |
| Linseed Oil | Protects and finishes the wood handle. |
| Matte Black Paint (Heat Resistant) | Paint for steel parts, withstands up to 800°C. |
| White Vinegar | Removes zinc coating for better welding. |
Step 1: Creating the Brass Logo
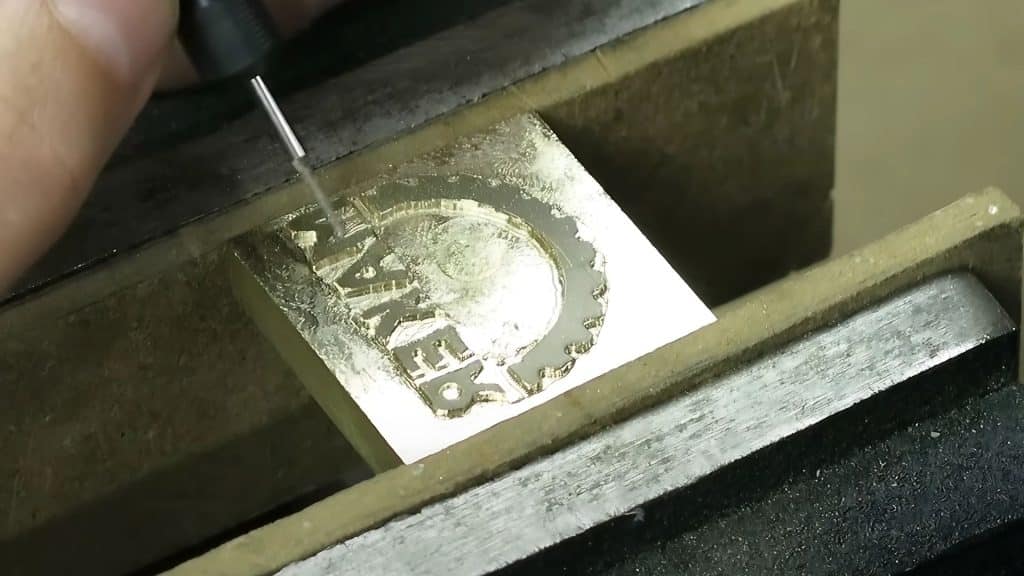
The first step in making your branding iron is the brass logo, which will be the part that contacts wood or leather during branding.
Cut a square from a 1 cm-thick brass bar and try to anneal it for better working. Print and attach your flipped logo design using spray adhesive. Outline the design with an X-Acto knife, then drill small holes along the edges.
Use Dremel bits to carve around your logo pattern. After carving is complete, sand the brass surface, starting with 180 grit sandpaper, then 220 grit, and finishing with 400 grit for a smooth finish.
Pro Tip: Keep your logo design simple. Too many small details will be hard to carve and might not show up clearly when branding. Stick to bold shapes with clear outlines for the best results.
Step 2: Making the Steel Plate Base
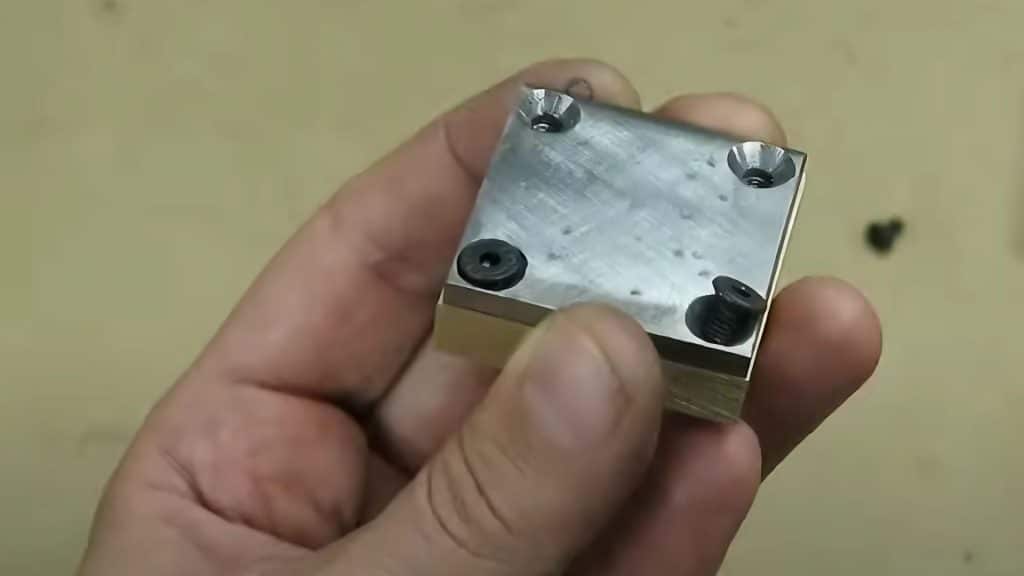
The steel plate serves as the base that connects the brass logo to the steel rod handle.
Cut a 4cm square from a steel L-bracket to create your plate. Mark and drill 3.2mm holes through both the steel plate and brass logo, making sure they align perfectly. Use an M4 tap to create threads in the brass holes.
Use a countersink bit to smooth the holes in both pieces. Cut the bolts to size with a hand saw and mark both pieces on the sides to help with proper alignment when putting them together.
Pro Tip: When drilling matching holes in the brass and steel, clamp the pieces together first to ensure perfect alignment. This saves time and prevents misaligned bolt holes.
Step 3: Crafting the Wooden Handle
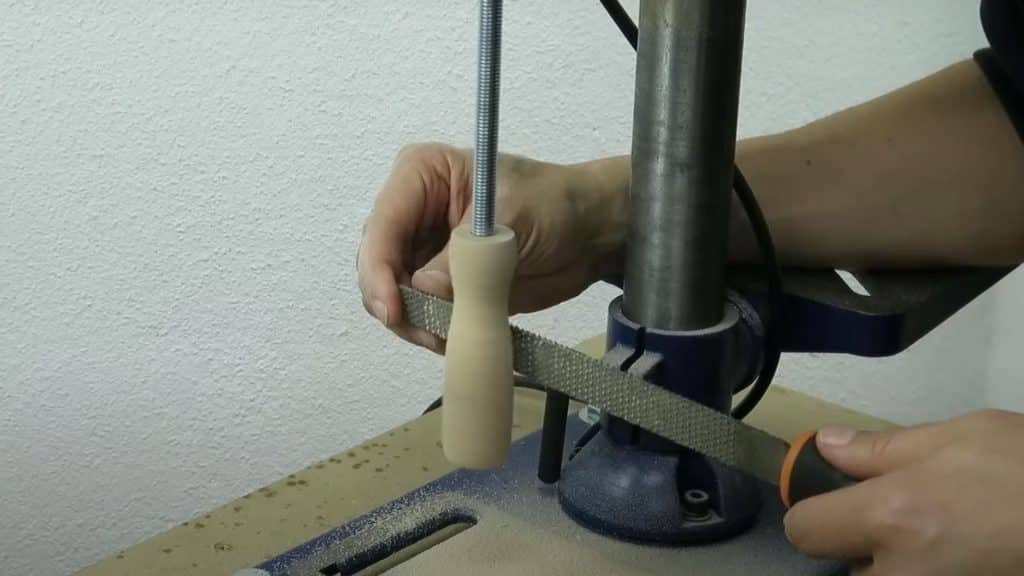
A comfortable wooden handle keeps your hands safe from the heat when using the branding iron.
Mark the center of your beech wood piece and drill an 8.5mm hole. Then, create a 10mm thread inside it. Shape the handle using a drill press for the basic form, then refine the shape with a wood rasp.
Smooth the handle with a file to remove rough spots. Finish by sanding the entire handle until it feels completely smooth to the touch and fits comfortably in your hand.
Pro Tip: Make your handle slightly longer than you think you need. This gives you extra room to hold the iron safely away from the heat. About 6-8 inches is ideal for most users.
Step 4: Preparing the Steel Rod
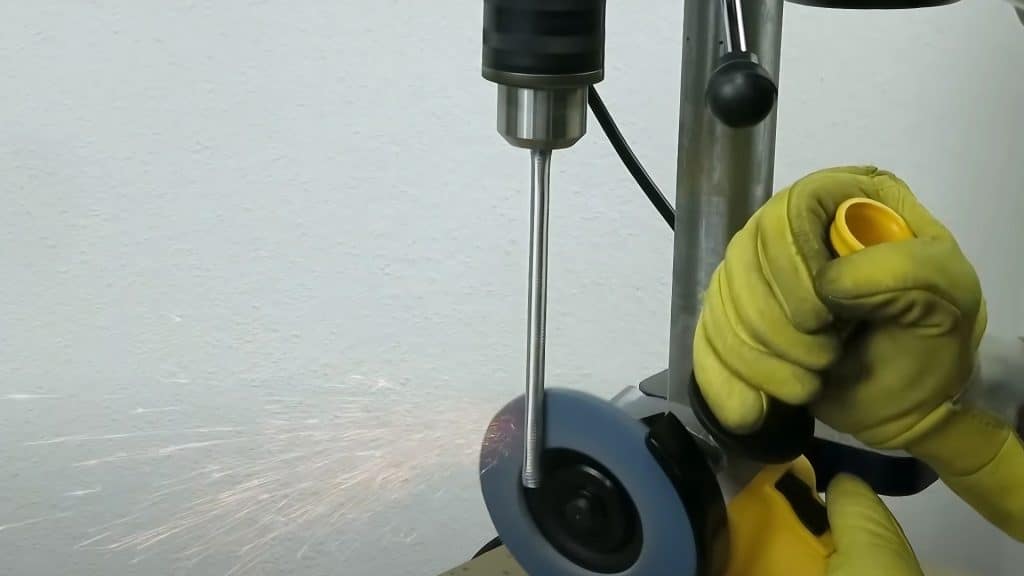
The steel rod connects the wooden handle to the branding head.
Mark the spots on your 10mm threaded steel rod where you need threading. Soak all steel parts in white vinegar overnight to remove the zinc coating that might affect welding quality.
After cleaning, weld the steel pieces together to connect the rod to the plate. Make sure the connection is strong since it will be handling high heat and pressure during use.
Pro Tip: If you don’t have welding equipment, you can use high-temperature epoxy or mechanical fastening methods as alternatives. Just make sure whatever you use can withstand the high heat that will transfer through the metal.
Step 5: Adding Finishing Touches
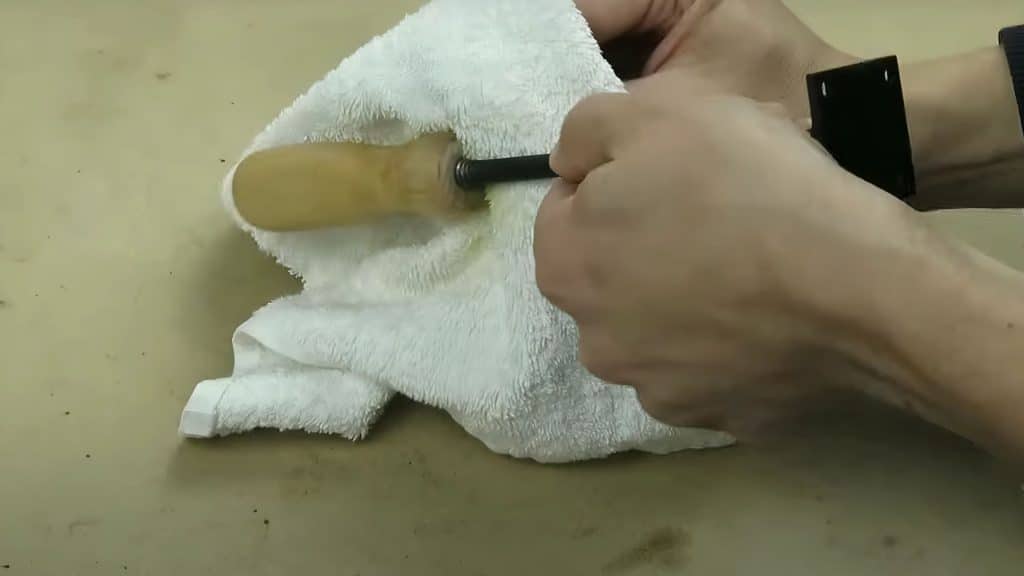
This step brings all components together and adds protective coatings.
Apply two thin coats of heat-resistant matte black paint to all steel parts. Let each coat dry fully before adding the next. Use strong epoxy glue to attach the wooden handle firmly to the steel rod.
Finish the wooden handle by applying linseed oil for protection and to bring out the natural wood grain. This also makes the handle more comfortable to hold and resistant to moisture.
Pro Tip: Apply multiple thin coats of linseed oil over several days instead of one thick coat. This creates a more durable finish that will last longer and feel better in your hand.
Step 6: Testing Your New Branding Iron
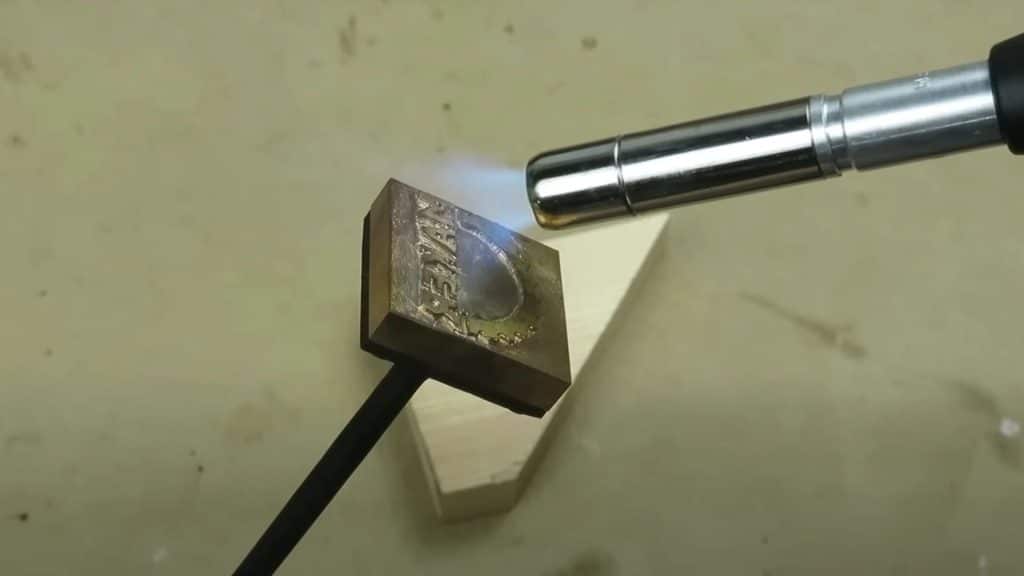
Now it’s time to see your creation in action!
Heat the brass logo section using a blowtorch for about two minutes until it’s hot enough to brand. Press the heated iron firmly against a piece of wood, holding it in place for a few seconds.
Remove the iron and check your mark. Let your branding iron cool completely before storing it in a safe place. Test on scrap wood first to perfect your technique.
Pro Tip: Practice on scrap pieces first to learn the right temperature and pressure needed. If the brand is too light, heat the iron longer; if it burns too deeply, use less heat or pressure next time. Different woods also respond differently to branding.
I’d like to give credit to DMaker for their informative video, which served as a reference for this guide.
How to Safely Use a Branding Iron
Using a branding iron needs care and attention. Here are five key safety points:
-
Wear protection: Heat-resistant gloves and safety glasses shield you from burns and sparks.
-
Create a safe workspace: Use it in well-aired areas and place your work on non-flammable surfaces like metal or concrete.
-
Test before branding: Try on scrap material first to find the right heating time and pressure for your design.
-
Keep water nearby: A bucket of water helps cool the iron and handle small fires.
-
Cool properly: Place hot irons on metal stands and keep people and pets away until fully cooled.
Conclusion
Making a branding iron takes patience, but the results are worth it. With basic tools and materials, you’ve now built a custom tool that puts your mark on woodwork, leather items, or food.
Remember, safety matters most when using your new branding iron. Wear heat-proof gloves, set up in a well-aired space, and keep water nearby just in case. Always cool your tool on a metal stand away from people and pets.
Your branding iron not only marks your work but also tells a story about your care for detail. The unique mark you’ve created sets your products apart from others.
Ready to use your new tool? Start with scrap wood to test different heat times and pressures. Soon, you’ll be making perfect marks every time.
What will you brand first?
Frequently Asked Questions
What Is the Best Material for A Branding Iron?
Brass is the top choice for branding irons because it holds heat well and transfers it properly to wood or leather. The 1 cm-thick brass gives good results when heated with a blowtorch for about two minutes.
Should You Wet Wood Before Branding?
No, you should not wet wood before branding. Dry wood accepts heat and burns more clearly. Moisture causes steam, which can lead to fuzzy, unclear marks and might damage your branding iron over time.
How Long Does a Branding Iron Take to Heat Up?
When using a blowtorch, a branding iron takes about two minutes to heat up. The heating time can change based on the size of your brass logo and the heat source you’re using.

