Find the perfect outdoor retreat with a handcrafted porch swing bed. This versatile addition converts your porch into a cozy sanctuary where you can unwind with a book, enjoy morning coffee, or take peaceful afternoon naps.
The gentle rocking motion naturally reduces stress while adding charm and character to your home’s exterior.
Beyond relaxation, a porch swing bed extends your living space outdoors, creating an inviting spot for both solitary moments and gatherings with loved ones.
With proper materials and care, your DIY creation will provide years of comfort and become the centerpiece of your outdoor area.
Follow our comprehensive guide to build, maintain, and enjoy this rewarding weekend project that you’ll wonder how you ever lived without.
Porch Swing Beds: Combining Comfort and Relaxation
A porch swing bed is a furniture piece that combines the relaxing motion of a traditional porch swing with the comfort and size of a bed. It’s typically hung from chains or ropes attached to a porch ceiling or a freestanding frame, allowing it to sway back and forth.
Porch swing beds are usually larger than standard porch swings, offering enough space for a person to fully recline or for multiple people to sit comfortably. They often include a mattress or cushions and can be dressed with pillows and throws for added comfort.
These outdoor furniture items have become popular for their mix of function and comfort. They provide a cozy spot for reading, napping, or simply enjoying the outdoors while being gently rocked by the breeze. Porch swing beds come in various styles, sizes, and materials to match different home exteriors and personal preferences.
Benefits of Having a Porch Swing Bed
-
Stress Relief: The gentle rocking motion promotes relaxation and reduces stress.
-
Perfect for Relaxation: Ideal for reading, sipping coffee, or taking an afternoon nap.
-
Adds Charm: Enhances your porch’s look and character with its cozy design.
-
Outdoor Retreat: Creates a comfortable space to connect with nature and unwind.
-
Versatile Use: Great for quiet solitude or as a gathering spot for family and friends.
Tools and Materials Needed
Tools
| Tool | Purpose |
|---|---|
| Miter saw | For cutting lumber to precise lengths |
| Drill | For making pilot holes and driving screws |
| Screwdriver | For tightening and adjusting screws |
| Sander | For smoothing wood surfaces |
| Measuring tape | For accurate measurements |
| Level | To ensure the swing hangs straight |
| Pencil | For marking cut lines and placements |
| Safety glasses | For eye protection during cutting and drilling |
Materials
| Material | Purpose |
|---|---|
| Lumber (according to plans) | The main building material for the swing frame |
| Wood screws | For joining wooden pieces together |
| Eye screws | For hanging points on the swing and the ceiling |
| Strong rope or chain | For hanging the swing from the ceiling |
| Wood filler | For filling screw holes and imperfections |
| Sandpaper | For smoothing rough edges and surfaces |
| Wood stain or paint | For protecting and finishing the wood |
| Twin-size mattress | For comfort on the finished swing |
| Waterproof cover (optional) | For preserving the swing in bad weather |
Step-by-Step Guide to Building Your Porch Swing Bed
Step 1: Purchase or Create Plans
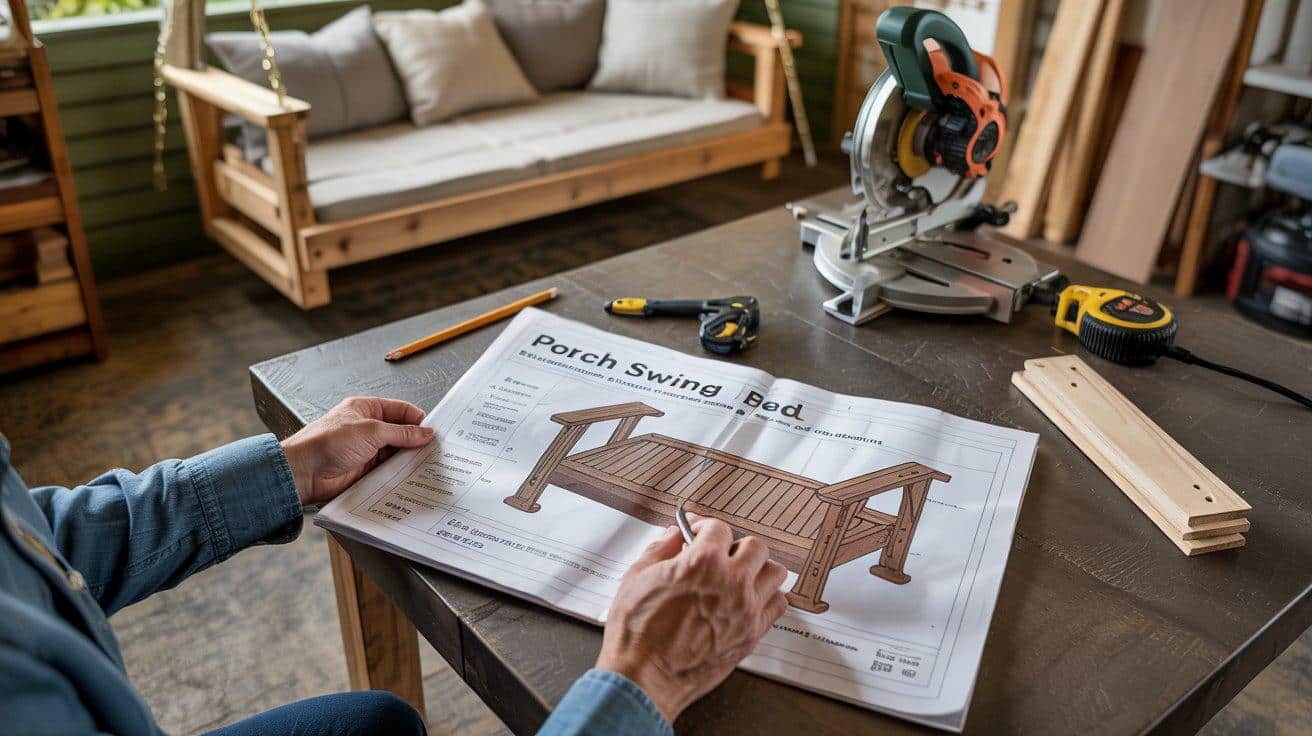
Start by either purchasing ready-made plans for around $15 or designing your own based on your porch size and the mattress you’re using. Plans will provide a cut list and step-by-step instructions to simplify the project.
Take the time to review the plans thoroughly before starting, ensuring you understand each step and have all necessary materials.
Step 2: Gather and Cut All Lumber
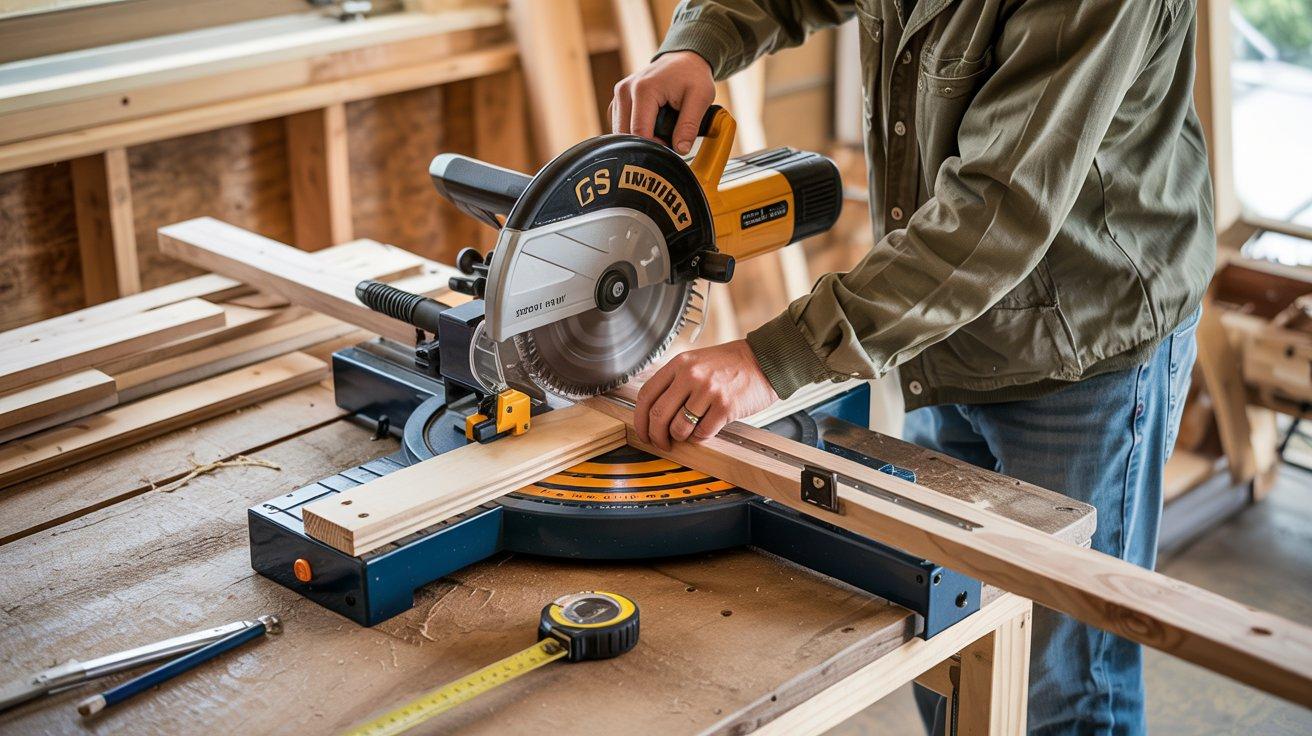
Collect all the lumber required by your plans and set up a designated workspace. Using a miter saw, carefully cut each piece to the specified lengths. I
t’s more efficient to cut all pieces at once rather than as you build. Label each piece for easy identification later. Ensure all cuts are straight and accurate, as this will affect the final assembly and fit.
Step 3: Assemble the Base Frame
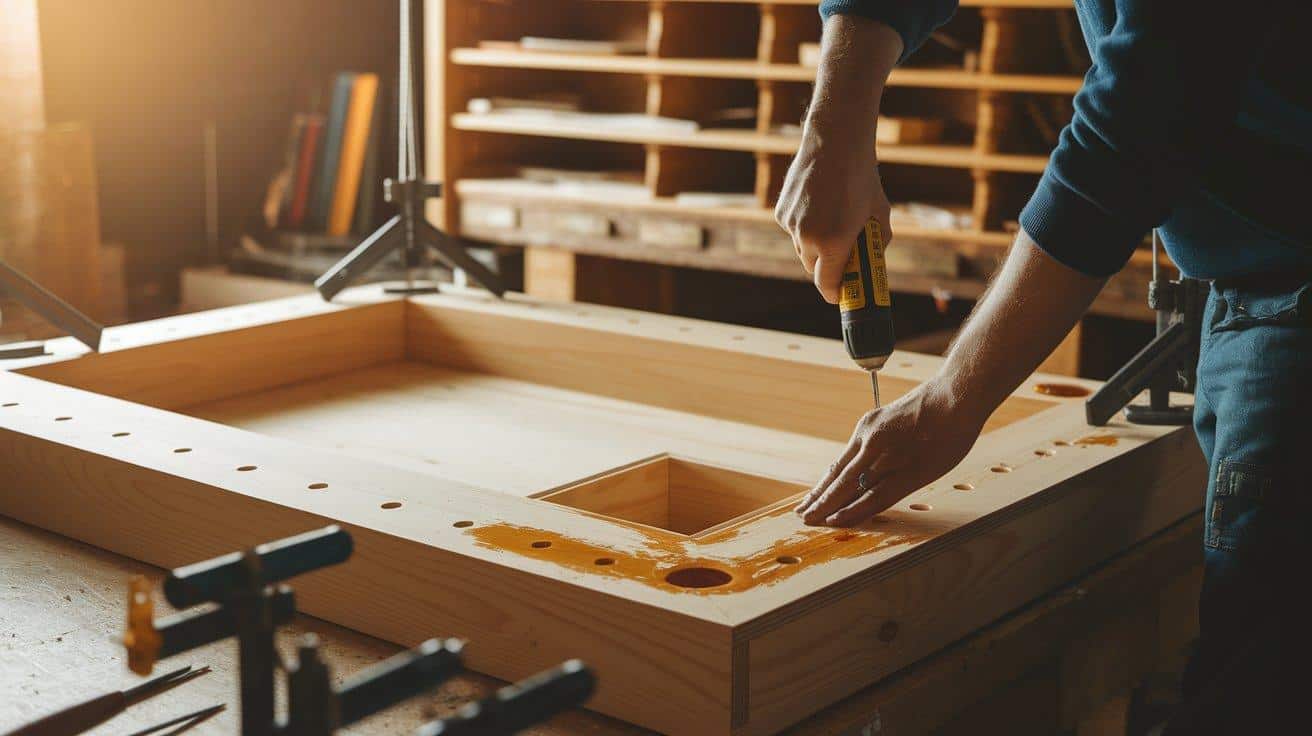
Start by assembling the base frame, applying wood glue to each joining surface for added strength before securing the pieces with screws.
Check for squareness by measuring diagonally from corner to corner; both measurements should match.
Use clamps to hold everything in place as you drill and screw the pieces together. Double-check the joints to ensure they are tight and secure.
Step 4: Add Support Slats

Once the base frame is solid, lay out and attach the support slats across the frame, leaving about 2-3 inches of space between each.
Use screws at both ends of each slat to secure them. Ensure that all slats are level with one another, creating a flat and even surface to support the mattress.
Depending on the swing size, you’ll need about 10-12 slats for a twin bed.
Step 5: Construct the Back and Side Rails
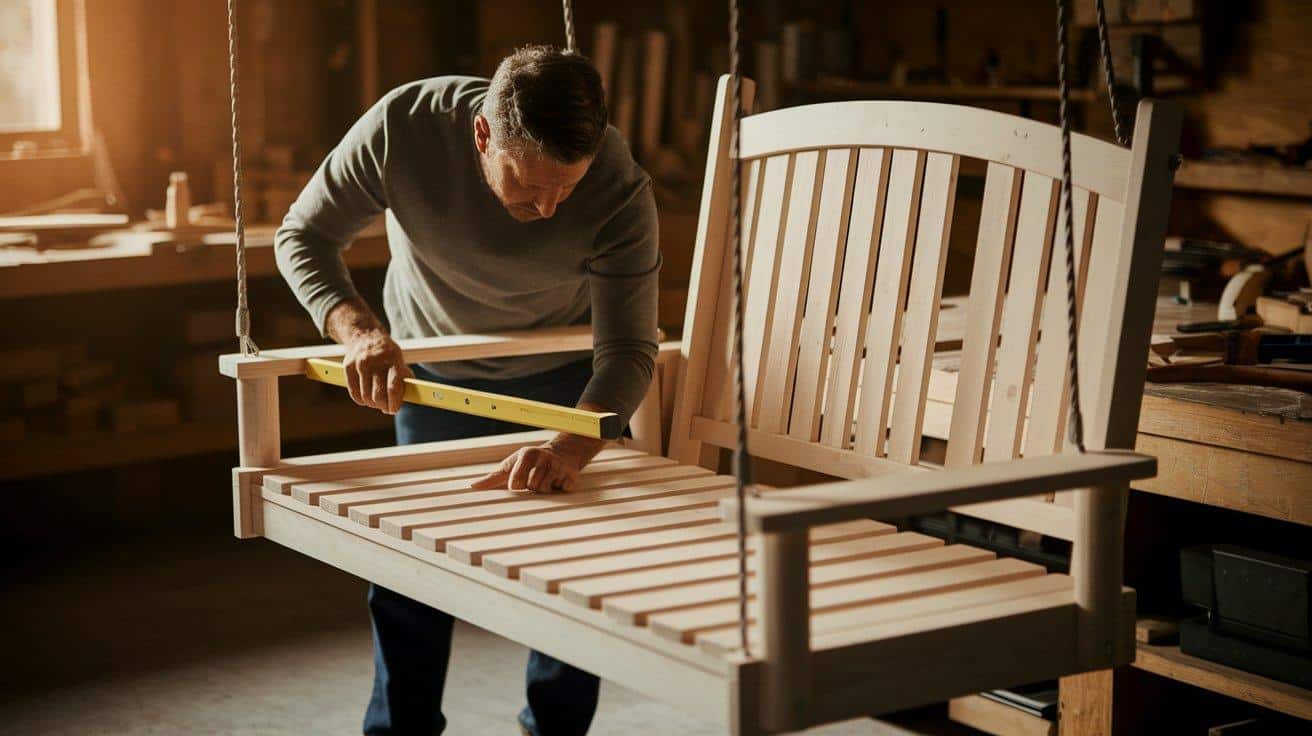
Now, assemble the back and side rails. These rails not only prevent the mattress from sliding off but also provide stability to the overall structure.
Attach the side rails first, ensuring they’re level and at the desired height. Add the back rail last; it may be taller to create a headboard effect. Use wood glue and screws to secure the joints, and check that all corners are square.
Step 6: Fill Holes and Sand All Surfaces

Once the structure is assembled, fill any screw holes with wood filler and let it dry completely.
Sand all surfaces starting with medium-grit sandpaper to smooth out rough edges, and then finish with fine-grit sandpaper for a polished look.
Focus on areas that were filled with wood filler, as well as any rough spots that could cause splinters. Sand all visible surfaces to ensure a smooth, professional finish.
Step 7: Apply Stain or Paint

Choose an outdoor stain or paint to protect your swing bed from the elements. Ensure all surfaces are clean and dry before application.
Apply the finish evenly with a brush or cloth, following the grain of the wood. Allow each coat to dry fully before adding another for maximum durability.
Outdoor products are best for weather resistance, and multiple coats will provide added protection.
Step 8: Install Hanging Hardware
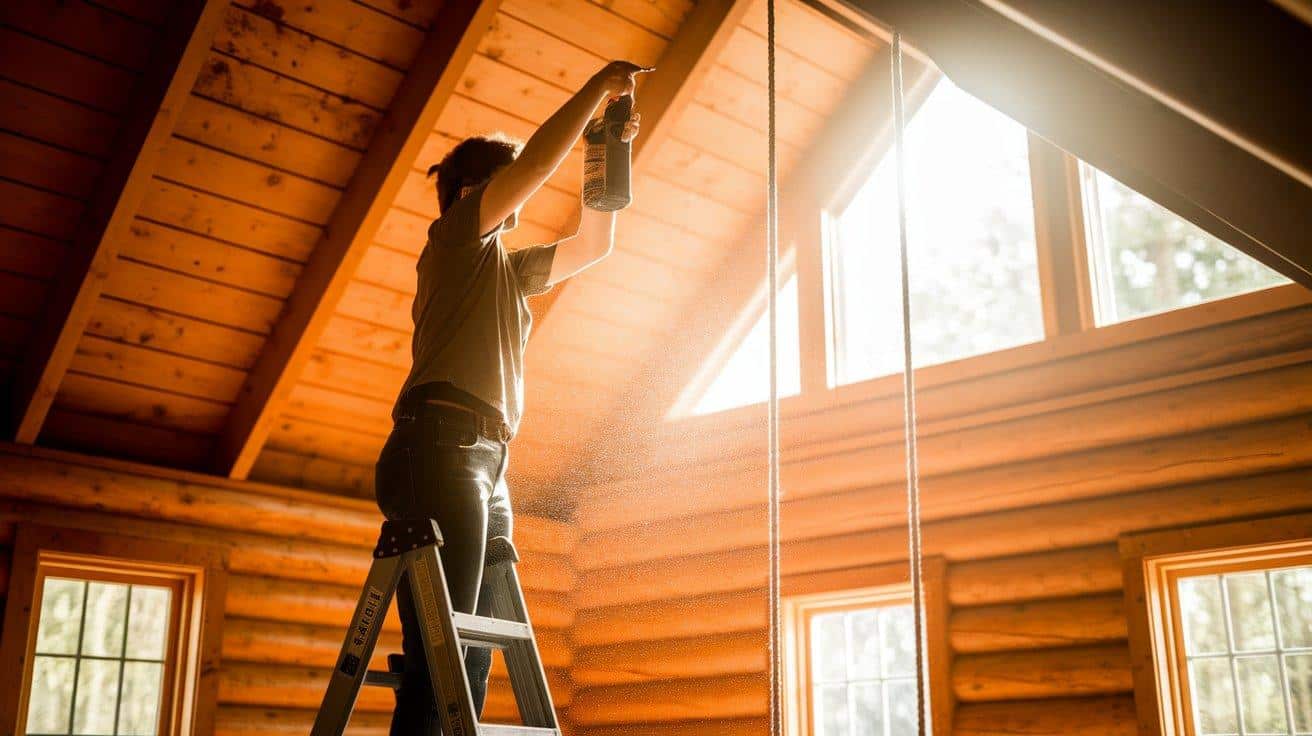
Select heavy-duty eye screws rated for at least 500 pounds, ensuring they are strong enough to support both the swing bed and its occupants.
Install these eye screws into the ceiling joists, making sure to screw them deeply into solid wood. Also, add eye screws to the four corners of the base frame.
Use a drill to create pilot holes to prevent splitting the wood, and ensure the screws are securely tightened.
Step 9: Hang the Swing and Add Finishing Touches

With assistance, lift the swing bed and attach it to the ceiling eye screws using strong, weather-resistant rope or chains.
Adjust the rope or chain lengths so the swing hangs level. Test the swing by gently sitting on it before adding the mattress.
Once satisfied with the stability, add your mattress, cushions, and pillows. For extra protection, consider using weather-resistant covers. Your DIY porch swing bed is now ready to enjoy!
Video Tutorial
Special thanks to The Idaho Panhandlers for providing valuable insights in their video, which I referenced while creating this guide.
Budget-Friendly Tips for Building Your Porch Swing Bed
1. Repurpose Materials- Look for old furniture, pallets, or leftover wood from previous projects. Repurposing materials not only saves money but also adds unique character to your swing bed. You can find reclaimed wood at salvage yards or thrift stores for a fraction of the cost of new lumber.
2. Shop Sales and Discounts- Take advantage of seasonal sales, online promotions, and store clearances to save on materials and tools. Signing up for newsletters or loyalty programs can also alert you to special discounts, helping you buy everything you need at a lower price.
3. Durable Lumber- Choose affordable woods like pine, fir, or pressure-treated lumber. These are inexpensive but still sturdy enough for outdoor use. Pressure-treated wood is great for resisting moisture and weather damage, making it a practical choice without the high cost of hardwoods.
4. Simplify the Design- A simple design reduces material costs and labor time. Skip the intricate details and focus on the basics for a sleek and functional swing bed. A minimalist approach can still look stylish and cost a lot less to build.
5. DIY Finishes and Paint- Instead of spending on expensive stains or paints, use a basic outdoor finish or clear sealant. These affordable options protect the wood and maintain its appearance. You can also wait for sales or try homemade alternatives for a cheaper yet effective solution.
Essential Pitfalls to Avoid When Building a Swing Bed
| Issue to Avoid | Why It’s Problematic | What to Do Instead |
|---|---|---|
| Overloading the swing | Exceeds weight capacity, damages the structure, and the hanging points | Respect weight limits, limit to 2-3 people maximum |
| Using indoor mattresses | Not weather resistant, holds moisture, and grows mold | Use outdoor-rated mattresses or add waterproof covers |
| Improper ceiling mounting | Can pull from the ceiling, causing falling hazards | Mount directly into the ceiling joists, not just the drywall |
| Low-quality hardware | Rusts quickly and may break under stress | Use stainless steel or galvanized hardware rated for outdoor use |
| Leaving uncovered in bad weather | Shortens lifespan, damages wood, and fabric | Use furniture covers or move to a protected area during storms |
| Ignoring creaking sounds | Indicates loosening parts that could fail | Investigate and tighten all connections immediately |
| Using standard interior wood | Not suited for humidity and temperature changes | Choose cedar, redwood, or pressure-treated lumber |
| Skipping pre-drilling holes | Causes wood splitting, weakens joints | Always pre-drill holes for screws, especially near edges |
| Hanging too low | Creates a tripping hazard, limits swing motion | Hang with at least 17″ clearance from the floor to the bottom of the swing |
Conclusion
Your handcrafted porch swing bed is more than just wood and screws—it’s your new favorite escape. This weekend project pays dividends with every sunset watched and every nap taken in its gentle embrace.
The rhythmic swaying creates a natural calming effect that no static furniture can match. Your friends will marvel at your craftsmanship while secretly wishing they had one too.
With proper care, this swing will host countless quiet mornings with coffee, lazy afternoon reads, and star-gazing evenings for years to come.
You’ve not just built furniture; you’ve created a memory-making spot that extends your living space outdoors. The question isn’t whether this project was worth the effort—it’s why you didn’t build it sooner.
Frequently Asked Questions
How Much Weight Can a Porch Swing Hold?
A porch swing can typically hold between 500 to 800 pounds, depending on the materials and hardware used. Always check the manufacturer’s weight limit or ensure the hardware is rated for the desired weight.
How High Off the Ground Should a Porch Swing Be?
A porch swing should be hung approximately 17 to 24 inches off the ground to allow sufficient clearance for swinging and ensure comfortable seating. This height helps prevent tripping while also providing ample space for the swing’s motion.
Will a 2×6 Hold a Porch Swing?
Yes, a 2×6 can support a porch swing if it’s part of a sturdy frame and properly reinforced. Ensure the wood is of high quality and use strong hardware for added safety.

