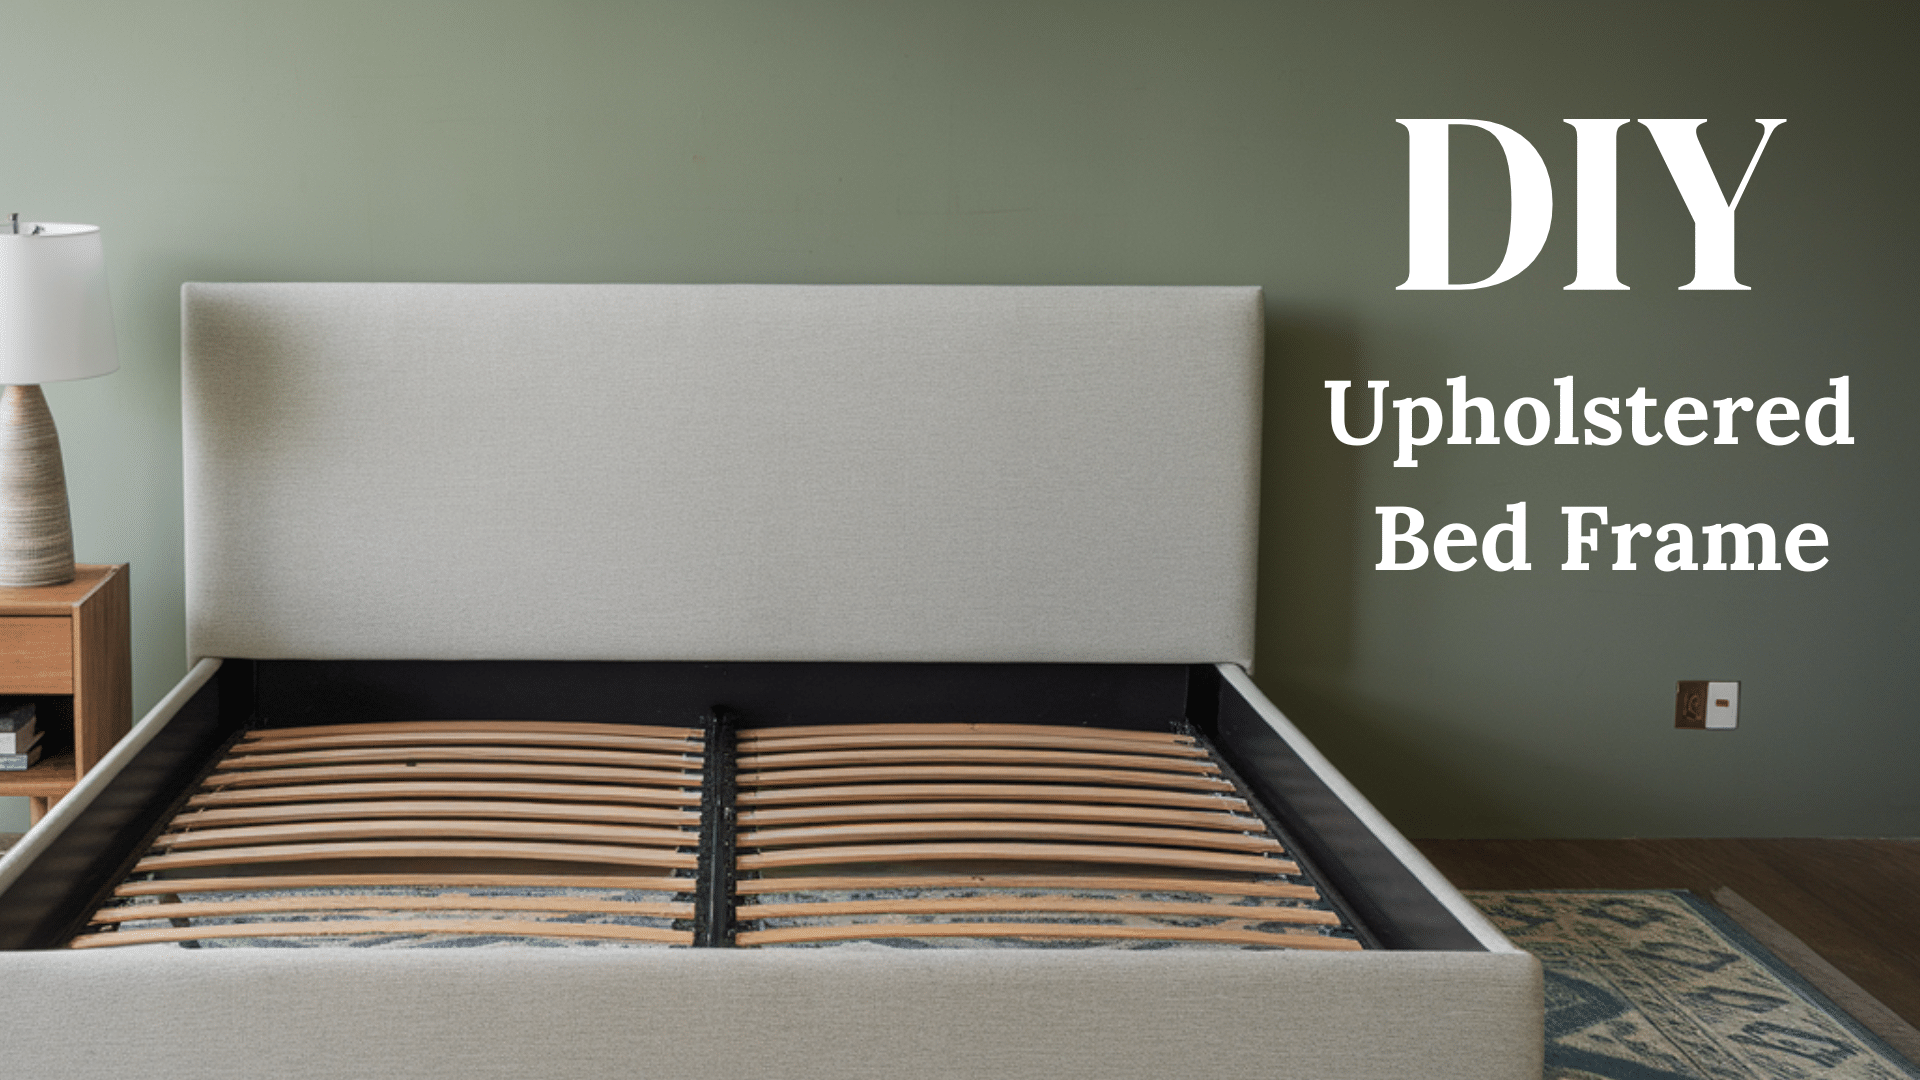
Want to update your bedroom without spending too much money? A custom-made upholstered bed frame might seem like a luxury item with a high price tag, but you can make one yourself for under $300! This do-it-yourself project gives you the chance to create a bed that fits your personal style perfectly.
We’ll show you how to turn simple materials into a pretty centerpiece for your bedroom. From selecting the right fabric to attaching the final piece of the headboard, every step is broken down into bite-sized chunks anyone can follow.
No fancy woodworking skills required—just basic tools, some patience, and this step-by-step plan. You’ll end up with a solid, beautiful bed that looks like it cost three times what you paid.
Ready to impress yourself (and everyone else) with your hidden talent for furniture making?
Essential Tools & Materials for a DIY Upholstered Bed Frame
Before starting your DIY bed frame project, gather all necessary materials and tools to ensure success. This project requires items for a strong, comfortable, and attractive bed frame without overspending.
Below is the materials list for a complete bed frame with an upholstered headboard, with a total cost of about $260, well under the $300 budget.
| Material | Quantity | Approximate Cost |
|---|---|---|
| Curtain panels | 3 | $51 |
| Quilt Batting | 1 | $10 |
| Twin Mattress Pad | 1 | $27 |
| Wooden Legs | 4 | $24 |
| Under-bed Brackets | 1 set | $10 |
| Corner Brackets | 1 set | $8 |
| Side Rails (1″x8″x6’6″) | 2 | $24 ($12 each) |
| Front & Back Rails (1″x8″x5′) | 2 | $20 ($10 each) |
| Plywood (Headboard) | 1 | $36 |
| Slats | 10 | $50 ($5 each) |
| Total | $260 |
Additional Tools:
- Nail Gun
- Screw Gun
- Staple Gun
All these materials can be found at standard hardware stores and home improvement centers, making this project accessible for most DIY enthusiasts.
DIY Upholstered Bed Frame Under $300: Step-by-Step Guide
Follow these clear steps to build your own beautiful bed frame with simple tools and basic woodworking skills.
Step 1: Prepare the Fabric and Materials
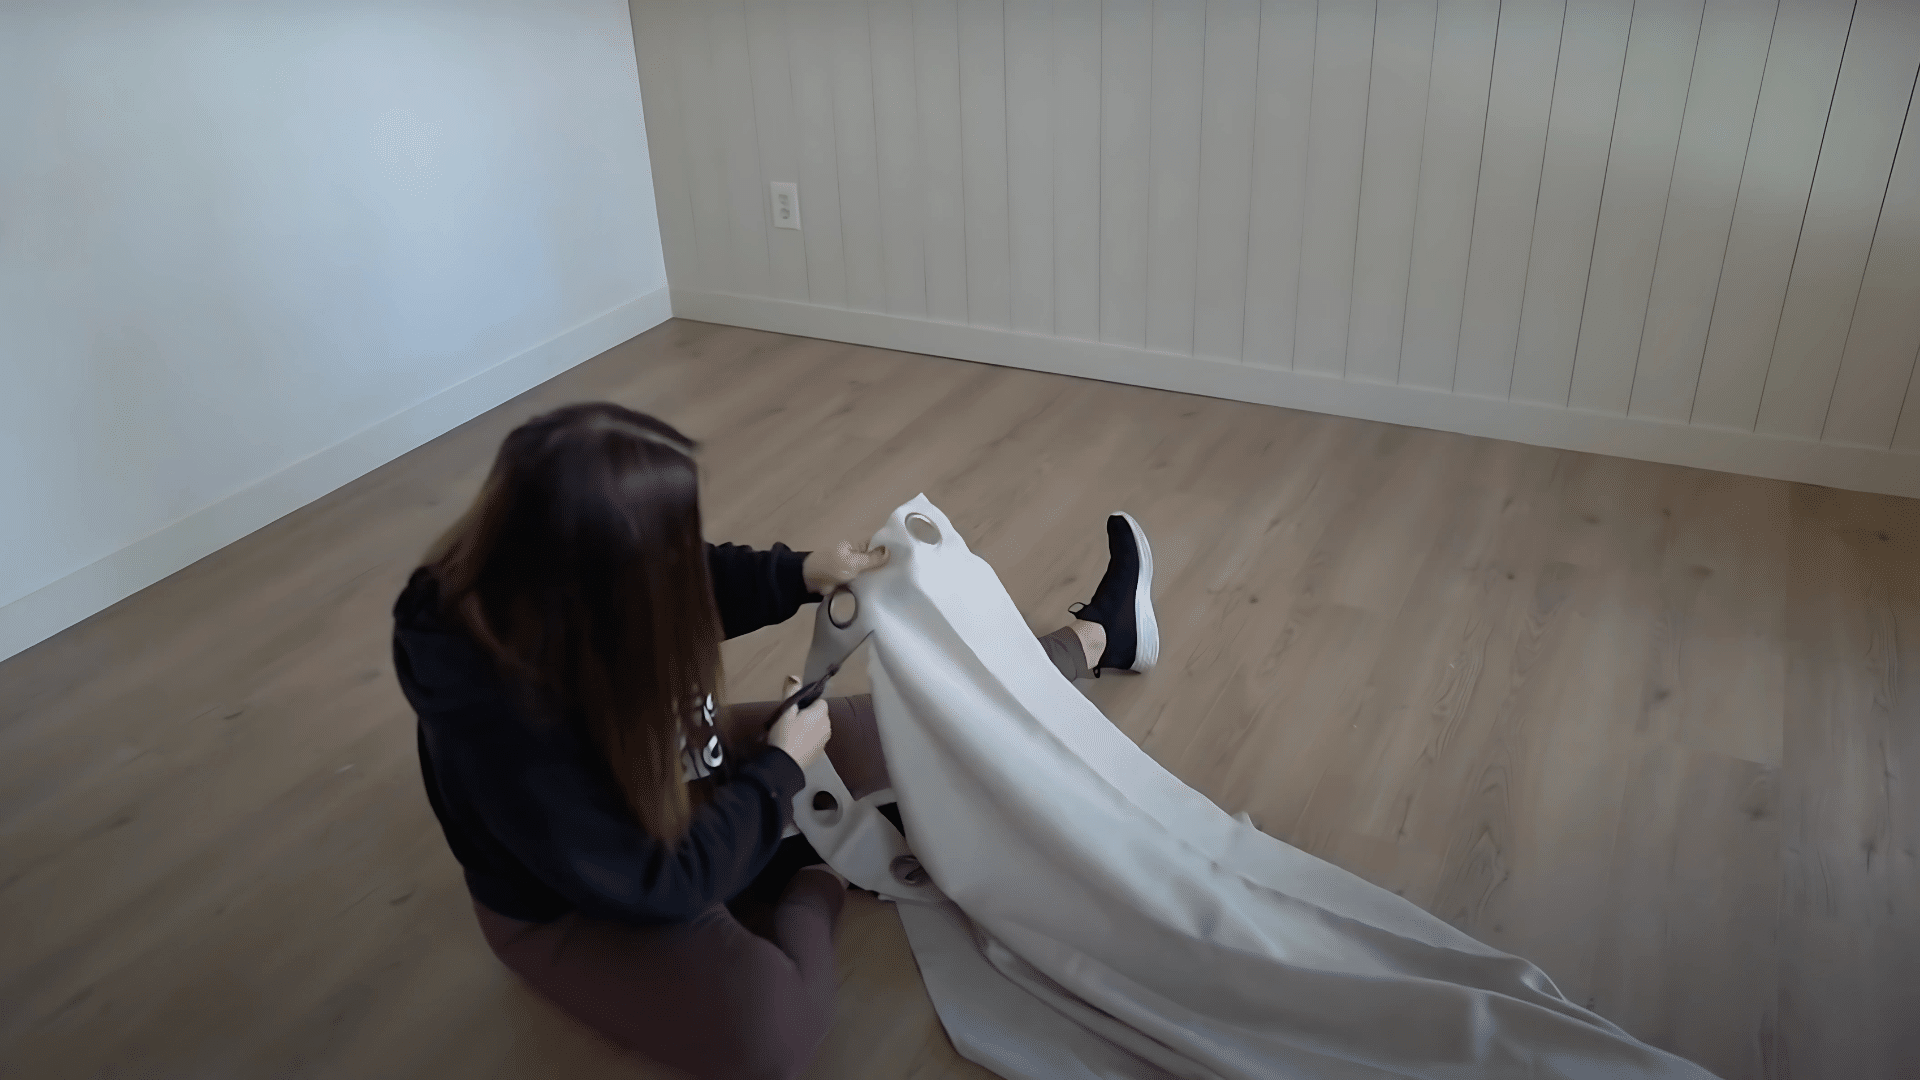
Start by getting your fabric ready for the upholstery work. Remove any rings from your curtain panels and steam them to smooth out wrinkles. This makes them easier to work with and creates a cleaner finished look.
Also gather your batting and mattress pad, which will add softness and comfort to your upholstered pieces. Having all materials ready before you begin saves time during the construction process.
Step 2: Cut and Prepare Wood Pieces
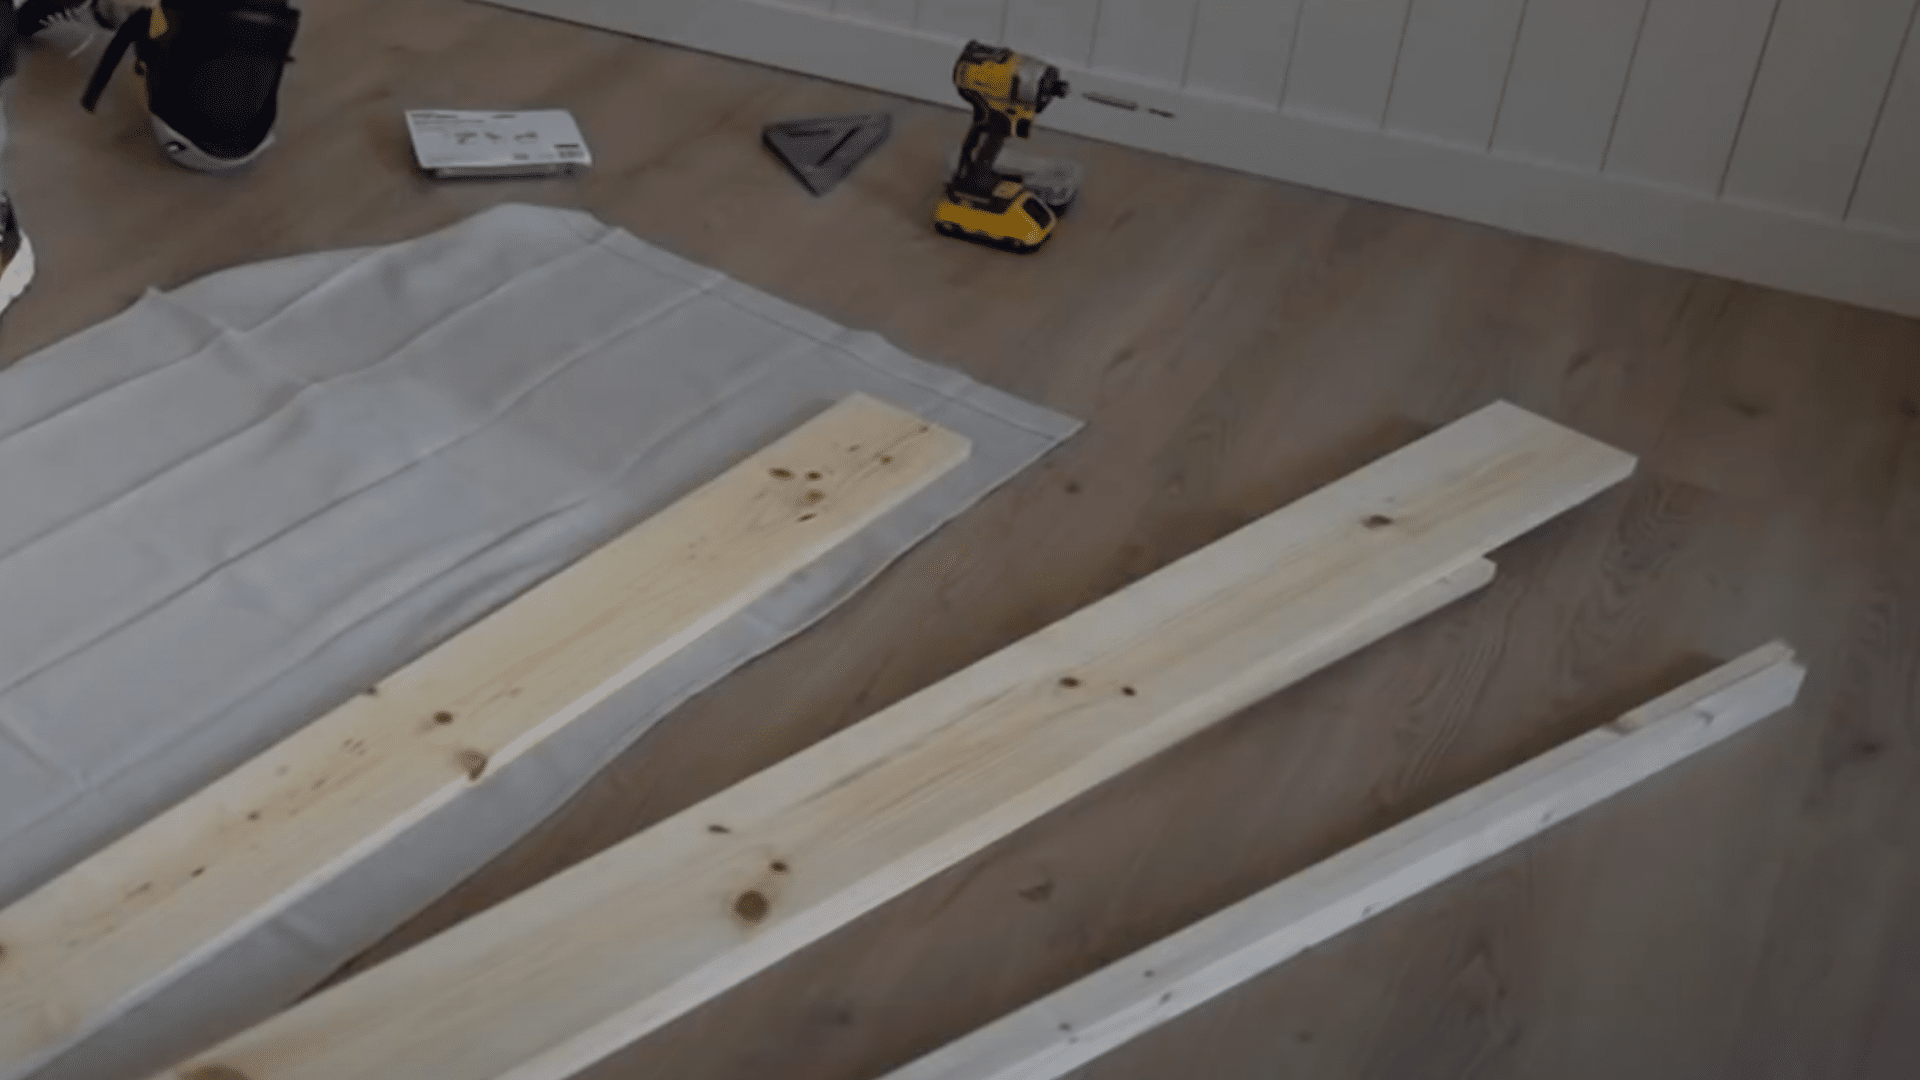
Measure and cut all wood pieces according to the specified dimensions. You’ll need two side rails at 1″ x 8″ x 6’6″, two front/back rails at 1″ x 8″ x 5′, a headboard plywood piece measuring 5′ wide x 32″ tall, and connecting side rails at 5′ tall.
Make sure all cuts are precise and smooth. Sand any rough edges to prevent splinters and ensure a clean finish for your upholstery work.
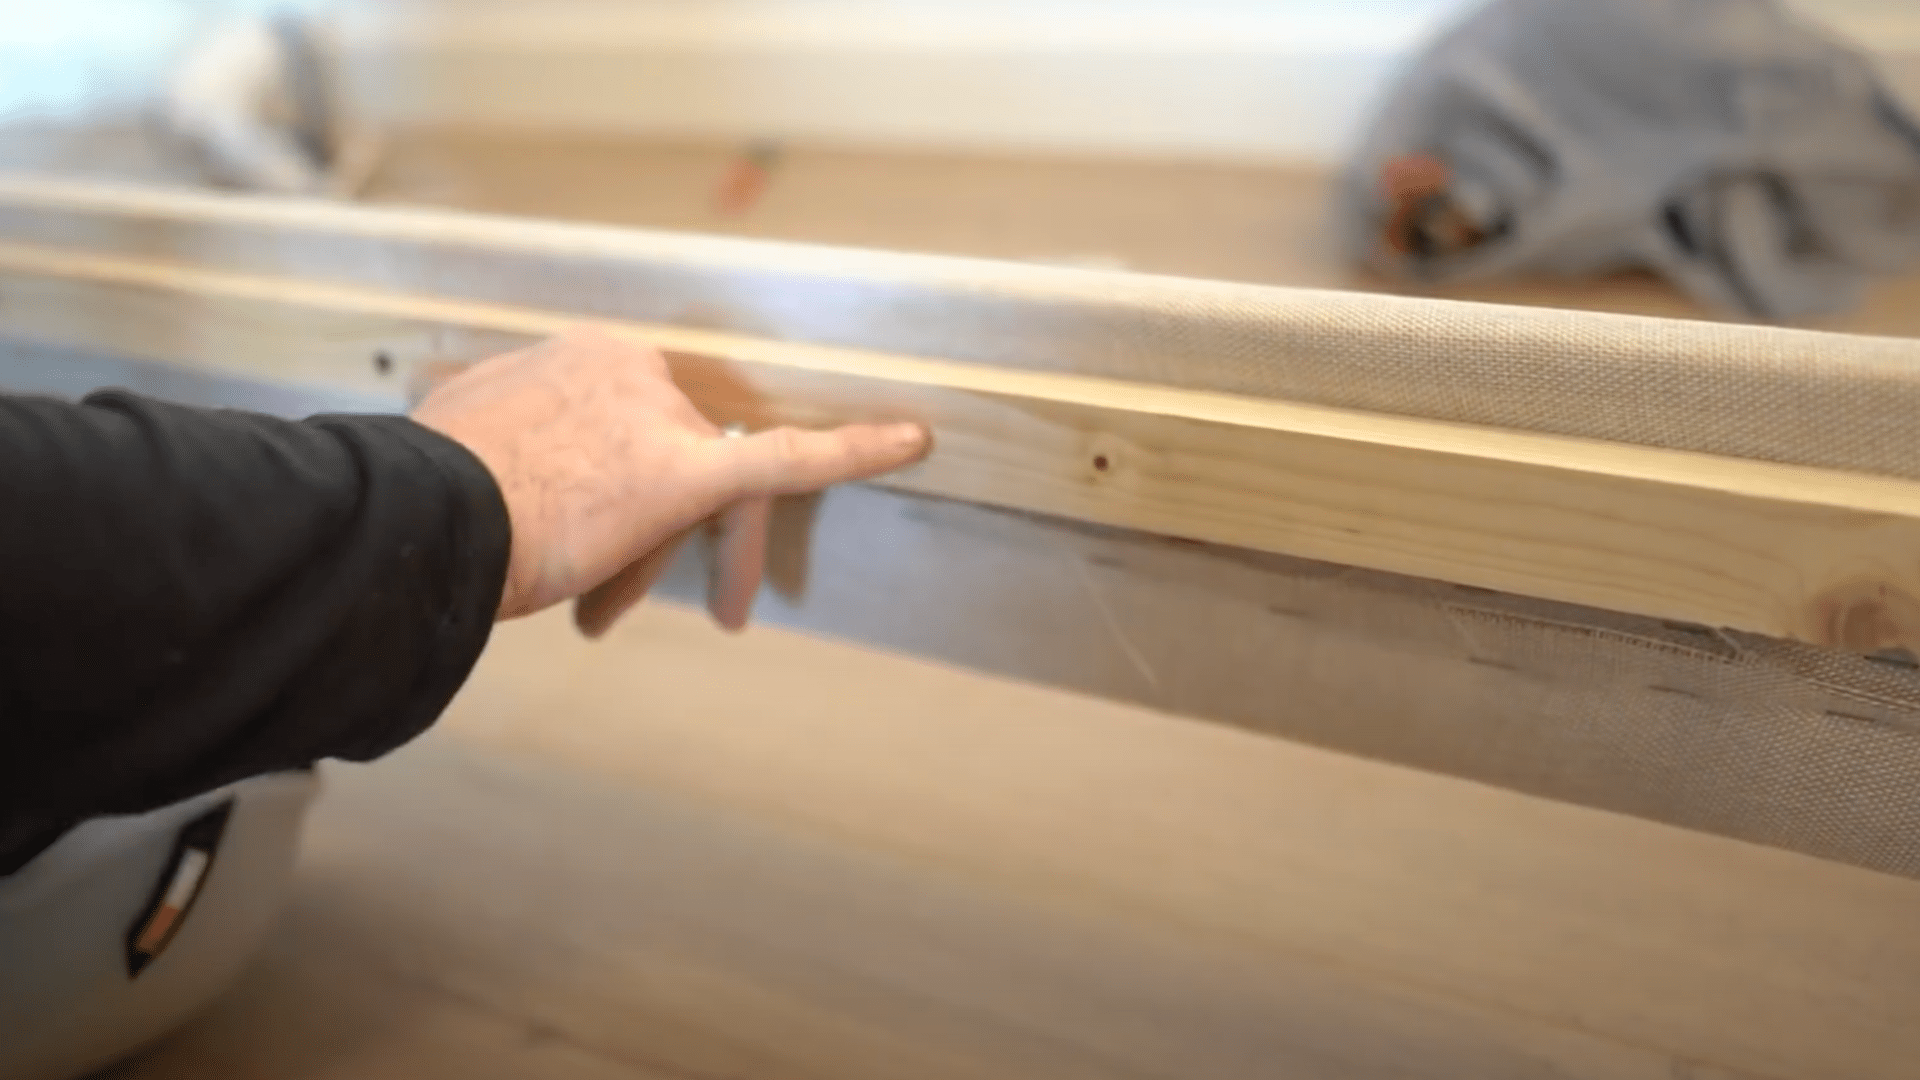
Step 3: Upholster Side and Front Rails
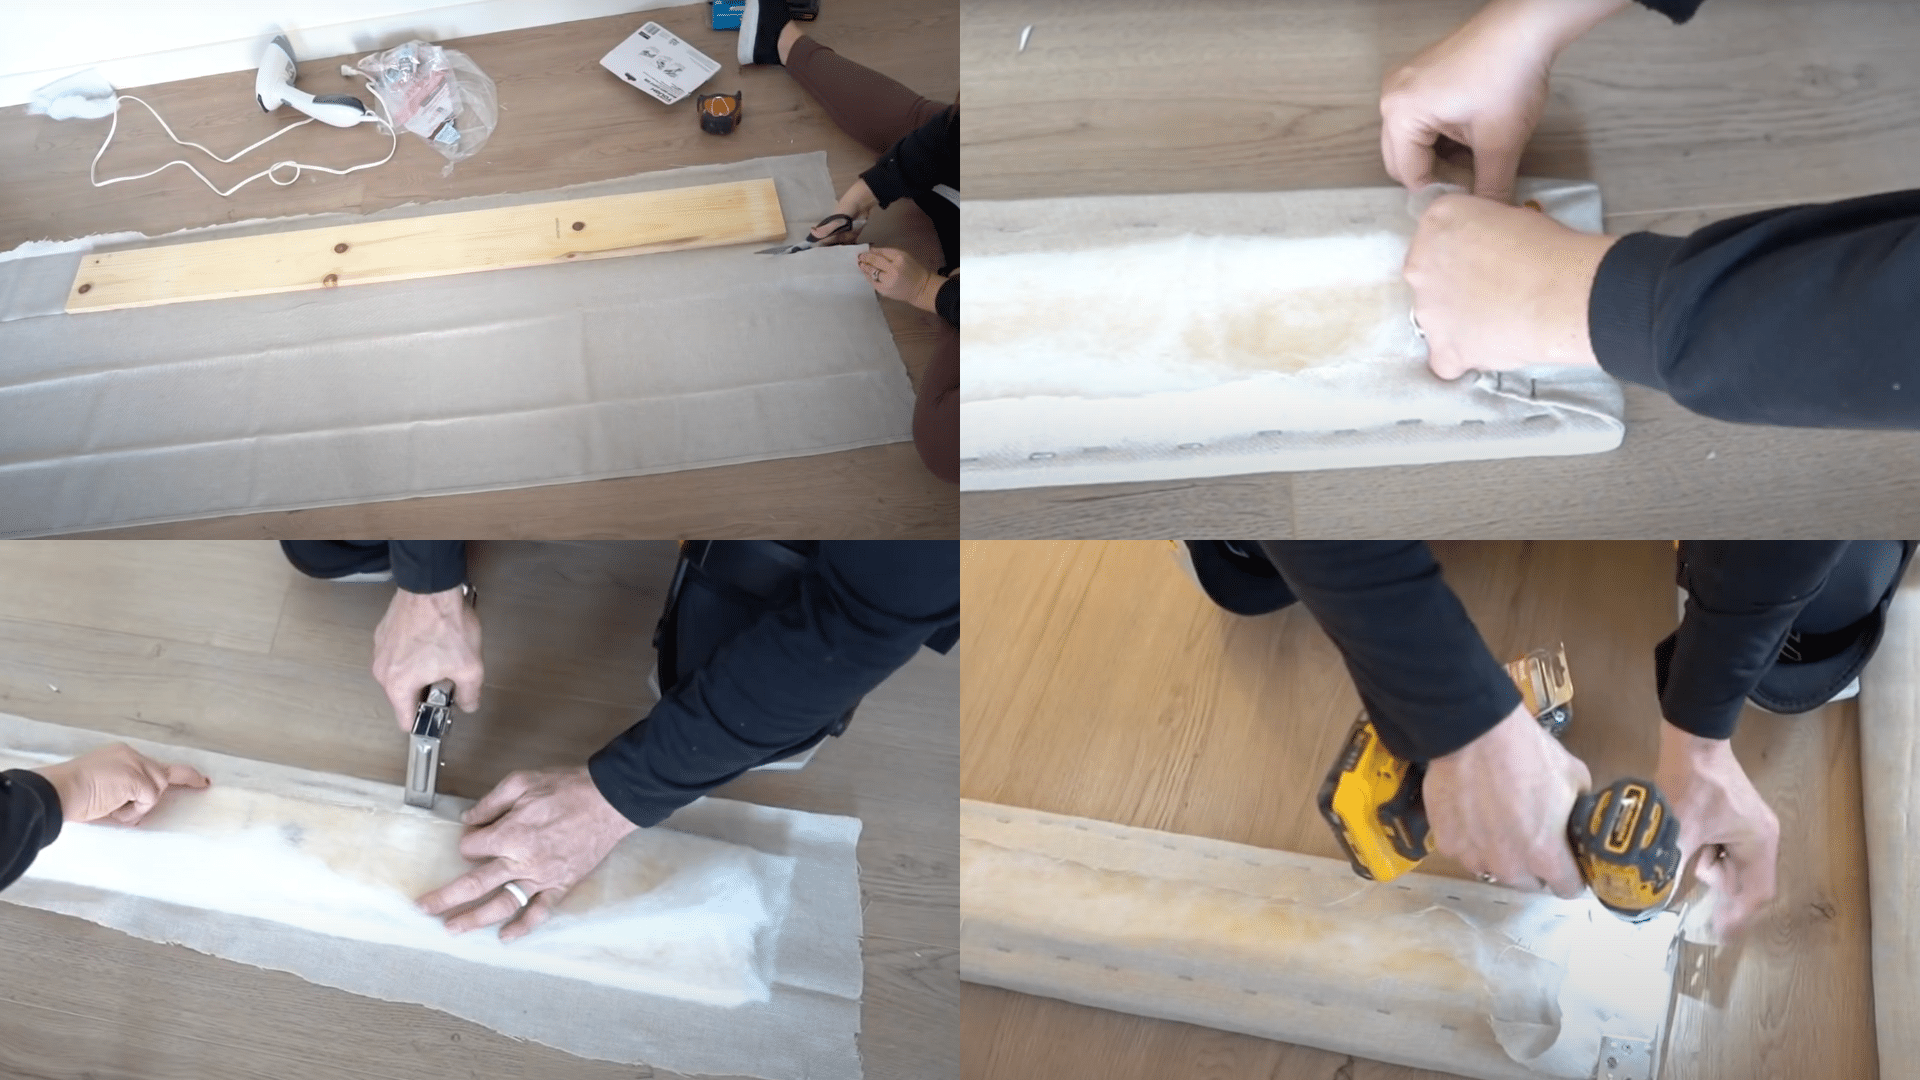
Wrap batting around each rail, pulling it tight to create a smooth surface. Secure it with staples placed close together on the back side.
Next, lay your fabric over the batting, pull it firmly to remove any wrinkles, and staple it to the back of the rail. Fold corners neatly like you’re wrapping a gift for a clean, professional look.
Step 4: Assemble the Frame
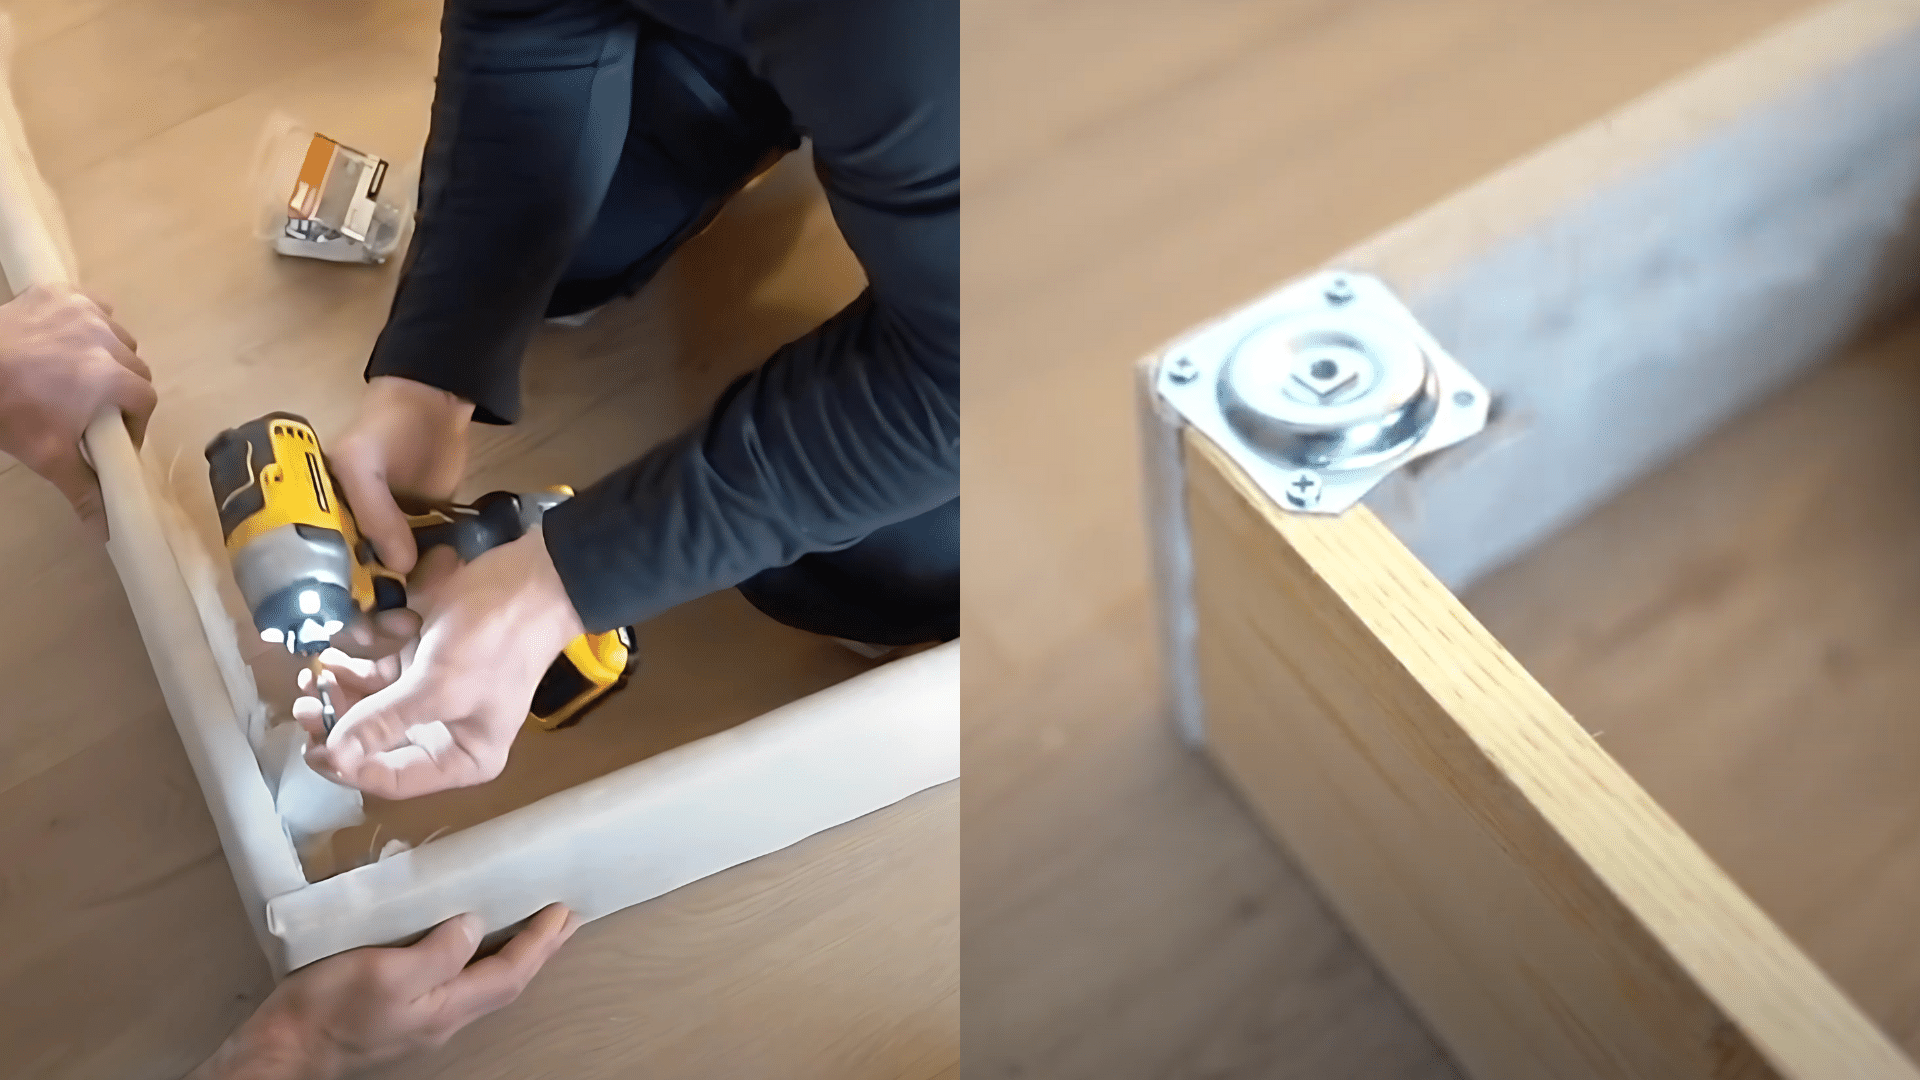
Connect the upholstered rails using corner brackets and screws to form the bed frame. Position the brackets on the inside corners where they won’t be visible from the outside.
Make sure to place screws so they go into the wood without poking through to the fabric side. Double-check that your frame forms a perfect rectangle with square corners.
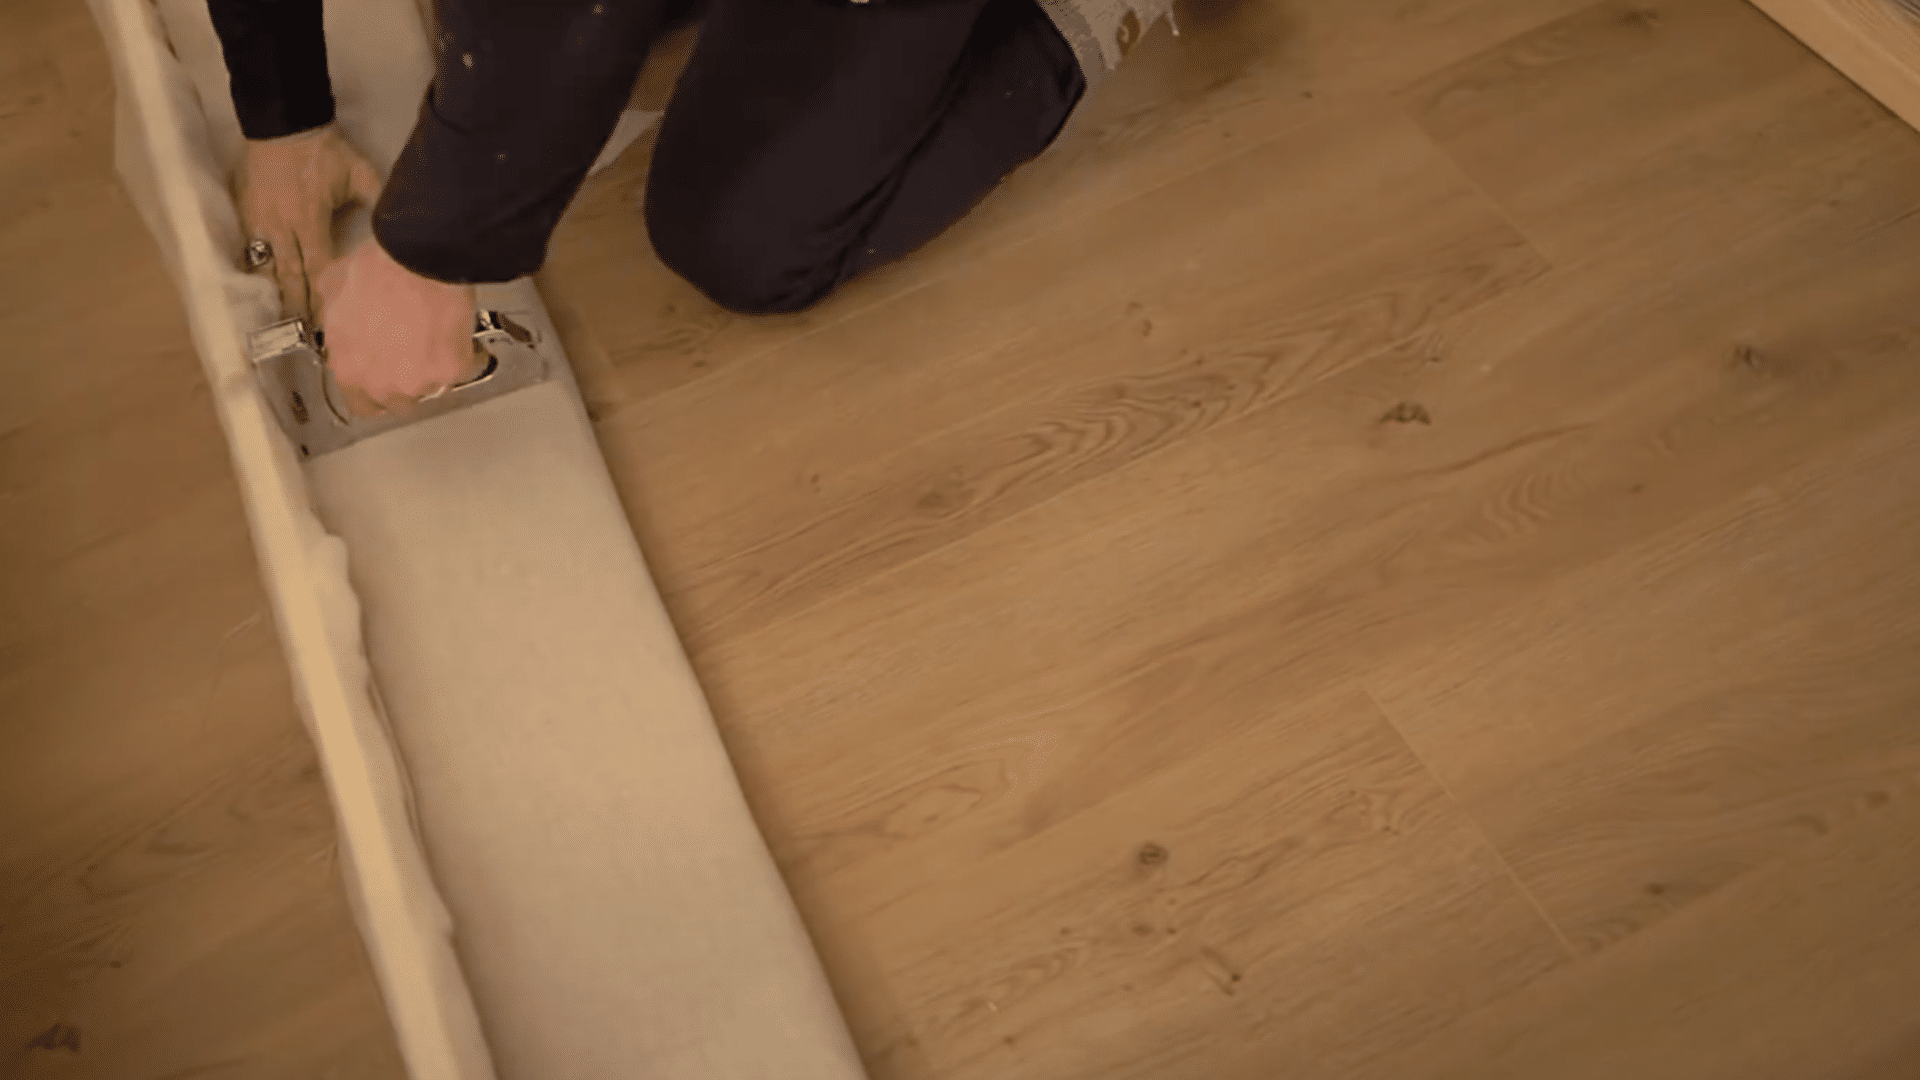
Step 5: Attach Leg Brackets and Legs
Install flat leg brackets at each corner on the underside of the frame. These provide a sturdy base for attaching the wooden legs.
Screw the brackets securely to the frame, then attach the wooden legs by twisting them firmly into the brackets. Make sure all legs are level to prevent wobbling and provide proper support for the mattress.
Step 6: Attach Bed Slats
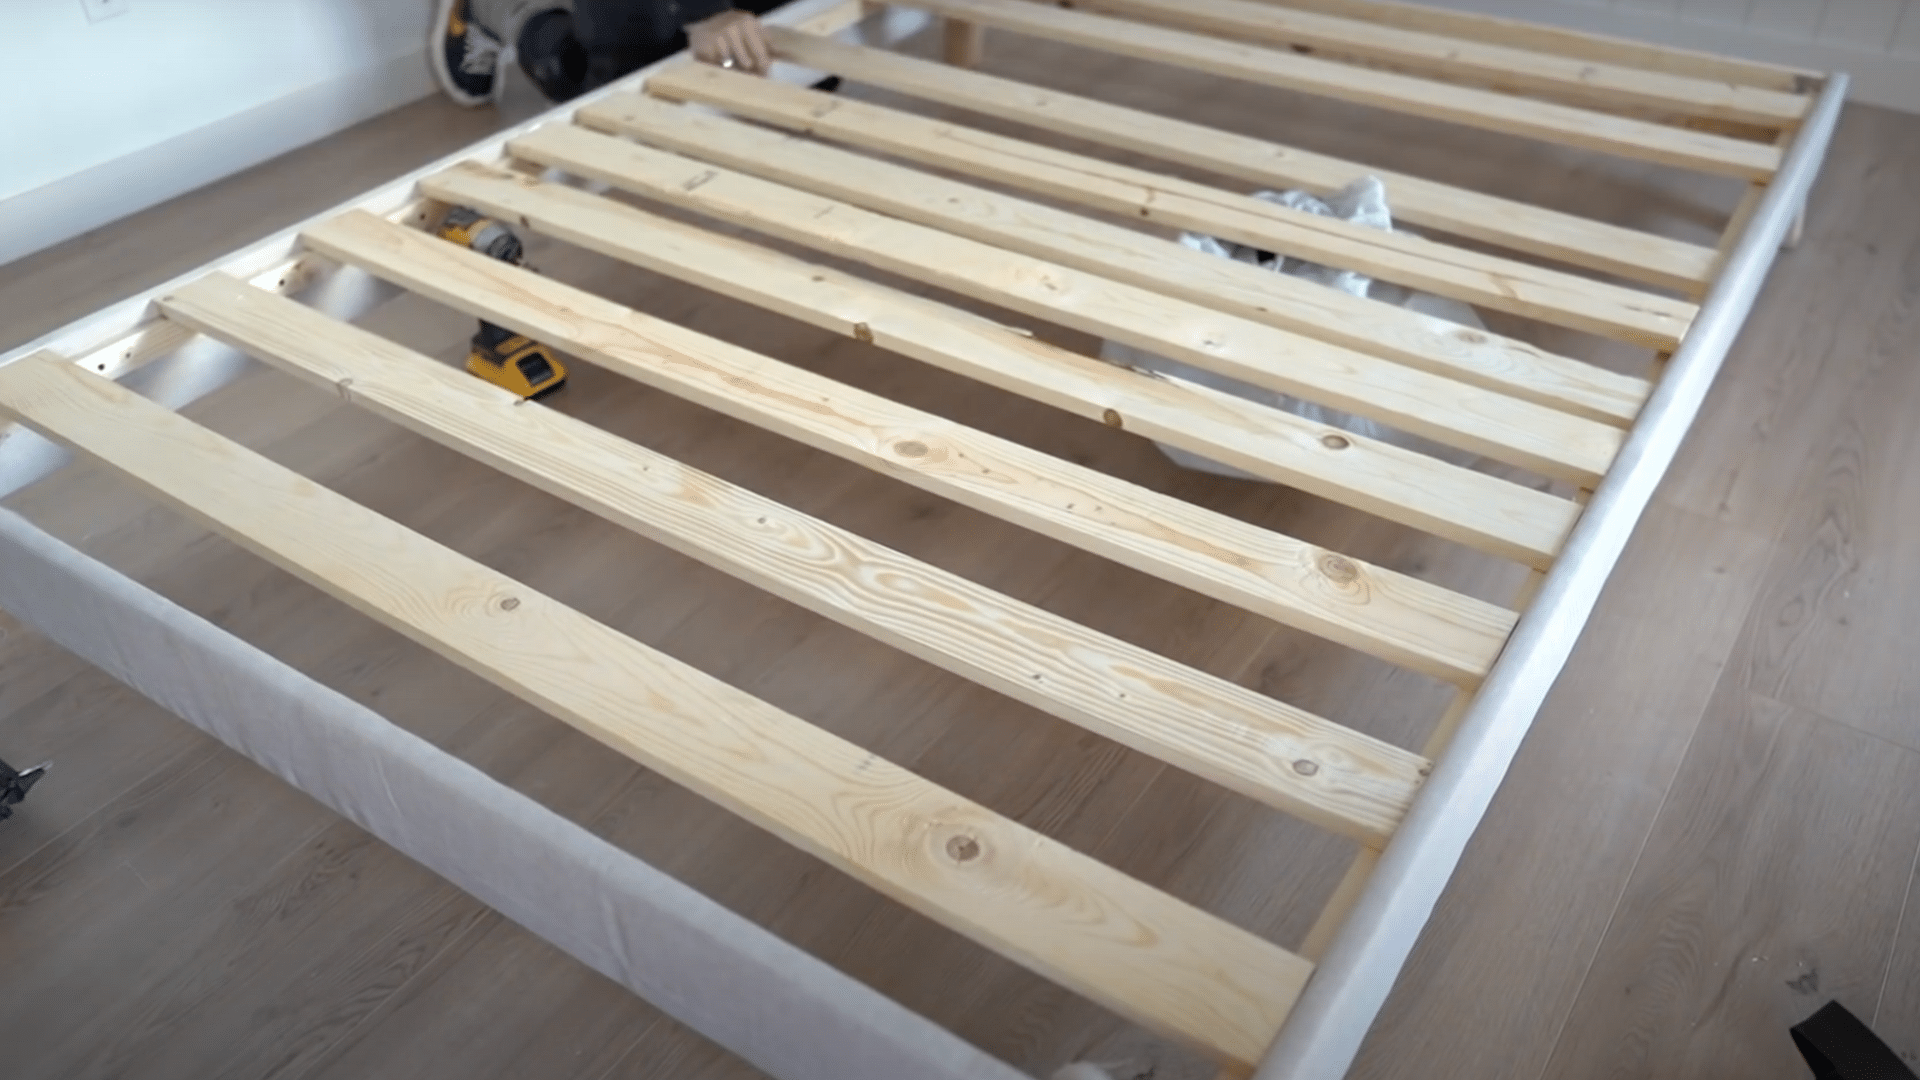
Screw 1″x3″ support pieces along the inside of the rails about one inch below the top edge. These will hold your slats in place. Position and secure the slats across the width of the frame, spacing them evenly.
Add a central support beam with extra legs underneath to prevent sagging, especially important for larger beds or heavier mattresses.
Step 7: Upholster and Attach the Headboard
Attach the twin mattress pad to your headboard plywood using a staple gun. Layer batting over it for extra cushioning, stapling securely. Cover with fabric, pulling it tight and stapling it to the back.
Connect the finished headboard to your bed frame using the side rails, screwing them firmly to both the headboard and bed frame for a secure attachment.
Quick Tip
|
Video Tutorial
For a detailed walkthrough, be sure to watch this video tutorial by Ashley Porter
DIY Pitfalls: Avoid These Mistakes for a Flawless DIY Bed Frame
Creating your own upholstered bed frame can be rewarding, but certain mistakes might turn your dream project into a frustrating experience. Here are common pitfalls to watch out for:
1. Rushing the measuring process: Take your time to measure twice and cut once. Incorrect measurements can lead to pieces that don’t fit together properly, causing structural issues in your bed frame.
2. Skimping on support: A bed needs proper support to hold the weight of your mattress and whoever sleeps on it. Make sure to include enough slats and that central support beam with additional legs.
3. Pulling fabric too tight or too loose: Finding the right tension when upholstering is crucial. Too tight and the fabric might tear; too loose and it will look lumpy and unprofessional.
4. Forgetting to check for level: An uneven bed frame will cause discomfort and possible back pain. Use a level tool throughout your construction process to ensure everything lines up properly.
By being aware of these common mistakes, you can create a bed frame that’s both beautiful and long-lasting.
The Final Touch
Building your own upholstered bed frame offers a wonderful mix of cost savings and personal satisfaction. For under $300, you’ve created a custom piece that perfectly matches your bedroom style and meets your exact needs.
We’ve walked through each step of the process—from gathering materials to adding the final touches on your headboard.
By following this guide and staying mindful of common mistakes, you’ve built a sturdy, comfortable bed that looks like it came from a high-end furniture store.
The skills you’ve gained from this project can be used for many other home upgrades. Why not share photos of your finished bed frame with friends and family? They might even ask you to help with their next home project!
Ready to start? Grab your materials list and get building your dream bed this weekend!
