

Do you struggle with storing small items that always seem to get lost in bigger bags? You’re not alone. Most people struggle to keep track of smaller belongings without a suitable storage solution.
I’ll show you how to create a lined drawstring bag that solves this common problem. With just two fabric layers and some cord, you can create a durable and attractive bag that keeps your items secure and easy to locate.
This guide covers everything from choosing materials to threading your drawstring. You’ll learn a step-by-step process that works for both beginners and experienced sewers. By the end, you’ll have a custom bag perfect for storing makeup, toys, craft supplies, or even using as a gift pouch.
What Is a Lined Drawstring Bag?
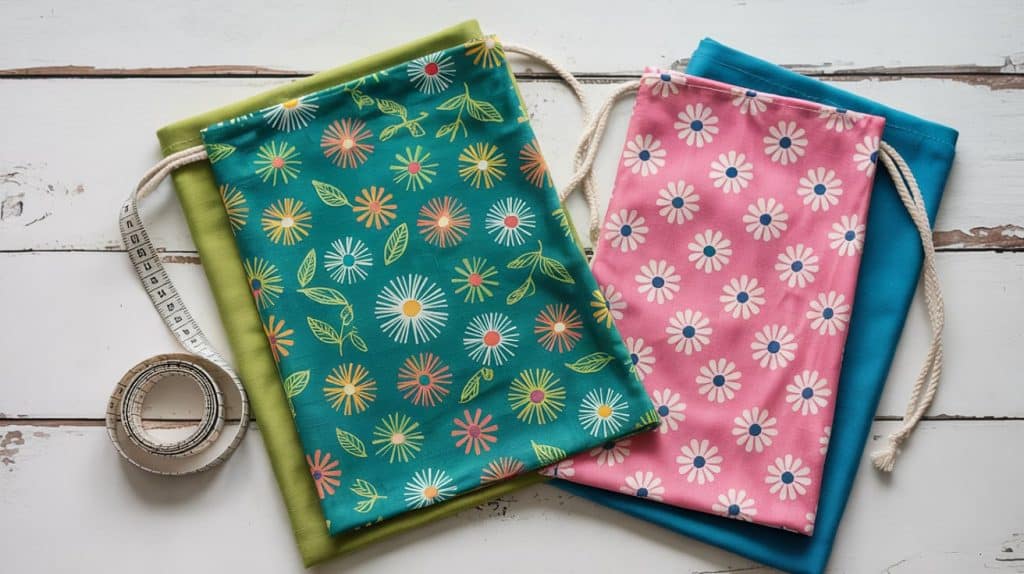
A lined drawstring bag seamlessly combines style and function in a simple yet elegant design. This type of bag features two fabric layers that work together to create a strong and visually appealing pouch. The outer layer showcases your chosen fabric, while the inner lining conceals the seams and adds strength to the bag.
What makes this bag special is the drawstring top. When you pull the strings, the bag closes tight to keep your items safe inside. When open, the bag offers easy access to all your things. The strings can be made from cord, ribbon, or even fabric strips that match or contrast with the bag itself.
These bags are versatile and come in handy for a variety of uses. People love them for storing makeup, small toys, craft supplies, or gift items. The dual-layer build makes them last longer than single-layer options. You can wash them when they get dirty, and they retain their shape well over time.
Materials Needed for Sewing a Lined Drawstring Bag
| Tools and Materials | Description |
|---|---|
| Fabric | Two pieces: one for the main fabric and one for the lining fabric. |
| Drawstring | Cord, ribbon, or any fabric that can be used to create the drawstring. |
| Sewing Machine | Or a needle for hand sewing if you prefer to sew by hand. |
| Thread | To match the colors of your fabrics. |
| Scissors | For cutting fabric and a drawstring. |
| Pins | To hold fabric pieces together while sewing. |
| Measuring Tape or Ruler | For accurately measuring fabric pieces. |
| Iron | Pressing fabric edges makes sewing easier. |
| Safety Pins | For threading the drawstring through the casing. |
Step-by-Step Guide to Sewing a Lined Drawstring Bag
Learn how to sew a stylish and functional lined drawstring bag with this easy-to-follow step-by-step guide, perfect for beginners and experienced crafters alike.
Step 1: Measure and Cut Fabric
First, prepare your fabric pieces. Take your measuring tape and mark out two 14″ by 16″ rectangles on your main fabric. Do the same with your lining fabric. Make sure your cuts are straight and clean. You can use pins to mark the fabric before cutting to help keep things exact.
If you prefer a smaller or larger bag, feel free to adjust these measurements, but maintain similar proportions for optimal results.
Step 2: Prepare the Drawstring
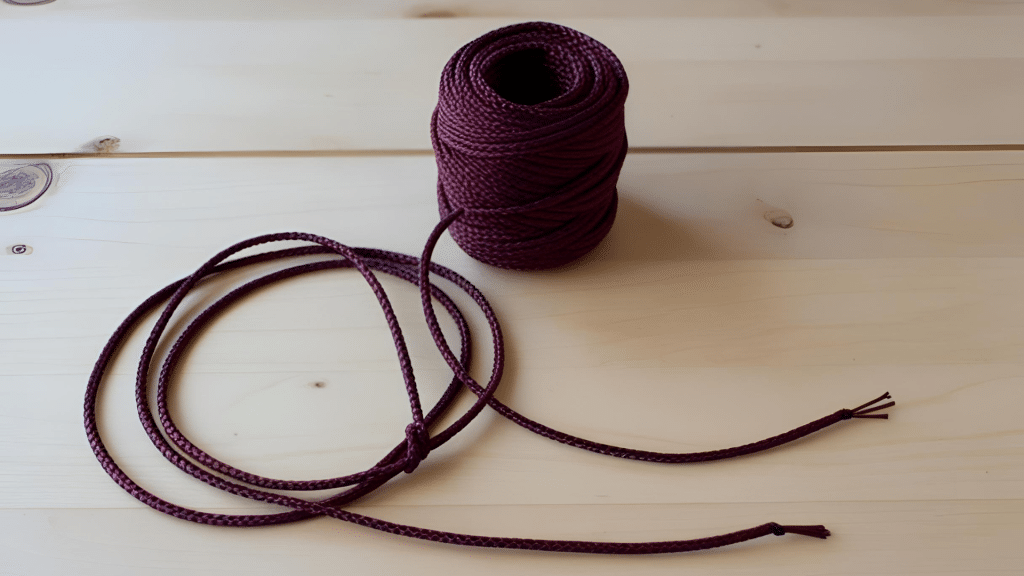
For the drawstring, cut two pieces of cord or ribbon, each about 30 inches in length. This extra length provides ample room to work with, ensuring you can pull the bag closed with ease. The type of cord you choose affects the appearance of your finished bag.
Ribbon offers a softer look, while cotton cord gives a more casual feel. Ensure the ends won’t fray by applying a small amount of clear nail polish if necessary.
Step 3: Sew the Main Fabric and Lining Together
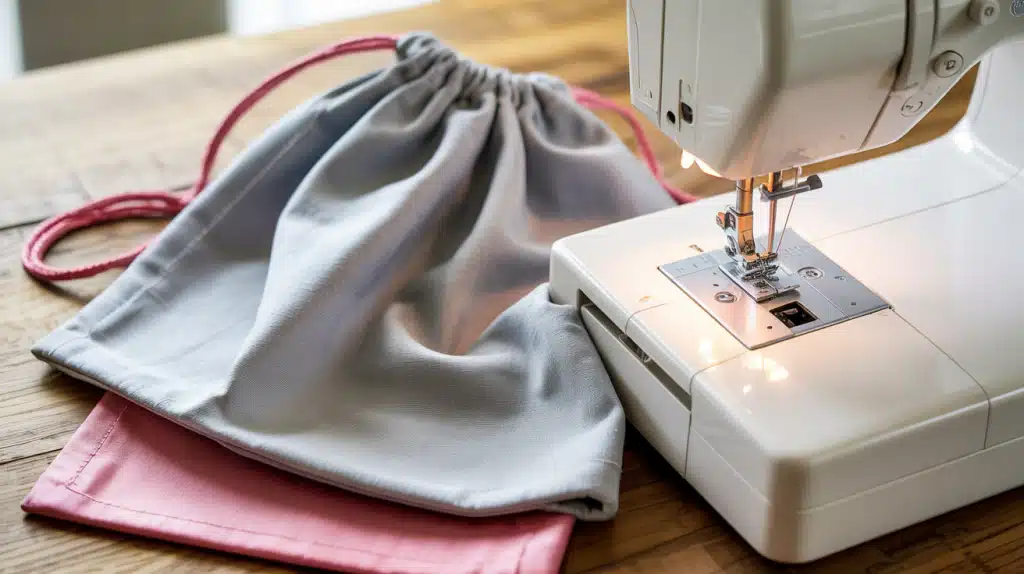
Take your two main fabric pieces and place them with the right sides facing each other. Pin around the edges to hold them in place. Now do the same with your lining fabric pieces.
Using your sewing machine, stitch around three sides of each set, keeping a 1/2-inch seam allowance from the edge. Leave the top open on both sets of fabric. This creates two separate pouches: one will be your outer bag, and the other will be the lining.
Step 4: Turn the Bag Right-Side-Out

Now comes the magic moment when your bag starts to take shape. Take only the main fabric pouch and pull it through itself so the right side (the pretty side) faces outward. Smooth all corners and edges with your fingers.
The lining pouch should stay as is, with the right sides still facing inward. Press both pouches with an iron if needed to make them neat and flat.
Step 5: Attach the Lining to the Main Bag
Place the main fabric pouch (right-side out) inside the lining pouch (still wrong-side out). Match up the open edges at the top of both pouches. Ensure the seams align properly. Pin these top edges together all the way around.
Sew along this top edge with a straight stitch, joining the two pouches into one bag. Keep your stitch about half an inch from the top edge to leave room for the casing.
Step 6: Create the Drawstring Casing
Fold the top edge down about one inch toward the inside of the bag. This fold should include both the main fabric and the lining fabric layers. Press this fold with your iron to make a sharp crease. Pin in place if needed.
Sew around this folded edge, staying close to the bottom of the fold. Ensure a small opening (approximately 1 inch wide) is left so that you can insert your drawstring later.
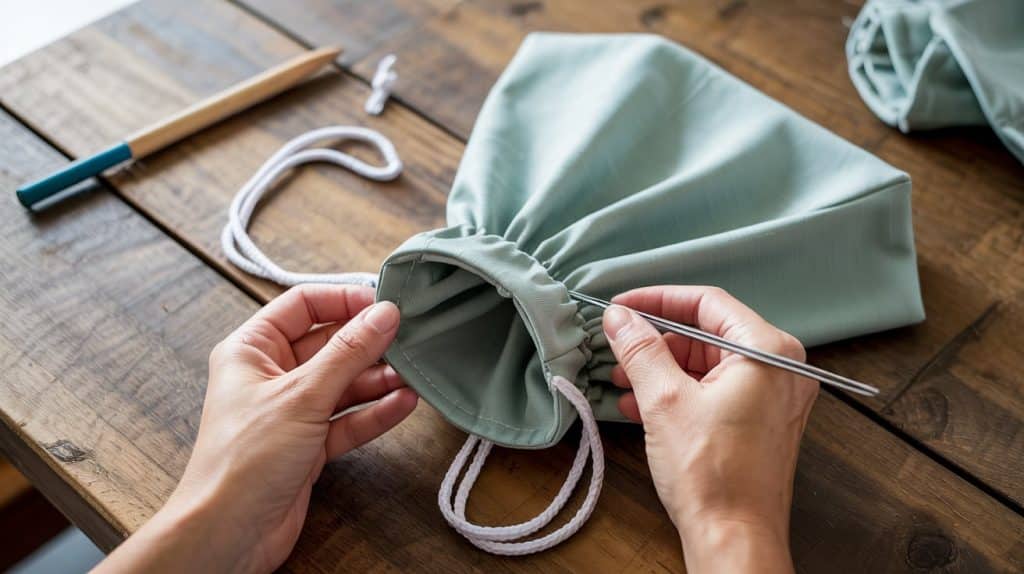
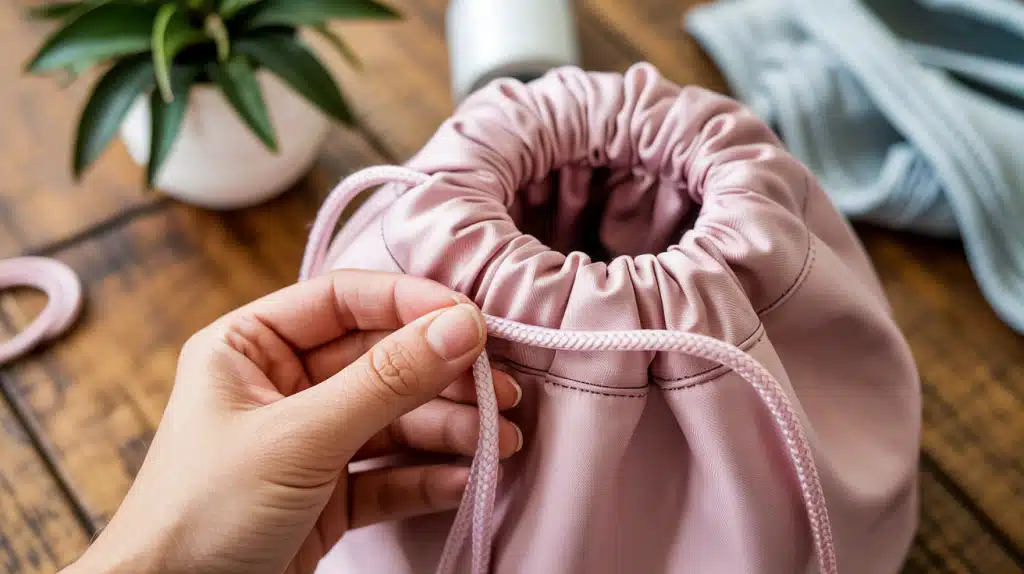
Step 7: Thread the Drawstring
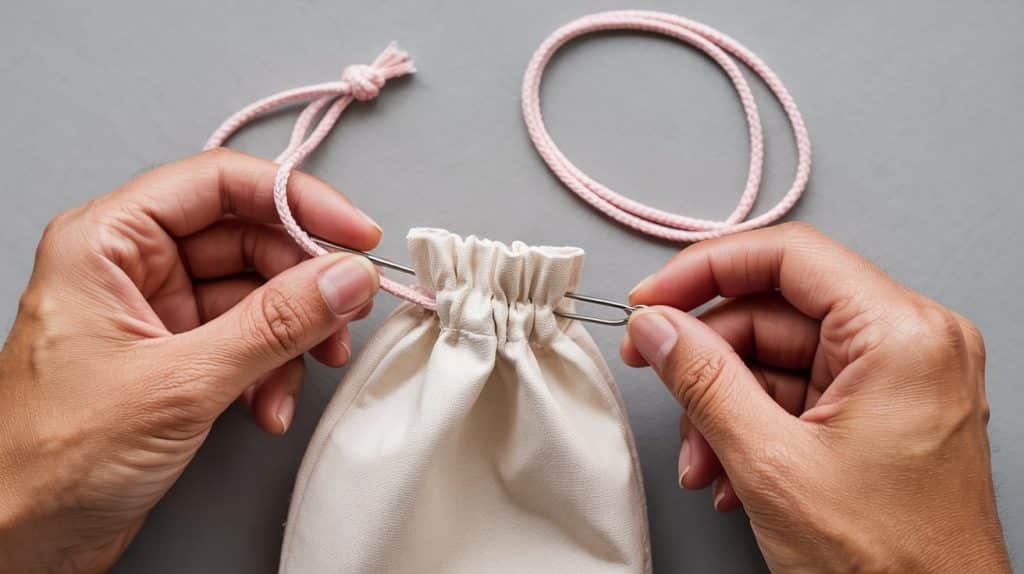
Attach a safety pin to one end of your drawstring. Insert this safety pin into the opening you left in the casing. Push and pull the safety pin through the casing, bunching the fabric as you go, until it comes out the same opening.
Do the same with the second drawstring, but start from the opposite side of the opening. Tie knots at the ends of both drawstrings to stop them from pulling out. Give your drawstrings a test pull, and your bag is ready to use!
Video Tutorial
Id like to acknowledge Whitney Sews for the insightful video, which was a key reference in putting this guide together.
Customizing Your Lined Drawstring Bag
- Embroidery: Add hand-stitched initials or small designs to make the bag feel personal and one-of-a-kind.
- Pockets: Include a small pocket inside or outside the bag to keep tiny items from getting lost at the bottom.
- Fabric Options: Select bright prints for a fun look or opt for solid colors for a more sophisticated style that suits any occasion.
- Decorative Edging: Sew trim, bias tape, or ribbon along the edges to give your bag a finished, store-bought look.
Conclusion
Your lined drawstring bag is now complete and ready to use. This simple project demonstrates how a few basic materials and steps can be combined to create something both useful and attractive. The dual-layer design provides your bag with extra strength while concealing all the raw edges within.
What makes this project special is how you can adjust it to fit your needs. You can change the size, switch fabrics, or try different drawstring options to make it truly yours. Each choice you make adds to the final look and function of your bag.
So what’s next? You may want to create more bags in different sizes for various purposes. Small ones work well for jewelry, while larger versions can hold gym clothes or beach items. You could also add pockets to the lining for even more storage options.
We hope you found this guide helpful. Making your lined drawstring bag saves money and gives you exactly what you need. Have you made your bag already? Tell us in the comments which fabrics you chose and what you plan to store in them!
Frequently Asked Questions
Can I Make a Waterproof Drawstring Bag with a Lined Interior?
Yes, use PUL fabric or coat cotton with beeswax for water resistance.
How Do I Fix a Drawstring that Gets Stuck in the Casing?
Use a larger safety pin or attach the new string to the old one before pulling it out.
Is It Possible to Wash These Bags in a Machine?
Yes, most fabric bags can go in a mesh laundry bag on a gentle cycle.
What’s the Best Fabric for a Bag that Needs to Hold Heavy Items?
Canvas, denim, or duck cloth work best for bags that carry heavier objects.