

The blank canvas of paper awaits creativeness! Watch as simple folds breathe life into a flat sheet, creating a miniature masterpiece your child can hold in their hands.
This origami pouch: a tiny sculpture of practical art, invites young artists to experience the joy of creation.
Paper folding is like painting with shapes rather than colors. Each crease tells a story, each fold builds anticipation. When the final fold reveals a perfect little pouch, children experience that wonderful “I made this!” moment that sparks creative confidence.
Join us in this paper adventure! No brushes or paints needed, just nimble fingers and imagination. This pocket-sized creation combines craft and function, allowing your child’s creativity to shine.
What You’ll Need
- Grab any A4 sheet of paper, white works great, but colored paper adds a splash of fun!
- Find a nice flat spot, like a table or desk, where you can focus on your folding magic
- Just your own two hands, no glue, tape, or scissors needed for this paper craft!
Feel free to use fancy paper with patterns if you want to make your pouch extra special. The more colorful the paper, the more eye-catching your finished pouch will be!
Method
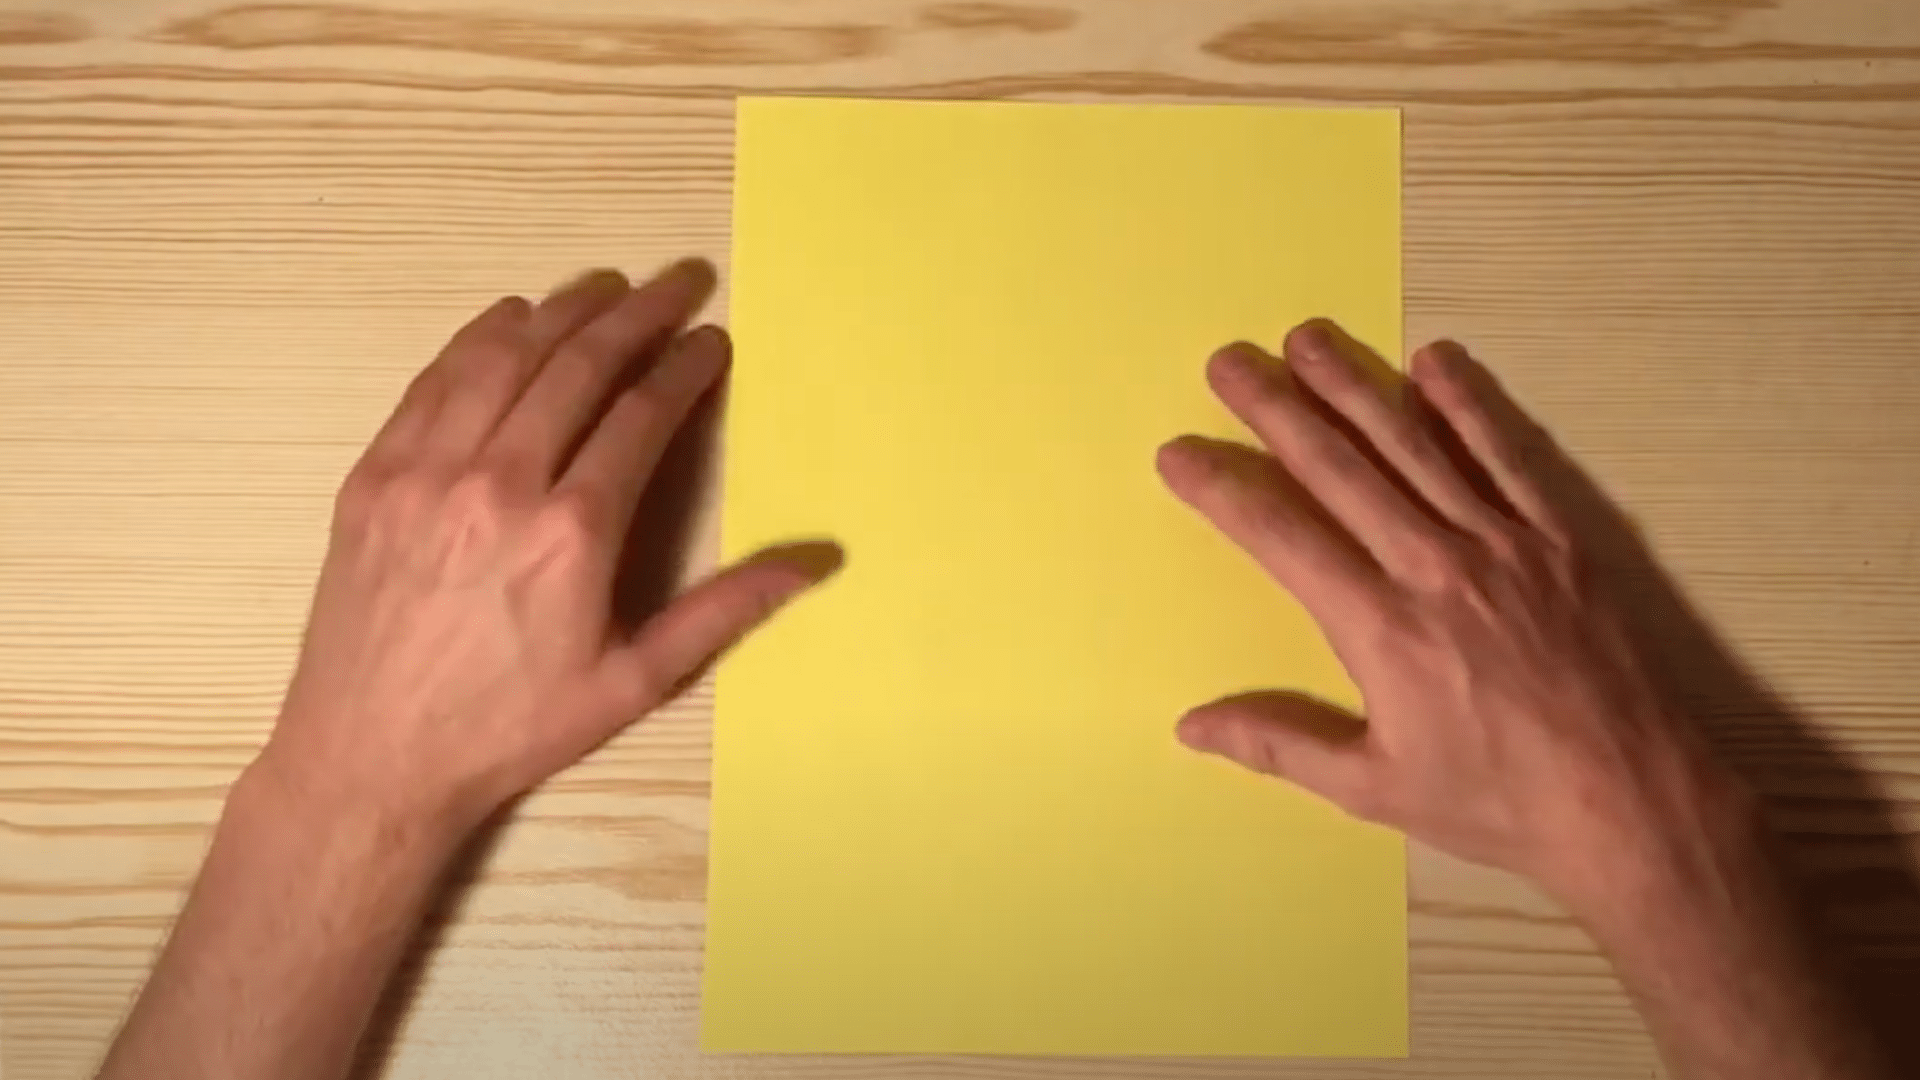
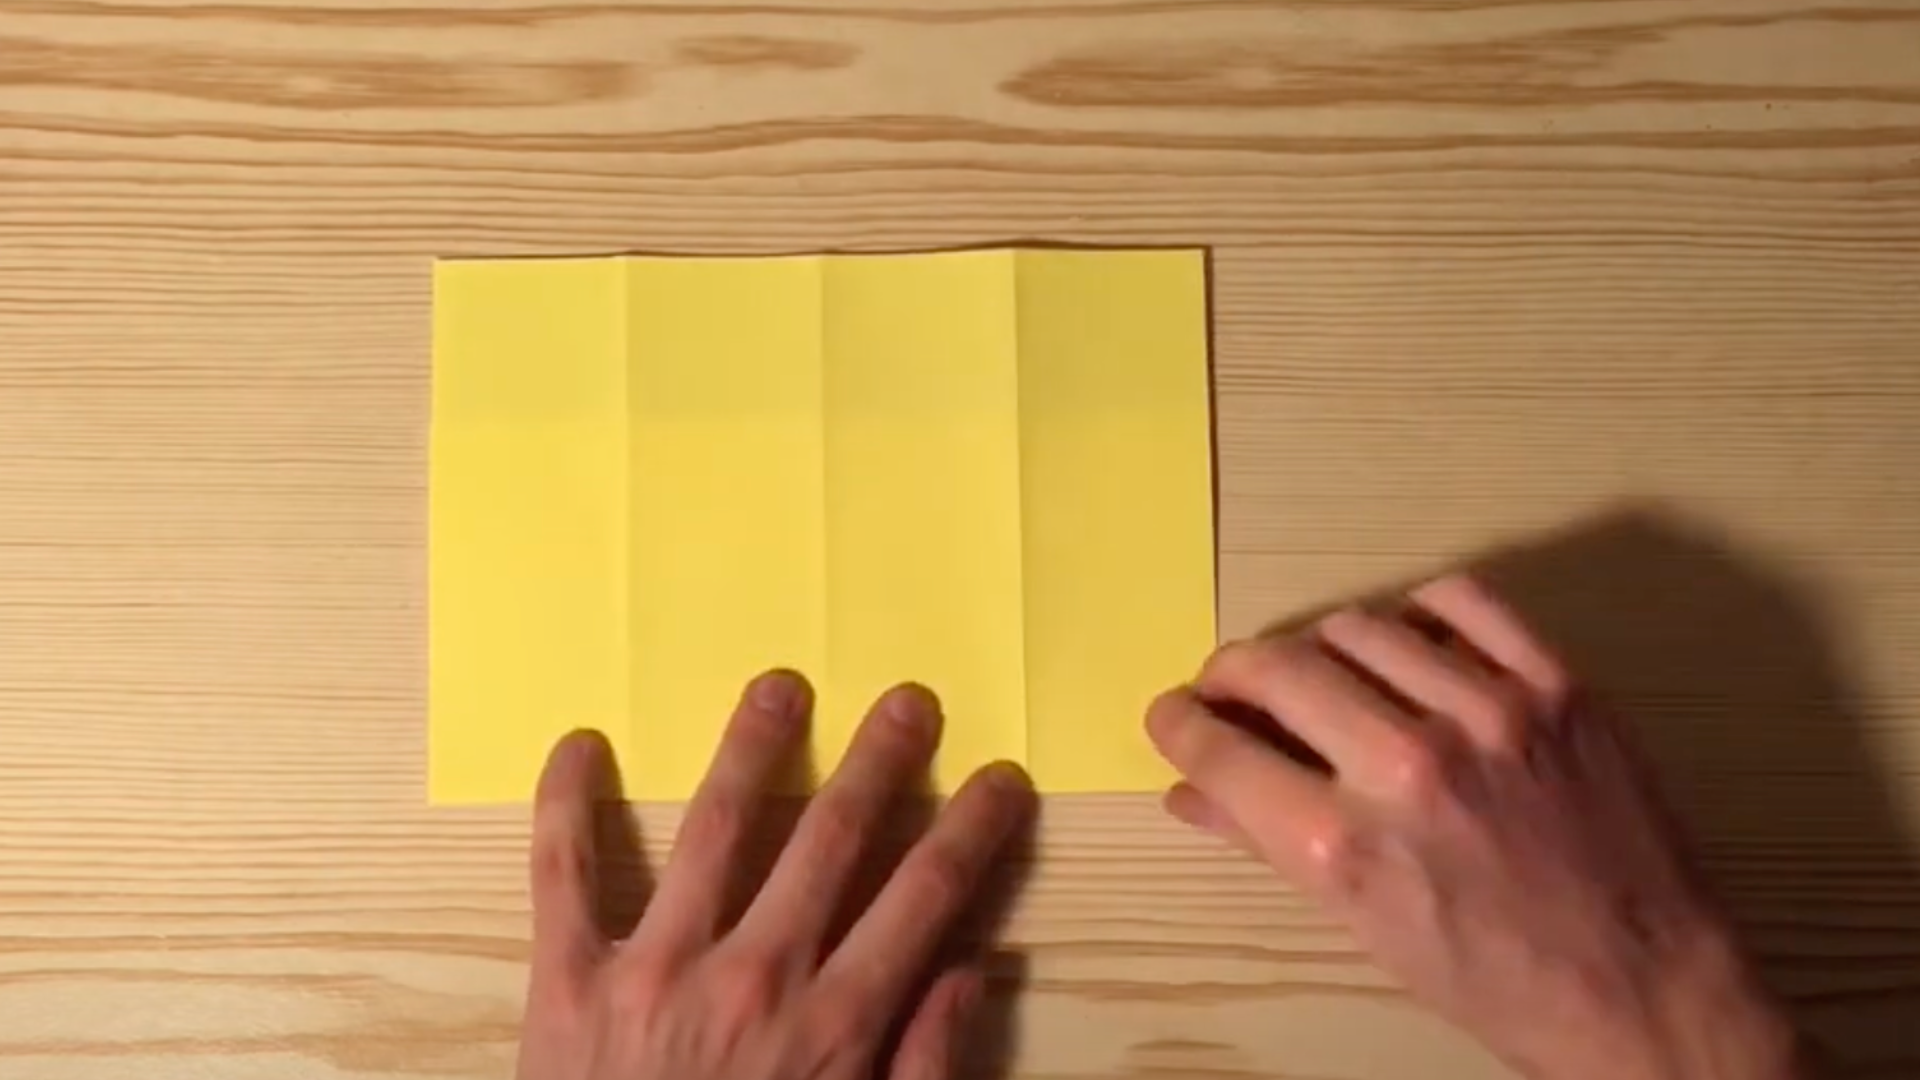
1. Take your A4 paper and fold it in half horizontally, then unfold it completely flat again.
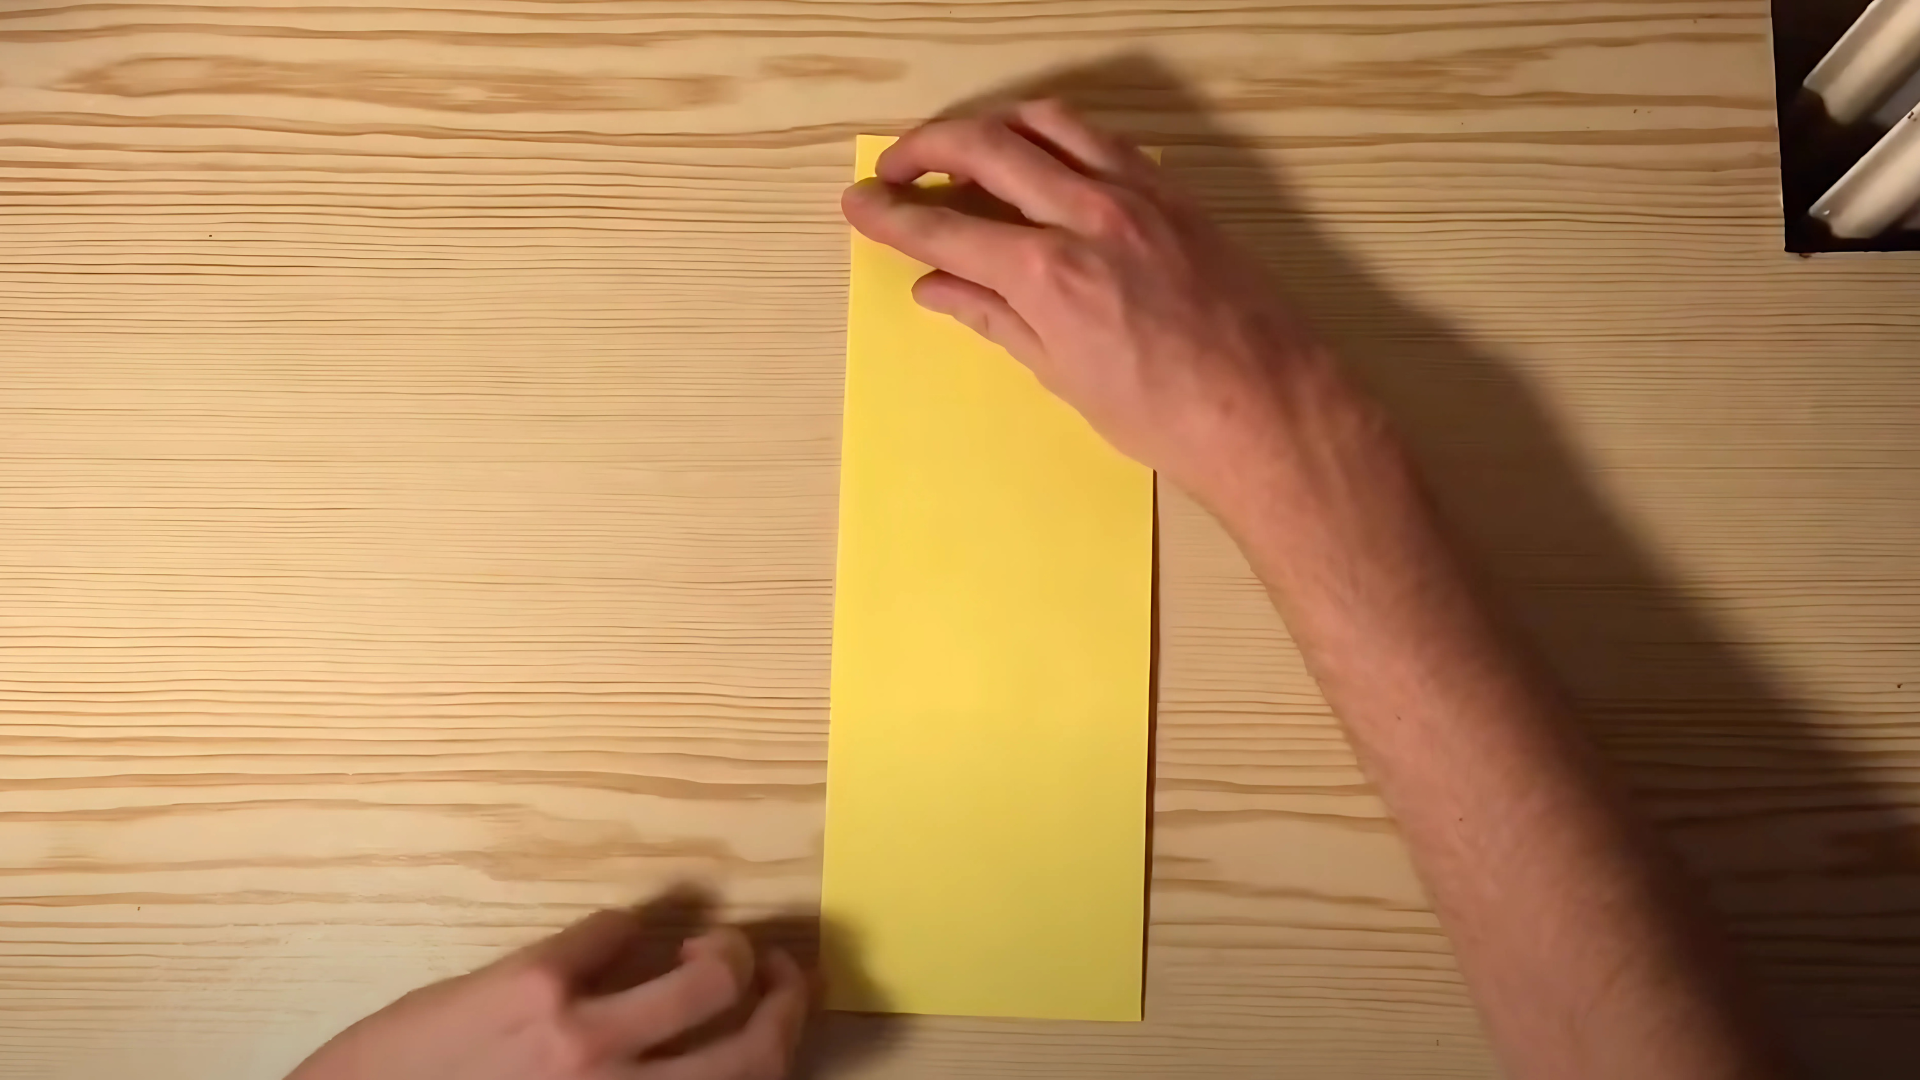
2. Next, fold the same paper in half vertically, making a clear crease down the middle.

3. Carefully bring both the left and right edges and fold them inward to meet at the center line.
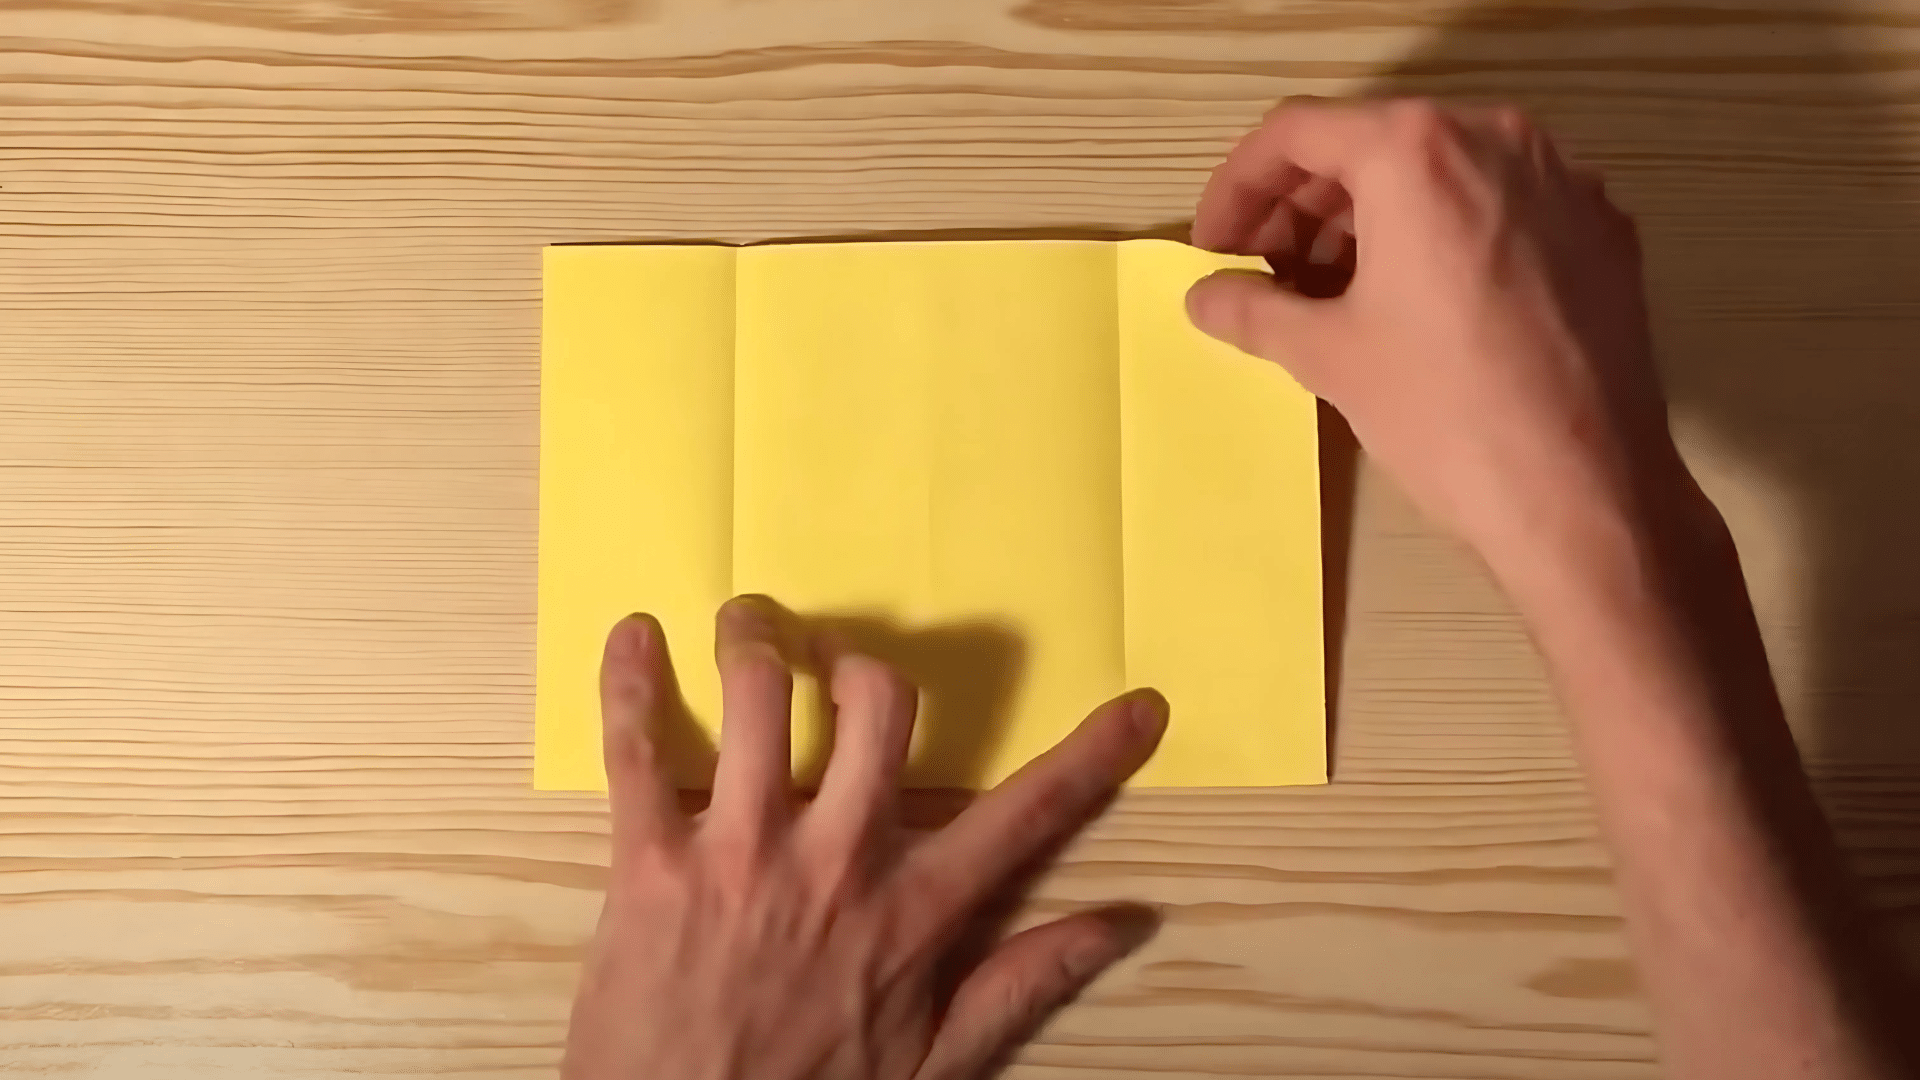
4. Open these side folds back up, keeping the vertical center fold intact for the next steps.
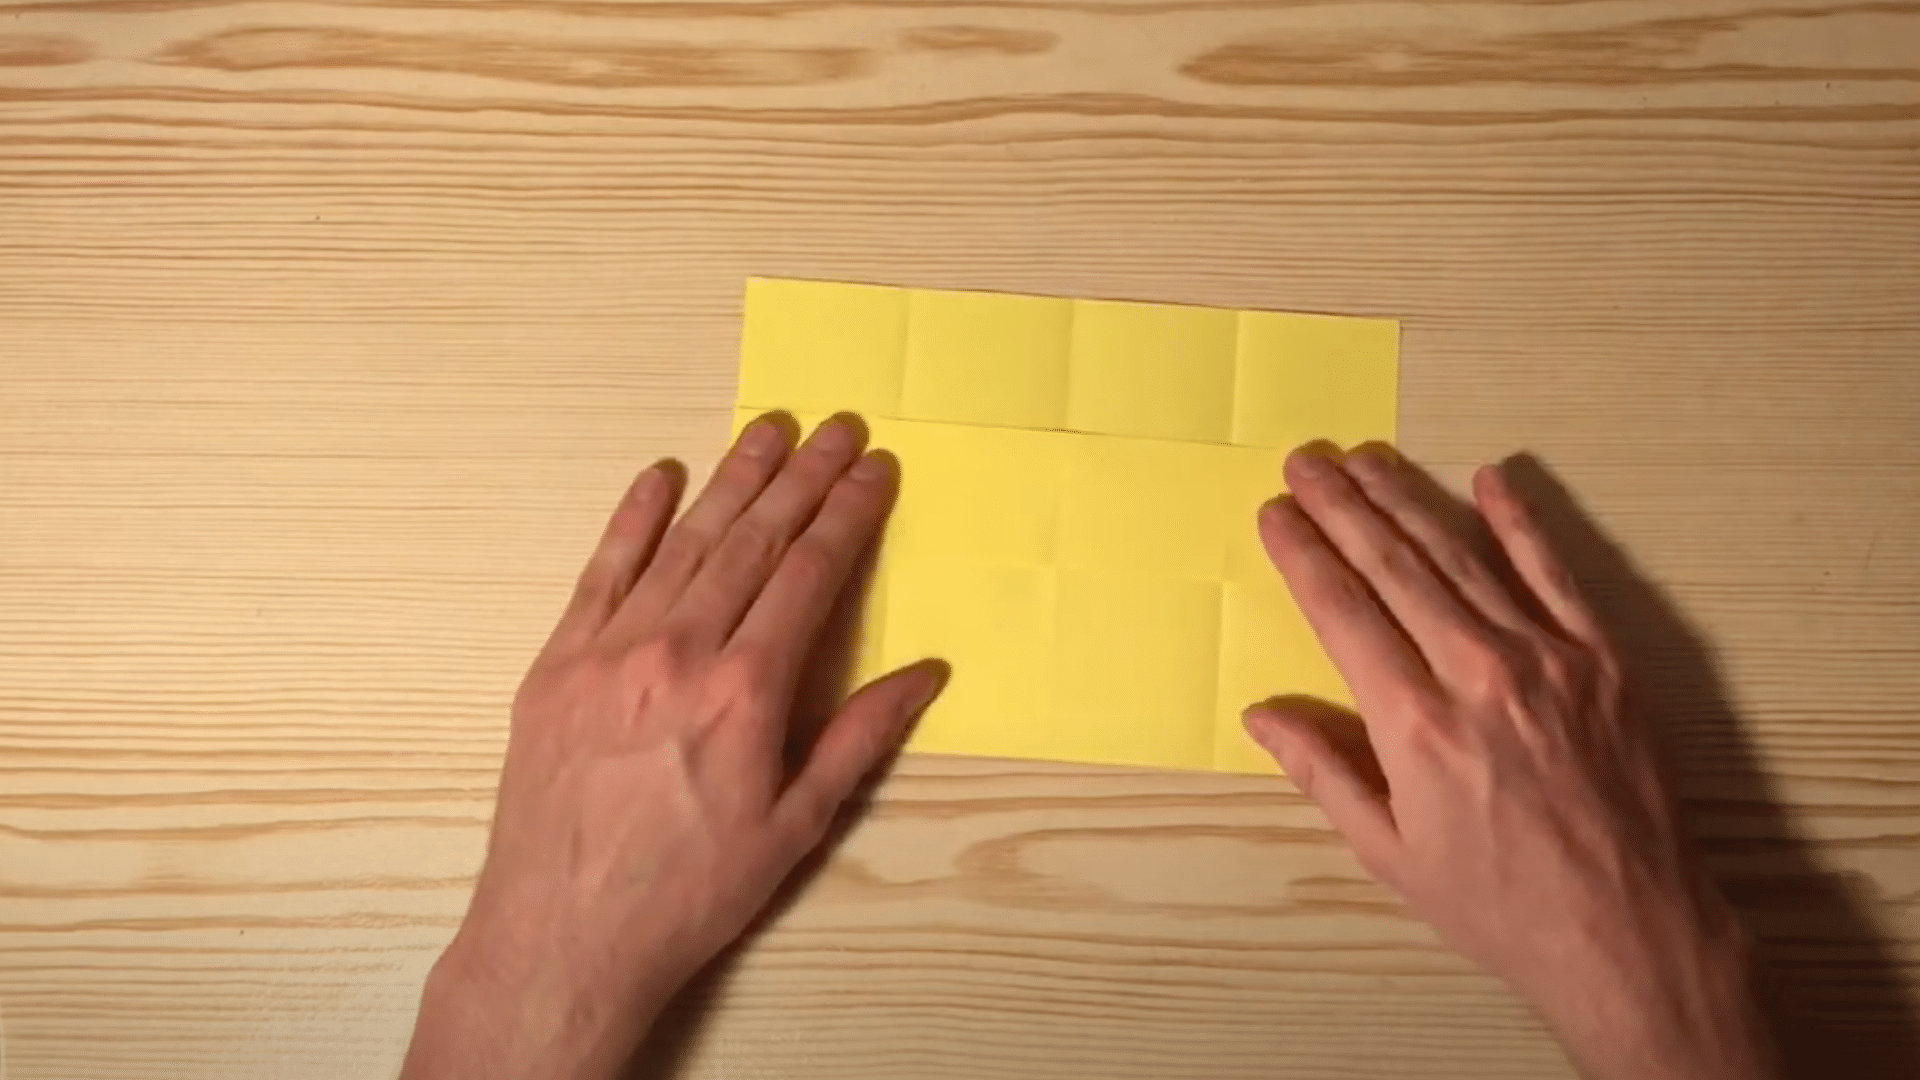
5. Take just the top layer of paper and fold it downward about one-third of the entire length.
6. Flip the entire paper over to work on what will become the outer part of the pouch.
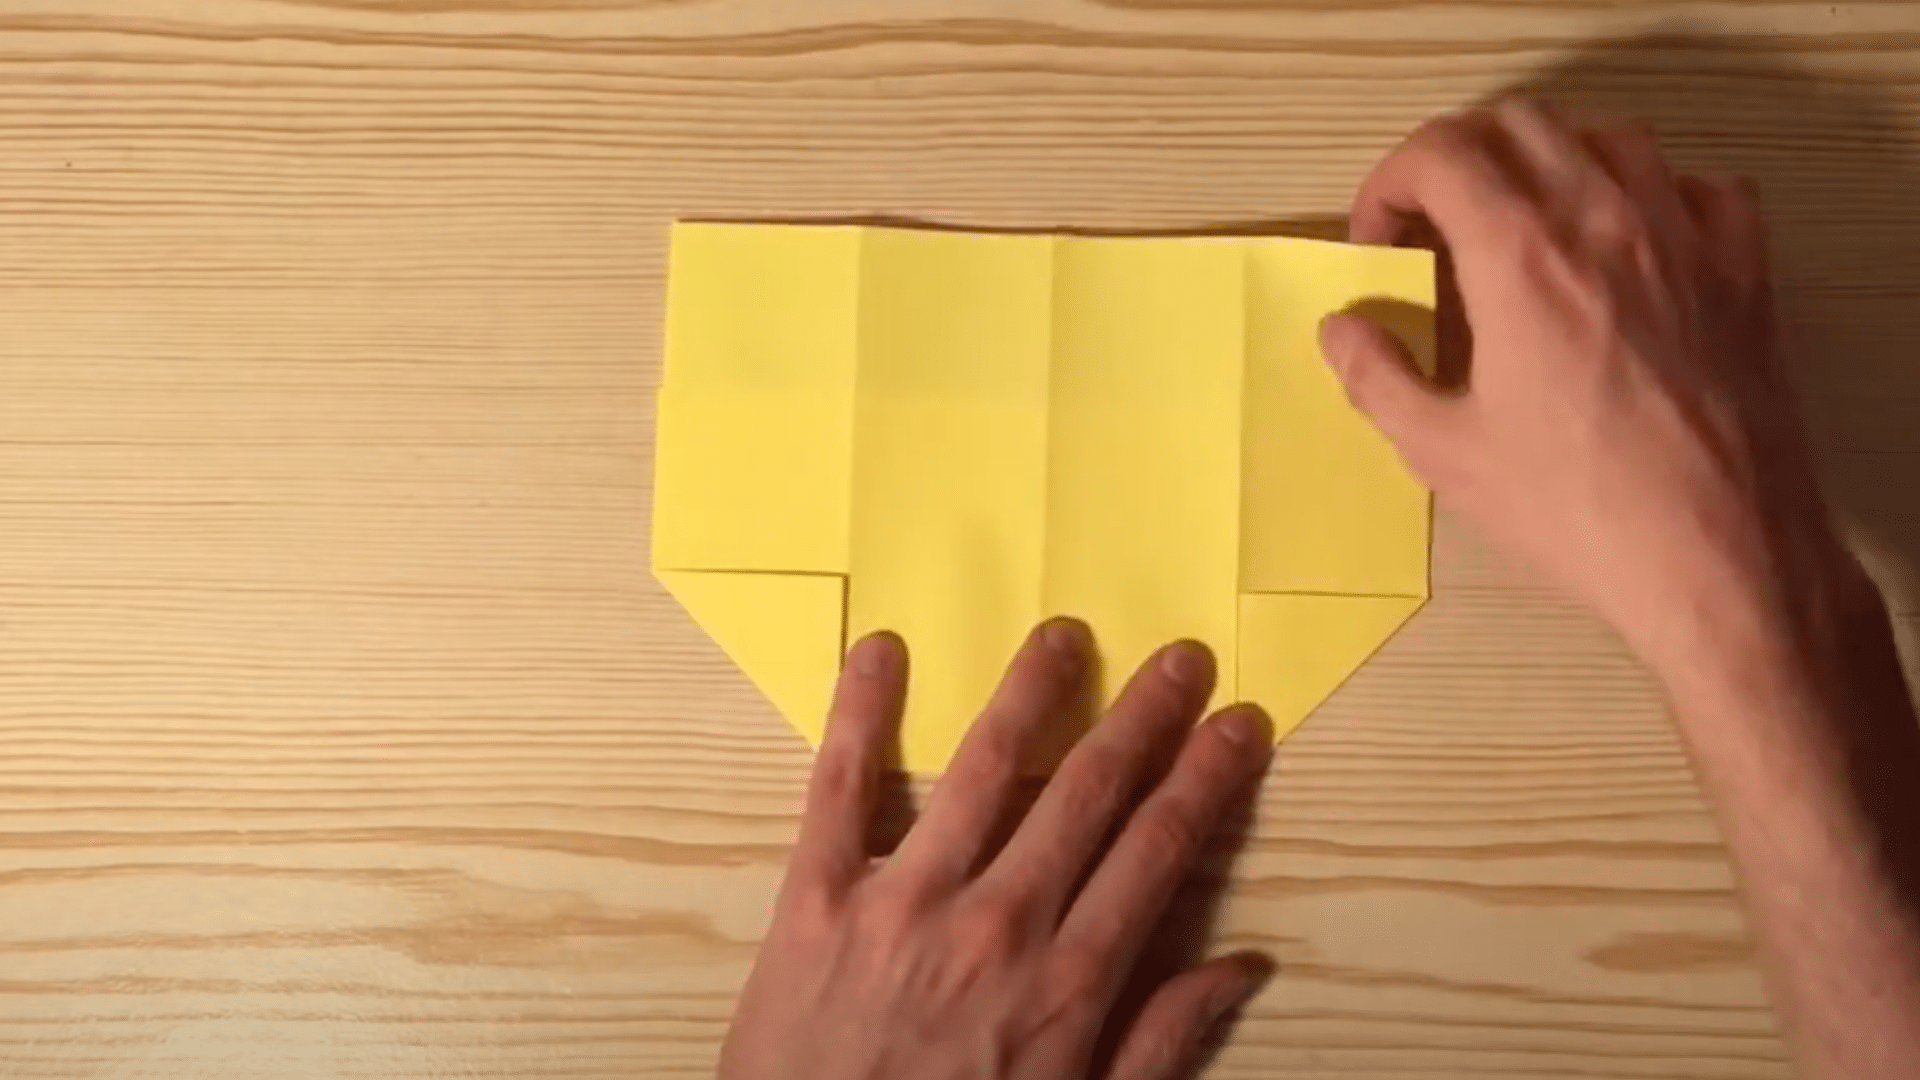
7. Find the bottom corners of your paper and fold them upward until they touch the fold lines.
8. Grab the right and left edges of your paper and fold the entire sides into the center line.
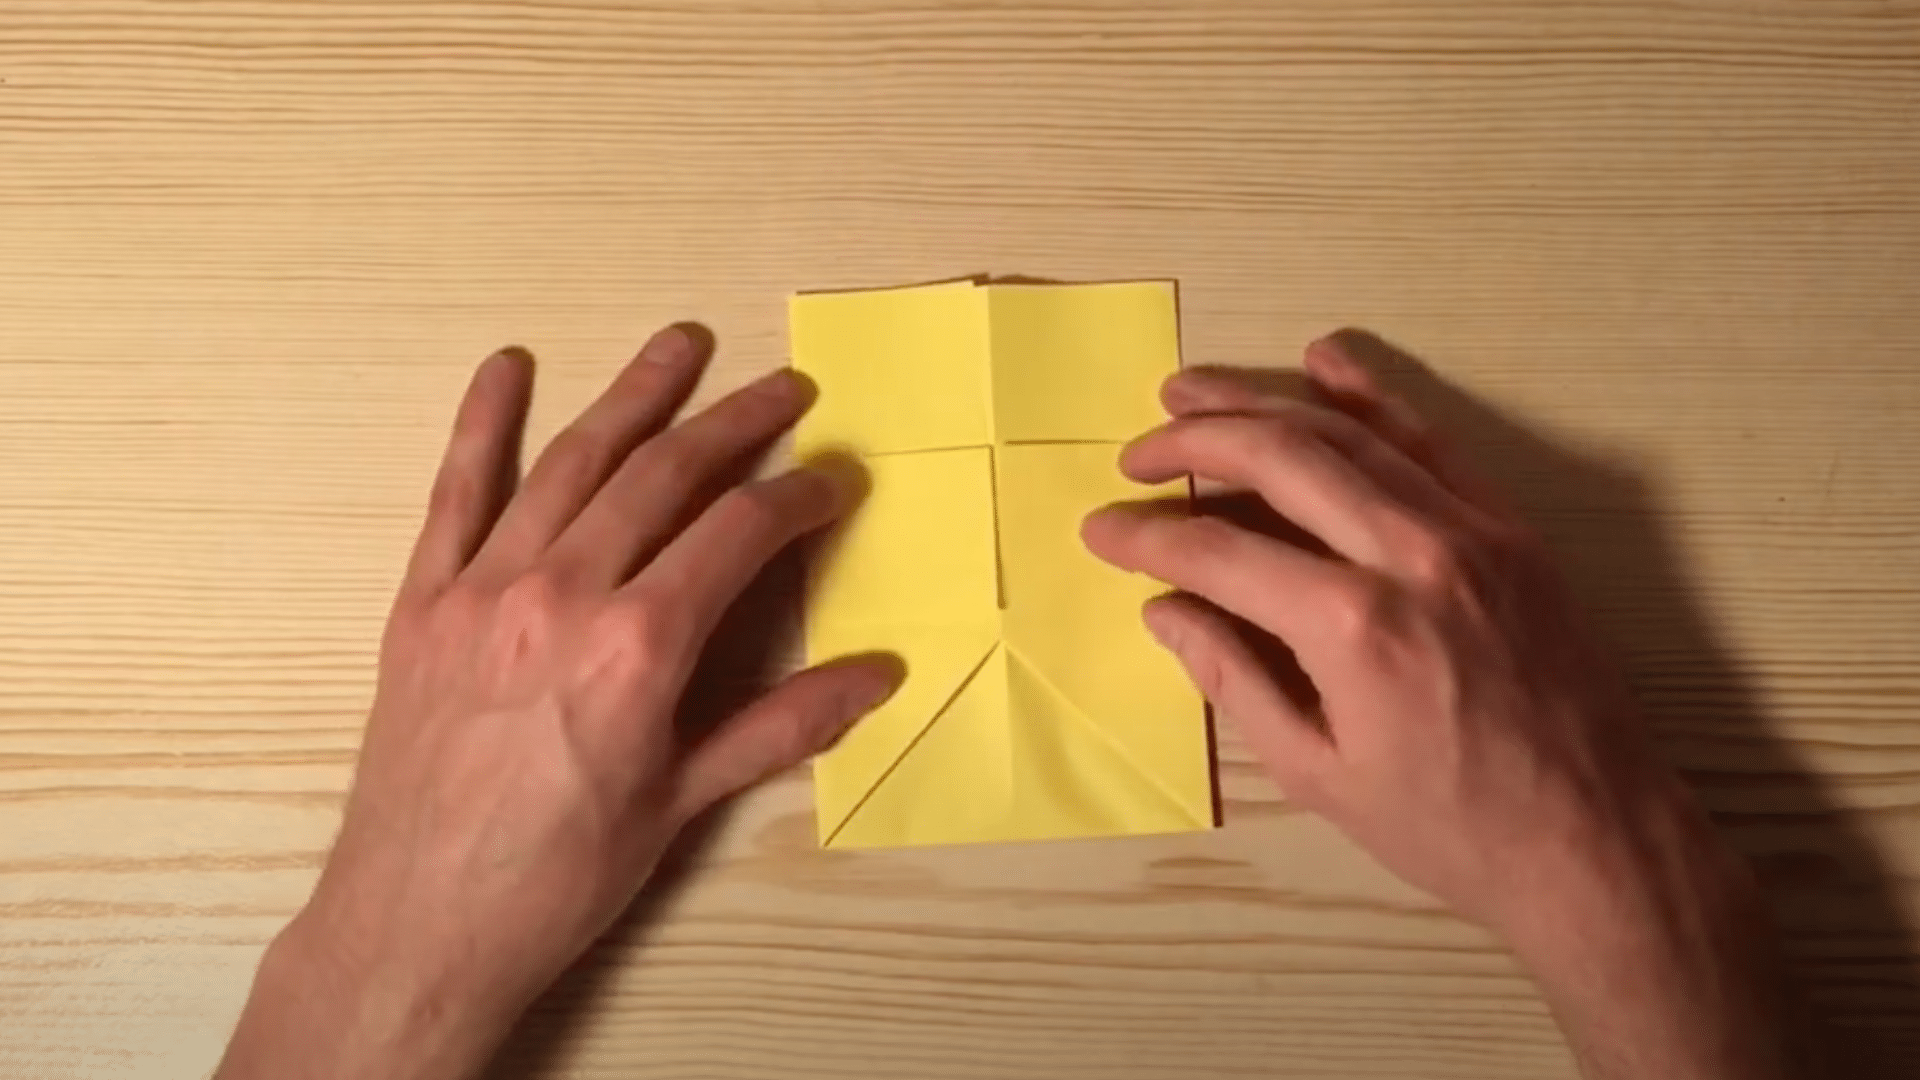
9. Fold the top section of your paper down over these newly folded parts to secure them in place.
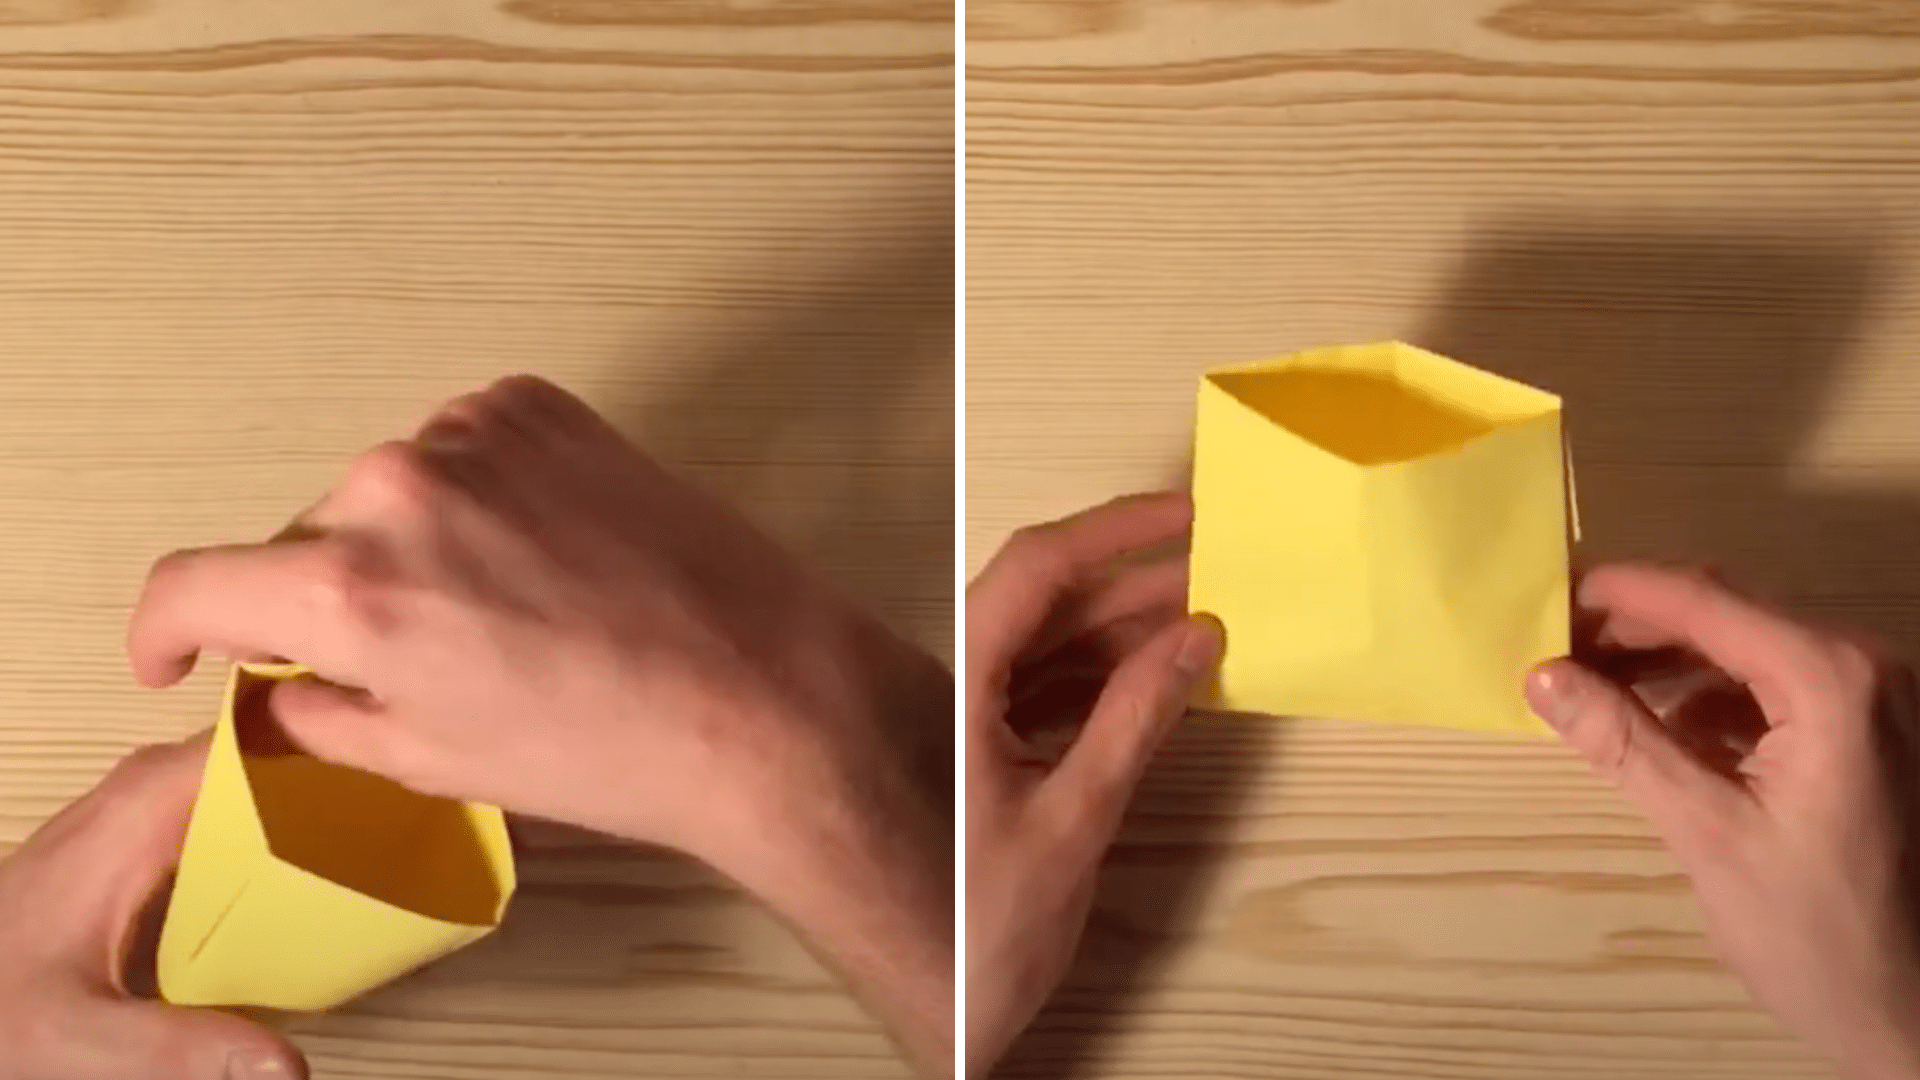
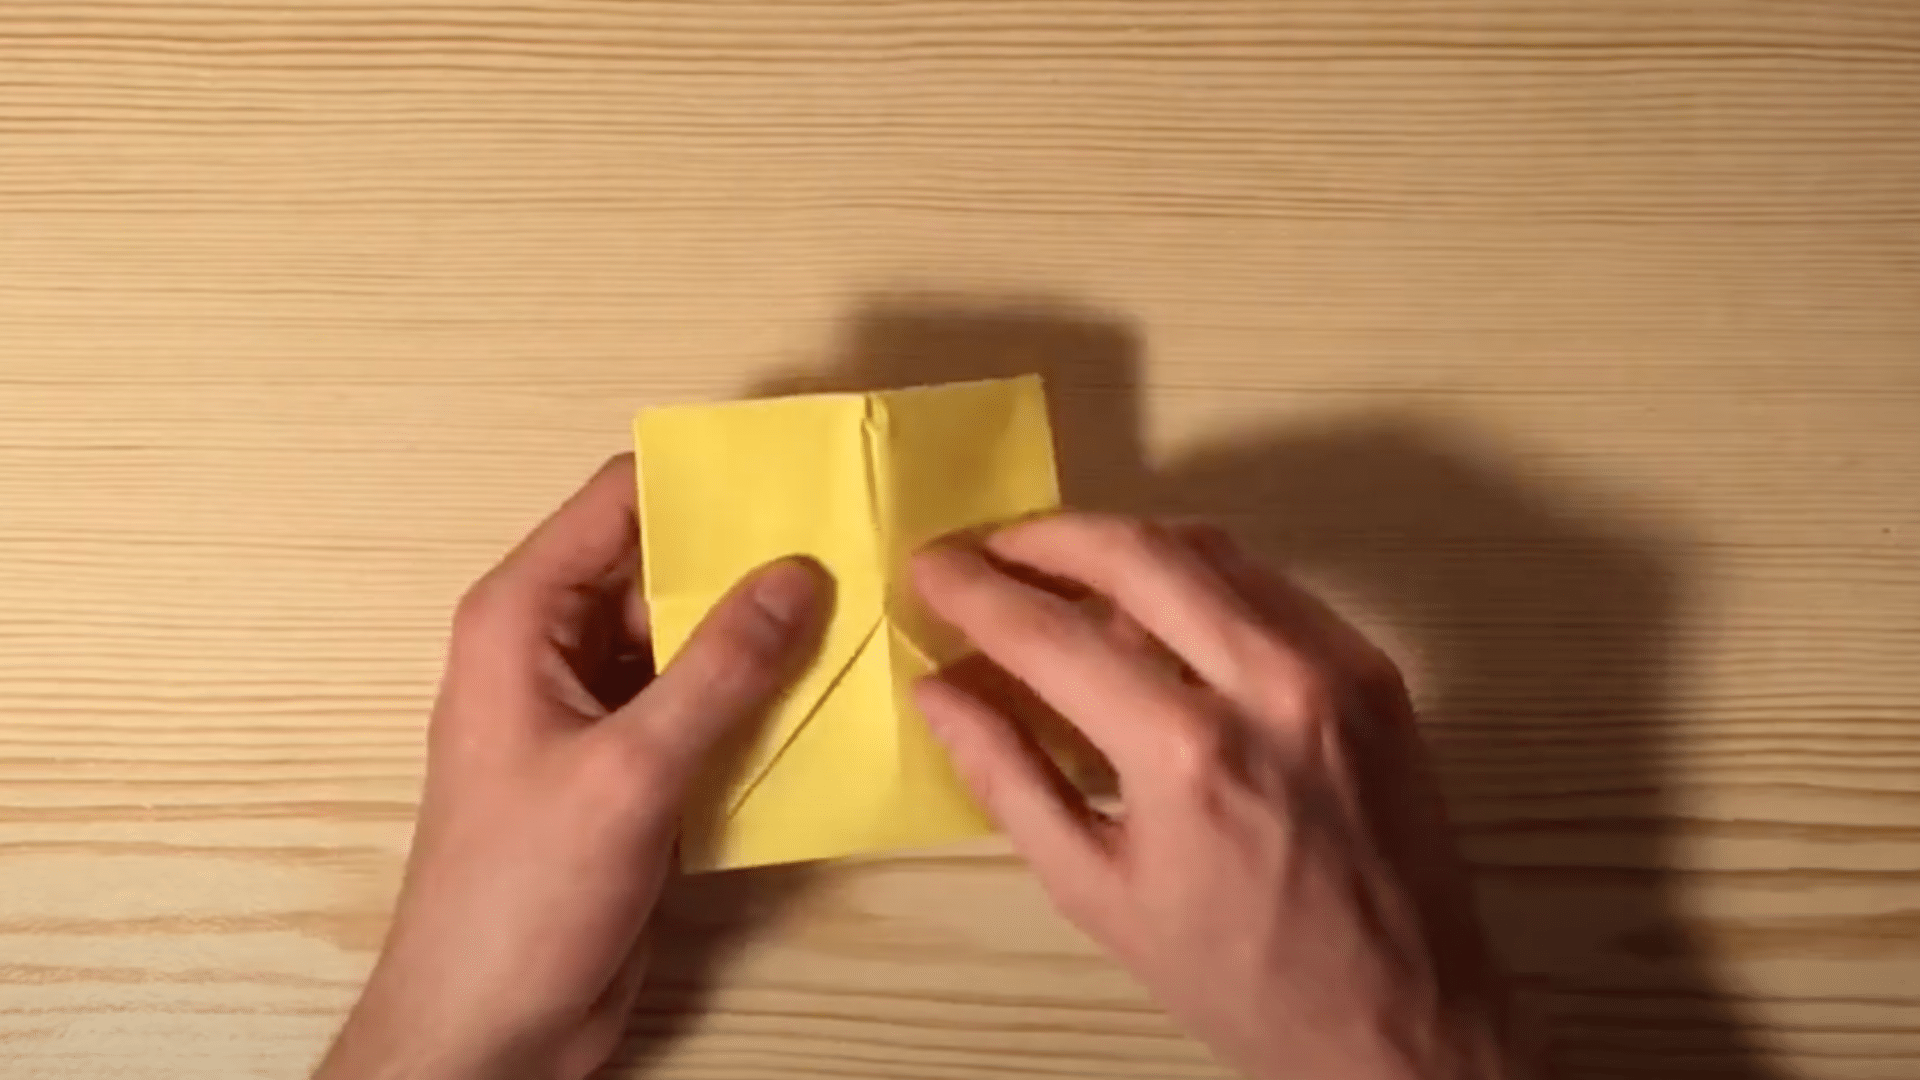
10. Turn your creation over one final time and gently open from the center to form your completed pouch.
Video Tutorial
For support and guidance, watch AliveOrigami, a helpful video showing each step in action!
Fun Ways to Use Your Paper Pouch
Your child’s new origami pouch may be small, but its uses are many! Here are some ways kids can put their paper creations to good use:
- Tiny Treasure Holder: Perfect for collecting small rocks, seeds, or special trinkets during outdoor walks
- Coin Collector: A great first wallet for storing pocket money or coins
- Secret Message Carrier: Write tiny notes and slip them inside to pass to friends
- Nature Collection: Store small leaves, flower petals, or seeds during nature walks
- Tooth Fairy Pouch: A special place to keep a lost tooth until the Tooth Fairy comes
- Game Piece Container: Keep small game pieces together and avoid losing them
Kids love having containers that are just their size, and knowing they made it themselves makes it even more special!
Tips for Perfect Folding with Kids
Remember, the goal is for children to enjoy the process of creating something with their own hands. Perfect folds will come with practice! |
More Simple Origami Ideas Kids Will Love
For children who enjoyed making the paper pouch, there are many other fun and easy origami projects to try next!
These simple folds will help kids build their skills while creating useful or playful items:
1. Paper Boats

Fold a simple boat that actually floats in water. Kids can race them in sinks, bathtubs, or puddles, then decorate with small paper flags.
2. Paper Airplanes
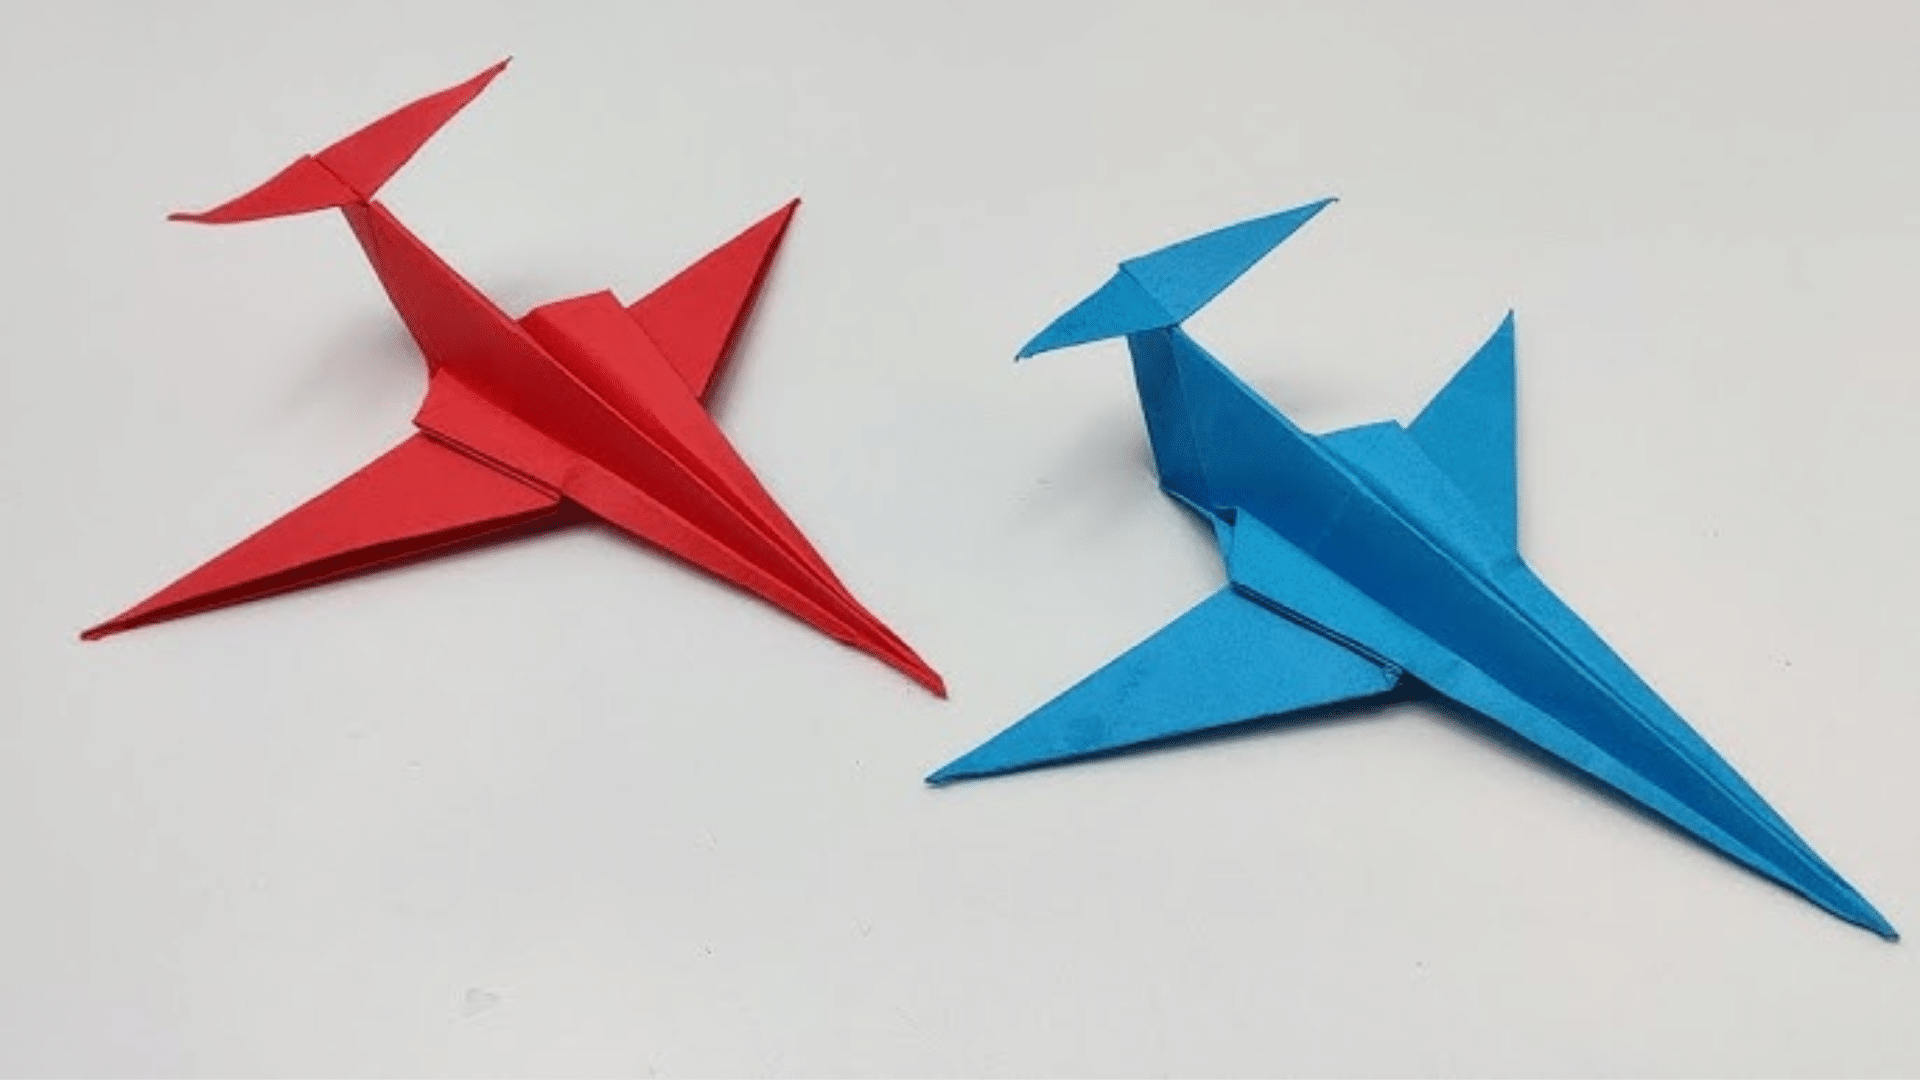
Turn a single sheet into a flying machine. Experiment with different wing shapes and nose weights to see which design flies farthest.
3. Simple Animals
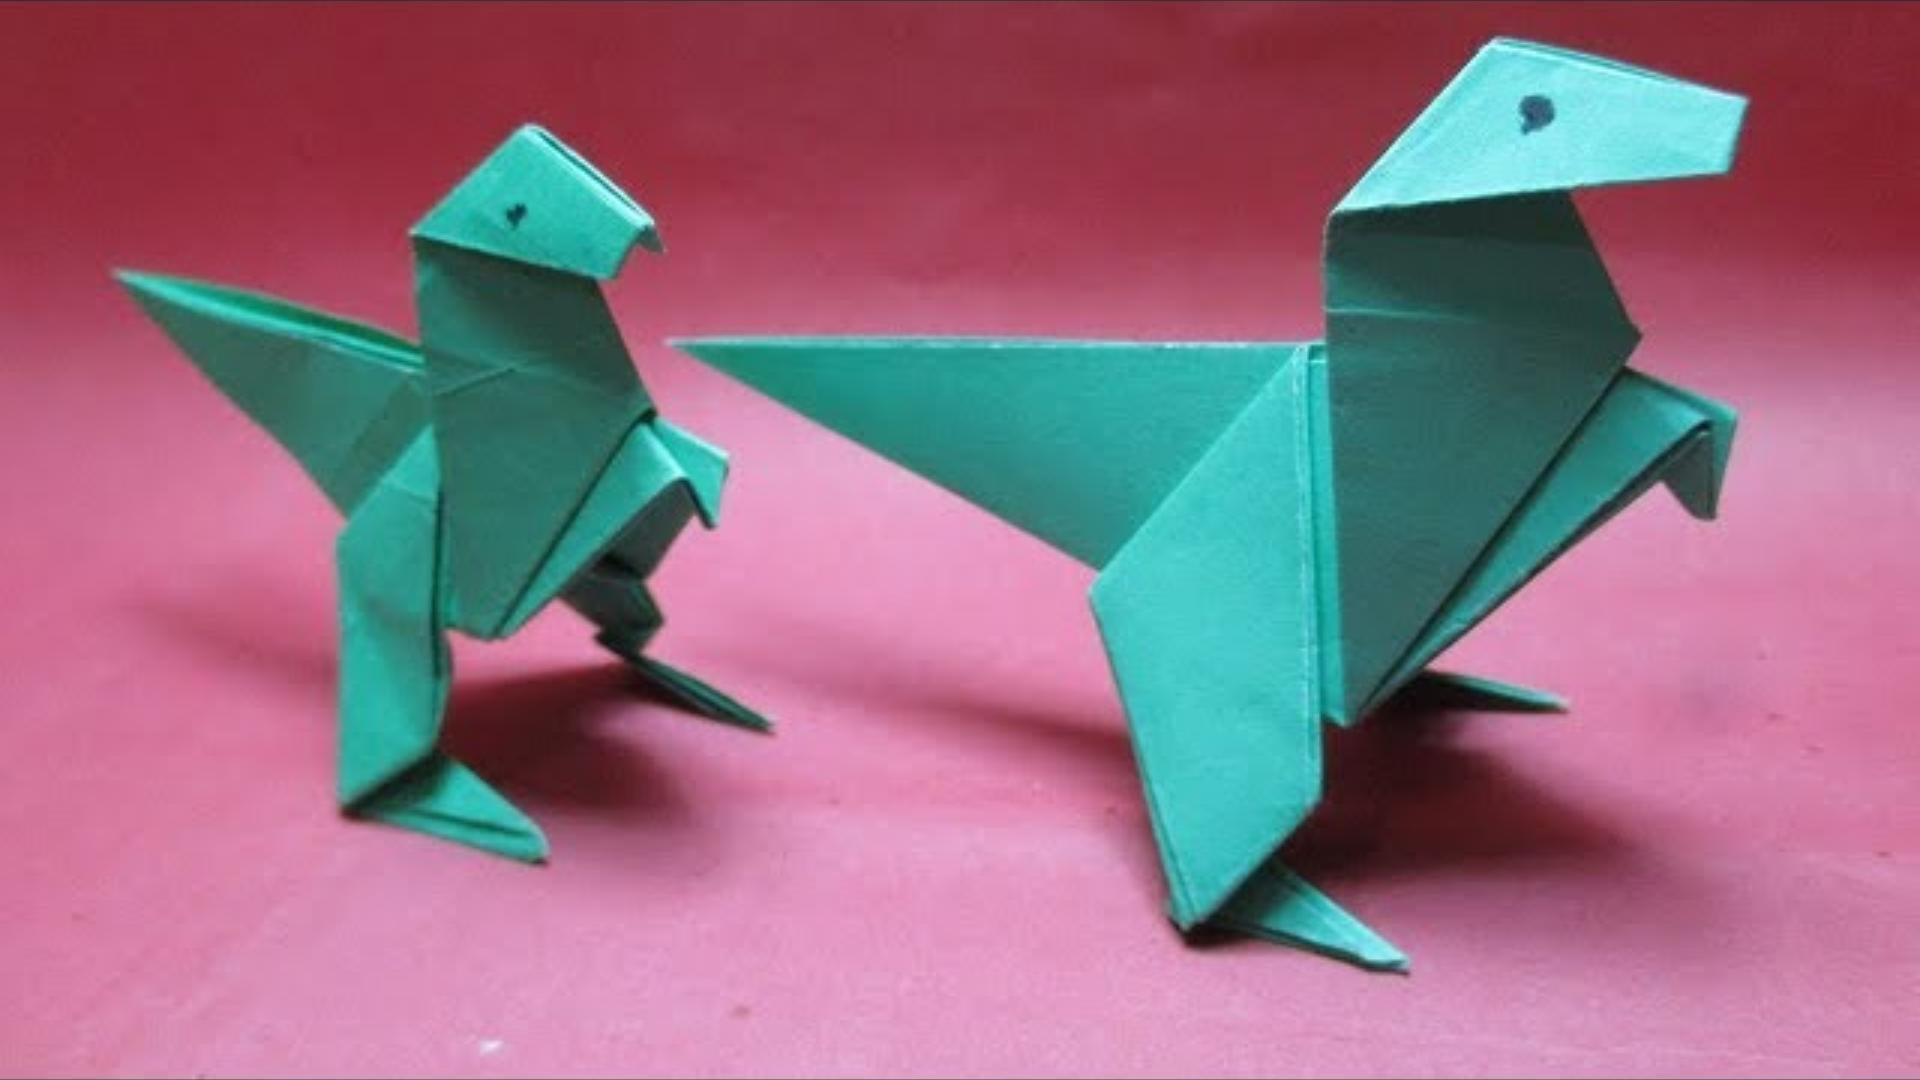
Make cute animal faces with just a few strategic folds. Dogs, cats, and frogs are easy starting points that need minimal steps.
4. Paper Hats
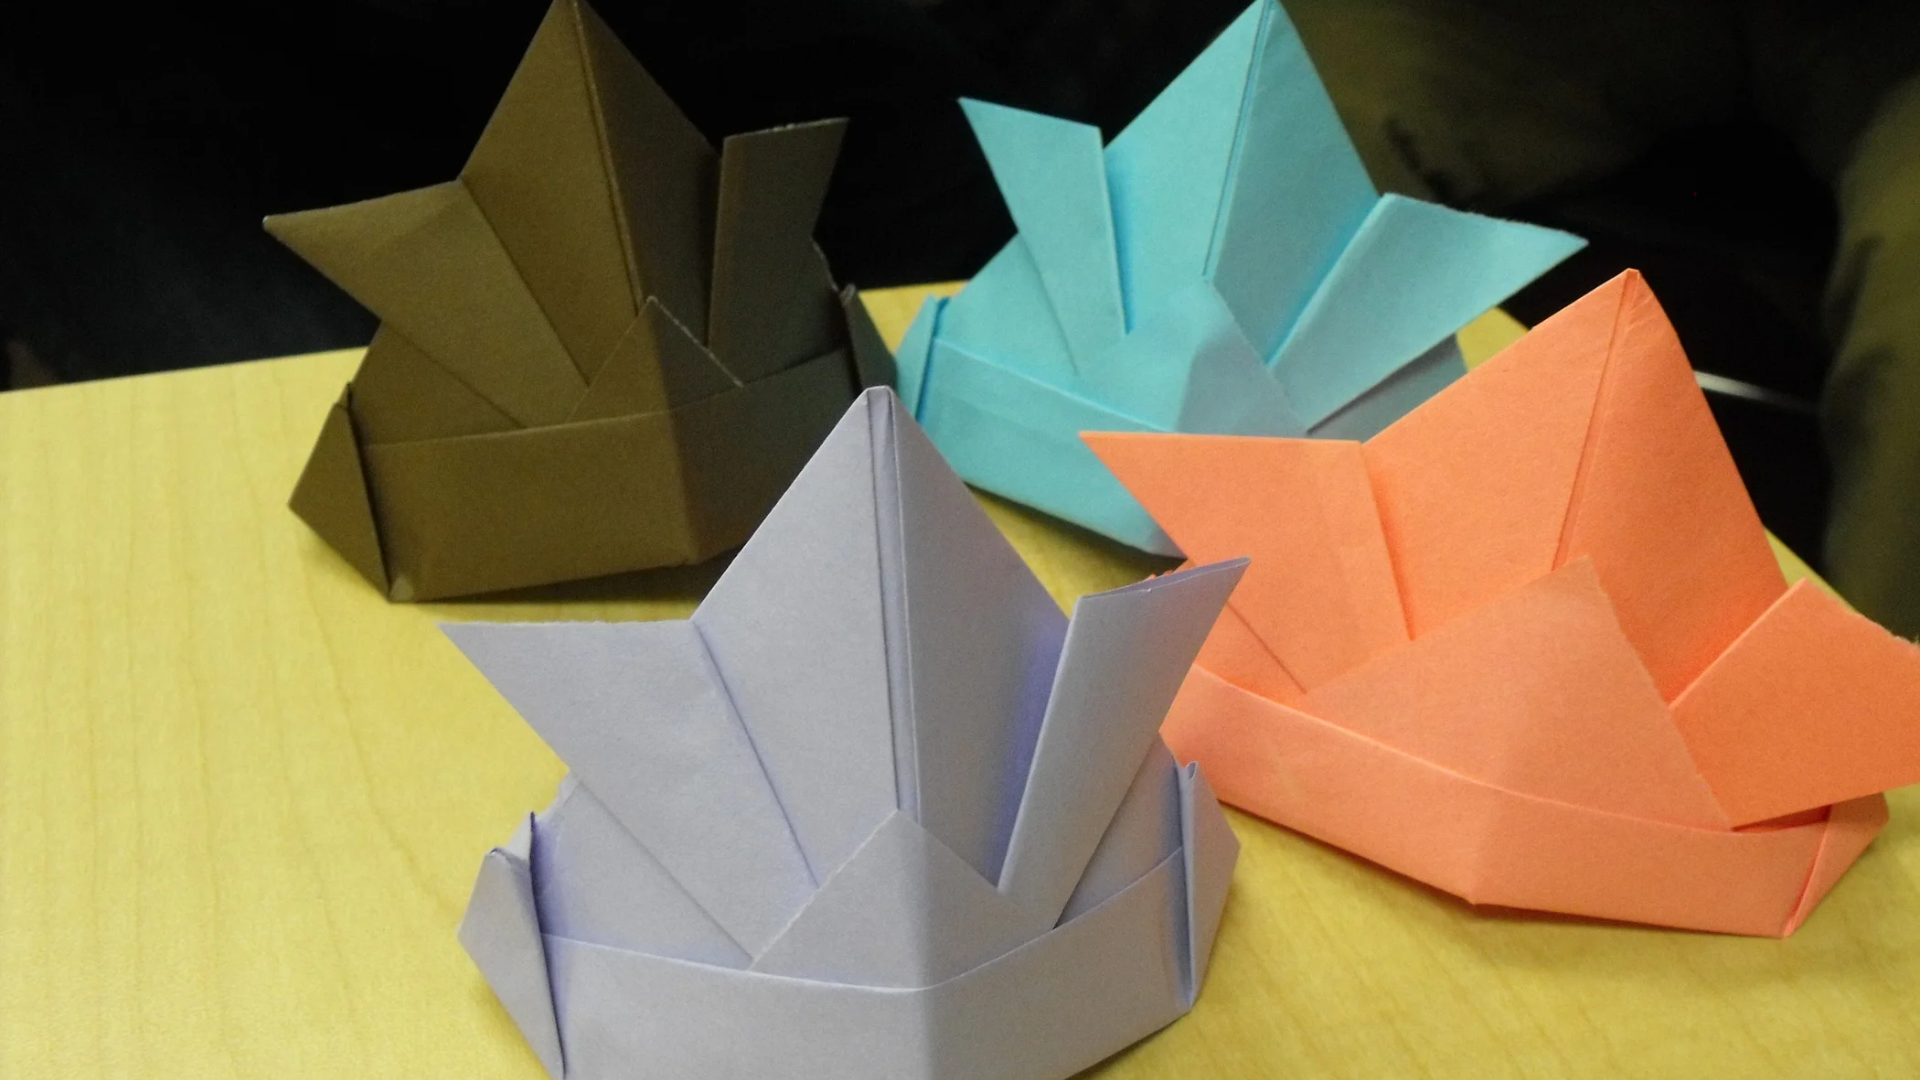
Craft wearable paper hats from newspaper or any large sheet. These can be painted, decorated with stickers, or worn for pretend play.
5. Bookmarks
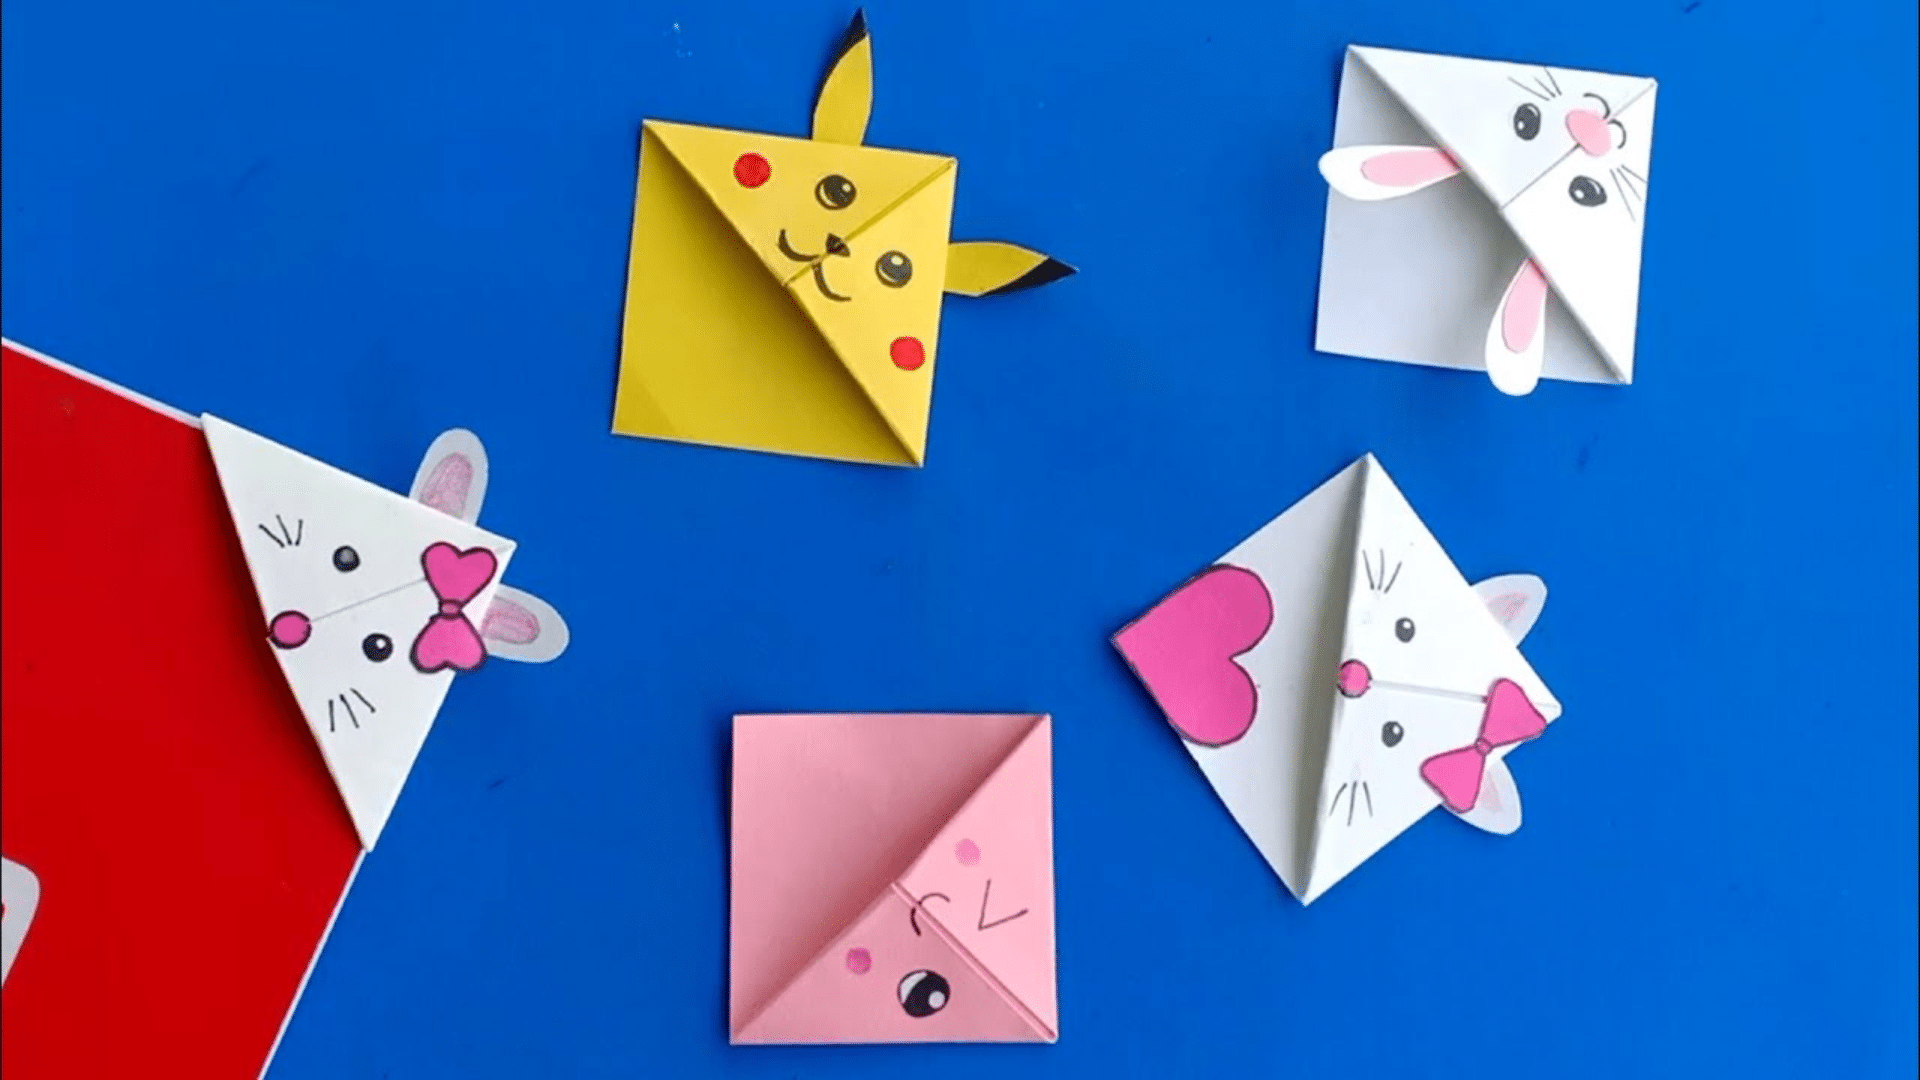
Create corner bookmarks that slip onto page corners. These can be decorated as monsters, animals, or characters from favorite books.
6. Paper Stars
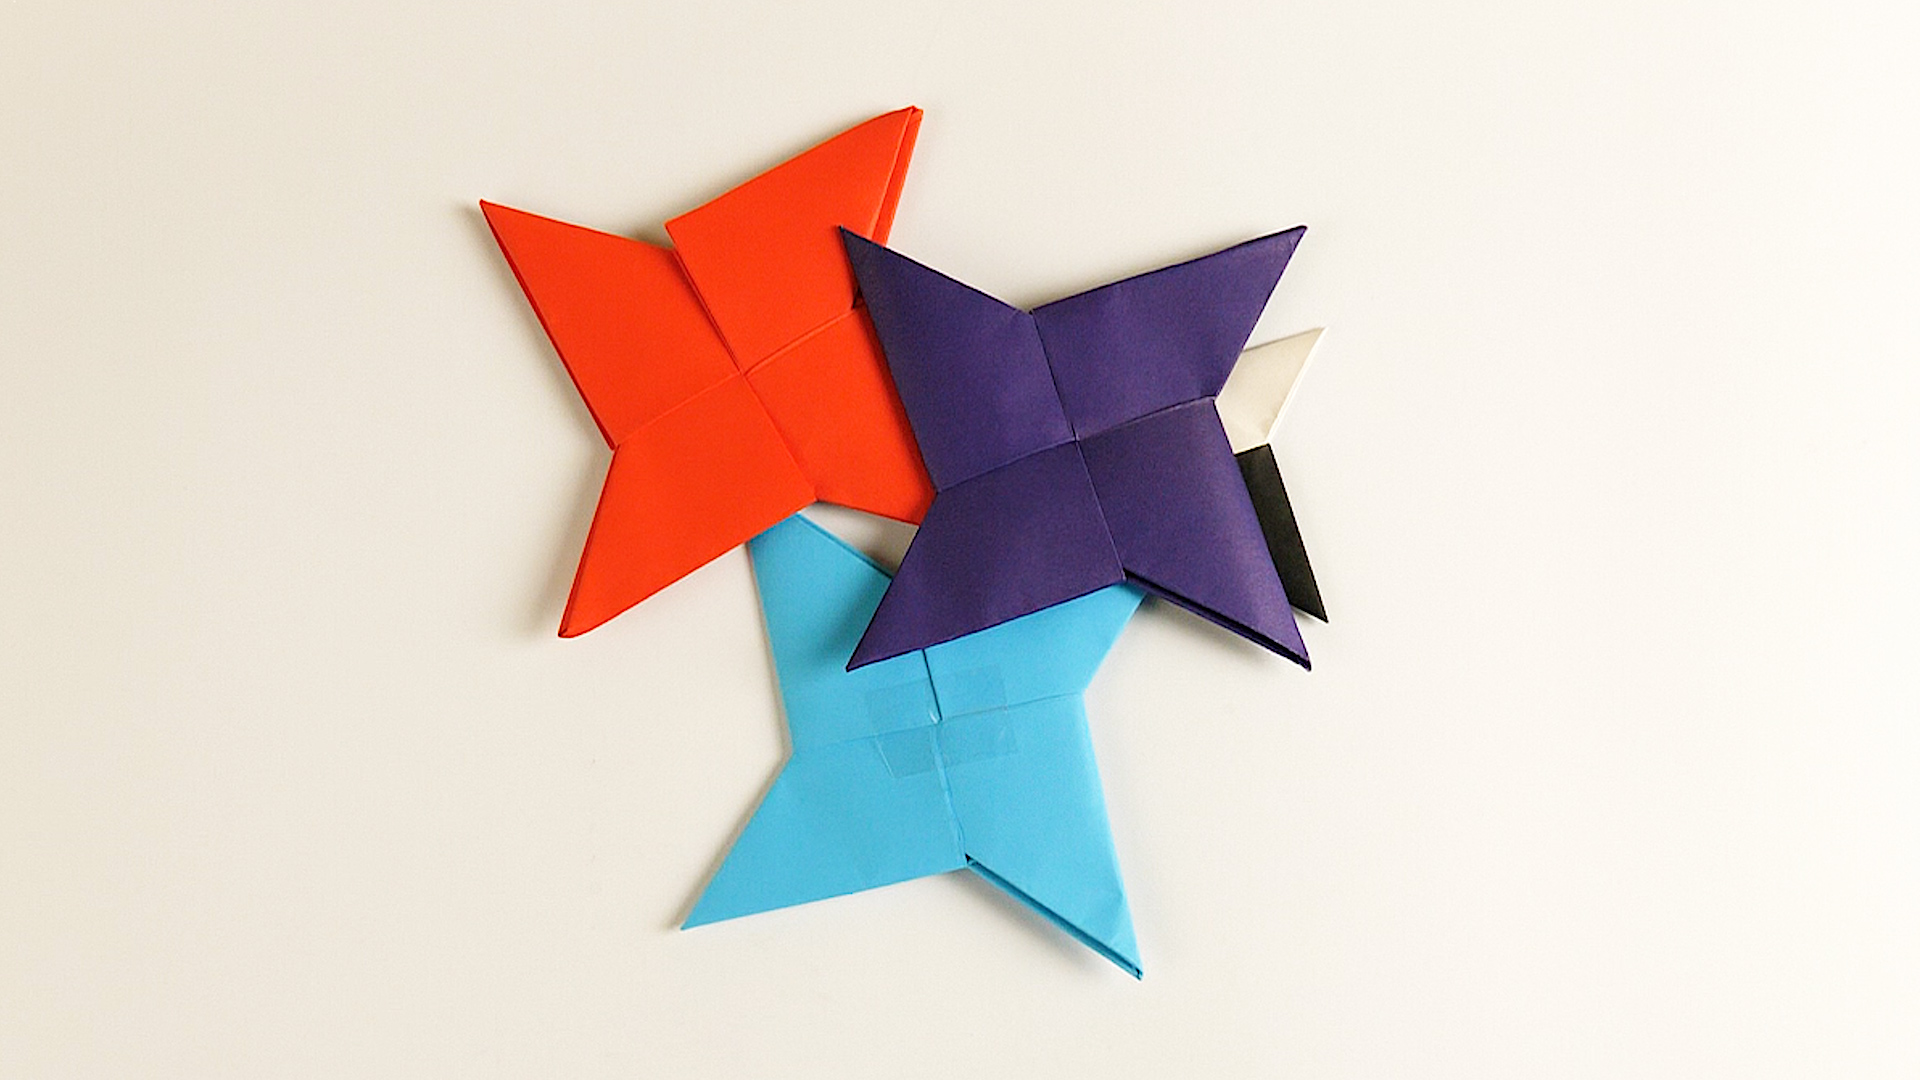
Fold strips of paper into charming little stars. These can be made in various sizes and colors for decorations or gifts.
Each project uses a sheet of paper to teach basic folding skills. As children master these designs, they progress to complex origami challenges that enhance patience and fine motor control.
Want to learn about how to Make Paper Rose Art? It’s another fun paper craft for kids!
In a Fold, That’s a Wrap!
Creating this paper pouch with your child is more than a craft—it’s a creative adventure! With a few careful folds, a simple sheet can become something useful.
This creation holds treasures and teaches patience and focus. The joy on a child’s face when they complete their first pouch is priceless.
Remember, perfect creases aren’t the goal; having fun is! As your child masters this design, they can dig into other shared paper projects, building confidence and skills.
So grab some paper and start folding, a world of paper art awaits your child’s curious hands!
Have you tried making this origami pouch with your little ones?
Share your creations and experiences in the comments below! We’d love to see your paper masterpieces and hear about what your children stored in their handmade pouches.