
Building your kitchen cabinets can save you thousands of dollars, but many homeowners feel intimidated by the thought of making cabinet doors from scratch.
The truth is, professional-looking shaker-style doors seem complex, but they’re actually one of the most straightforward door styles to build at home.
You don’t need expensive machinery or years of woodworking experience to create beautiful, functional cabinet doors that rival those found in stores.
With just a table saw and some basic woodworking skills, you can craft custom shaker doors that perfectly fit your cabinets and match your vision. This step-by-step guide will walk you through the entire process, from measuring your cabinet openings to installing the finished doors.
You’ll learn the exact measurements, cuts, and techniques required to build sturdy shaker doors that’ll last for decades, while giving your kitchen a clean, timeless look.
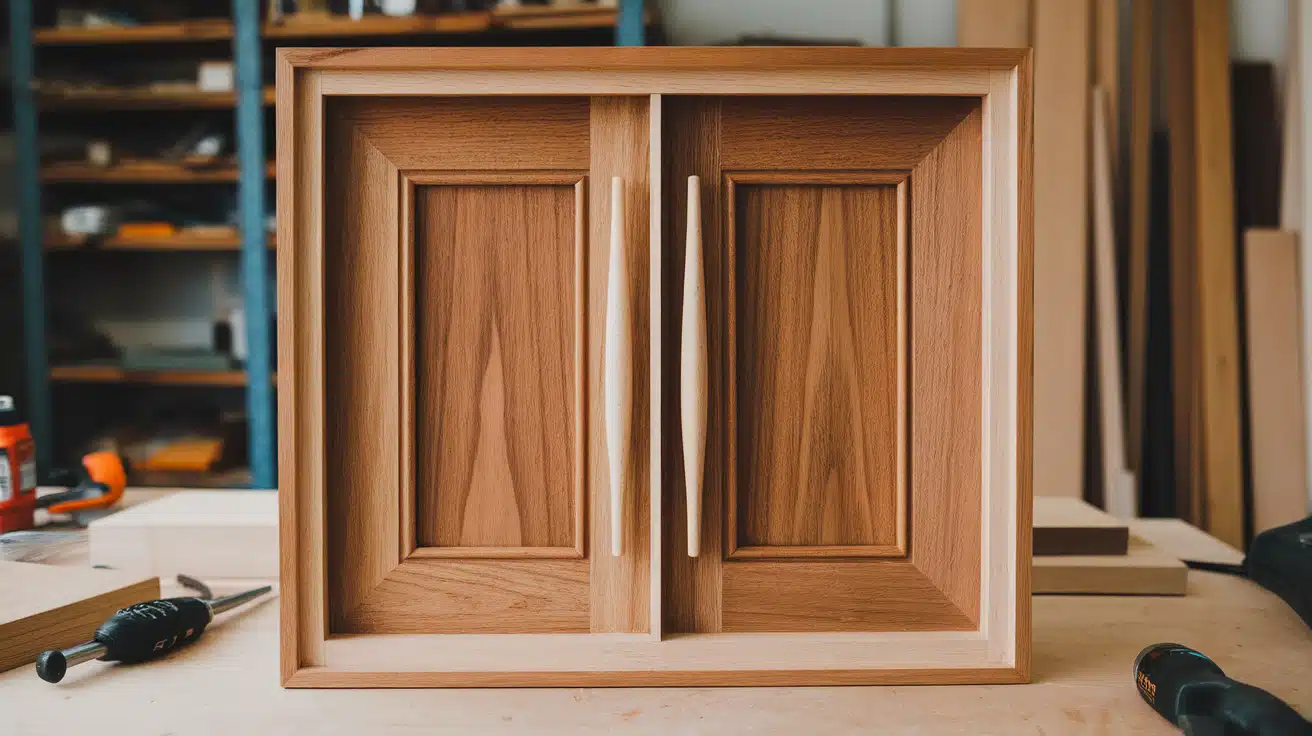
What Are Shaker Doors?
Shaker cabinet doors represent the perfect balance of simplicity and functionality. This classic American design originated from the Shaker religious community in the 18th century, which valued clean lines and practical construction over ornate details.
A traditional shaker door consists of five main components: two vertical pieces called stiles, two horizontal pieces called rails, and a flat center panel.
The rails and stiles are joined together using tongue-and-groove joints, creating a frame that securely holds the center panel in place. This construction method provides excellent strength while maintaining the clean, rectangular appearance that makes shaker doors so popular.
The simple frame-and-panel construction allows the natural wood grain to shine through, or they can be painted for a crisp, contemporary look.
Step-by-Step Guide to Making Shaker Cabinet Doors
Tools and Materials Needed:
| Tools Required | Materials Needed |
|---|---|
| Table saw | Poplar wood boards |
| Miter saw | Quarter-inch MDF for center panels |
| Jointer | Wood glue |
| Dado blade set | 23-gauge pin nails |
| Push block | Cabinet hinges |
| Clamps | Sandpaper (150 grit) |
| Hinge boring kit | Wood finish or paint |
| Pin nailer | Measuring tape |
| Square | A pencil for marking |
Step 1: Measure Your Cabinet Openings
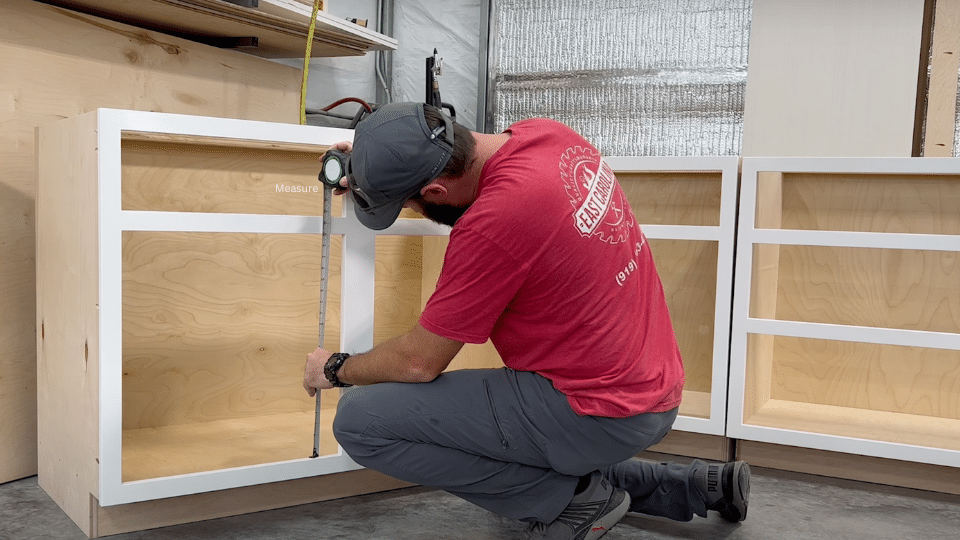
Start by carefully measuring the height and width of each cabinet opening where you plan to install doors. For a half-inch reveal around each door, add 1.25 inches to both sides of the width measurement and 0.5 inches to both the top and bottom of the height measurement.
Double-check all measurements before proceeding, as accuracy at this stage prevents costly mistakes later.
Materials used: Measuring tape, pencil, notepad
Step 2: Calculate and Cut Your Rail and Stile Dimensions
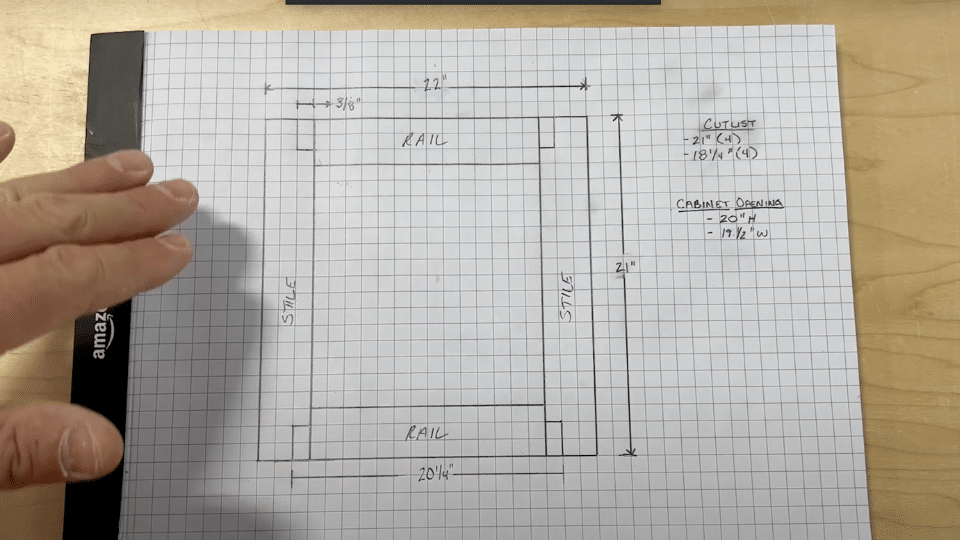
Create a cut list for all your door components. The stiles run the full height of your door, while the rails fit between the stiles. For standard shaker doors, use 2 1/4-inch-wide rails and stiles.
Subtract the width of both stiles from your total door width, then add three-eighths of an inch to both sides to determine your rail length.
Materials used: Poplar wood boards, calculator, cut list
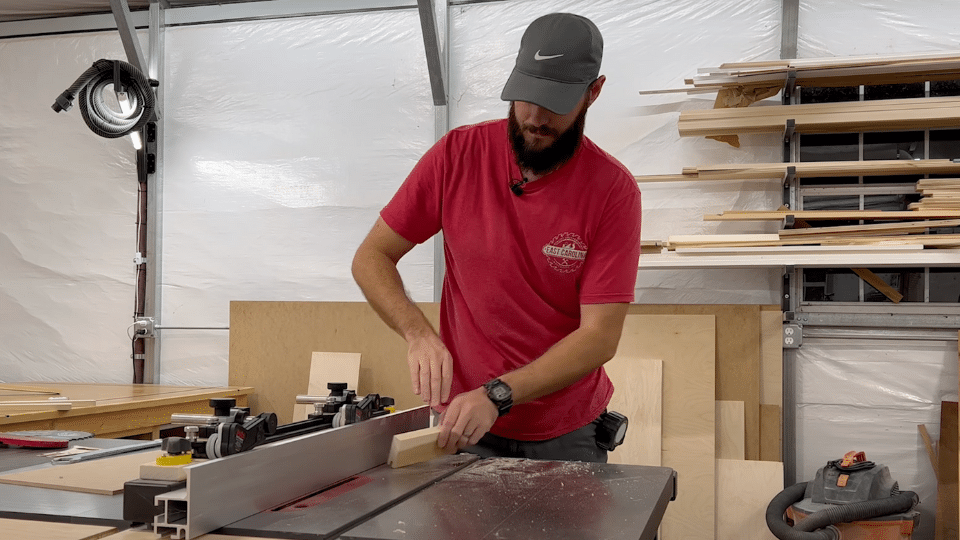
Step 3: Prepare Your Wood Stock
Take your poplar boards to the jointer first to create a single straight edge, then move to the table saw to rip all pieces to their final width of 2 1/4 inches. Use a push block for safety during all ripping operations.
After ripping, cut all pieces to their final lengths using your miter saw and cut list.
Materials used: Poplar boards, table saw, miter saw, push block
Step 4: Cut Grooves for the Center Panel
Install a dado blade in your table saw and set the height to 3/8 inch. Position your fence to cut grooves approximately in the center of your rails and stiles.
Run each piece through once, then flip it around and run it through again to center the groove perfectly. Test your setup with a scrap piece first to ensure the quarter-inch MDF panel fits snugly.
Materials used: Dado blade, quarter-inch MDF test piece
Step 5: Create Tongues on Rail Ends

Mark lines three-eighths of an inch from each end of your rails to indicate where the tongues should be cut. Set up a sacrificial fence on your table saw and adjust the blade height to match the depth of your groove.
Make multiple passes to remove material and create tongues that fit snugly into the stile grooves without being too tight.
Materials used: Rails, table saw, sacrificial fence material
Step 6: Cut Center Panels and Test Fit
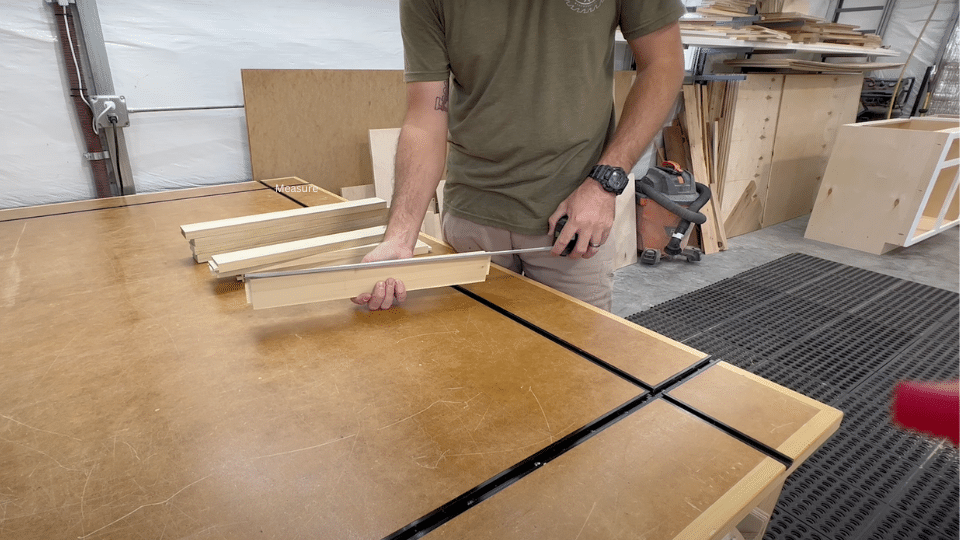
Measure from groove to groove on your assembled frame pieces to determine center panel dimensions. Subtract one-sixteenth of an inch from both height and width measurements to account for wood movement.
Cut your quarter-inch MDF panels to size and test fit the entire door assembly before applying any glue.
Materials used: Quarter-inch MDF, measuring tape, saw
Step 7: Glue and Assemble the Doors
Apply wood glue to the tongues and grooves, but avoid getting glue on the center panel to allow for natural wood movement. Clap the assembly together and check for square by measuring diagonally from corner to corner.
For faster production, shoot two pin nails at each joint connection, which allows immediate clamp removal while the glue cures.
Materials used: Wood glue, clamps, pin nailer, 23-gauge nails
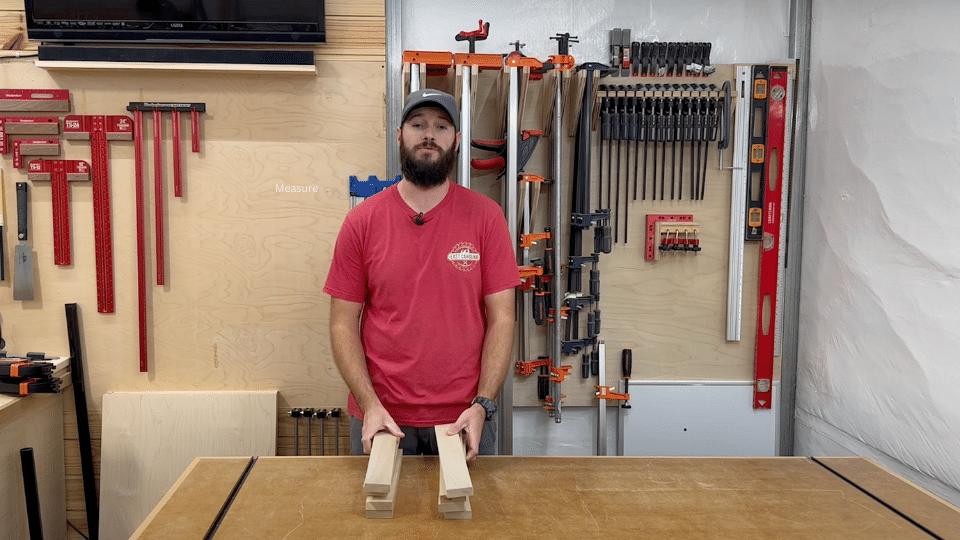
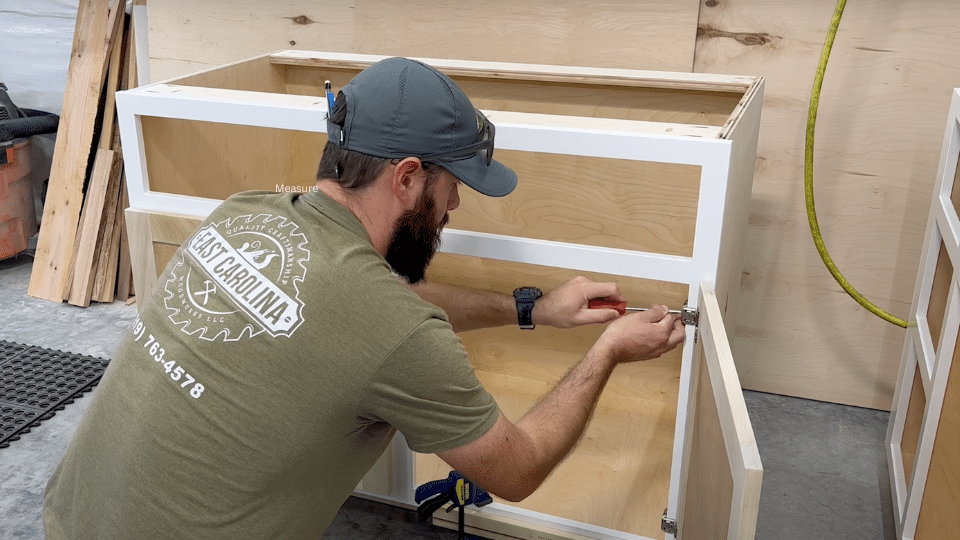
Video Tutorial
Special thanks to East Carolina Woodworks for providing valuable insights in their video, which I referenced while creating this guide.
Essential Tips for Long-Lasting Cabinet Doors
1. Proper Wood Selection and Preparation
Choose straight, dry lumber for your door construction to prevent warping and twisting over time. Poplar works well for painted doors due to its smooth grain and stability, while hardwoods like maple or oak are better for stained finishes.
Always allow your wood to acclimate to your shop environment for at least 24 hours before cutting. Inspect each board for defects, such as knots, splits, or bows, before starting your project.
2. Maintaining Consistent Measurements
Accuracy in measurement and cutting determines the final quality of your doors. Use a reliable measuring tape and mark your cuts clearly with a sharp pencil.
Double-check all measurements before making cuts, especially when calculating rail lengths and center panel dimensions. Set up stop blocks on your miter saw to ensure consistency across multiple doors, allowing for repetitive cuts.
3. Proper Sanding Techniques
Sand all door components with 150-grit sandpaper before assembly, paying special attention to breaking all sharp edges slightly. This prevents splintering and creates a professional appearance.
Sand with the grain direction and avoid cross-grain scratches that will show through your finish. After assembly, do a final light sanding to smooth any slight misalignments at joints.
4. Storage and Handling Best Practices
Store your completed doors flat in a clean, dry area to prevent warping while the glue fully cures. Stack doors with spacers between them to allow air circulation on all surfaces.
Handle doors carefully during transport and installation to avoid dents and scratches. If you need to store doors for extended periods, keep them in a climate-controlled environment to minimize wood expansion and contraction.
5. Finishing for Durability
Apply a high-quality primer before painting, or use a proper wood conditioner before staining to ensure even color absorption. Use thin, even coats rather than trying to achieve full coverage in a single application.
Sand lightly between coats with fine-grit sandpaper for the smoothest possible finish. Allow adequate drying time between coats as specified by the manufacturer.
Shaker Cabinet Door Building: What Not to Do
| Mistake | Why It Happens | How to Prevent It |
|---|---|---|
| Doors won’t fit openings | Incorrect measurements or calculations | Measure twice, cut once. Double-check all math |
| Gaps in joints | Tongues cut too small or grooves too wide | Test fit with scrap pieces before cutting actual parts |
| Warped or twisted doors | Using wet or unstable lumber | Select dry, straight boards and allow proper acclimation |
| Center panels splitting | Gluing panels into grooves | Never glue center panels; allow them to float freely |
| Uneven door reveals | Inconsistent overlay calculations | Use consistent measurements and check against actual openings |
| Rough joint surfaces | Dull blades or improper setup | Keep blades sharp and use proper feed rates |
| Doors binding in openings | Not accounting for paint thickness | Add extra clearance if the doors will be painted |
Summing It Up
Building shaker cabinet doors at home is an achievable project that can save you significant money while giving you complete control over the final result.
The simple five-piece construction utilizes basic woodworking joints that any DIY enthusiast can master with practice and patience.
By following these step-by-step instructions and using just a table saw as your primary tool, you can create professional-quality doors that will serve your kitchen for decades.
Remember that the tongue and groove joints provide excellent strength, while the floating center panel allows for natural wood movement without compromising the door’s integrity.
Whether you’re building a complete set of kitchen cabinets or just replacing a few damaged doors, these techniques will help you achieve results that rival professionally made doors at a fraction of the cost.
Love a good weekend project? Explore more fun DIY builds.