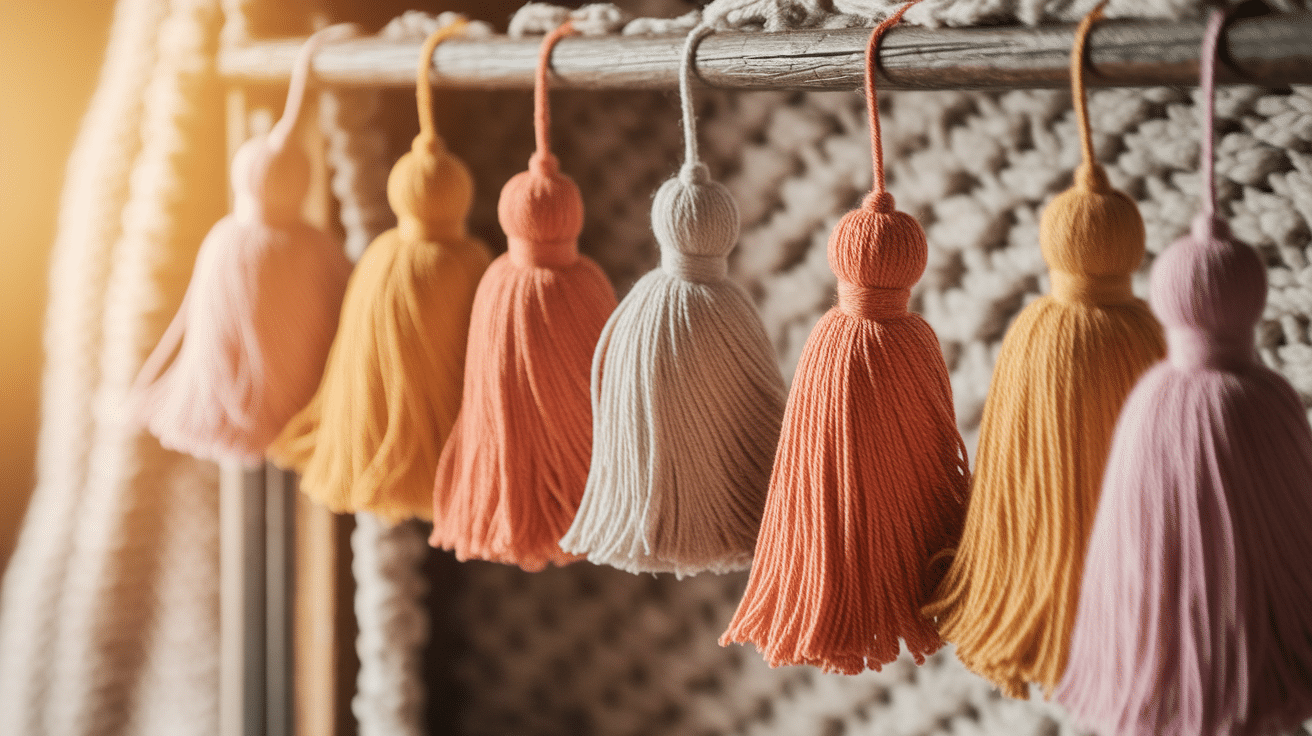
Yarn tassels add a fun touch to any project, but they can cost a lot when bought from stores. Many crafters want to make their own tassels but don’t know where to start. The good news is that making yarn tassels at home is both easy and cheap.
This guide will show you how to create your own perfect yarn tassels in just a few simple steps. You’ll learn the basic method plus tips to make them look great every time.
In the following steps, you’ll find out what tools you need, how to wrap the yarn, cut it into shape, and tie it all together.
By the end, you’ll be able to make tassels in any size or colour for all your craft needs – from bookmarks to wall hangings, bag charms to curtain ties.
Materials Needed
Before you start making your yarn tassels, gather a few essential materials. You can choose from a variety of yarn colours and textures to match your project, be it for home decor, accessories, or gifts.

Here’s a table list of what you’ll need, along with some creative additions to enhance your tassels!
| Category | Materials | Description |
|---|---|---|
| Essentials | Yarn or string | Choose colours based on your project (e.g., for home decor, accessories). |
| Scissors | For trimming the tassel ends. | |
| Cardboard (optional) | For making larger tassels (used for wrapping yarn around). | |
| Creative Additions | Beads or sequins | For added flair and embellishments on the tassel. |
| Embroidery thread | For making finer, more intricate and beautiful tassels. | |
| Decorative ribbons | Perfect for adding a boho or chic look to your tassel creation. |
Once you have gathered all the materials, it’s time to begin the fun and simple process of making your own yarn tassels.
A Step-by-Step Guide on How to Make Yarn Tassels
Tassels add a playful, textured touch to everything from home décor to accessories, and making them is easier than you think!
With just yarn, scissors, and a few simple steps, you can create custom tassels in any colour or size. Follow this beginner-friendly guide to craft perfect tassels every time.
Step 1: Wrapping the Yarn
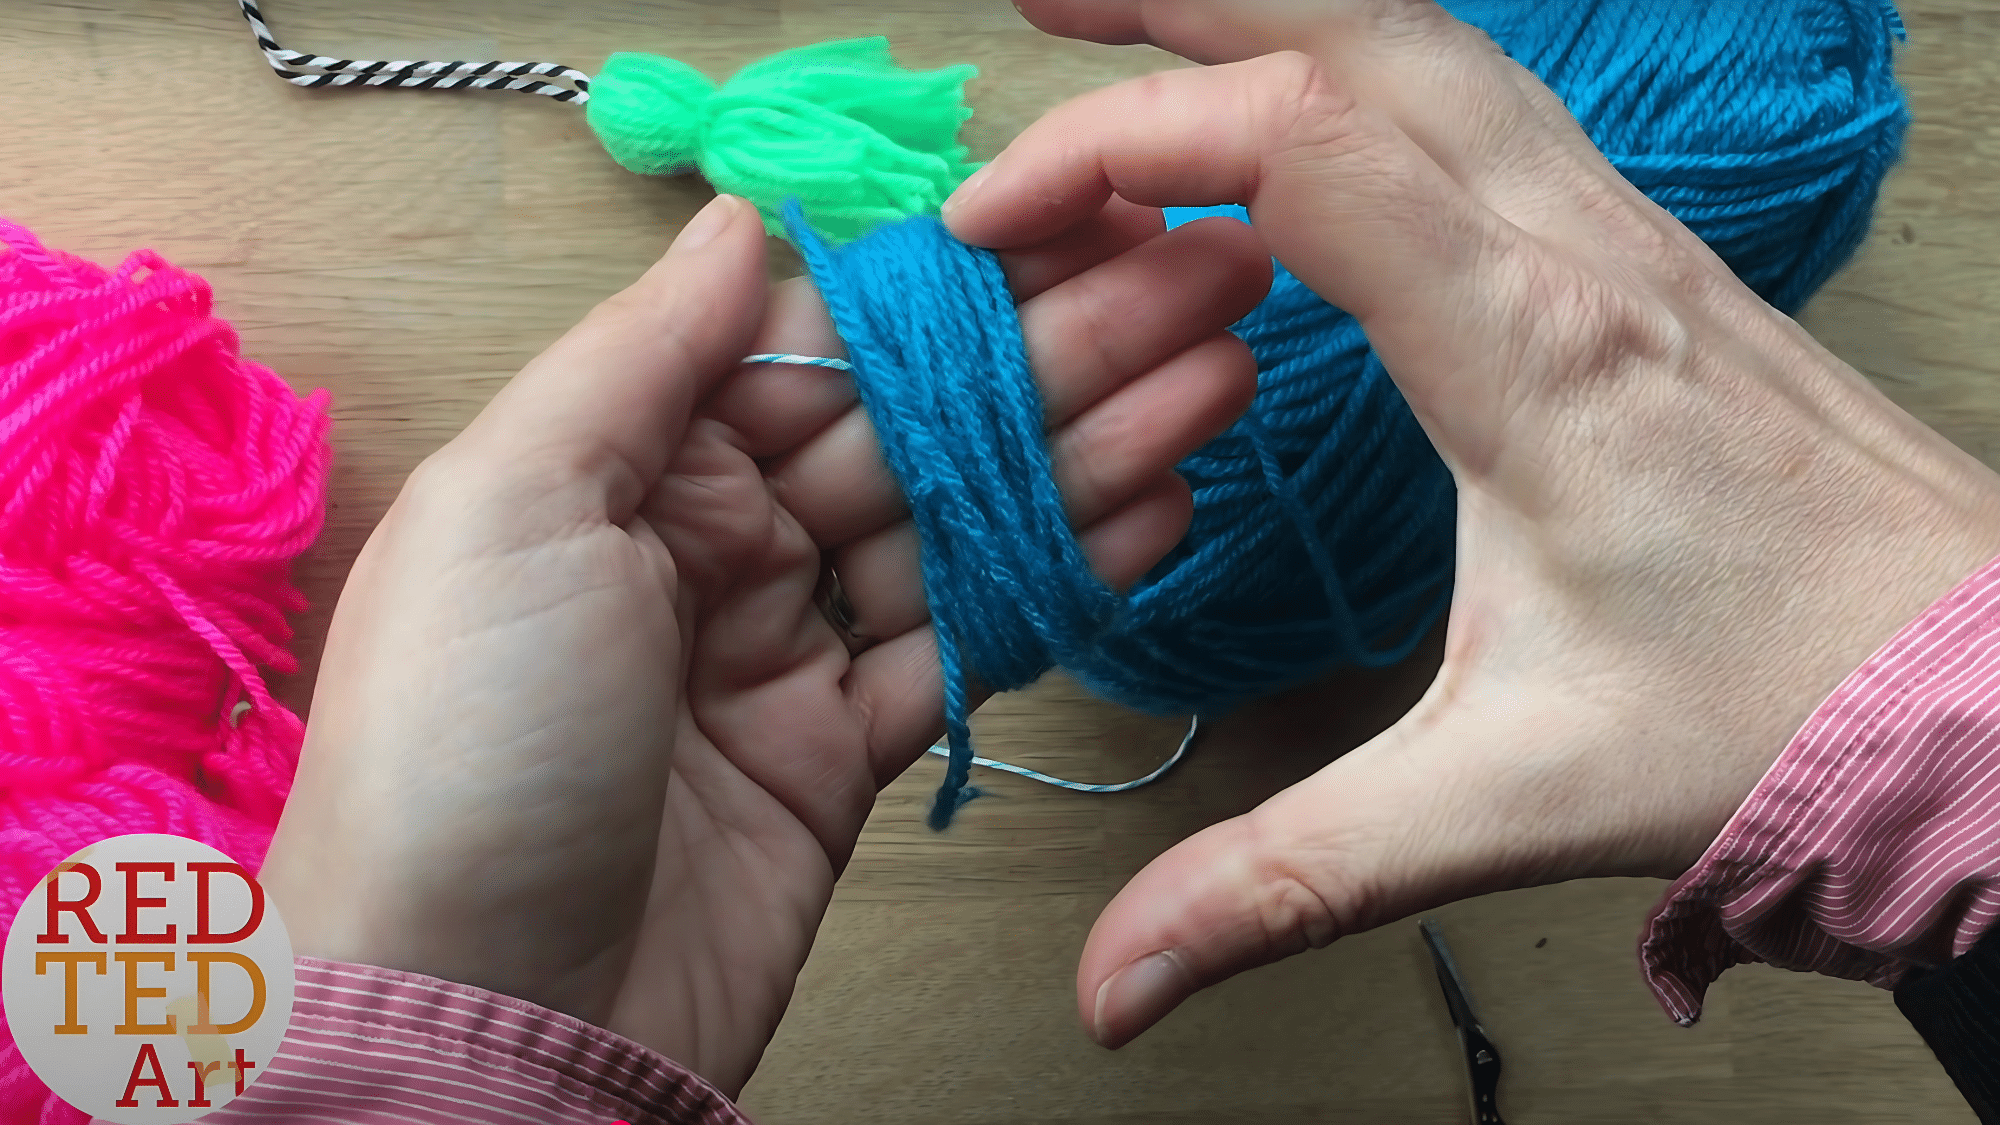
Start by wrapping yarn around your fingers or a piece of cardboard. The size of your hand or cardboard will decide how big your tassel will be. Keep going until you have enough loops to make a full tassel.
You can make a thick or thin tassel based on how many times you wrap the yarn. If you want a fuller tassel, wrap more times. For smaller projects, fewer wraps work better. Count as you go to make sure both sides match, if you need more than one tassel.
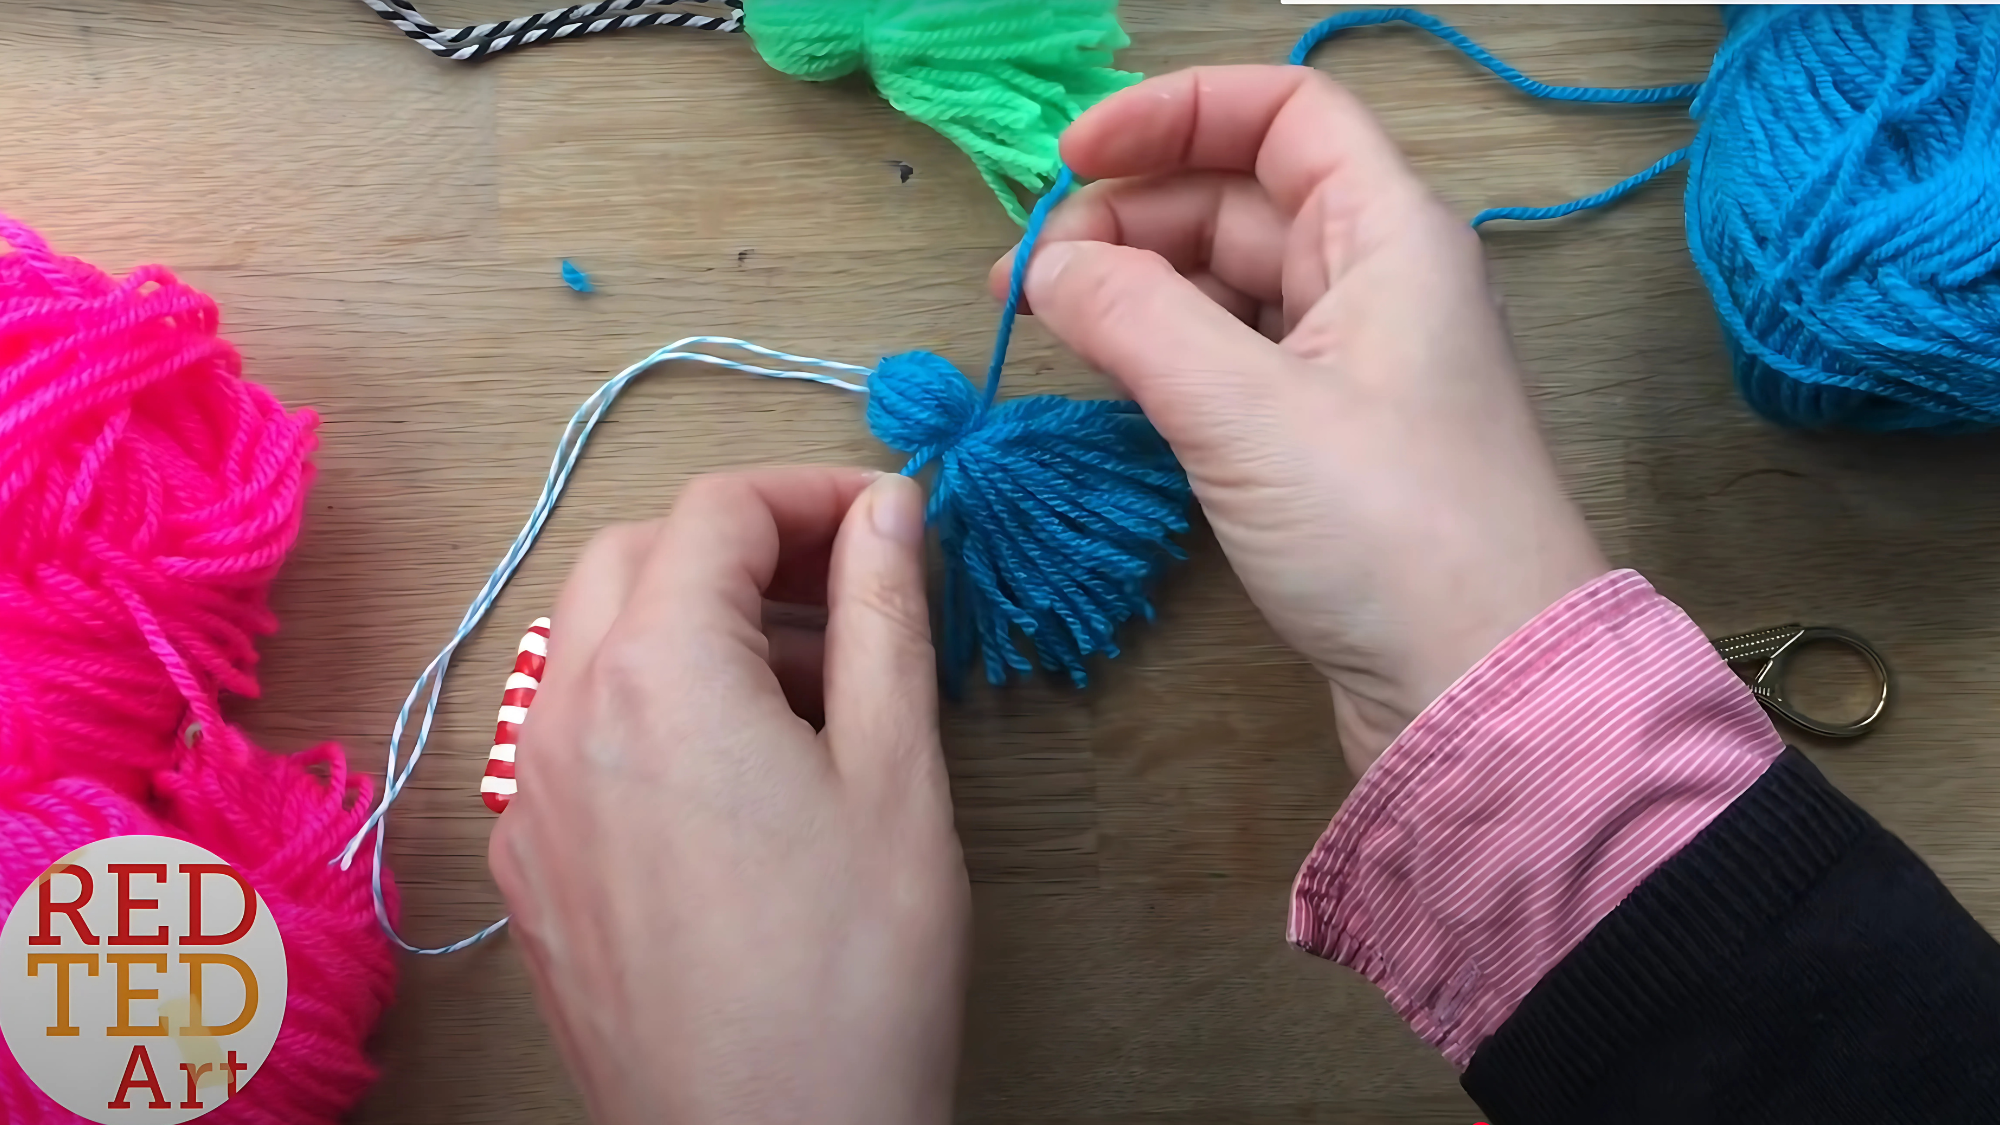
Step 2: Tying the Yarn
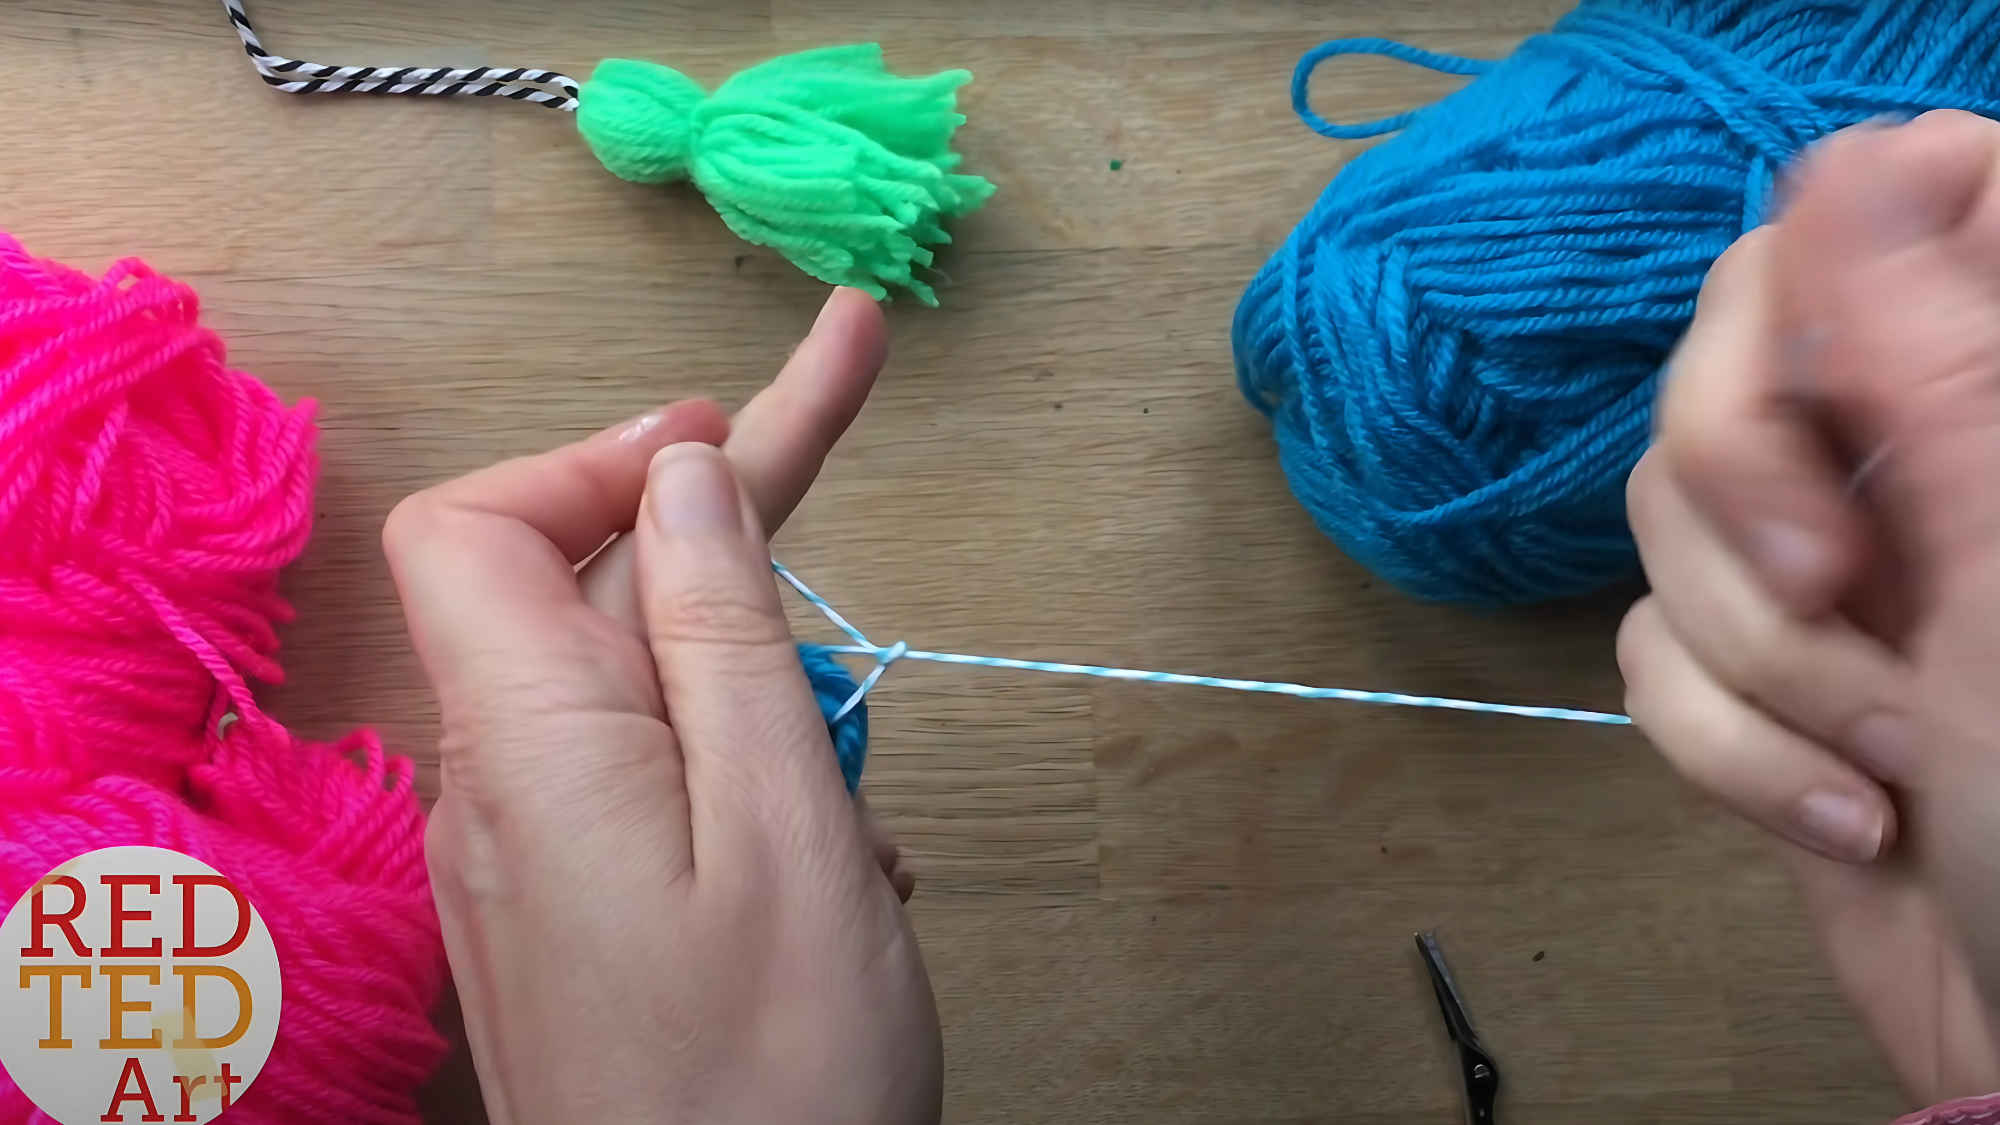
After wrapping, slide the loops off your fingers or cardboard very slowly. Hold the centre of all loops with one hand. With your other hand, take a small piece of yarn and put it through the top of the loops.
Pull the yarn tight and tie a solid knot. Make sure this knot is very tight so your tassel stays together. Double or triple knot it for extra strength. This top knot will be hidden in the final design.
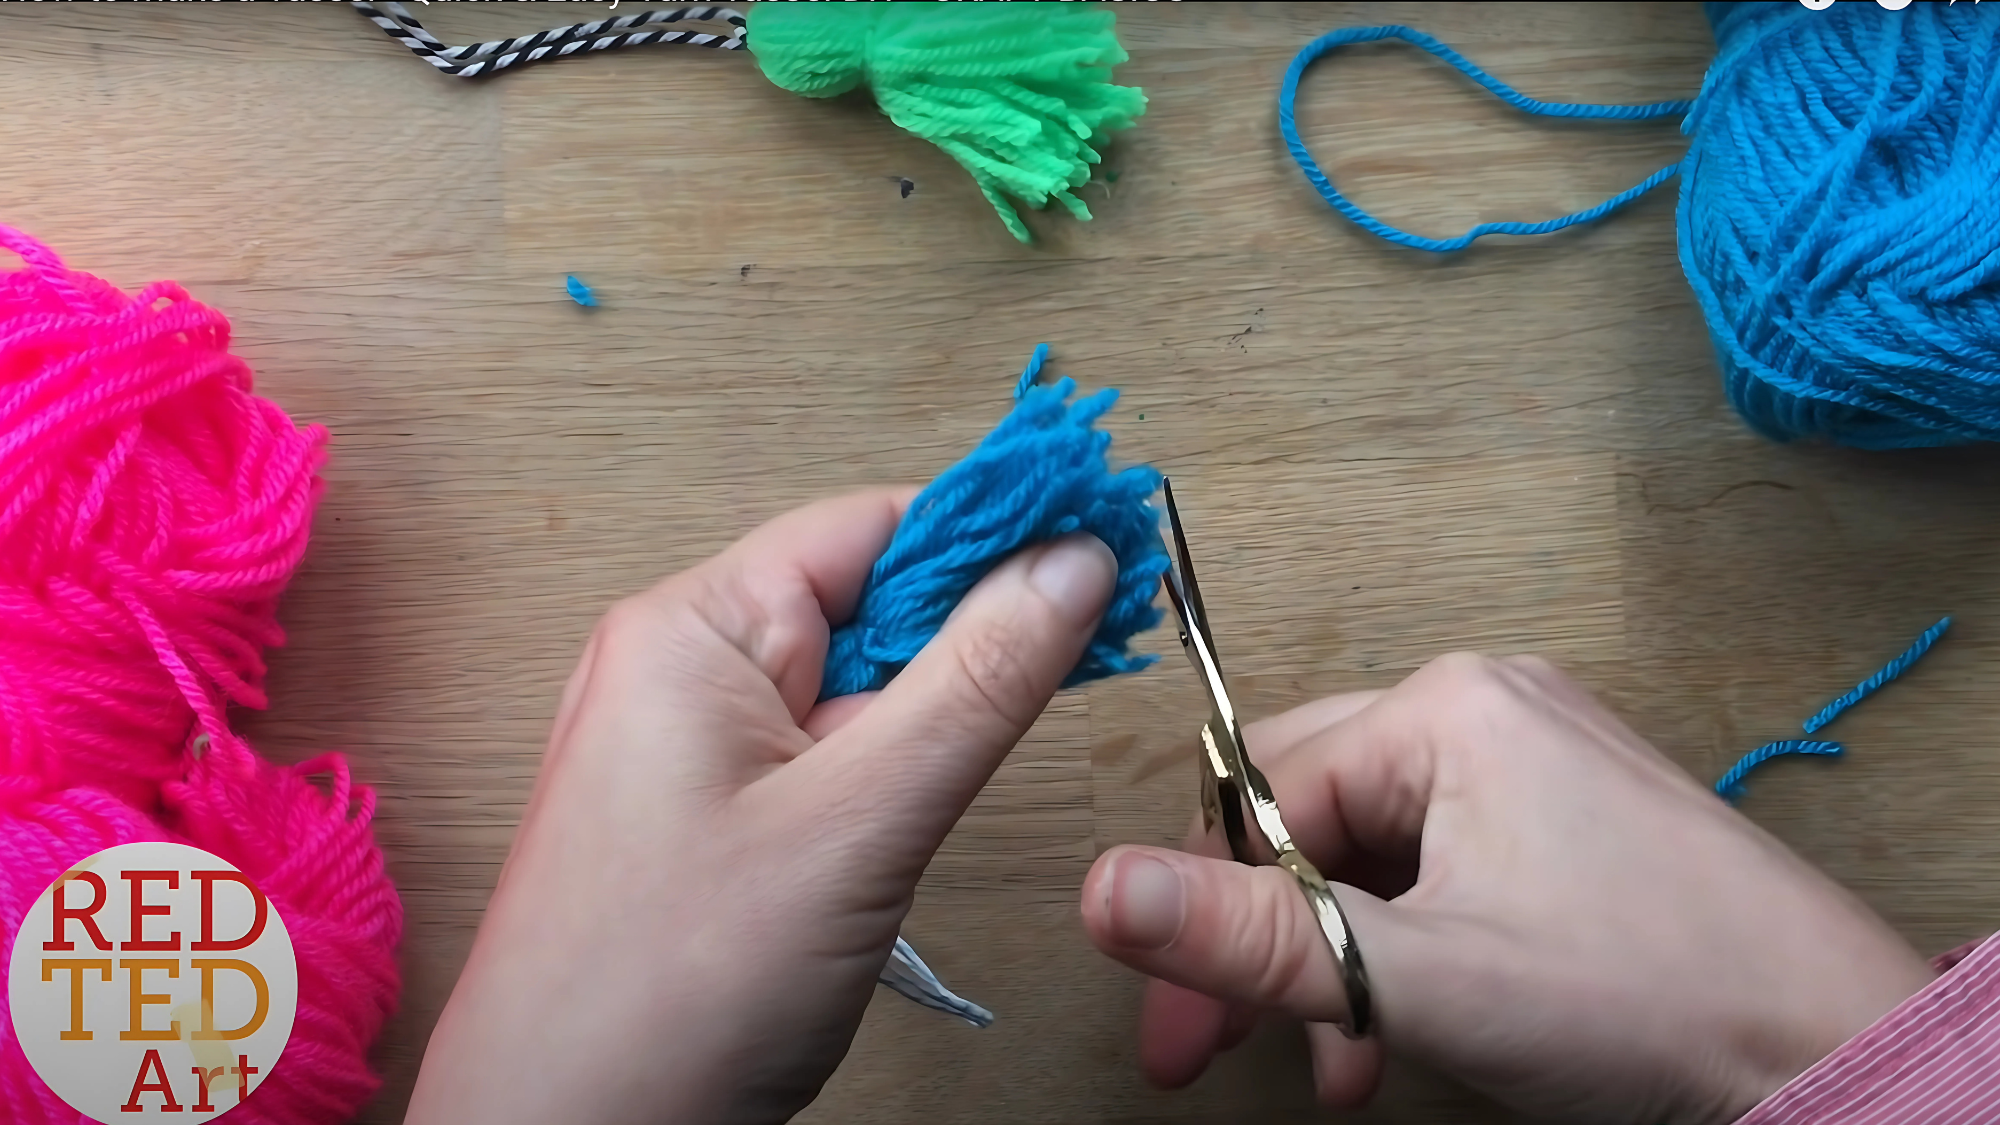
Step 3: Trimming the Tassel Ends
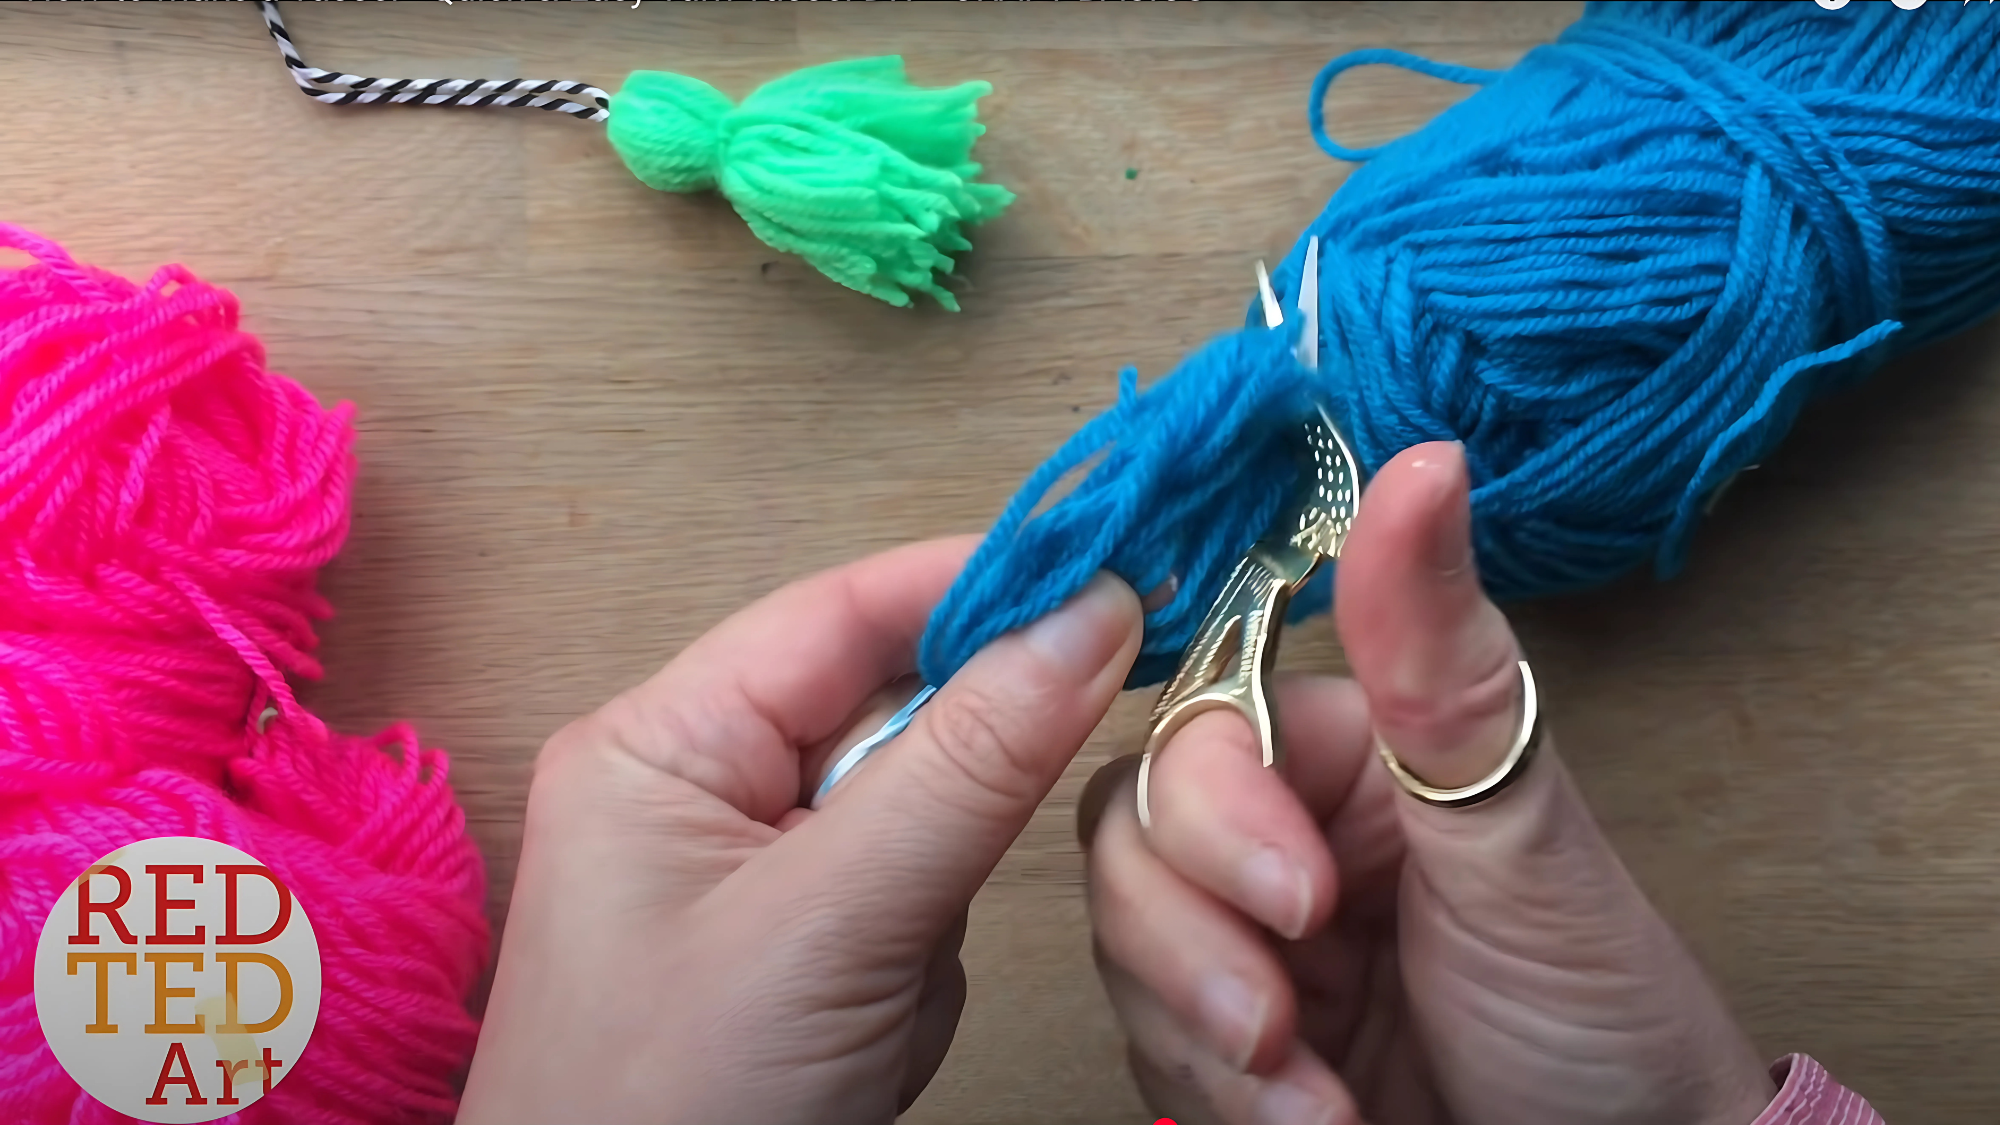
Look for the bottom ends of your tassel where the loops fold over. Cut through all loops at once with sharp scissors. Make one clean cut to keep all strands the same length. Hold the tassel up and check if any yarn pieces stick out too far.
Trim any uneven parts to make all strands match. A flat surface helps when cutting to get a straight line across the bottom of your tassel.
Step 4: Shaping the Top of the Tassel
Take another piece of yarn about 8-10 inches long. Place it about half an inch below the top knot. Wrap this yarn around the tassel several times, pulling firmly with each wrap. Tie a strong knot when done.
This creates the tassel’s “neck” and gives it shape. Tuck in the ends of this wrap by pushing them under the wrapped section with a crochet hook or the tip of your scissors.
Step 5: Final Adjustments
Hold your tassel upside down and shake it gently to see if any yarn strands hang longer than others. Trim the bottom one more time to make sure all strands are exactly the same length.
Fluff the yarn by running your fingers through it to separate any stuck strands. Check the top to make sure the knot is still tight. Your tassel is now ready to use on any craft project!
Creative Ways to Use Your Yarn Tassels
Yarn tassels bring instant texture and pops of colour to everyday objects, turning simple items into statement pieces.
These versatile accents work for crafters of all skill levels, adding handmade charm to home projects and personal style alike. Get ready to find fresh ideas that bring your tassels to life in unexpected ways!
-
Home Décor Accents – Adorn throw pillows, curtains, or lampshades with colourful tassels for a playful, bohemian touch.
-
Gift Wrapping Embellishments – Replace boring ribbon with yarn tassels to make presents look extra special.
-
Keychain Charms – Attach mini tassels to keys or bags for a fun, personalised accessory.
-
Bookmark Toppers – Glue tassels to the ends of ribbons or leather strips for chic, handmade bookmarks.
-
Wall Hanging Highlights – Add tassels to macramé or woven wall art for extra texture and movement.
-
Jewellery Flair – Incorporate small tassels into earrings, necklaces, or bracelets for a trendy, crafty look.
-
Holiday Ornaments – Hang tassels on your Christmas tree, wreaths, or garlands for festive DIY décor.
-
Shoe & Bag Decor – Stitch tassels onto shoelaces, handbags, or backpack zippers for a stylish upgrade.
Video Tutorial
The step-by-step guide was inspired by Red Ted Art (Maggy Woodley)‘s tutorial video, “Crafts Basic: How to Make Tassels.” Check out the video for additional crafting tutorials and helpful tips.
Wrapping it Up
Making yarn tassels is quick, easy, and fun for craft fans of all ages. With just some yarn, scissors, and a few minutes, anyone can create these useful decorations.
The steps are simple to follow and can be done again and again to make as many tassels as needed.
Try using different yarns like cotton, wool, or synthetic blends to see how each type looks. Mix colors to match any room or project.
Small tassels work well on bookmarks and keychains, while big ones look great on wall hangings and curtains.
Share photos of your yarn tassel projects online with friends and family. Ask what they think and get ideas for new ways to use your tassels. Visit our website for more simple craft guides.
