

Alter your drywall finishing from tedious to effortless. Are your arms aching just thinking about hand-sanding another drywall project? You’re not alone.
Thousands of DIYers and pros are discovering that electric sanders can cut drywall finishing time in half while delivering superior results. But not all electric sanders are created equal for this delicate task.
Imagine completing your project with minimal dust, perfect smoothness, and no wrist pain. With the right electric sander and proper technique, you can achieve professional-quality finishes even as a beginner.
In this guide, I’ll show you exactly how to choose the right electric sander for drywall and the step-by-step process that will save you hours of frustration
What You Need to Know Before You Start
Types of Sanding Tools:
Manual sanders (blocks and poles) are cheap but labor-intensive.
Electric sanders cost more upfront but reduce fatigue, cut sanding time by 70%, and collect dust automatically—a worthwhile investment for anything beyond small patches.
Choosing the Right Electric Sander:
- Drywall Sanders with Vacuum: Best for large areas and ceilings. Feature extendable poles and capture 90% of dust.
- Random Orbital Sanders: Perfect for beginners. Offer excellent control and prevent swirl marks.
- Rectangle Finish Sanders: Ideal for seams with their consistent pressure and straight sanding motion.
For most DIYers, start with a quality random orbital sander with variable speed control.
Preparing Your Workspace:
- Clear and cover the area with drop cloths
- Set up bright, shadow-free lighting
- Ventilate the room with open windows and fans
- Wear a proper respirator, eye and ear protection
- Secure loose clothing and hair
- Mark problem areas with pencil before starting
Good preparation prevents frustration and ensures professional results.
Safety Precautions to Keep in Mind
1. Always wear a NIOSH-approved N95 respirator (not just a dust mask) as drywall dust contains silica and other harmful particles that can cause permanent lung damage.
2. Keep the sander unplugged until ready to use and never leave a plugged-in sander unattended, even for a moment, to prevent accidental starts.
3. Maintain three points of contact when sanding elevated areas – two feet firmly planted and one hand on a secure surface to prevent falls.
4. Check your electrical cords regularly for any damage or wear that could lead to shock hazards, especially important when working with shop vacuums and sanders simultaneously.
Step-by-Step Guide to Sanding Drywall with an Electric Sander
Essential Tools: Electric Drywall Sanding
| Tool | Purpose |
|---|---|
| Porter-Cable Power Sander | Main sanding tool with adjustable RPM settings |
| HEPA-Filtered Shop Vacuum | Collects dust while sanding (DeWalt recommended) |
| Sanding Pole | For hand sanding to remove swirl marks |
| Angled Sponge Sander | For corners and tight spaces |
Materials Needed:
| Material | Purpose |
|---|---|
| 220-Grit Sandpaper (no holes) | Fine grit for power sander that prevents tearing |
| Spray Adhesive (3M or similar) | Secures sandpaper flat on sanding pad |
| Vacuum Dust Collection Bags | Captures fine dust particles |
| Drop Cloths | Protects floors and furniture |
Step 1: Prepare Your Sander
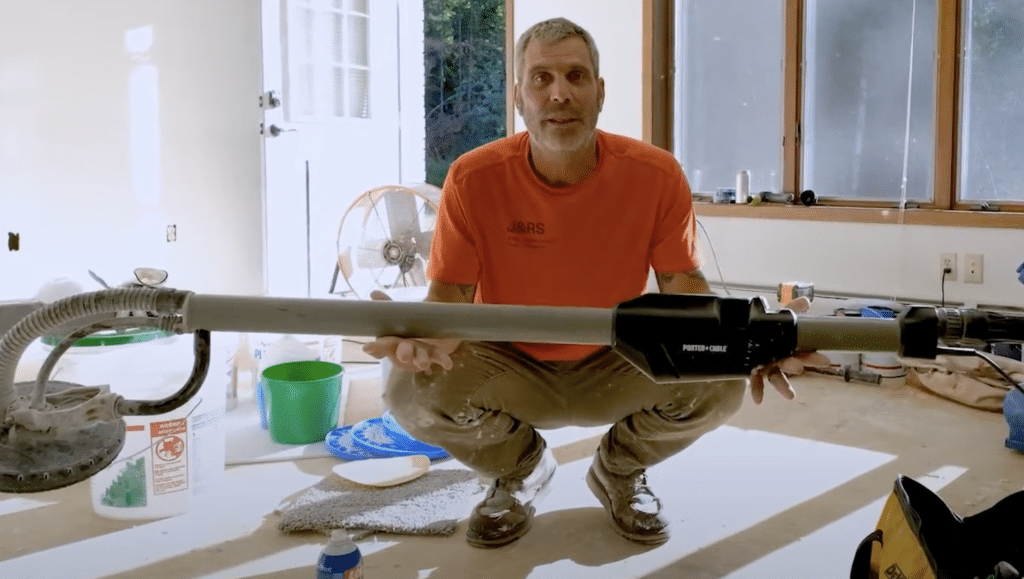
Set up your power sander properly to ensure smooth, consistent results. The right preparation prevents common sanding problems like swirl marks and uneven surfaces.
- Apply spray adhesive to both the sanding pad and back of sandpaper
- Center the 220-grit sandpaper on the pad and press firmly
- Ensure the sandpaper lies completely flat with no bubbles or lifted edges
- Set the RPM dial between 2-3 (lower speed means fewer swirl marks)
KEEP IN MIND: Never use sandpaper with holes as it can tear during use and create swirl marks in your drywall.
Step 2: Connect Your Vacuum System
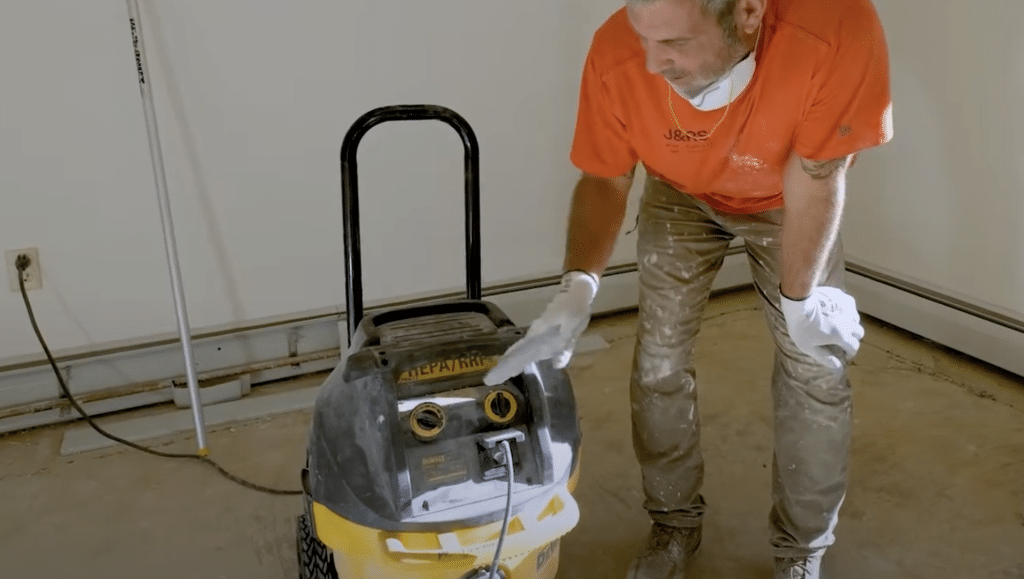
A proper dust collection system keeps your workspace clean and protects your lungs. Connecting your sander to a vacuum creates a cleaner, safer environment.
- Connect your power sander to a HEPA-filtered shop vacuum
- Set vacuum to “cord” setting so it activates when the sander turns on
- Adjust suction level as needed using the vacuum’s control dial
- Check that the dust collection bag is properly installed inside the vacuum
KEEP IN MIND: Even with a vacuum system, always wear a proper respirator when sanding drywall to protect your lungs.
Step 3: Sand With Proper Technique
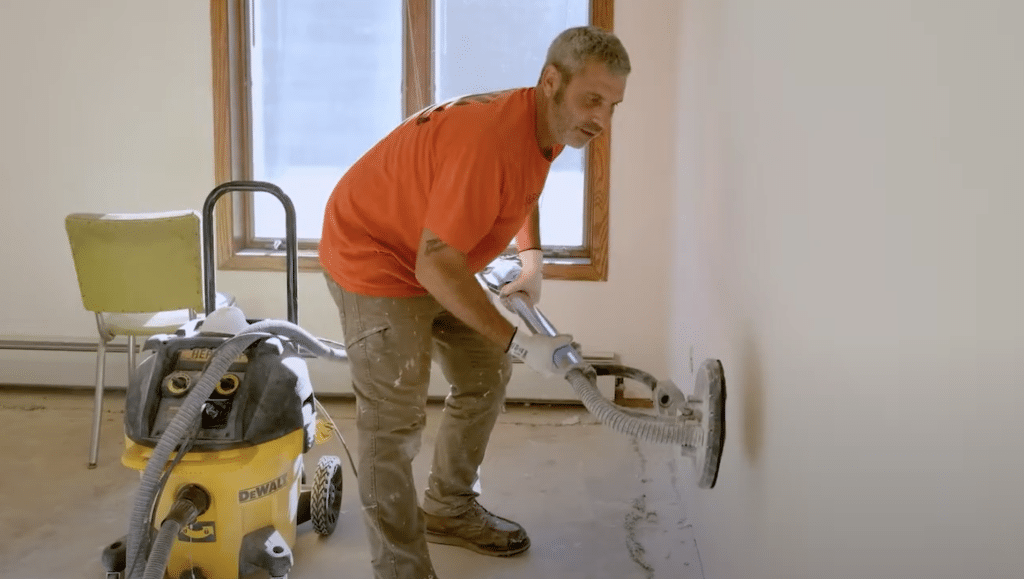
The way you move the sander is crucial for achieving a professional finish. Poor technique can damage the drywall and create more work.
- Identify the direction of your drywall seams
- Always sand parallel to seams, not up and down across them
- Keep the sander moving constantly to prevent “burning” through the drywall
- Apply light, even pressure and let the machine do the work
KEEP IN MIND: The top edge of the sander tends to sand more aggressively than the bottom edge, so use the top portion for stubborn ridges.
Step 4: Hand Sand to Remove Swirls
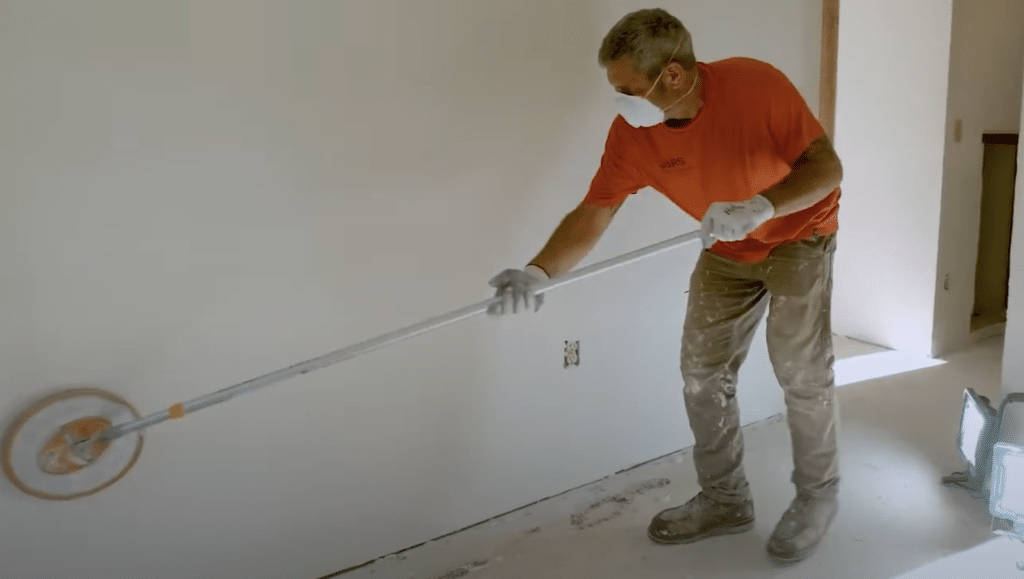
Power sanders can leave subtle swirl marks that will show through paint. A quick hand-sanding eliminates these imperfections.
- Use the same 220-grit sandpaper on a hand sanding pole
- Apply very light pressure with smooth, even strokes
- Focus especially on areas where the power sander lingered
- Run your hand over the surface to feel for any remaining imperfections
KEEP IN MIND: “Snow blindness” from drywall dust can make it hard to see imperfections, so feeling the wall is often more effective than visual inspection.
Step 5: Address Corners and Detail Areas
Corners and areas around fixtures require special attention since the power sander can’t reach these spots effectively.
- Use an angled sponge sander for inside corners (never a flat sponge)
- Sand with the angled side to maintain crisp corner lines
- Work carefully around electrical outlets and light boxes
- Check your work by running your fingers along all edges and corners
KEEP IN MIND: Using a flat sanding sponge in corners will create a groove on the adjacent wall, ruining your finish.
For a visual tutorial, refer to this video by J&RS Build
How to Achieve the Best Results?
- Follow the two-grit method – Start with 150-grit on your electric sander for initial smoothing, then switch to 220-grit for your final pass to eliminate scratches and achieve professional-quality smoothness.
- Use raking light to spot imperfections – Position a work light at a low angle against the wall to create shadows that reveal subtle bumps, depressions, and uneven areas that normal room lighting might miss.
- Perform the “hand test” after sanding – Run your palm across the surface with your eyes closed to feel tiny imperfections your eyes might miss; your fingertips can detect flaws as small as 0.5mm that would be visible under paint.
- Apply a thin coat of primer before final inspection – A quick coat of primer will highlight areas needing additional attention; mark these spots with a pencil and sand them again before applying your final primer and paint.
- Sand between primer coats – For truly flawless results, lightly sand with 320-grit paper after your primer dries for a surface so smooth that your final paint will look like glass.
7 Maintenance of Your Electric Sander
1. Clean the dust port after each use by disconnecting the vacuum hose and using compressed air to blow out accumulated dust that can restrict airflow and cause overheating.
2. Inspect the sanding pad for wear monthly, looking for cracks, tears, or worn hook-and-loop material that could compromise sanding performance; replace pads showing signs of degradation.
3. Check and tighten all screws and fasteners before each use, as the constant vibration of sanding naturally loosens hardware over time.
4. Store your sander hanging vertically in a dust-free cabinet or case with the pad facing away from other tools to prevent pressure that could deform the pad.
5. Clean the filter on your sander’s built-in dust collection system weekly (if equipped) to maintain proper suction and prevent motor strain.
6. Lubricate moving parts every three months with a manufacturer-recommended dry lubricant, never using oil-based products that can attract dust and create a gummy residue.
7. Keep your power cord properly coiled using the over-under method to prevent internal wire damage and extend cord life; never wrap the cord tightly around the sander when storing.
Conclusion
Mastering electric drywall sanding transforms frustrating projects into satisfying achievements.
With the right equipment, proper technique, and careful attention to maintenance, you’ll create flawlessly smooth surfaces that showcase your paint job beautifully.
Remember that success comes from balancing speed with precision—let the sander do the heavy lifting while you maintain control. Your lungs and body will thank you for choosing this more efficient approach over traditional hand sanding.
Whether you’re tackling a small repair or finishing an entire home, these techniques will save you time, reduce fatigue, and deliver professional results.
Start with quality tools, follow the steps outlined in this guide, and you’ll soon wonder how you ever managed without an electric sander in your drywall arsenal.
Happy sanding!