Smoking a whole chicken may seem daunting, but many people struggle with dry, flavorless results or uneven cooking. You want that perfect smoky flavor with juicy, tender meat that falls off the bone.
The good news? Your electric smoker can deliver restaurant-quality smoked chicken every single time when you follow the proper steps.
This guide will show you exactly how to smoke a whole chicken, from preparation to serving. You’ll learn the simple brining trick that keeps meat moist, the perfect temperature settings, and timing secrets that guarantee juicy results.
We’ll cover everything from cleaning and seasoning to smoking techniques and common mistakes to avoid.
By the end, you’ll have all the knowledge to smoke perfect chicken that will impress your family and friends at every BBQ.
Why Smoke a Whole Chicken?
Smoking a whole chicken yields tender, juicy meat with a rich, smoky flavor that’s hard to beat. The low, slow cooking method keeps the meat moist while infusing it with the delicious aroma of wood smoke.
Plus, it’s budget-friendly – you can feed a family of four for under $10. This makes smoked chicken perfect for weekend BBQs, Sunday dinners, or meal prep for the week ahead. You’ll get restaurant-quality results right in your backyard.
Electric Smoker Chicken: What You’ll Need
Ingredients
| Ingredient | Details / Notes |
|---|---|
| Whole Chicken | Recommended size: 4–6 lbs for even smoking |
| Dry Rub Spices | Paprika, garlic powder, onion powder, cayenne, brown sugar |
| Olive Oil or Mustard | Acts as a binder to help rub the stick to the chicken |
| (Optional) Brine Mix | Water, salt, sugar, herbs (brine 8–12 hrs for added moisture & flavor) |
Tools & Equipment
| Tool / Equipment | Details / Notes |
|---|---|
| Electric Smoker | Recommended brands: Masterbuilt, Pit Boss, Char-Broil |
| Meat Thermometer | Digital probe thermometer for accurate internal temp reading |
| Wood Chips | Apple (mild & sweet), Hickory (classic BBQ), Mesquite (strong flavor) |
| Water Pan | Maintains moisture, prevents chicken from drying out |
Step-by-Step: Prepping a Whole Chicken for the Smoker

1. Clean and Dry the Chicken
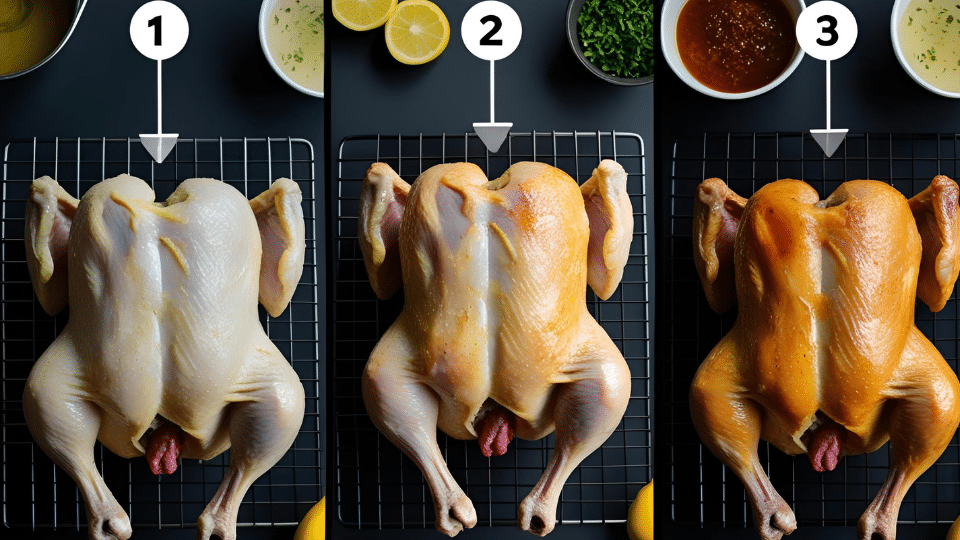
Start by removing the giblets from inside the cavity. Rinse the chicken under cold water and pat it completely dry with paper towels.
Moisture is the enemy of good seasoning, so make sure every surface is dry. Tuck the wing tips behind the back and tie the legs together with kitchen twine for even cooking.
What You Need:Paper towels, kitchen twine, clean cutting board
2. Optional Brining (Highly Recommended for Juiciness)
Mix 1 cup of salt and ½ cup of sugar per gallon of cold water in a large container. Submerge the chicken completely and refrigerate for 8-12 hours.
This step adds moisture and flavor deep into the meat. After brining, rinse the chicken and pat it dry again before seasoning.
What You Need: Salt, sugar, large container or brining bag, cold water
3. Apply Binder + Rub
Coat the entire chicken with olive oil or yellow mustard as a binder. The mustard won’t add flavor, but it helps the rub stick better. Apply your dry rub generously inside the cavity and all over the skin.
Let the seasoned chicken sit at room temperature for at least 30 minutes, or refrigerate overnight for a deeper flavor.
What You Need: Olive oil or yellow mustard, dry rub spices, gloves (optional)
Whole Chicken Smoking Process: Easy Steps

1. Preheat the Smoker
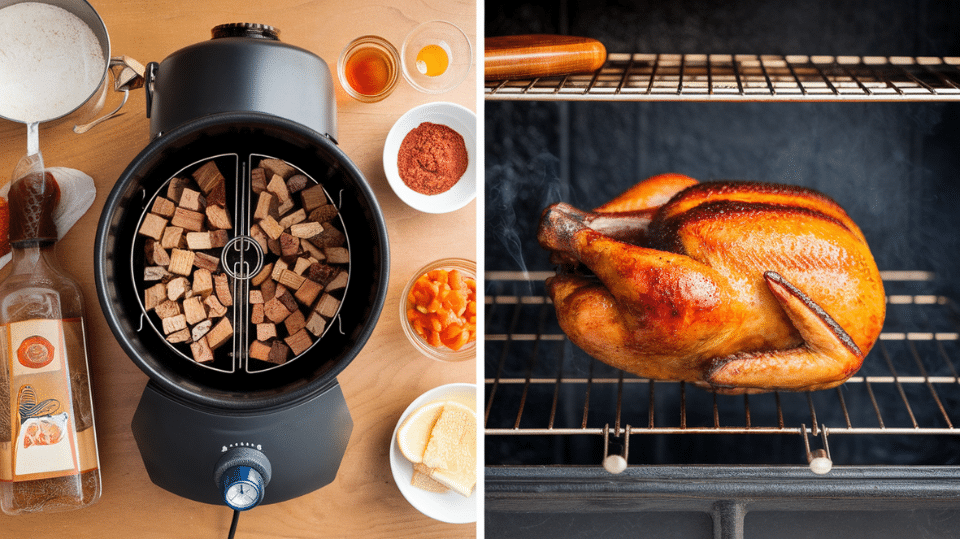
Set your electric smoker to 225°F to 250°F and let it preheat for 15-20 minutes. Fill the water pan halfway with hot water to maintain moisture during cooking.
Add a handful of soaked wood chips to the chip tray for that first burst of smoke. Make sure your smoker reaches the target temperature before adding the chicken. The consistent low heat will cook the meat slowly and evenly.
What You Need: Wood chips (apple, hickory, or cherry), water pan, smoker thermometer
2. Placing the Chicken
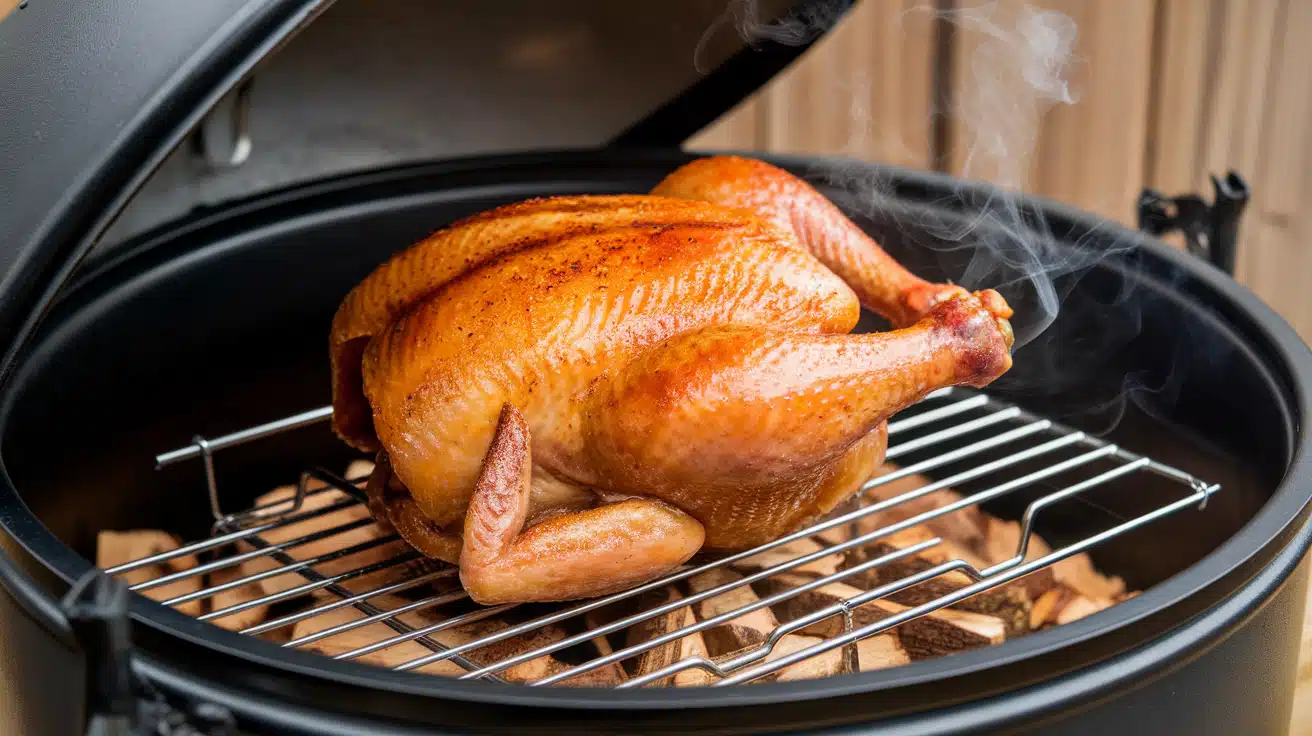
Place the chicken breast-side up on the middle rack of your smoker. This position allows heat to circulate evenly around the bird. Insert a meat thermometer into the thickest part of the thigh, avoiding the bone.
You can also check the breast meat, but the thigh meat takes longer to cook. Close the smoker door and resist the urge to peek too often.
What You Need: Meat thermometer, middle cooking rack
3. Smoking Time
Allow approximately 30-40 minutes of cooking time per pound of chicken. A 4-pound bird will take roughly 2.5 to 3 hours to finish.
The internal temperature should reach 165°F in both the thigh and breast for food safety. Don’t rely on time alone – always use a thermometer to check doneness. The meat near the bone should run clear juices, not pink.
What You Need: Timer, meat thermometer, patience
4. Spritzing or Basting
Mix equal parts apple juice and apple cider vinegar in a spray bottle for spritzing. Lightly spray the chicken every hour to keep the skin moist and add flavor.
Open the smoker quickly, spray, and close it fast to maintain temperature. This step is optional, but it helps create a beautiful golden color. Too much spritzing can wash away your rub, so use a light hand.
What You Need: Spray bottle, apple juice, apple cider vinegar
5. Optional: Crank Up Heat at the End
For crispy skin, increase your smoker temperature to 300°F during the final 30 minutes. This higher heat will help render the fat under the skin, creating a better texture.
Watch the internal temperature closely during this step to avoid overcooking. The skin should turn golden brown and feel firm to the touch. This technique gives you the best of both worlds – smoky flavor and crispy skin.
What You Need: Temperature control, last 30 minutes of cook time
Resting and Carving Tips for Smoked Whole Chicken

Resting (Critical Step!)
- Let it rest 15–20 minutes on a cutting board tented with foil.
- Resting helps redistribute juices, preventing dry meat.
- Avoid cutting too early — it will cause flavorful juices to run out.
- Place a paper towel or tray under the board to catch excess juices.
Carving for Maximum Juiciness & Presentation
- Use a sharp carving knife or chef’s knife (dull knives tear the meat).
- Remove the legs and thighs first by slicing through the joints.
- Slice off the wings next — pull and cut at the joint.
- Cut along the breastbone and glide the knife down to remove the breast meat.
- Slice breasts against the grain for tenderness.
- Serve dark and white meat separately to accommodate guests’ preferences.
- Save the carcass for smoked chicken broth or soup!
Mistakes to Avoid When Smoking a Whole Chicken
| Mistake | Why It Matters |
|---|---|
| Over-smoking | Using too much wood can cause a bitter, overpowering taste. |
| Undercooking | Guessing doneness risks unsafe eating; always use a thermometer. |
| Forgetting to Rest the Chicken | Skipping rest time leads to juice loss and dry meat. |
| Not Preheating the Smoker | Cold starts can cause uneven smoking and rubbery skin. |
| Using the Wrong Wood Type/Amount | Strong woods like mesquite can overpower; use mild woods like apple/hickory. |
| Opening the Smoker Too Often | Frequent peeking allows heat and smoke to escape, extending the cook time. |
| Inaccurate Thermometer Placement | Placing the probe too close to the bone can give a false reading. |
Wrapping It Up
Smoking a whole chicken in your electric smoker is easier than you think. The key steps are simple: brine for moisture, season well, maintain a temperature of 225-250°F, and cook until the internal temperature reaches 165°F.
With just a few hours of patience, you’ll have juicy, smoky chicken that beats any store-bought rotisserie.
This method works every time and feeds your whole family for less than $10. The smoky flavor and tender meat make it perfect for Sunday dinners, meal prep, or impressing guests at your next BBQ. Once you try this technique, you’ll never go back to plain roasted chicken.
Ready to fire up your smoker? Grab a whole chicken and give this method a try this weekend. Drop a comment below and let us know how your smoked chicken turned out!
Frequently Asked Questions
How to Keep a Whole Chicken Moist when Smoking?
Brine for 8-12 hours, keeping the water pan full, and refrain from opening the smoker door frequently.
What Is the Trick to Smoking Chicken?
Maintain a temperature of 225-250°F and use a meat thermometer to check for an internal temperature of 165°F.
How Many Hours to Smoke a Whole Chicken at 225?
About 30-40 minutes per pound – a 4-pound chicken takes 2.5-3 hours total.


