
Is your roof overhang providing enough protection for your home?
If not, extending it could be the ideal solution. A roof overhang extension helps shield your house from rain, snow, and harsh sunlight, while also enhancing energy efficiency and boosting curb appeal.
Additionally, it protects siding and the foundation from potential damage. When the current overhang falls short, an extension can make a significant difference.
This guide covers the different types of overhang extensions, their benefits, and how to add one to your home.
Taking this simple step can improve your home’s comfort and energy efficiency effectively.
What is Roof Overhang Extension?
A roof overhang is the part of the roof that extends beyond the exterior walls of a building, providing protection from rain, sun, and snow.
A roof overhang extension means increasing this projection to offer more coverage and benefits.
The difference between a standard overhang and an extended one lies mainly in length; extended overhangs protrude further, enhancing weather protection and shade.
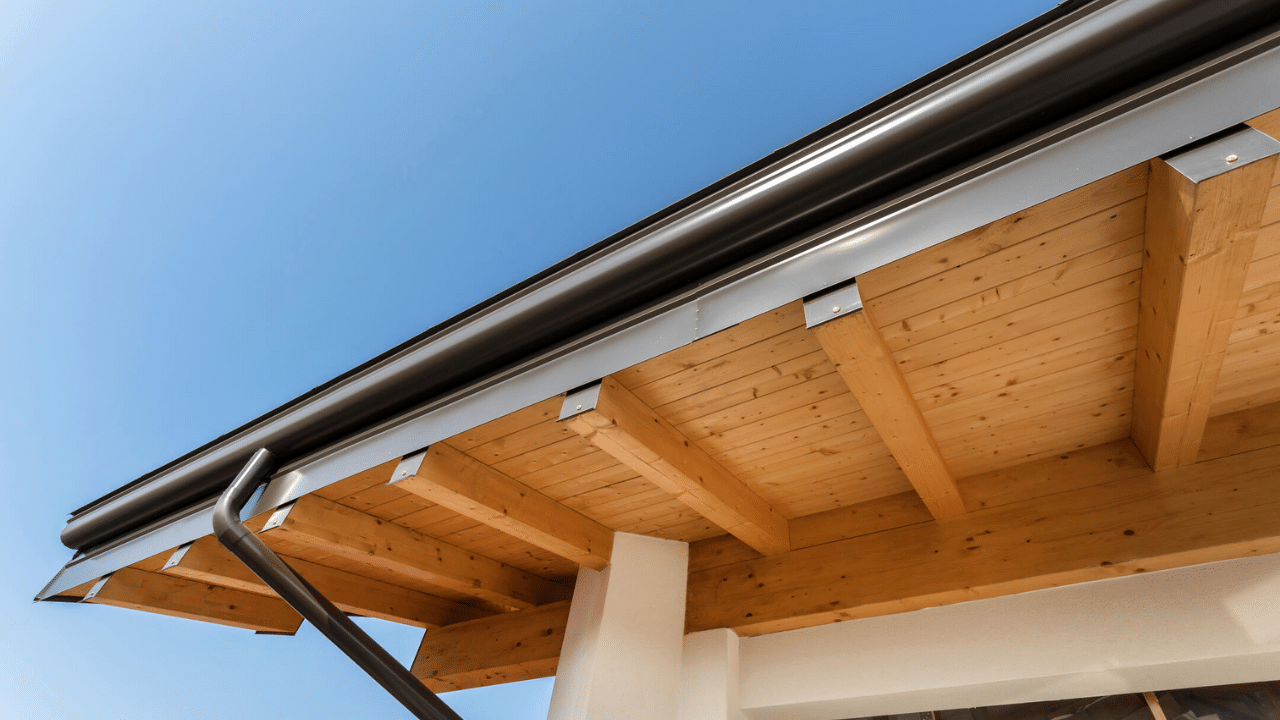
Overhangs can be open, showing visible rafters, or boxed with enclosed soffits and fascia.
Styles range from simple flat edges to decorative designs with exposed beams, complementing the home’s architectural character.
Different Types of Roof Overhang Extensions
Roof overhang extensions come in various styles and designs, each offering different levels of protection and aesthetic appeal to suit your home’s needs.
-
Simple Overhang Extension
A straightforward extension of the existing roofline with added framing, fascia, and soffit for basic weather protection. - Boxed Eaves Extension
An enclosed overhang with soffit boards underneath, providing a clean finish and allowing for proper ventilation. -
Open Eaves Extension
Features exposed rafters or beams under the overhang, adding a rustic or decorative architectural touch. -
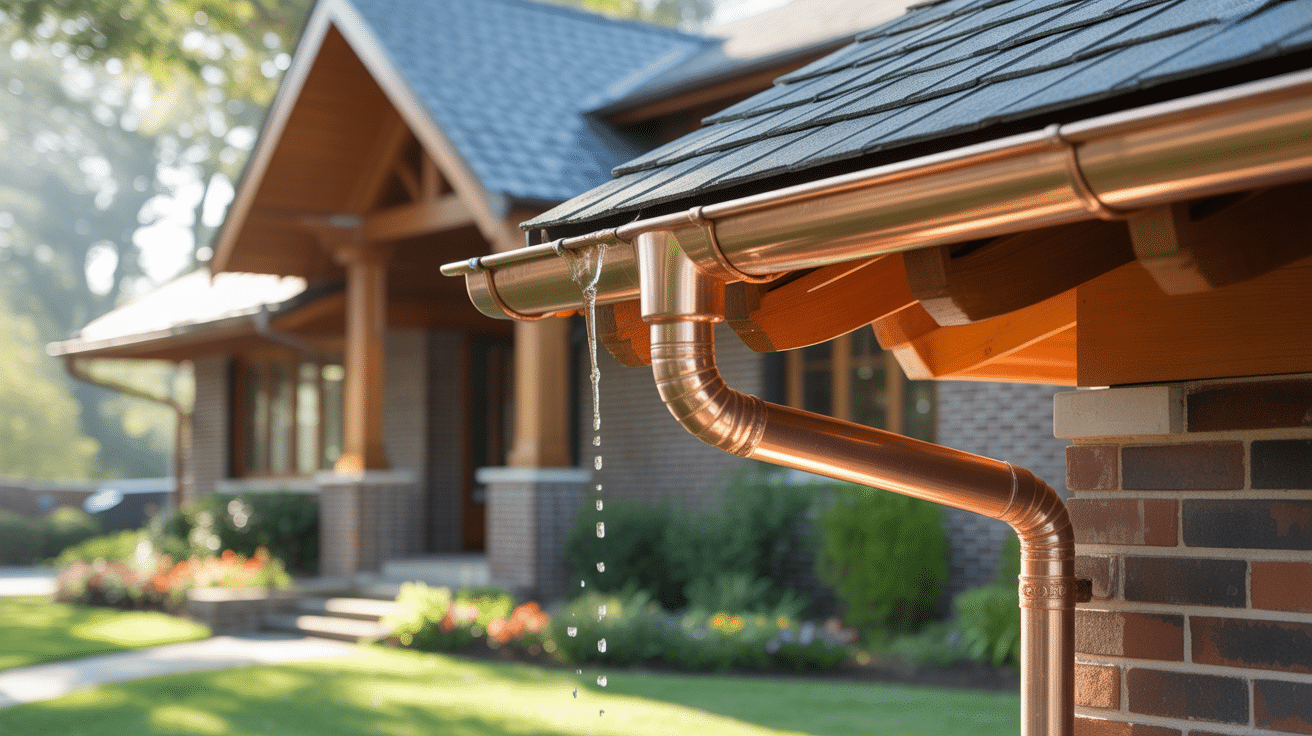
Gutter-Integrated Overhang
Extends the roof edge to include gutters, enhancing water drainage and protecting the foundation. -
Decorative Overhangs
Incorporates ornamental elements like brackets or exposed rafter tails to combine style with functionality.
Benefits of Extending Your Roof Overhang
Extending your roof overhang offers practical advantages that protect your home, save energy, and enhance its overall appearance.
-
Enhanced Weather Protection
Extended overhangs help shield your home from rain, snow, and intense sun, reducing water damage and protecting exterior walls and windows. -
Improved Energy Efficiency
By shading windows and walls, a longer overhang keeps your home cooler in summer, lowering air conditioning costs and improving comfort. -
Increased Curb Appeal
A well-designed overhang extension adds architectural interest and depth to your home’s exterior, boosting its overall look and value -
Protection for Siding and Foundation
Keeping water away from your siding and foundation prevents moisture-related damage, helping preserve your home’s structure over time.
Step-by-Step Guide to Extending a Roof Overhang
Follow these clear, detailed steps to safely and effectively extend your roof overhang, enhancing your home’s protection and curb appeal.
Tools and Materials Needed
Before starting, gather all necessary tools and materials to ensure a smooth process. This preparation helps avoid delays during the project.
| Tools | Materials |
|---|---|
| Measuring tape | Lumber (treated wood) |
| Hammer | Fascia boards |
| Saw (hand or power) | Soffit panels or boards |
| Drill and drill bits | Nails and screws |
| Crowbar or pry bar | Gutters and downspouts |
| Ladder or scaffolding | Sealant or caulk |
| Safety gear (gloves, goggles, helmet) | Paint or stain |
Step 1: Preparing the Work Area and Safety Tips
Clear the area around your worksite and set up safety measures to protect yourself and your home. A safe environment reduces risks and accidents.
- Remove obstacles and cover nearby plants or furniture.
- Use sturdy ladders and scaffolding with a spotter if needed.
- Wear gloves, safety goggles, and a hard hat.
Tip: Never work on a roof alone; always have someone nearby for assistance.
Step 2: Removing Old Fascia and Soffit (If Applicable)
If you’re replacing or extending an existing overhang, carefully remove old fascia and soffit to create a clean surface for the extension.
- Pry off the fascia boards using a crowbar.
- Remove soffit panels or boards without damaging the underlying structure.
- Dispose of old materials properly.
Tip: Inspect the exposed rafters and framing for any damage or rot before proceeding.
Step 3: Framing and Attaching New Overhang Extension
Construct the framework for the overhang extension by adding new rafters or extending existing ones. This supports the new roof edge.
- Measure and cut lumber to the desired extension length.
- Securely attach new rafters to the existing roof framing.
- Add blocking or braces for additional support.
Tip: Use treated lumber to prevent moisture damage and increase durability.
Step 4: Installing Soffit and Fascia Boards
Cover the underside and edge of the new overhang with soffit and fascia to protect the structure and improve appearance.
- Install soffit panels under the overhang for ventilation.
- Attach fascia boards along the edge to hide rafters.
- Seal gaps with caulk to prevent water intrusion.
Tip: Choose materials that match your home’s style and climate requirements for best results.
Step 5: Adding Gutters and Finishing Touches
Extend or install gutters along the new overhang to direct water away from your home and protect the foundation. Finish with painting or staining as needed.
- Attach gutters securely along the fascia.
- Ensure proper slope for water drainage.
- Paint or stain fascia and soffit for weather resistance.
Tip: Regularly clean gutters after installation to prevent clogs and damage.
Step 6: Common Pitfalls to Avoid
Be aware of typical mistakes to ensure your roof overhang extension lasts and functions well.
- Avoid insufficient support framing that can cause sagging.
- Don’t neglect proper ventilation in the soffit area.
- Ensure gutters are properly aligned to prevent water pooling.
Tip: Consult with a professional if you’re unsure about structural aspects or local building codes.
Watch These Videos for More Tips on Roof Overhang Extensions
How to Maintain and Extend the Life of Your Roof Overhang Extension
Proper maintenance ensures your roof overhang extension stays durable and effective for years. Regular care prevents costly repairs and preserves your home’s appearance.
-
Routine Inspection Tips
Regularly check the overhang for signs of damage, moisture, or pests. Look for loose boards, cracked paint, or sagging areas -
Cleaning Gutters and Soffit
Remove leaves, debris, and dirt from gutters to maintain proper drainage. Clean soffit vents to ensure good airflow and prevent mold buildup. -
Repairing Minor Damage and Repainting
Fix small cracks, holes, or rotting wood promptly. Repaint or stain the fascia and soffit to protect against weather and UV damage. -
Signs of Wear to Watch For Over Time
Look out for peeling paint, water stains, mold growth, and damaged gutters. Early detection helps avoid bigger structural problems.
Schedule maintenance twice a year, preferably in spring and fall, for optimal longevity.
Cost Factors and Budgeting

Understanding the costs involved in extending a roof overhang helps you plan your budget wisely and avoid surprises.
| Cost Factor | Details | Estimated Cost Range |
|---|---|---|
| Typical Cost Ranges | DIY projects are more affordable but require time and skill; professional installation ensures quality. | DIY: $300–$1,500 Pro: $2,000–$7,500+ |
| Material Options | Prices vary by material quality, such as wood type, fascia, soffit, and gutters. | $200–$1,200 depending on materials |
| Permits and Inspection Costs | Some areas require permits and inspections, adding fees based on local regulations. | $50–$300 |
| Estimating Total Project Cost | Includes labor, materials, permits, and unexpected expenses; multiple quotes help improve accuracy. | $1,000–$7,500+ (can be higher for complex jobs) |
Wrapping It Up with a Better Overhang
Extending your roof overhang is a smart and simple way to protect your home and improve its look. From keeping water away from your walls to reducing heat and energy costs, the benefits are clear.
Plus, it can help protect your foundation and siding from damage. Whether you’re looking for more protection or just a fresh new look, a roof overhang extension is a great choice.
If you’re considering adding one, take the time to consult a professional for the best results. Have you already extended your overhang or are you thinking about it?
Share your thoughts and questions in the comments below!