

Want to make furniture without years of woodworking experience? There’s a method so straightforward that it’s changing how beginners approach woodworking projects.
This technique creates solid, clean connections between wood pieces using just a few basic tools and simple steps anyone can follow.
No fancy equipment or complicated skills needed—just an angled hole, a special screw, and you’re ready to build. It’s fast enough to complete projects in a weekend yet strong enough to last for years.
What makes this method so popular with both beginners and pros? The secret is in how it joins wood pieces together in a way that maximizes strength while hiding the connection points.
Ready to learn this game-changing woodworking skill?
What is Pocket Hole Joinery?
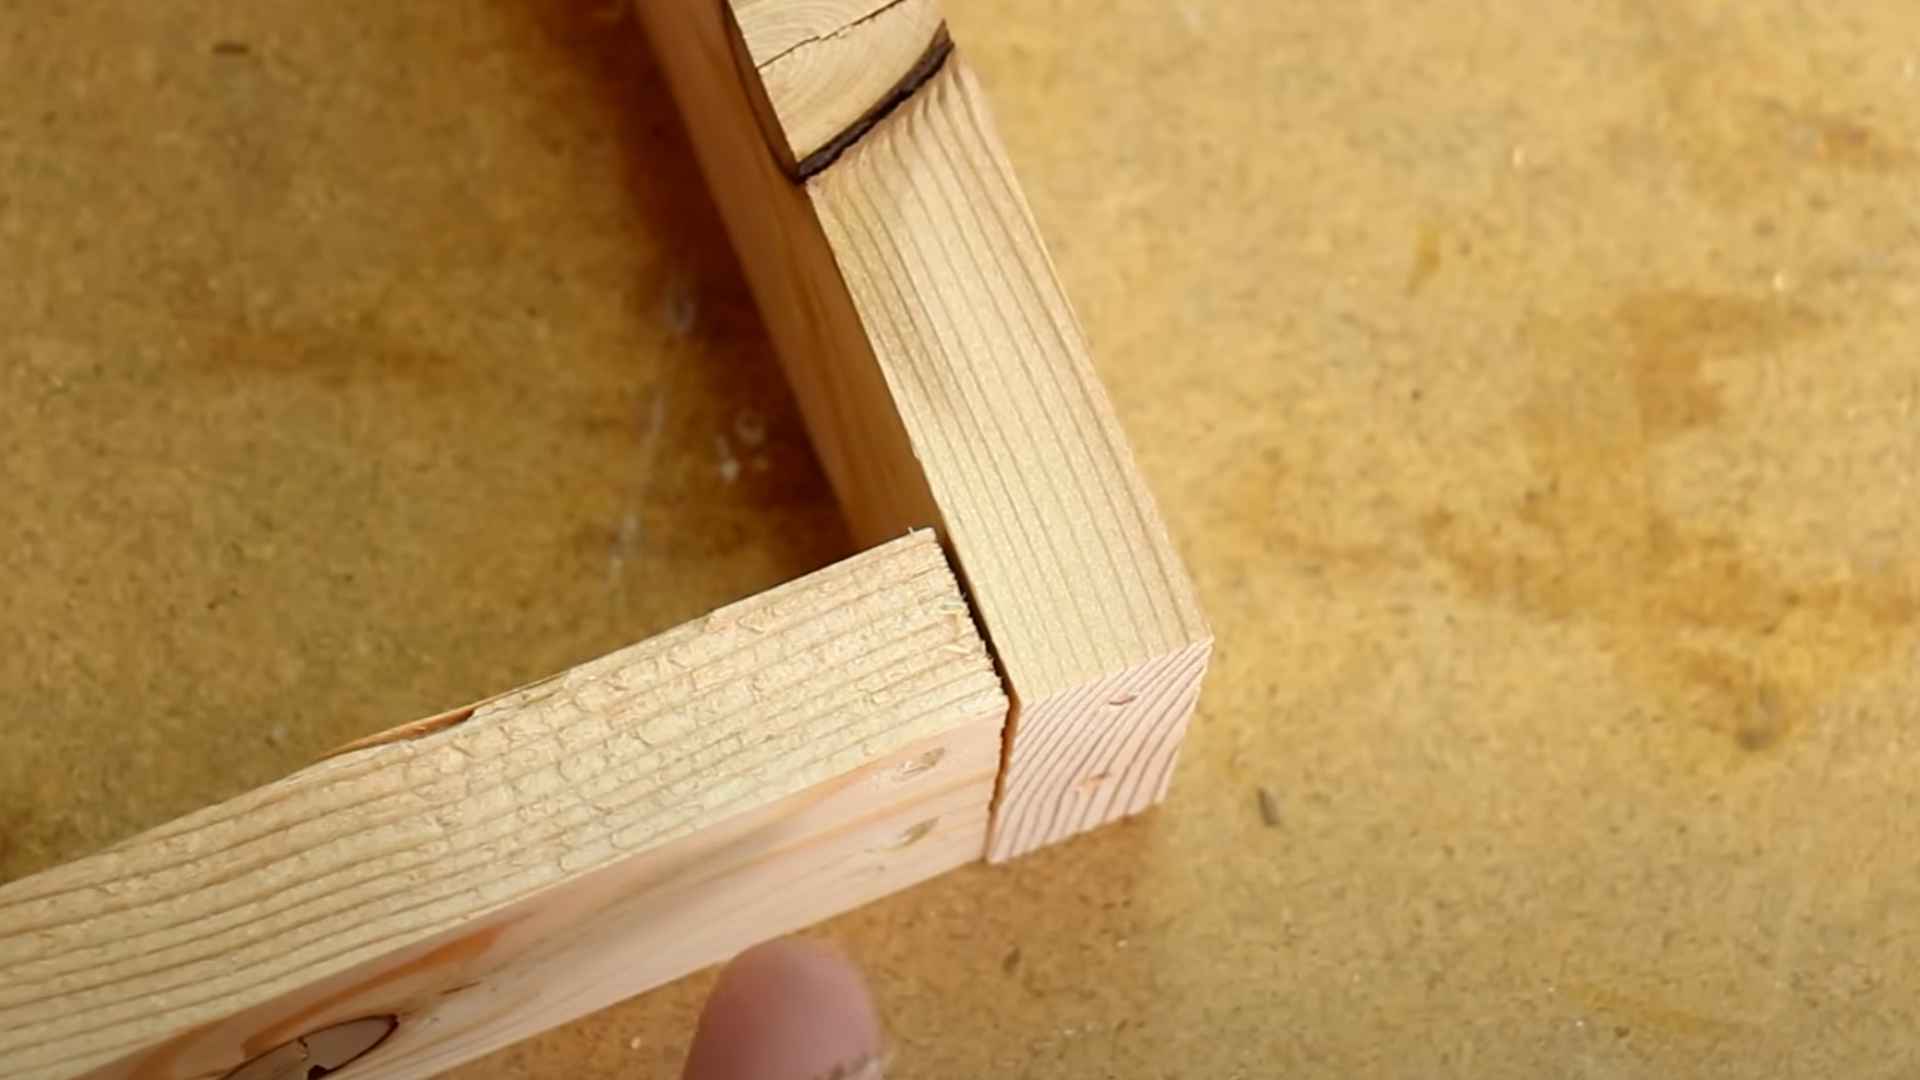
Pocket hole joinery is a woodworking method that uses angled holes drilled into one piece of wood. You then put a screw through this hole into another piece to make a strong connection.
The main benefit is that you don’t need to screw directly into the end grain, which is often weak. Instead, you get a much stronger connection by joining the face or edge grain.
This method is perfect for beginners in woodworking for several reasons:
- Easy to learn and master
- Needs only a few basic tools
- Creates strong and clean joints
- Works quickly and allows for small mistakes
Tools and Materials You’ll Need
Let’s gather everything you need to start making pocket hole joints – the good news is you won’t need to empty your wallet or fill your workshop with complex tools.
| Tool/Material | Description |
|---|---|
| Pocket Hole Jig | Kreg Jig or similar brand that guides the drill bit |
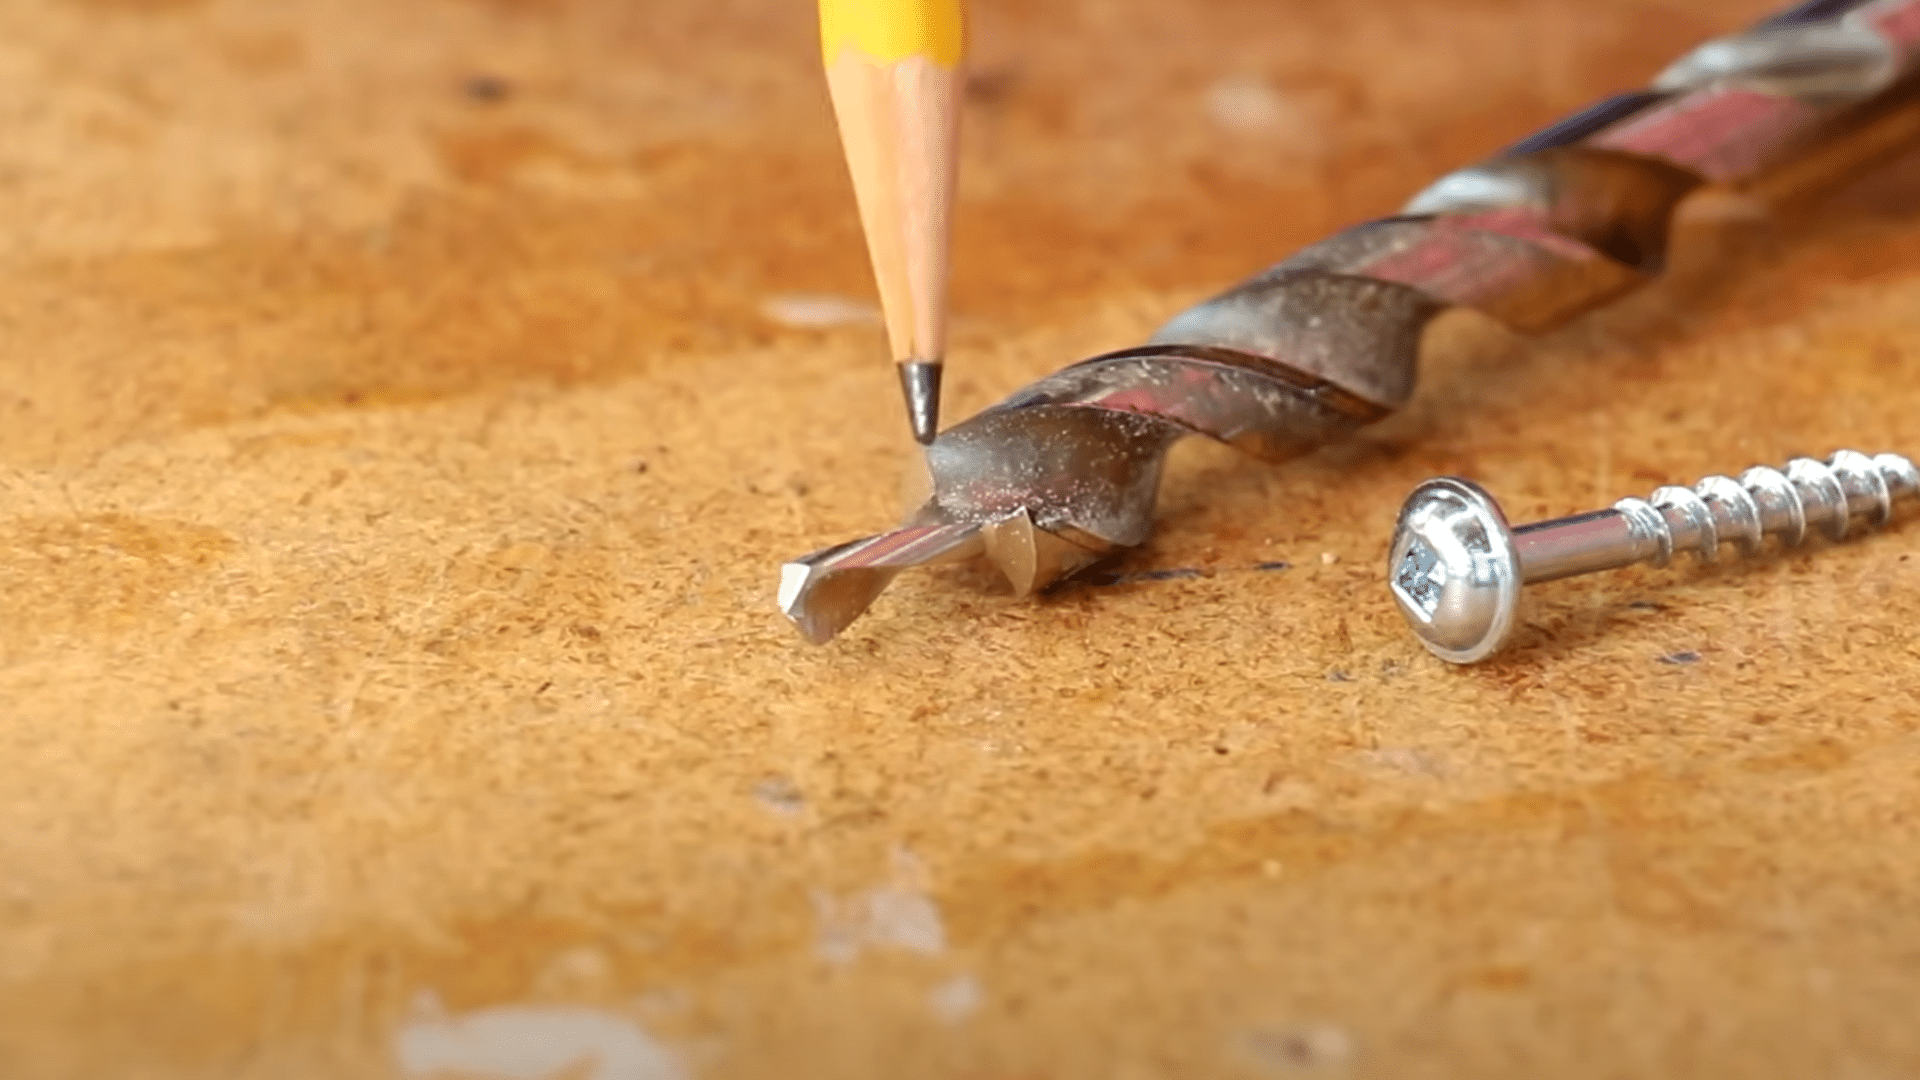
| Stepped Drill Bit | Includes depth collar to control drilling depth |
| Pocket Screws | Coarse threads for soft woods, fine threads for hard woods |
| Drill | With adjustable clutch settings (avoid impact drivers) |
| Clamps | For holding wood pieces firmly in place during joining |
| Wood Glue | Optional but helps create stronger joints |
| Vacuum Attachment | For cleaning up wood dust during drilling |
Most starter kits include the special drill bit and guide you need. The stepped bit design makes both the pocket and pilot hole at once. The depth collar prevents drilling too deep into your wood.
A basic pocket hole kit gives beginners everything needed to create simple furniture right away.
With practice, you’ll learn which screws work best with different woods and thicknesses.
Step-by-Step: How to Use a Pocket Hole Jig
Follow these six simple steps to create your first pocket hole joint – we’ve broken down the process so you can get it right on your first try.
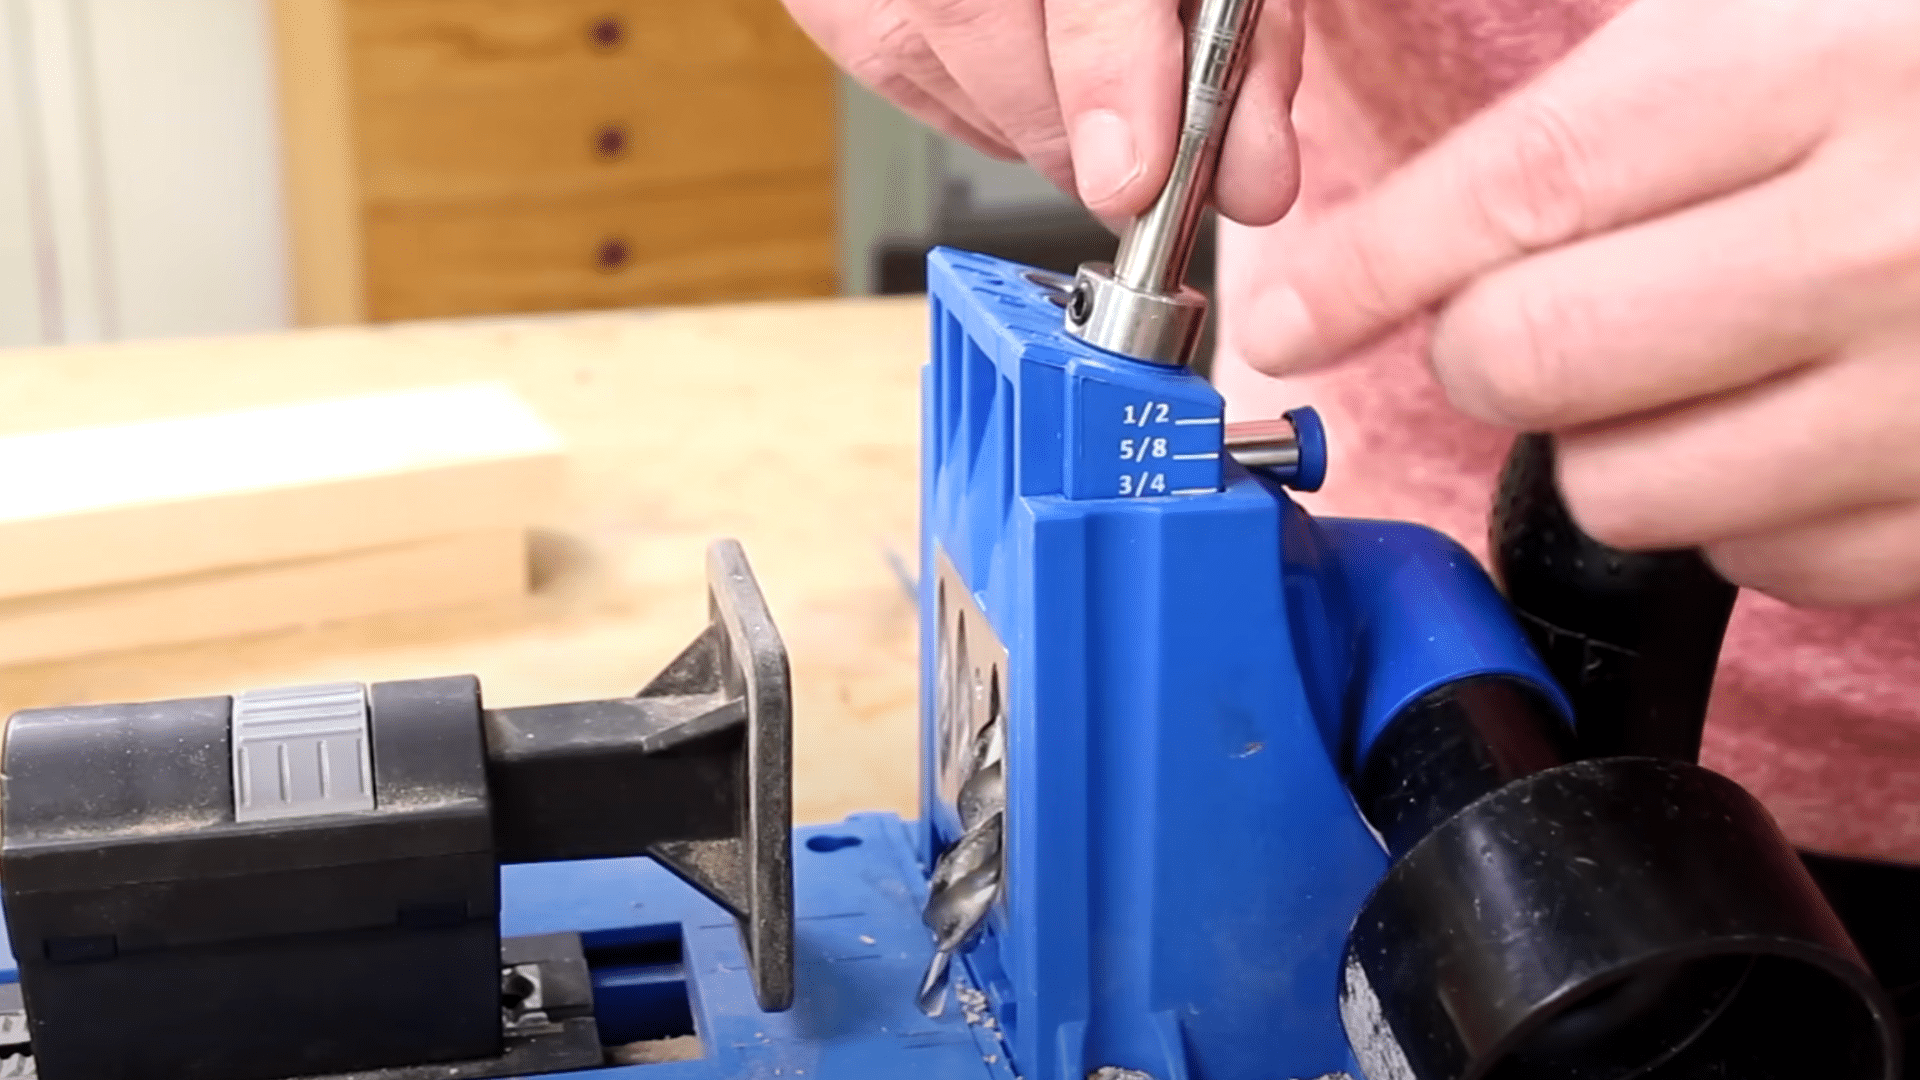
1. Set Your Jig to Match Board Thickness
Most beginner projects use ¾” thick boards. Check your jig manual for the right settings, then adjust your jig’s guide and drill bit collar accordingly.
The setting controls how deep the hole goes and at what angle. This step is essential for making sure your screws connect properly without poking through the other board.
2. Adjust the Drill Bit Depth
The depth collar on your drill bit acts as a stop to prevent drilling too far. Place it in the guide hole and set it back slightly from the base. This creates the perfect pocket depth – not too shallow that the screw can’t grip, but not so deep that it wastes material.
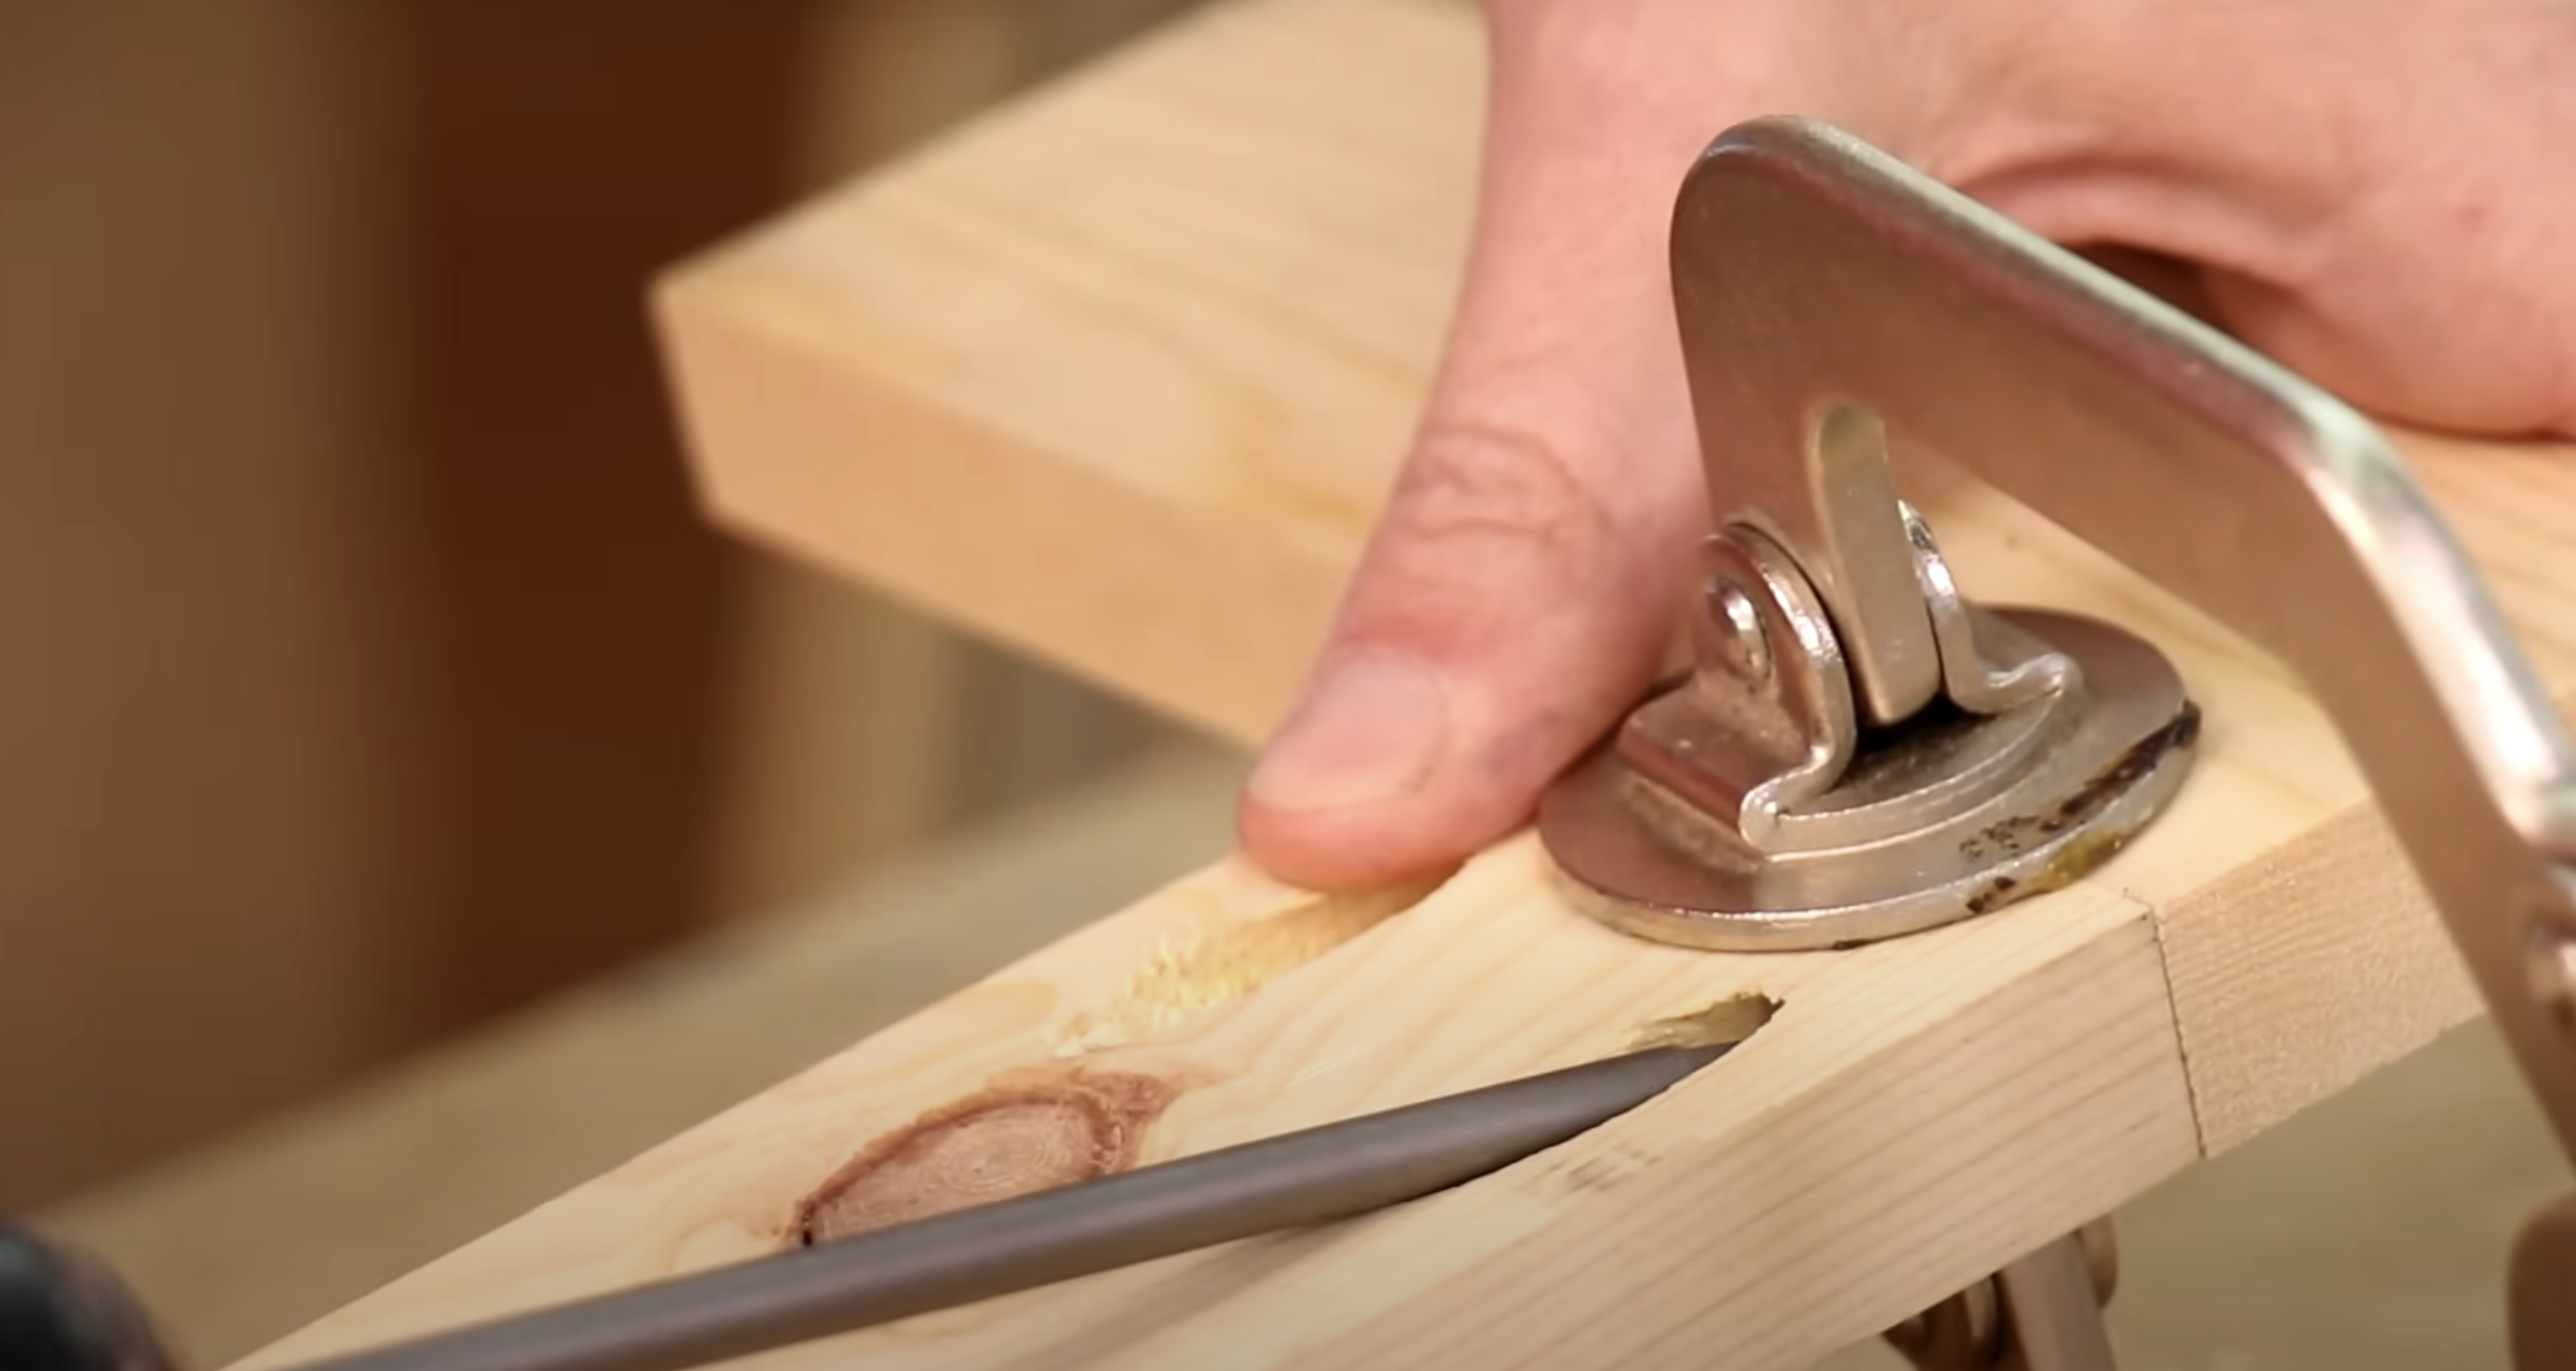
3. Clamp and Drill
Secure your board firmly in the jig using the built-in clamp. Hold the drill straight and use high speed to create clean holes.
The collar will stop the bit at the right depth. You’ll feel the bit create both the wide pocket and the narrow pilot hole in one smooth action.
4. Choose the Right Screw
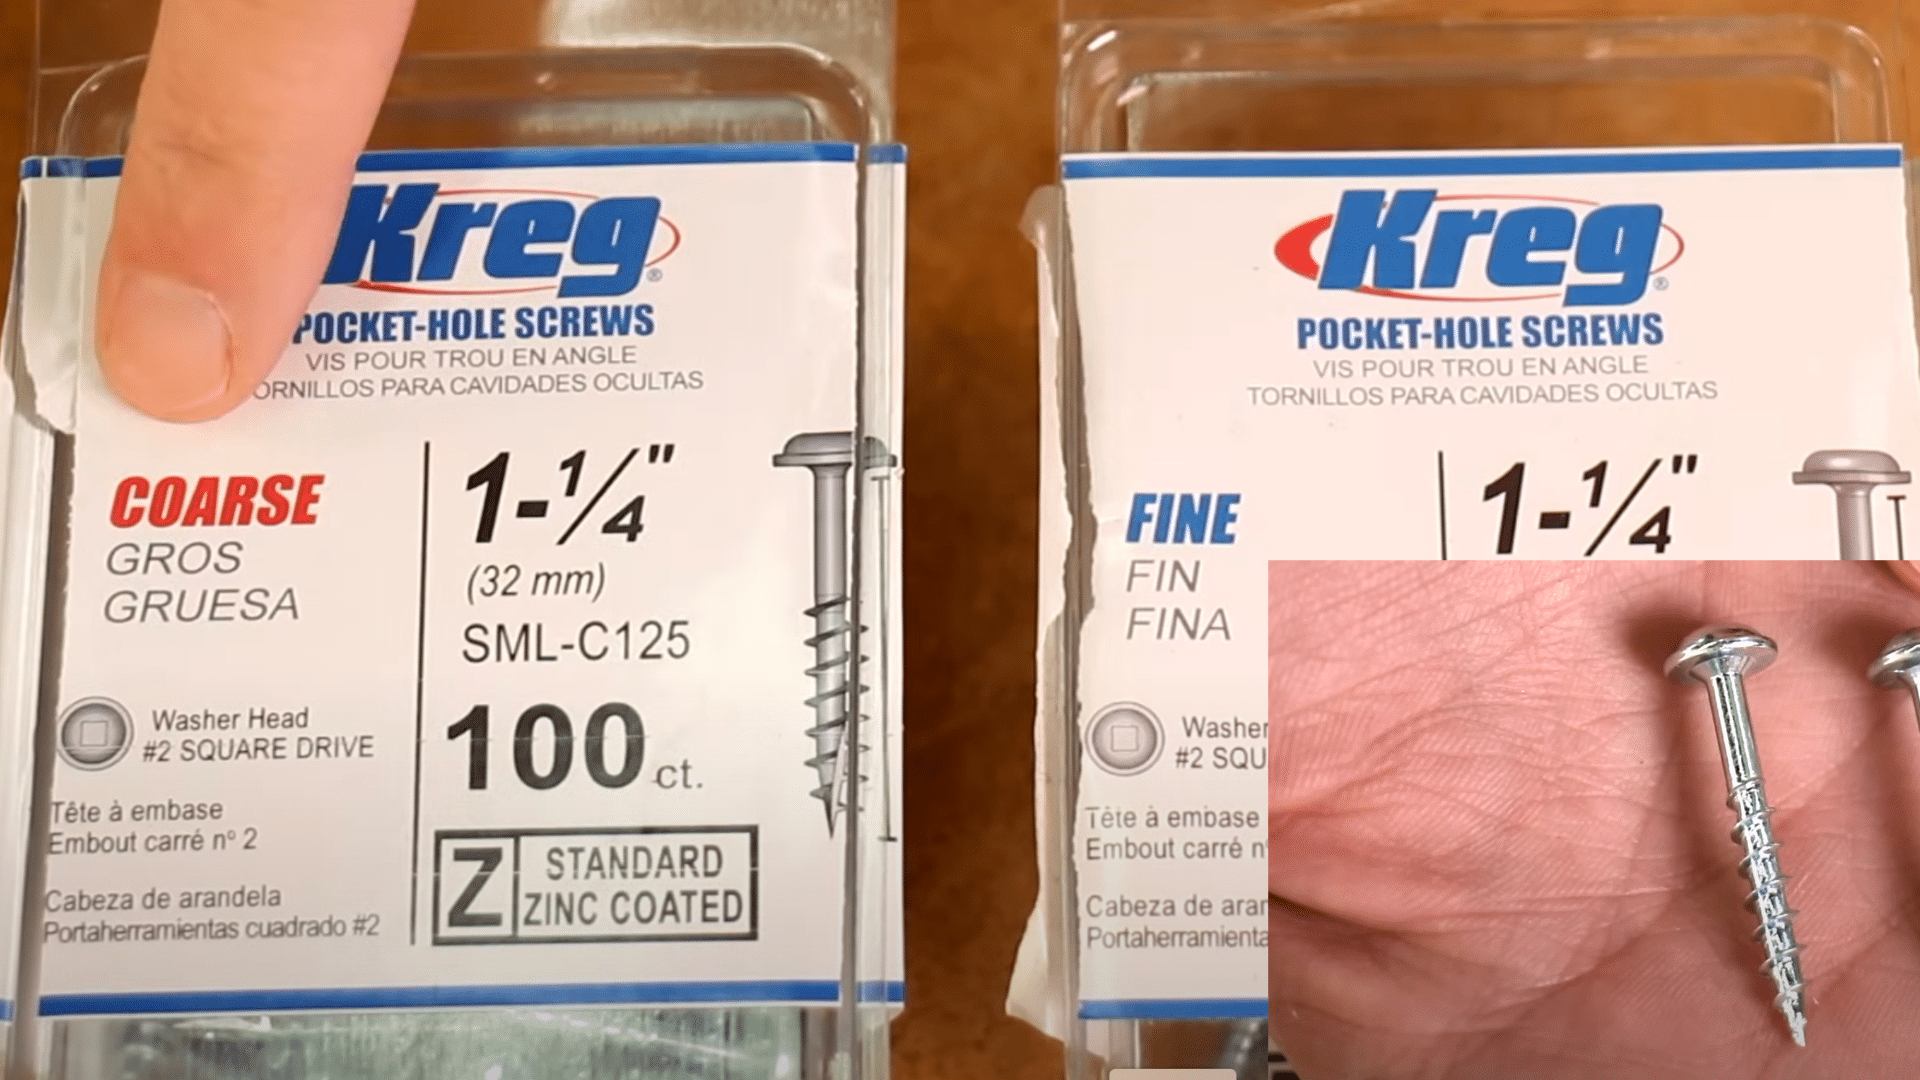
Refer to the sizing chart on your screw package to find the correct length. For typical ¾” wood, 1¼” coarse thread screws are the standard choice.
Using screws that are too long can break through the opposite face, while screws that are too short won’t hold properly.
5. Clamp Your Boards Together
Before adding any screws, clamp both boards to keep them from shifting. Use a face clamp or right-angle clamp based on how your boards meet. Proper clamping ensures your finished joint stays square and tight, with no gaps between the connected pieces.
6. Drive the Screws
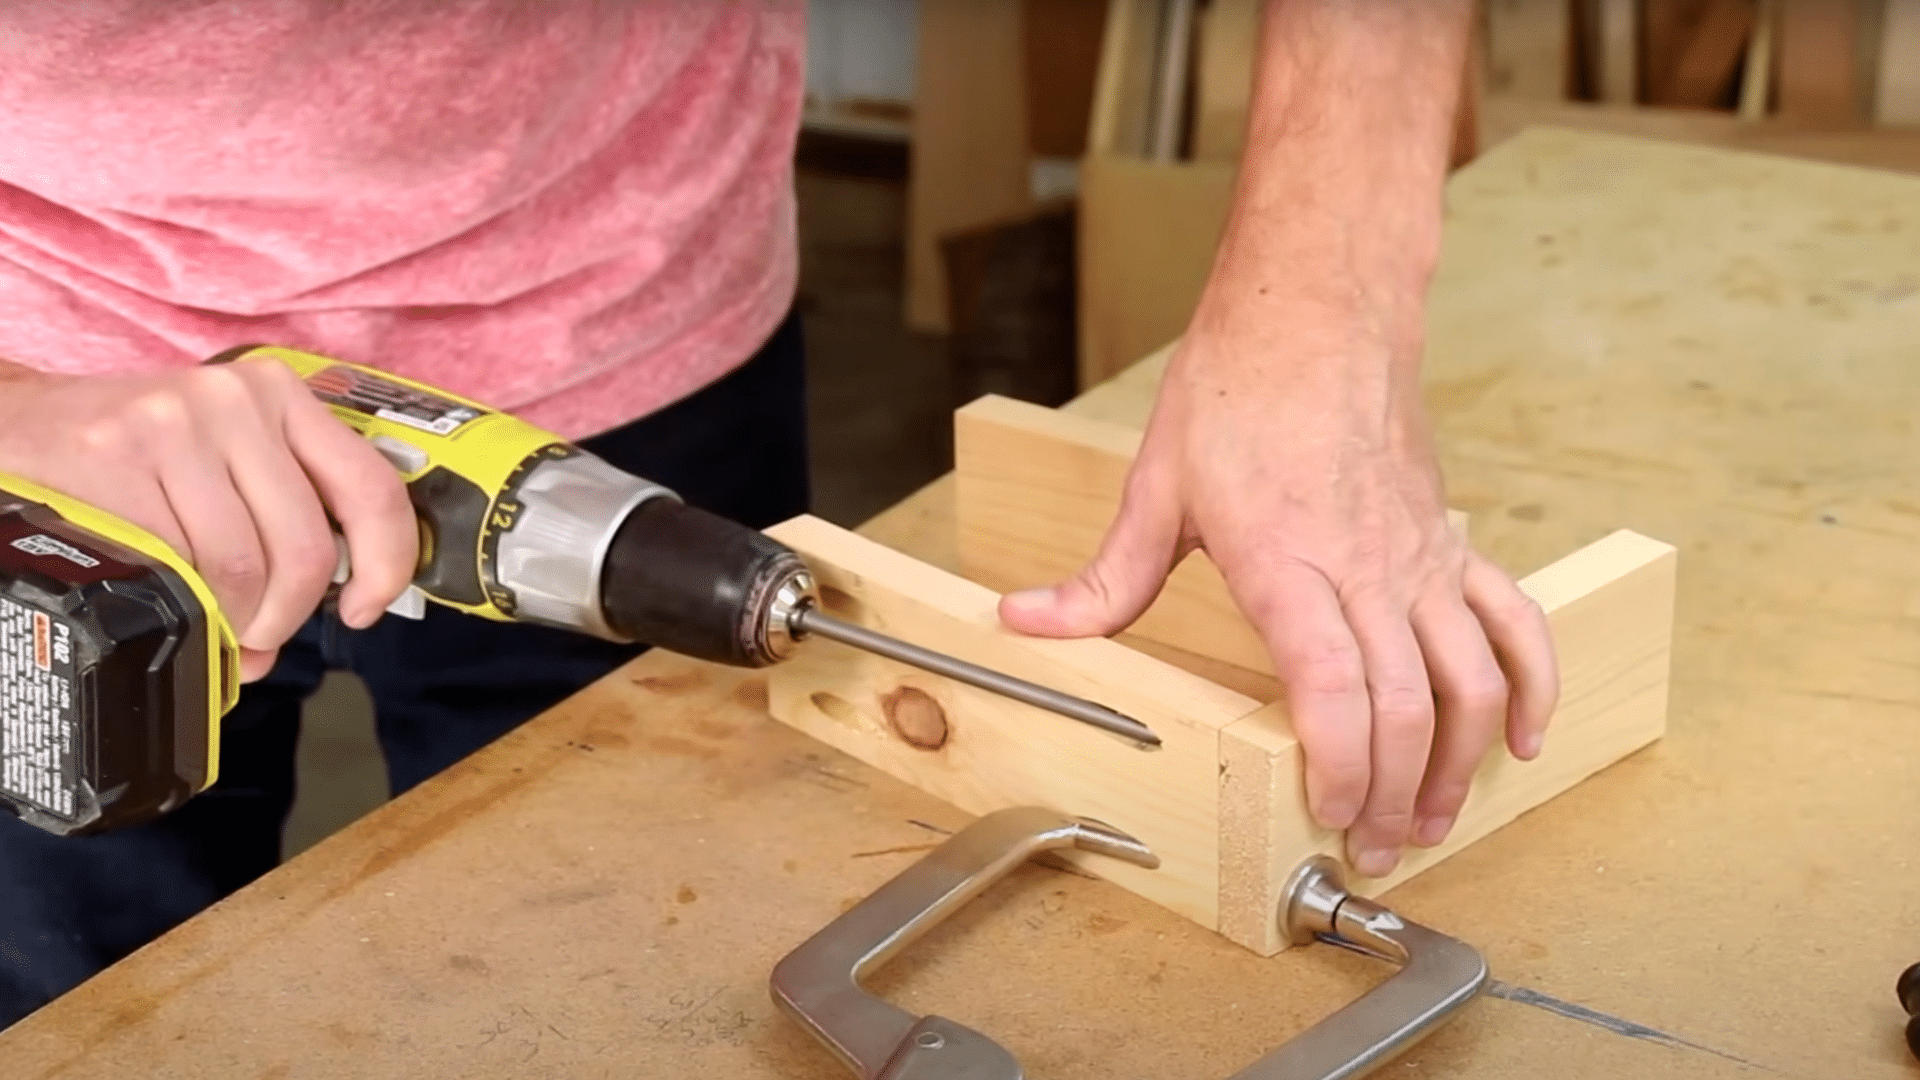
Set your drill to a moderate speed with lower torque. Insert screws until they sit snug – but don’t force them too tight. Let your drill’s clutch setting prevent over-driving. The screw head should sit just below the surface of the pocket without crushing the wood fibers.
Caution! Safety MeasuresWhen working with pocket hole joinery, safety should always come first. Follow these basic rules to protect yourself:
These simple precautions help ensure your woodworking stays fun and injury-free. Taking time for safety creates better results in your projects too. |
Video Tutorial
For further support and guidance, kindly watch this video by Steve Ramsey – Woodworking for Mere Mortals for additional insights and a detailed process.
Tips for a Perfect Pocket Hole
These five pro tips will help you avoid common mistakes and take your pocket hole joints from good to great – small details that make a big difference:
- Clamp Every Time: Secures boards in place to prevent shifting when driving in pocket screws.
- Avoid End-Grain Screws: End grain is weak; always drive screws into face or edge grain instead.
- Pick the Right Screw Length: Check the chart to prevent screws from poking through or missing the joint.
- Set Drill Bit Collar Correctly: Improper depth ruins joints—adjust collar using the guide and test first.
- Match Threads to Wood Type: Use coarse threads for softwoods, fine threads for dense hardwoods like oak.
These simple yet powerful tips will help you create joints that look professional and stay strong for years – the small details that separate basic projects from ones you’ll be proud to show off.
The Bottom Line
Pocket hole joinery opens up a world of possibilities for woodworkers at any skill level. The simple process – drill an angled hole, add a screw, and connect your pieces – convert basic boards into beautiful, lasting projects without complex tools or techniques.
The beauty of this method lies in its balance of simplicity and strength. You’ll save time, avoid frustration, and end up with clean-looking joints that hold firm for years. Plus, you can start with just a basic kit and add to your setup as your skills grow.
Why not grab a pocket hole jig this weekend and try it for yourself? Start with something small like a picture frame or shelf, then work up to bigger projects as your confidence builds.
Share your first pocket hole project with us in the comments below!