

Ever tried to save a party at the last minute? I have. The guests were coming in an hour, and I had no decorations. But I found paper, scissors, and some string in my drawer. Twenty minutes later, I had bright party hats for everyone.
The smiles when guests walked in were worth it! Making party hats is a skill that saves celebrations and creates memories. These simple creations turn ordinary gatherings into special events.
Did you know you can make fun hats with just basic household items? No fancy equipment needed.
This guide will show you how to create party hats that guests will love—and maybe even keep as souvenirs. Ready to learn this quick party trick that might save your next celebration?
Why DIY Party Hats are a Must-Have for Any Celebration?
Party hats add a fun touch to any gathering. They bring people together and create a shared experience. When guests put on matching hats, the mood shifts to celebration mode instantly.
Making your own party hats saves money compared to store-bought options. You can create ten custom hats for the price of buying three or four pre-made ones. This is perfect for parties with many guests or when working with a tight budget.
DIY party hats let you match your specific party theme and colors. Store options often come in limited designs. When you make them yourself, you control every aspect of how they look.
Kids love to wear things they helped create. Getting children involved in making party hats keeps them busy before the party and gives them pride in wearing their creations.
These handmade items also work as party favors guests can take home. They serve double duty – first as party decor, then as a memento of the good times shared.
Step-by-Step Guide to Making a Party Hat
Follow these seven simple steps to create perfect party hats every time.
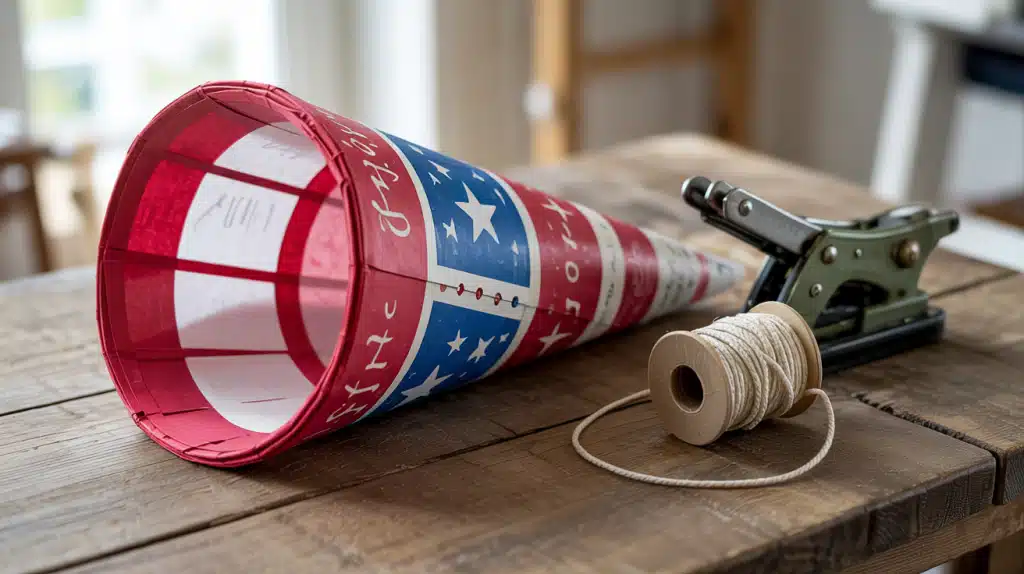
Materials You’ll Need
You only need a few simple items to start making party hats. Most of these are already in your home:
- Construction paper or cardstock (8.5×11 inches works well)
- Scissors (child-safe ones if kids are helping)
- Glue stick or white craft glue
- Stapler and staples
- Hole punch
- String, thin elastic, or ribbon (about 12 inches per hat)
- Ruler or measuring tape
- Pencil for marking
The paper is your main material. Thicker paper like cardstock makes more sturdy hats that stand up better. Thinner paper is easier to fold but might not last as long during the party.
Step 1: Choose the Right Paper
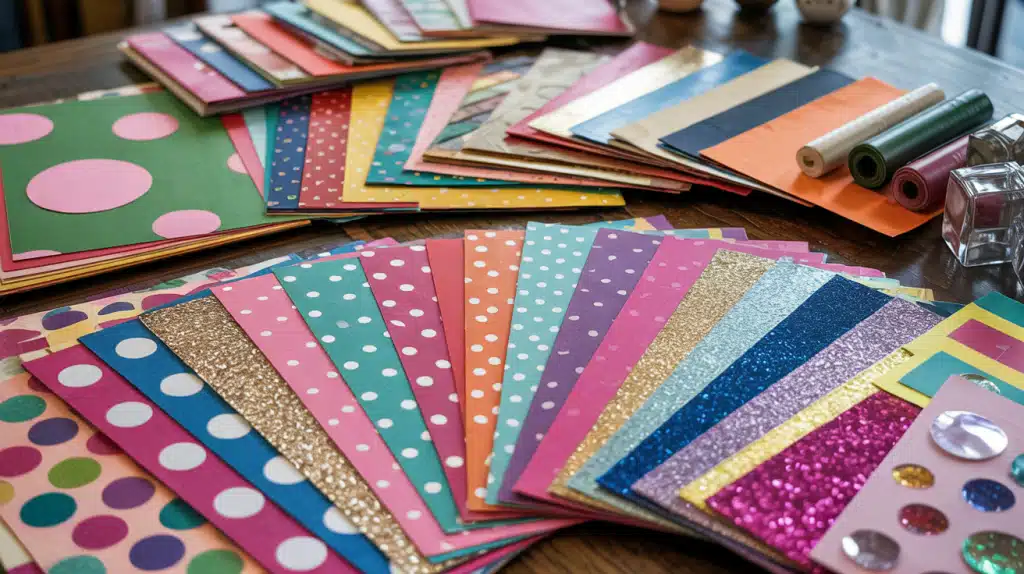
Start with selecting the perfect paper for your party hat. Cardstock or construction paper works best since they hold shape well without tearing. Pick colors that match your party theme & bright primary colors for kids’ parties or metallic papers for New Year’s celebrations.
Step 2: Create the Party Hat Template
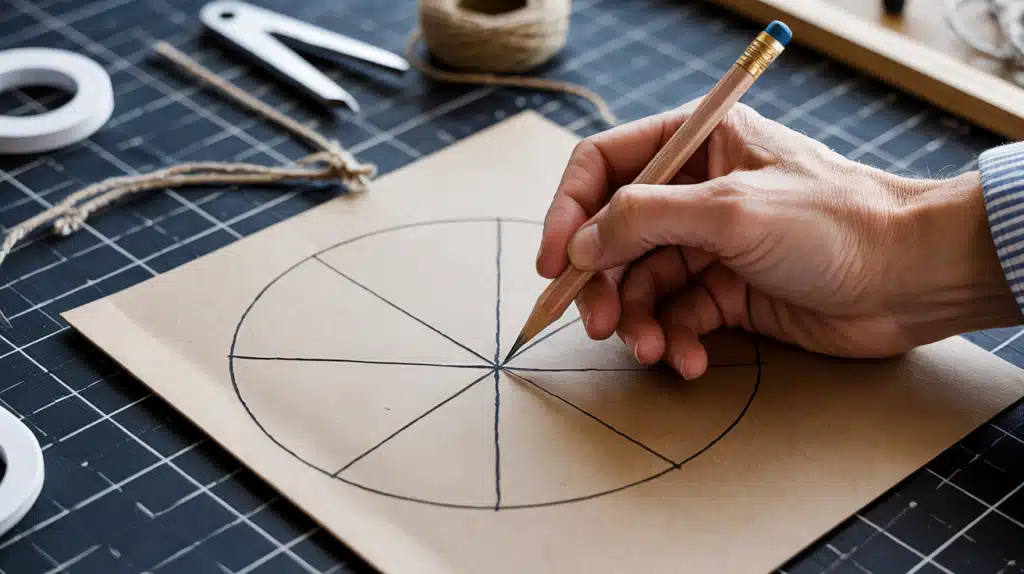
Draw a quarter circle on your chosen paper using a pencil, string, and pin as a simple compass. For adults, a radius of 10-12 inches makes a good-sized hat, while 8-9 inches works well for children. Mark where you’ll cut along the curved edge.
Step 3: Cut Out the Hat Shape
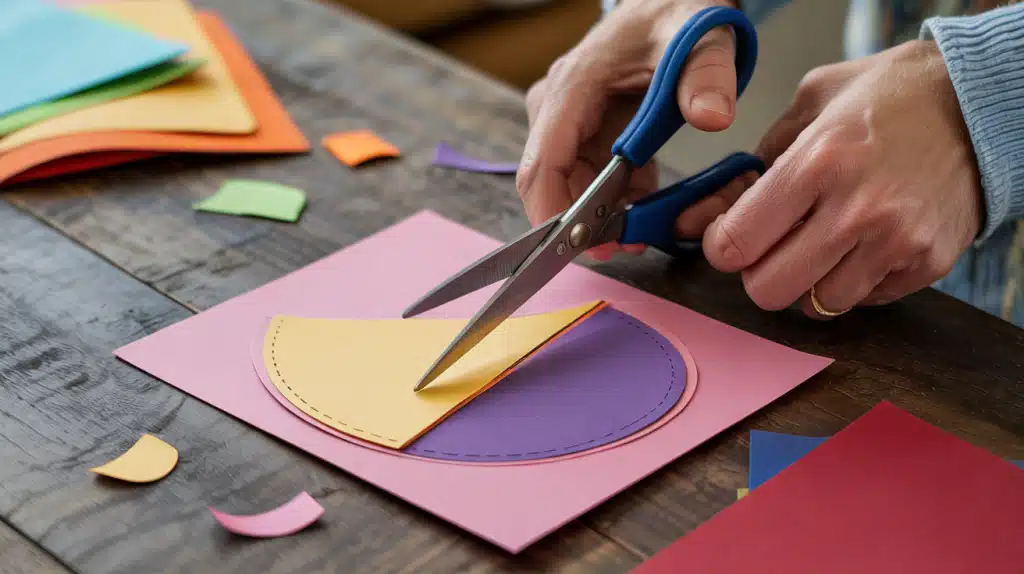
Hold your scissors at a slight angle to get clean cuts along the curved edge of your quarter circle. Take your time and cut slowly to avoid jagged edges that might look messy or cause paper cuts. Use your first cutout as a template for making multiple hats.
Step 4: Roll the Paper into a Cone
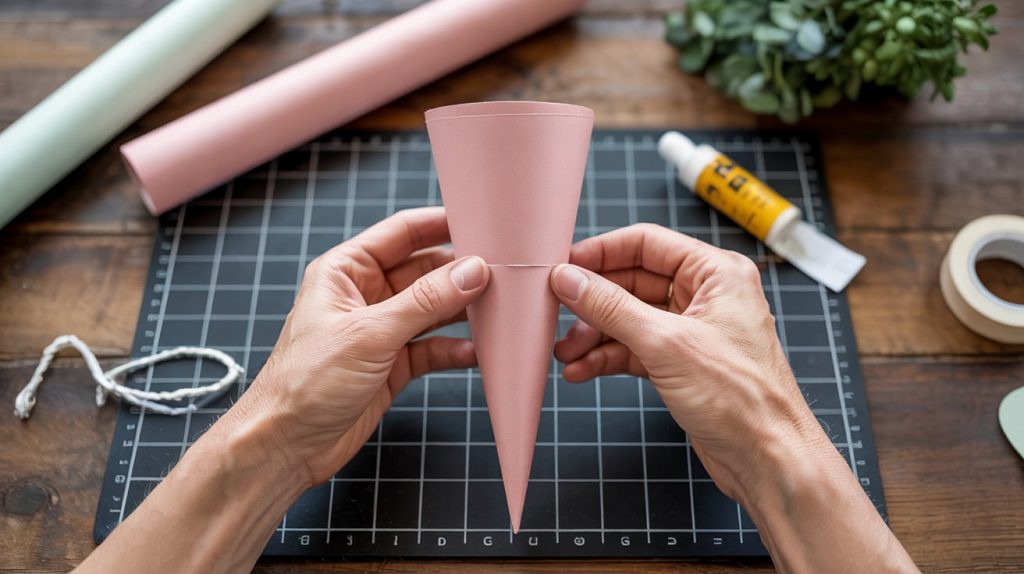
Take your cut quarter circle and bring the straight edges together to form a cone shape. Overlap the edges slightly, then secure with tape or staples. Make sure the cone sits flat when placed on a table.
Step 5: Attach the Elastic or String
Punch two small holes on opposite sides of the hat’s base. Thread elastic string through these holes and tie knots to keep it in place. Make the string long enough to fit under the chin but not too tight.
Step 6: Decorate Your Party Hat
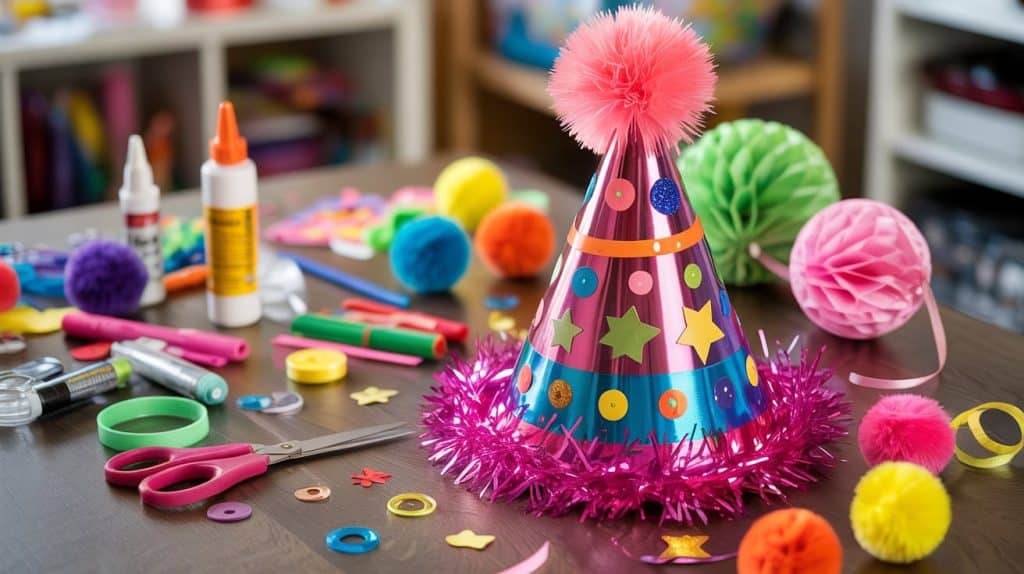
Add fun elements like stickers, drawn patterns, or glued-on items to your hat. Match decorations to your party theme & stars for space parties, flowers for garden parties, or numbers for birthday celebrations.
Step 7: Let It Dry and Set
Give your hat time to dry if you used wet glue or paint. Set hats in a safe place for at least 30 minutes or overnight for complex decorations with multiple layers of glue.
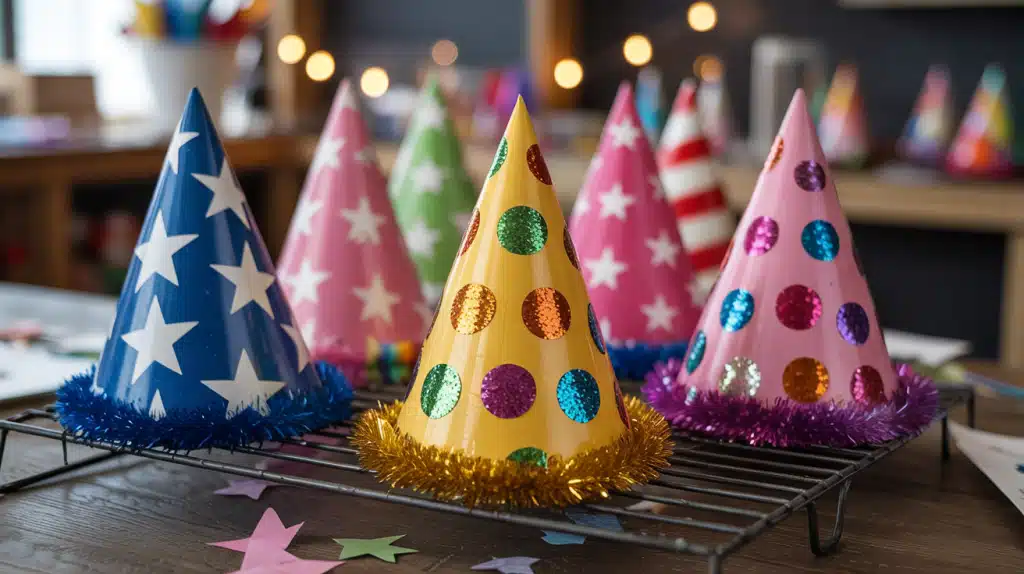
Creative Variations You Should Try
These fun alternatives will take your party hat game to the next level.
1. Mini Party Hats for Dolls or Pets
Make tiny hats for stuffed animals, dolls, or pets using the same steps but with smaller paper. These small creations add extra fun to any celebration.
- Use a 4-inch radius circle for the perfect mini hat size
- Choose lightweight paper for pet hats to ensure comfort
- Attach with very loose elastic that won’t bother animals
- Decorate with small stickers or drawn details rather than bulky items
- Create matching mini and full-size hats for cute photo opportunities
2. Giant Party Hats for a Bold Look
Create statement hats using poster board or two pieces of paper taped together. These oversized versions make great photo props and conversation starters.
- Use a radius of 15-18 inches for truly impressive size
- Reinforce the seam with extra tape or staples for durability
- Add an extra strip of cardstock around the base for stability
- Consider using these as table centerpieces when not being worn
- Make just one or two as special hats for the guest of honor
3. Themed Hats: Unicorns, Wizards, and More
Turn basic cone hats into characters by adding special features. Let your imagination turn simple hats into magical creations.
- For unicorn hats: add a twisted paper horn and cut-out ears
- For wizard hats: extend the brim and add stars or moons
- For princess hats: attach streamers or tulle from the top point
- For monster hats: add paper teeth around the bottom edge
- For superhero hats: attach a small cape to the back of the hat
Tips and Tricks for the Perfect Party Hat
Use these smart ideas to make your party hat crafting easier and more successful.
- Use a paper bowl turned upside down to measure hat size before cutting your paper. This ensures your hats will fit most guests without being too tight or loose.
- Reinforce the pointed top with a small piece of tape to prevent tearing. This hidden tape adds strength to the most fragile part of any party hat.
- Add a thin strip of cardboard inside the hat’s rim for better structure. This helps the hat keep its shape even when worn for several hours.
- Make a simple template from cardboard to speed up tracing for multiple hats. One sturdy template can help you make dozens of identical hats quickly.
- Pre-punch holes before assembling the cone to avoid crushing your finished hat. It’s much easier to punch flat paper than to work with a formed cone.
- Replace elastic with ribbon ties for adjustable hats that fit everyone. Ribbons look prettier and allow guests to adjust the fit to their comfort level.
- Apply decorations while the hat is still flat for easier handling. You’ll get neater results and avoid accidentally crushing your cone shape.
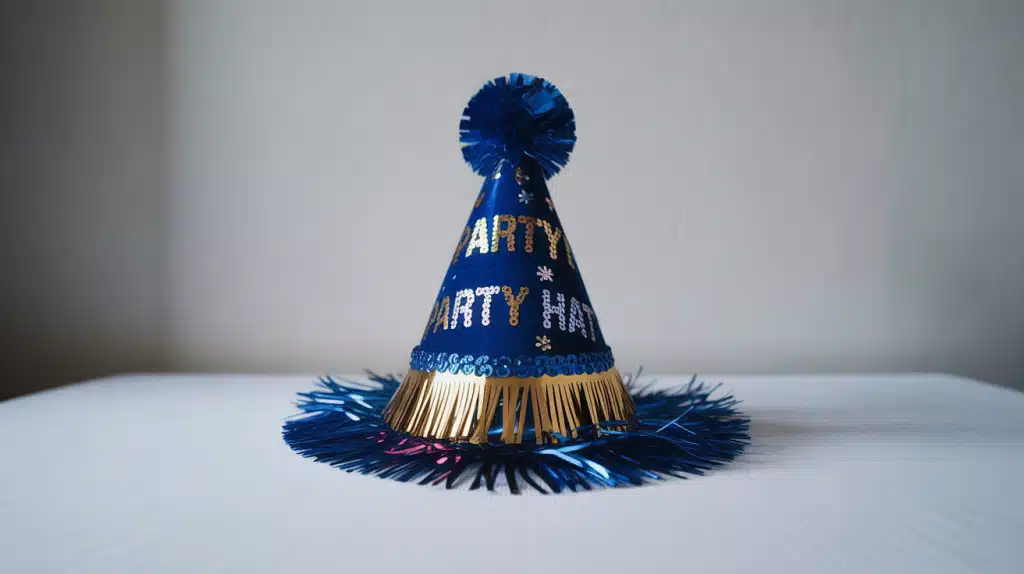
Conclusion
Making party hats at home is easier than you might think. With just paper, scissors, and a few basic supplies, you can create fun headwear for any celebration. The simple cone shape works for birthdays, holidays, or just a Friday night game session.
The best part about DIY party hats is how they bring people together. Everyone looks silly in a good way when wearing one! They break the ice and set a playful mood.
Remember to pick sturdy paper, take your time with measurements, and let your creativity shine with decorations. Whether you make tiny hats for pets or giant statement pieces, the process is half the fun.
What kind of party hats have you made? Share your designs or questions in the comments below.
Happy crafting!