

Imagine looking up at your ceiling and seeing the bright blue sky or stars at night. Sounds nice, right?
Many homeowners want this but worry about the work involved. I hear this concern often when people talk about home additions.
But did you know that adding a skylight can be done with careful planning and the right steps?
A proper skylight brings natural light into dark spaces and can make rooms feel bigger and more open. The change in how a room feels is often surprising to homeowners.
In this blog, I’ll show you exactly how to install a skylight in your home. From picking the right type to final touches, you’ll learn what tools you need and how to avoid common mistakes.
The process takes time, but gives results worth the effort.
What Is Meant by Skylight?
A skylight is a window built into a roof that allows natural light to enter a home from above. Unlike regular windows on walls, skylights sit on your roof and face the sky.
These roof windows are available in various shapes, sizes, and styles. They work well in rooms where wall space is limited or where you want more brightness from above.
Why Install a Skylight in Your Home?
Adding a skylight to your home offers several real benefits:
- More natural light – Skylights bring in up to three times more light than the same-sized wall windows.
- Lower energy bills – Good natural light means less need for electric lights during the day.
- Better air flow – Vented skylights help move hot air up and out of your home.
- Health improvements – Natural light helps your body make vitamin D and may boost your mood.
- Extra space feel – Rooms look and feel bigger when light comes from above.
- Added home value – Well-installed skylights can make your home more appealing to buyers if you sell later.
Types & Selection of Skylights
Each skylight option offers unique benefits depending on your needs, roof type, and budget considerations.
| Type | Description | Pros | Cons | Best Roof Types | Typical Cost |
|---|---|---|---|---|---|
| Fixed Skylights | Permanent windows that don’t open, designed to let in light only | More affordable, Better insulation, Less chance of leaks, Low maintenance | No ventilation can cause heat buildup in summer | Works on most roof pitches (3:12 to 12:12), Flat roofs with curb | $300-$1,500 |
| Vented Skylights | Skylights that can open for air circulation, available with manual or electric controls | Provides both light and fresh air, helps reduce moisture, and can improve air flow | More expensive, more complex installation, Higher maintenance needs | Sloped roofs (4:12 to 12:12), not ideal for very flat roofs | $800-$3,000 |
| Tubular Skylights | Small cylindrical units that channel light through a reflective tube | Easy installation, Works in small spaces, Energy efficient, Minimal heat transfer | Limited light compared to full skylights, no ventilation option, Less visual impact | Any roof type, Great for spaces between joists | $150-$700 |
Your choice should balance your light needs, budget constraints, and your home’s specific structure.
Key Selection Factors
When choosing your skylight, focus on these critical factors to ensure the best fit for your home:
- Size – Aim for 5% of the room’s floor area for ideal light balance
- Placement – North for steady light, South for maximum brightness, East/West for directional light
- Glass – Double or triple-pane with Low-E coating provides the best insulation
- Frame – Aluminum for durability, Vinyl for insulation, Wood for aesthetics
- Roof Pitch – Ensure compatibility with your roof’s slope (typically 14-85 degrees)
Steps to Installing a Skylight
Installing a skylight requires methodical work from roof preparation to waterproofing to ensure a leak-free result. The process involves careful cutting, precise framing, and multiple layers of water protection.
Tools and Materials Needed:
Before starting your skylight installation, gather these items:
| Category | Items |
|---|---|
| Tools | Measuring tape, Circular saw, Drill with bits, Utility knife, Caulk gun, Hammer, Level, Pry bar, Safety goggles, Work gloves, Roof harness. |
| Cutting & Fasteners | Roofing nails, Screws (exterior-grade), Saw blades for wood and shingles, Chalk line, Pencil, Carpenter’s square |
| Structural Materials | Skylight unit, 2×8 lumber for framing, Joist hangers, Roof brackets or jacks |
| Waterproofing | Flashing kit (matching skylight size), Roofing felt, Self-adhesive membrane, Roof-grade sealant, Butyl tape, Ice and water shield |
| Finishing Materials | Shingles to match roof, Insulation, Drywall, Joint compound, Drywall tape, Interior trim, Paint |
Having all these items ready before you start will make the job go much smoother and prevent delays.
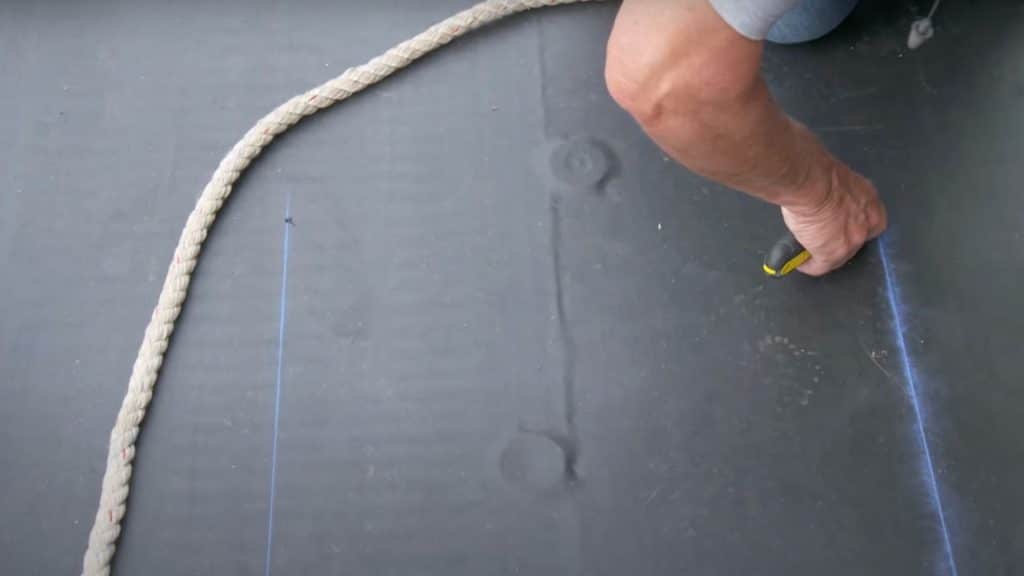
Step 1: Mark and Frame the Opening
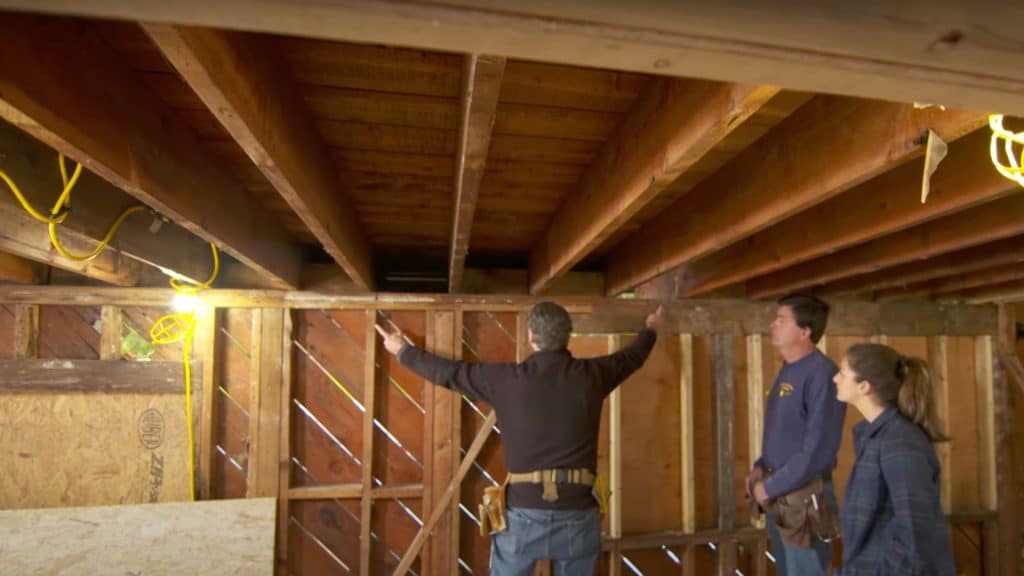
Begin by identifying the ideal location for your skylight between the roof rafters. Mark this spot from both inside and outside your home.
Create precise cutting lines on your roof using a chalk line. For structural integrity, install double rafters on each side of the planned opening and secure joist hangers before cutting.
Step 2: Cut the Roof Opening
Always prioritize safety with proper gear when working on your roof. Using a circular saw set to the right depth, carefully cut along your marked lines.
Gently remove shingles and roofing paper from around the opening, preserving any that can be reused.
Step 3: Build and Install the Skylight Curb
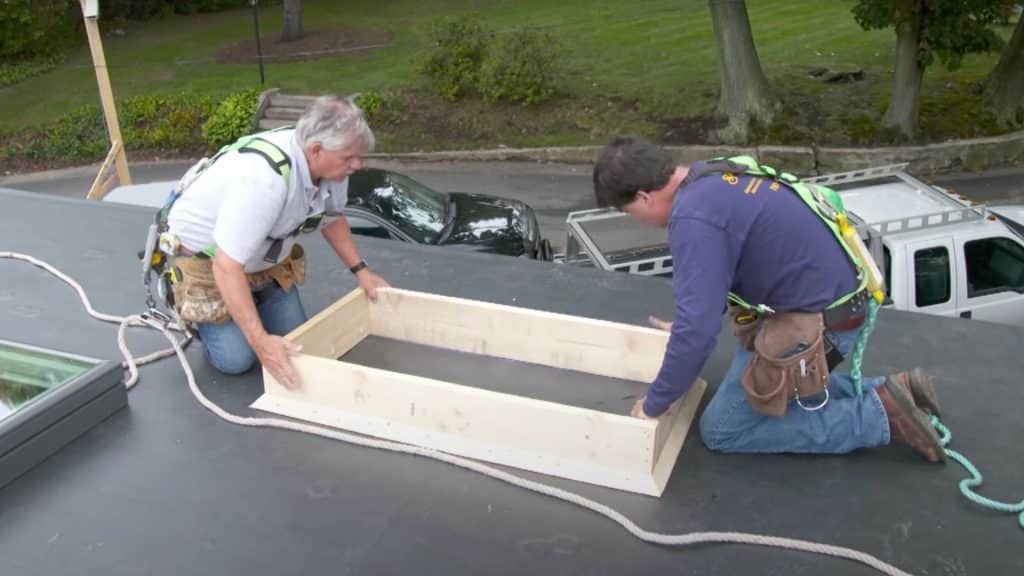
The curb functions as a raised platform that prevents water issues. Construct it from 2×8 lumber cut to size with top edges beveled to match your roof’s slope. Fasten it securely to the roof framing, ensuring it remains level and square.
Step 4: Prepare and Seal the Roof Membrane
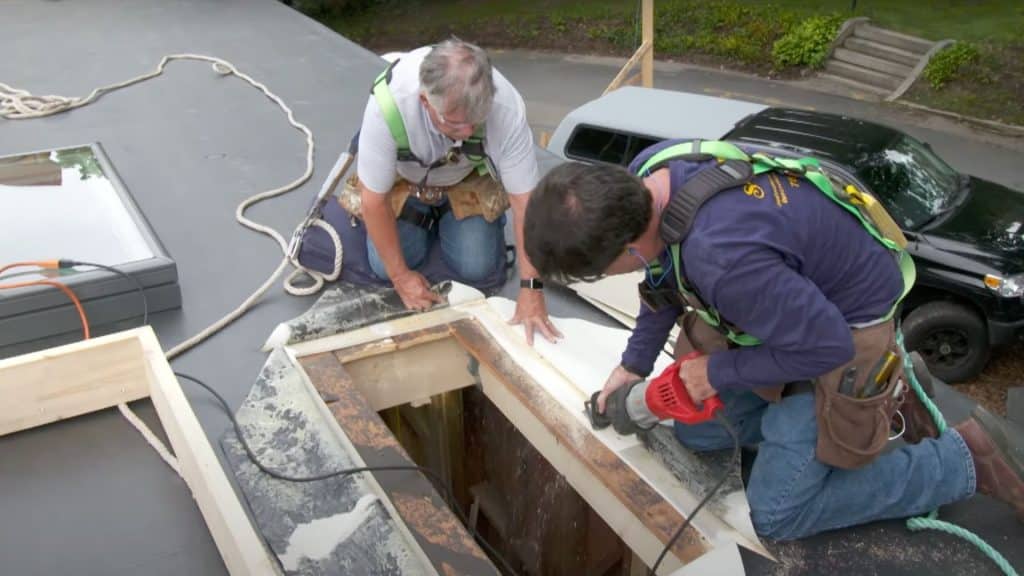
Pull back the roofing underlayment and attach it to the curb sides with contact cement. Create watertight corners using uncured rubber. This critical layer prevents moisture from penetrating beneath your roofing materials.
Step 5: Apply Lap Sealant
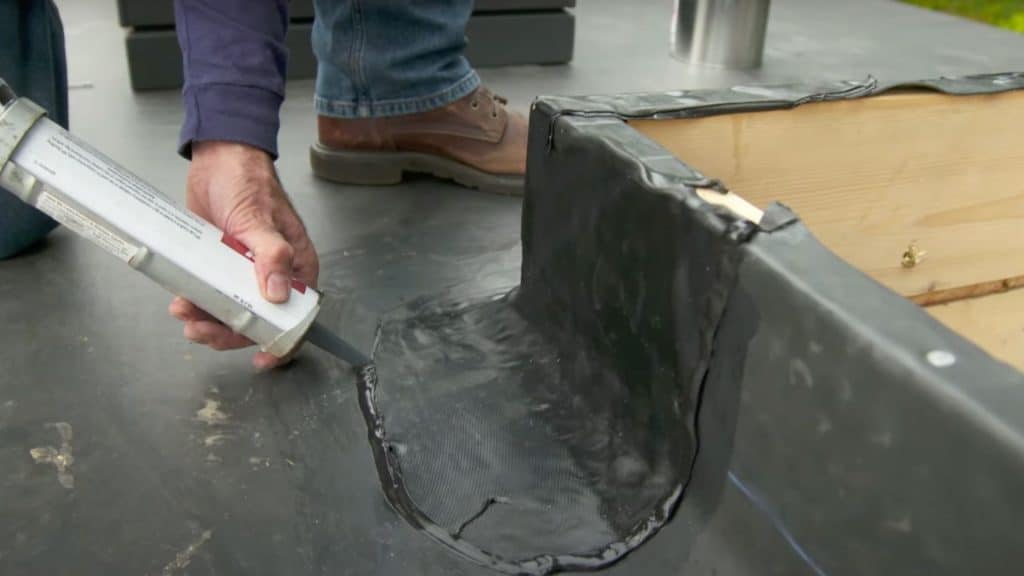
Apply high-quality sealant to all seams and joints, with special attention to corner areas. This additional protection helps prevent leaks during heavy rainfall.
Step 6: Install the Skylight Unit
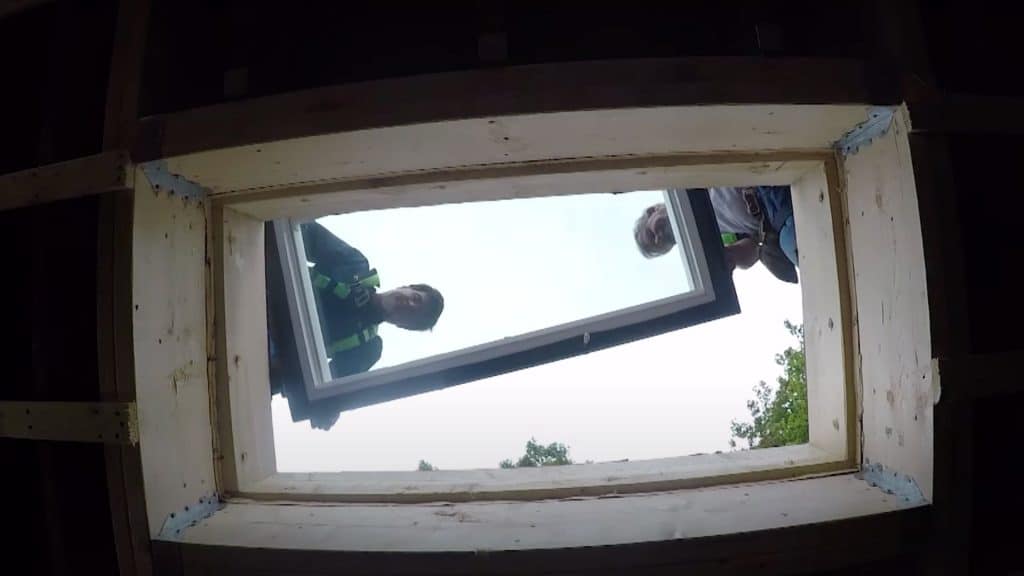
Position the skylight carefully on the curb, checking that it’s properly centered and level. Secure it following the manufacturer’s specific instructions.
Step 7: Final Waterproofing
Apply self-adhesive waterproof membrane around the entire skylight, extending it beyond the flange. Add butyl tape to all edges and seams, working from bottom to top with proper overlapping for complete protection.
Step 8: Finish Up
Replace shingles over the flashing, trimming as needed for proper fit. Complete the interior work by adding insulation around the light shaft and finishing with drywall and paint to match your ceiling.
Video Tutorial
For more tips and step-by-step guidance, check out the video tutorial that inspired this blog.
By – This Old House
Safety Tips During Installation
Skylight installation involves working at height and handling tools safely. Protect yourself by following these essential precautions:
- Use proper roof safety gear – Wear a harness, non-slip footwear, and eye protection
- Work with a helper – Never tackle roof projects alone; a ground assistant is invaluable
- Watch the weather – Schedule work only on dry, calm days with good visibility
- Use solid ladders – Ensure they extend 3 feet above the roof edge and are secured properly
- Keep tools secure – Use a tool belt or bucket with a rope to prevent dangerous falls
Maintenance and Care of Your Skylight
Regular maintenance extends your skylight’s life and prevents costly problems:
- Bi-annual cleaning – Use mild soap and water on glass; avoid abrasive cleaners
- Seasonal inspection – Check seals and flashing during spring and fall for early problem detection
- Remove debris – Keep the surrounding roof area clear of leaves and branches
- Verify operation – For vented models, test opening mechanisms to ensure smooth function
- Maintain weatherproofing – Reapply sealant at the first signs of deterioration to prevent future leaks
Conclusion
Adding a skylight brings natural light and spaciousness to your home. When installed correctly, it adds lasting value and visual appeal to any room.
The steps we covered ensure your skylight remains leak-free for years. Each phase matters – from selecting the right type to proper waterproofing – with careful execution building toward success.
This project requires patience and attention to detail. If you feel uncertain about any step, professional help is worth considering to avoid future issues with leaks or performance.
Your completed skylight transforms your living space in ways regular windows cannot, creating a brighter, more open feeling throughout the day and a view of the night sky after dark.
Frequently Asked Questions
How Long Does a Typical Skylight Installation Take for A Diy Homeowner?
Most DIY skylight installations take 1-2 full days. The first day focuses on roof work, while the second handles interior finishing. The weather may extend this timeline.
How Much Does It Cost to Put a Skylight In?
Skylight installation typically costs between $500-$3,000 for homes, varying based on type, size, and complexity. Professional installation adds $300-$500 to unit price.
Can I Install a Skylight on A Flat Roof?
Yes, but flat roofs require special skylight models with raised curbs and additional waterproofing measures to prevent pooling water and ensure proper drainage.