Are you looking for the right floor coating that won’t let you down? You’re not alone. Most homeowners spend hours researching options only to end up with something that chips, peels, or fades too soon. What if there was a better way?
Polyaspartic flooring might be the answer you haven’t heard about yet. This floor coating stands out from the crowd with its strong protective qualities, fast drying time, and ability to work in many different spaces.
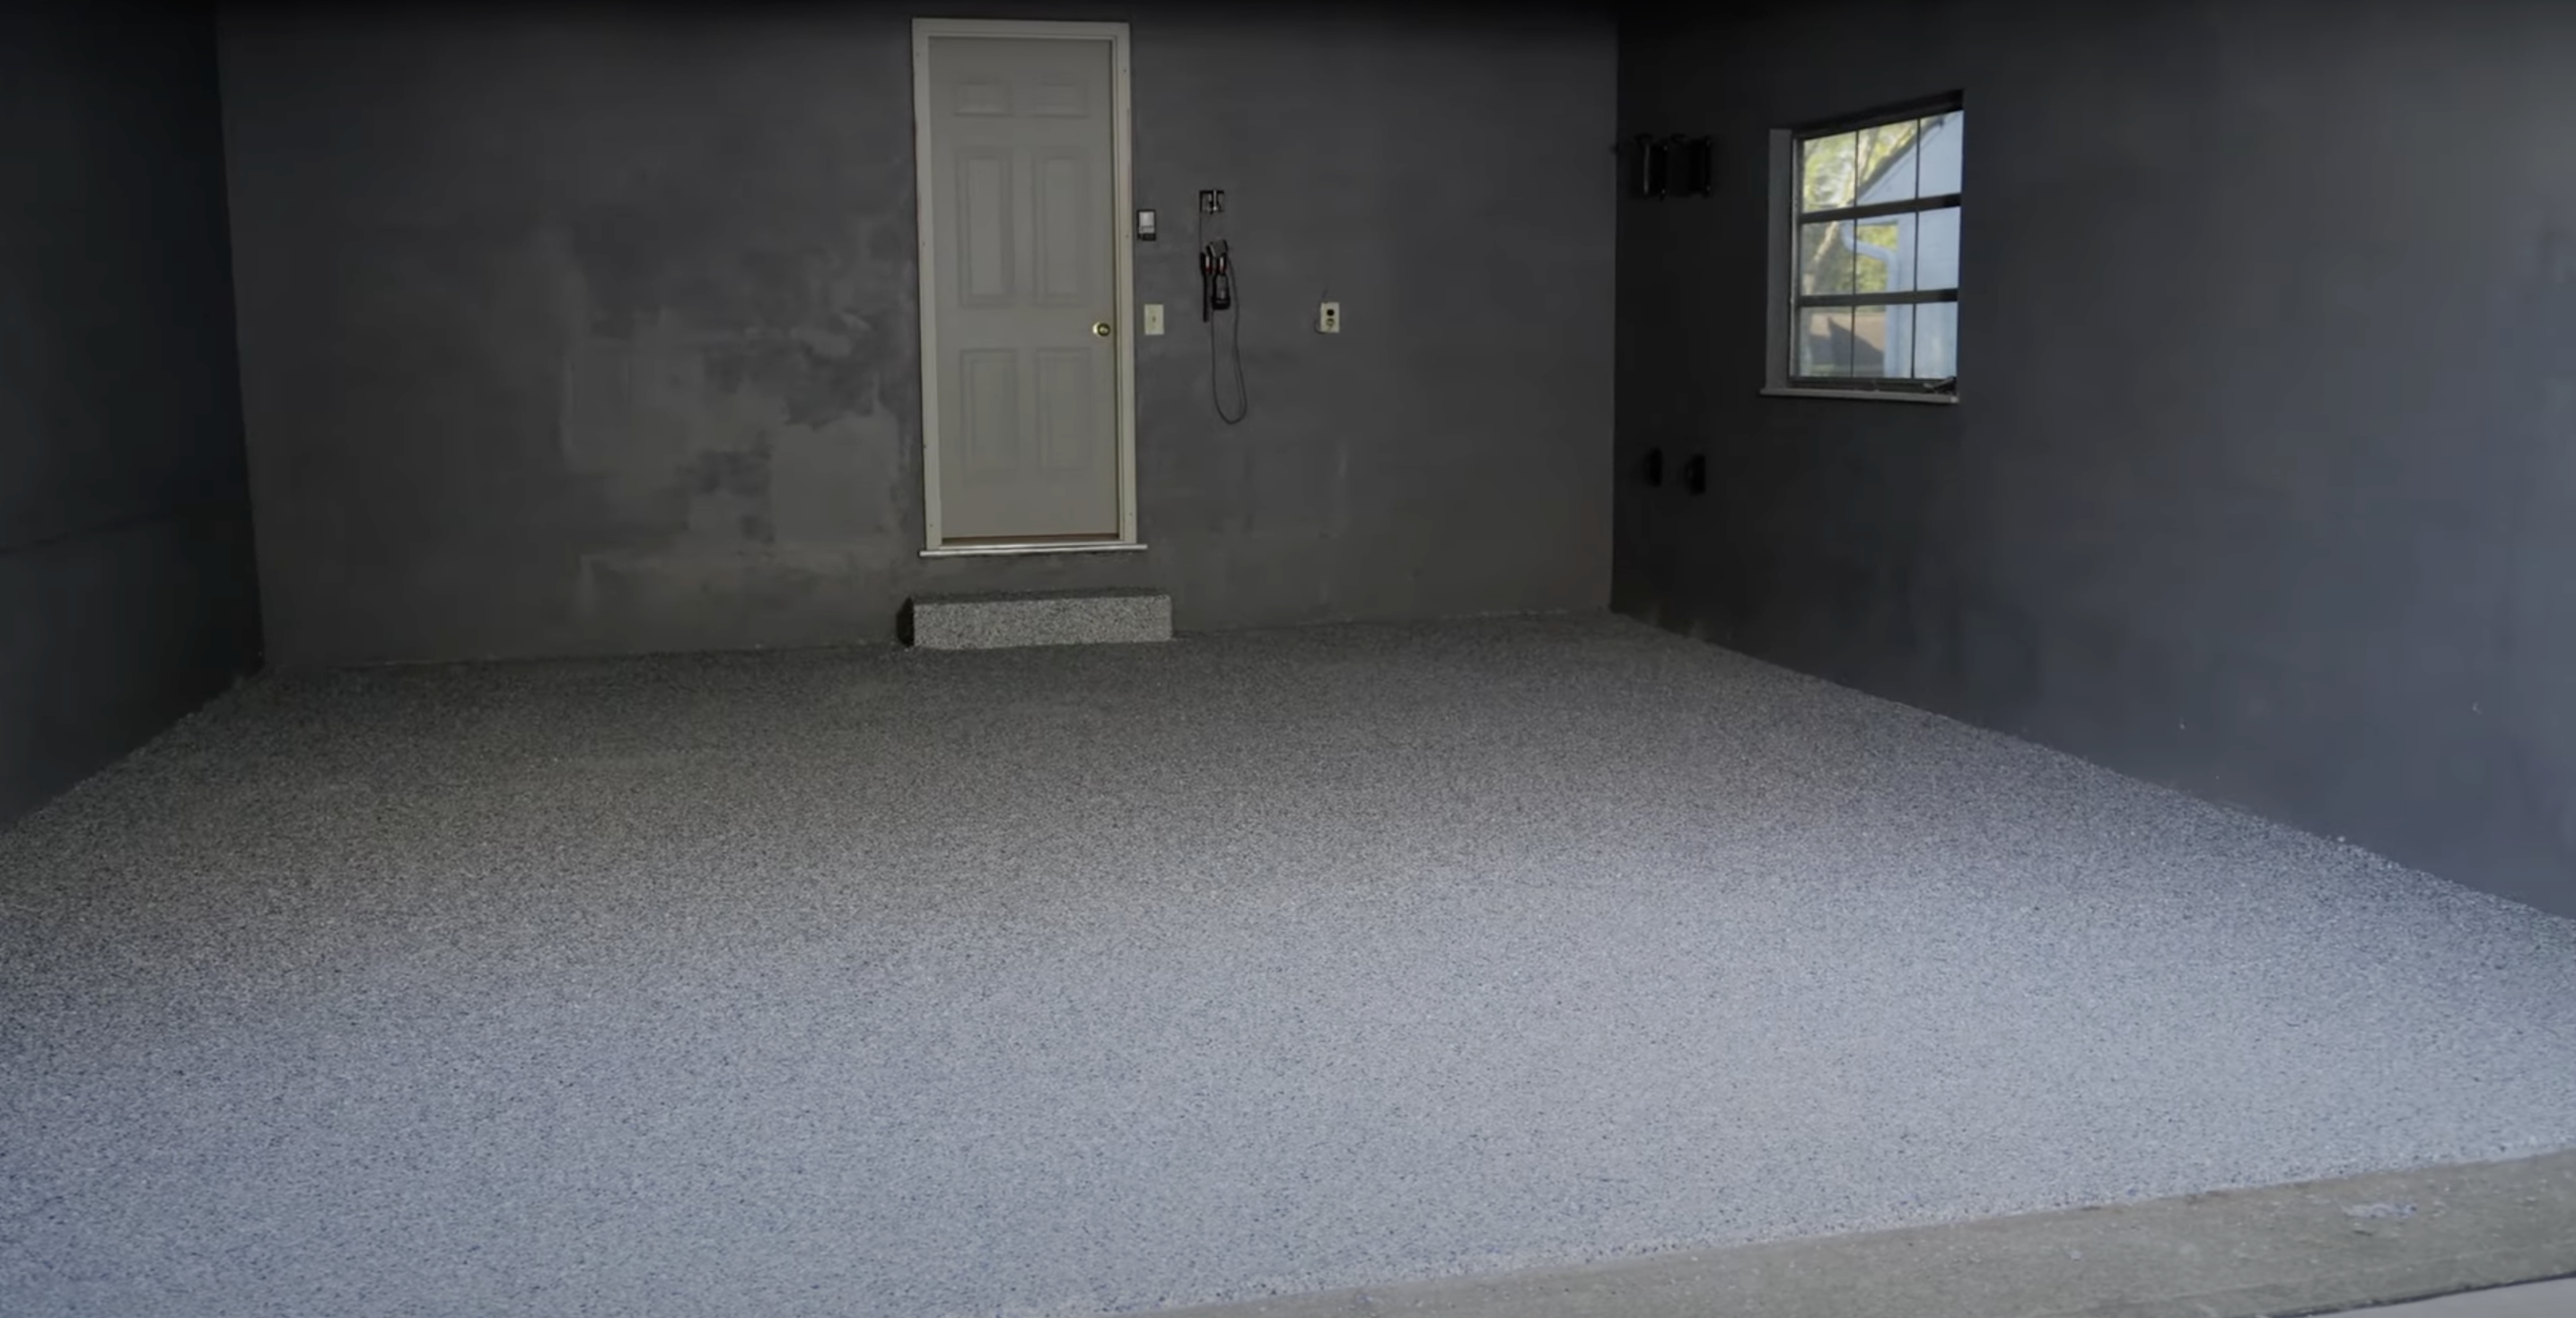
From busy home garages to large industrial buildings, polyaspartic coatings provide a solid surface that holds up well against daily wear and tear. They dry quickly, letting you use your space sooner. Plus, they come in many styles to match your needs.
Want to know if polyaspartic flooring is right for you? Let’s see what makes this option worth considering.
Polyaspartic Flooring: Is It Worth the Investment?
When considering floor coating options, the price tag often catches our eye first. Polyaspartic flooring typically costs more upfront than some other choices, like epoxy. But focusing only on the initial price doesn’t tell the whole story.
Polyaspartic floor coatings may require a higher initial payment, but they often prove to be more cost-effective in the long run.
With proper care, most quality polyaspartic floors can last 7-10 years or even longer. Compare this to standard epoxy floors that might need replacement after 3-5 years of heavy use.
Factors affecting polyaspartic flooring lifespan:
- Installation quality
- Traffic volume
- Regular maintenance
- Condition of the concrete base
- Local climate conditions
For many home and business owners seeking long-term quality without constant upkeep, the higher upfront cost often pays off through years of trouble-free use and good looks.
Tools Required for Polyaspartic Flooring
Before starting your polyaspartic flooring project, gather all the necessary tools and materials. Having everything ready before you begin will save time and help ensure a smooth application process. The right tools make all the difference in achieving professional results.
- Polyaspartic Coating: The main flooring material for the coating.
- Mixing Bucket: Used for mixing the polyaspartic coating components.
- Mixing Stick: For thoroughly mixing the polyaspartic components.
- Roller: For applying the polyaspartic coating evenly on the surface.
- Squeegee: For spreading the coating and achieving even coverage.
- Painter’s Tape: Used to mask off edges and protect surrounding areas.
- Cutting Tools (for edges): For applying coating to edges and corners.
- Gloves: To protect your hands from chemicals and coating.
- Safety Glasses: To protect your eyes from splashes.
- Floor Cleaner: For cleaning the floor before applying the polyaspartic coating.
Proper preparation is just as important as the application itself. Before starting, make sure all tools are clean and in good condition.
Having a helper on hand can also make the process much easier, especially when working with fast-curing poly aspartic products. Plan your approach and divide your floor into manageable sections before mixing any coating.
Step by Step for Polyaspartic Flooring
Follow this proven process to achieve professional results with your polyaspartic flooring project.
Step 1: Preparing Your Floor
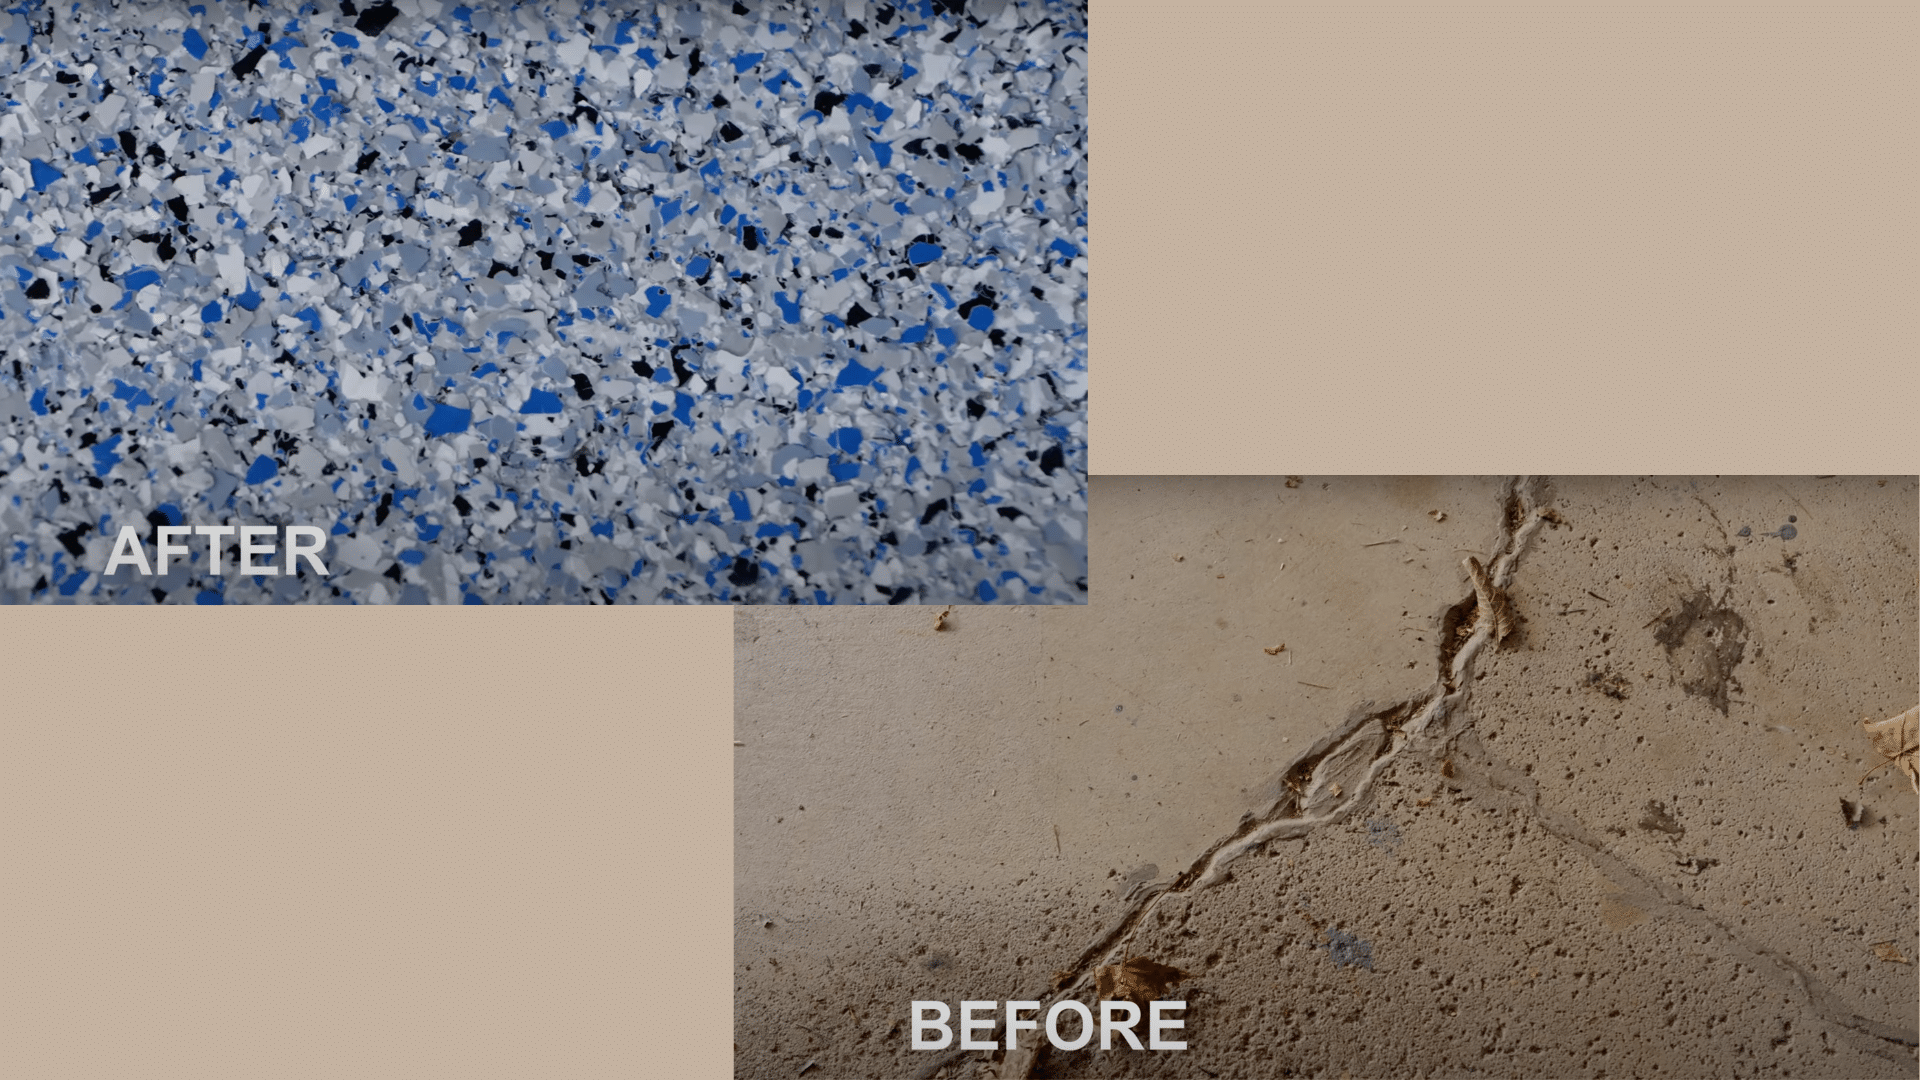
Getting your floor ready for polyaspartic coating is crucial for lasting results. Start by thoroughly cleaning the surface to remove all dirt, oil, and loose materials. Grind or shot blast concrete floors to create a proper texture and fill any cracks or damage in the existing floor.
Before application, check that your space maintains temperatures between 50-90°F with moderate humidity levels. Too much moisture can prevent proper bonding.
So, conduct a simple moisture test to ensure your floor is dry enough. These careful preparation steps will help your polyaspartic floor look good and perform well for years to come.
Step 2: Choosing the Right Polyaspartic Coating
Not all polyaspartic coatings are created equal. These products come in different mix ratios, with the most common being 1:1, 1:2, or 2:3 for part A and part B. The ratio you select affects how the product flows, cures, and performs over time.
Your floor’s size and purpose should guide your product selection. High-traffic spaces need more durable options, and areas exposed to chemicals require special resistance properties.
Taking time to match the right polyaspartic coating to your specific needs ensures the best possible outcome for your flooring project.
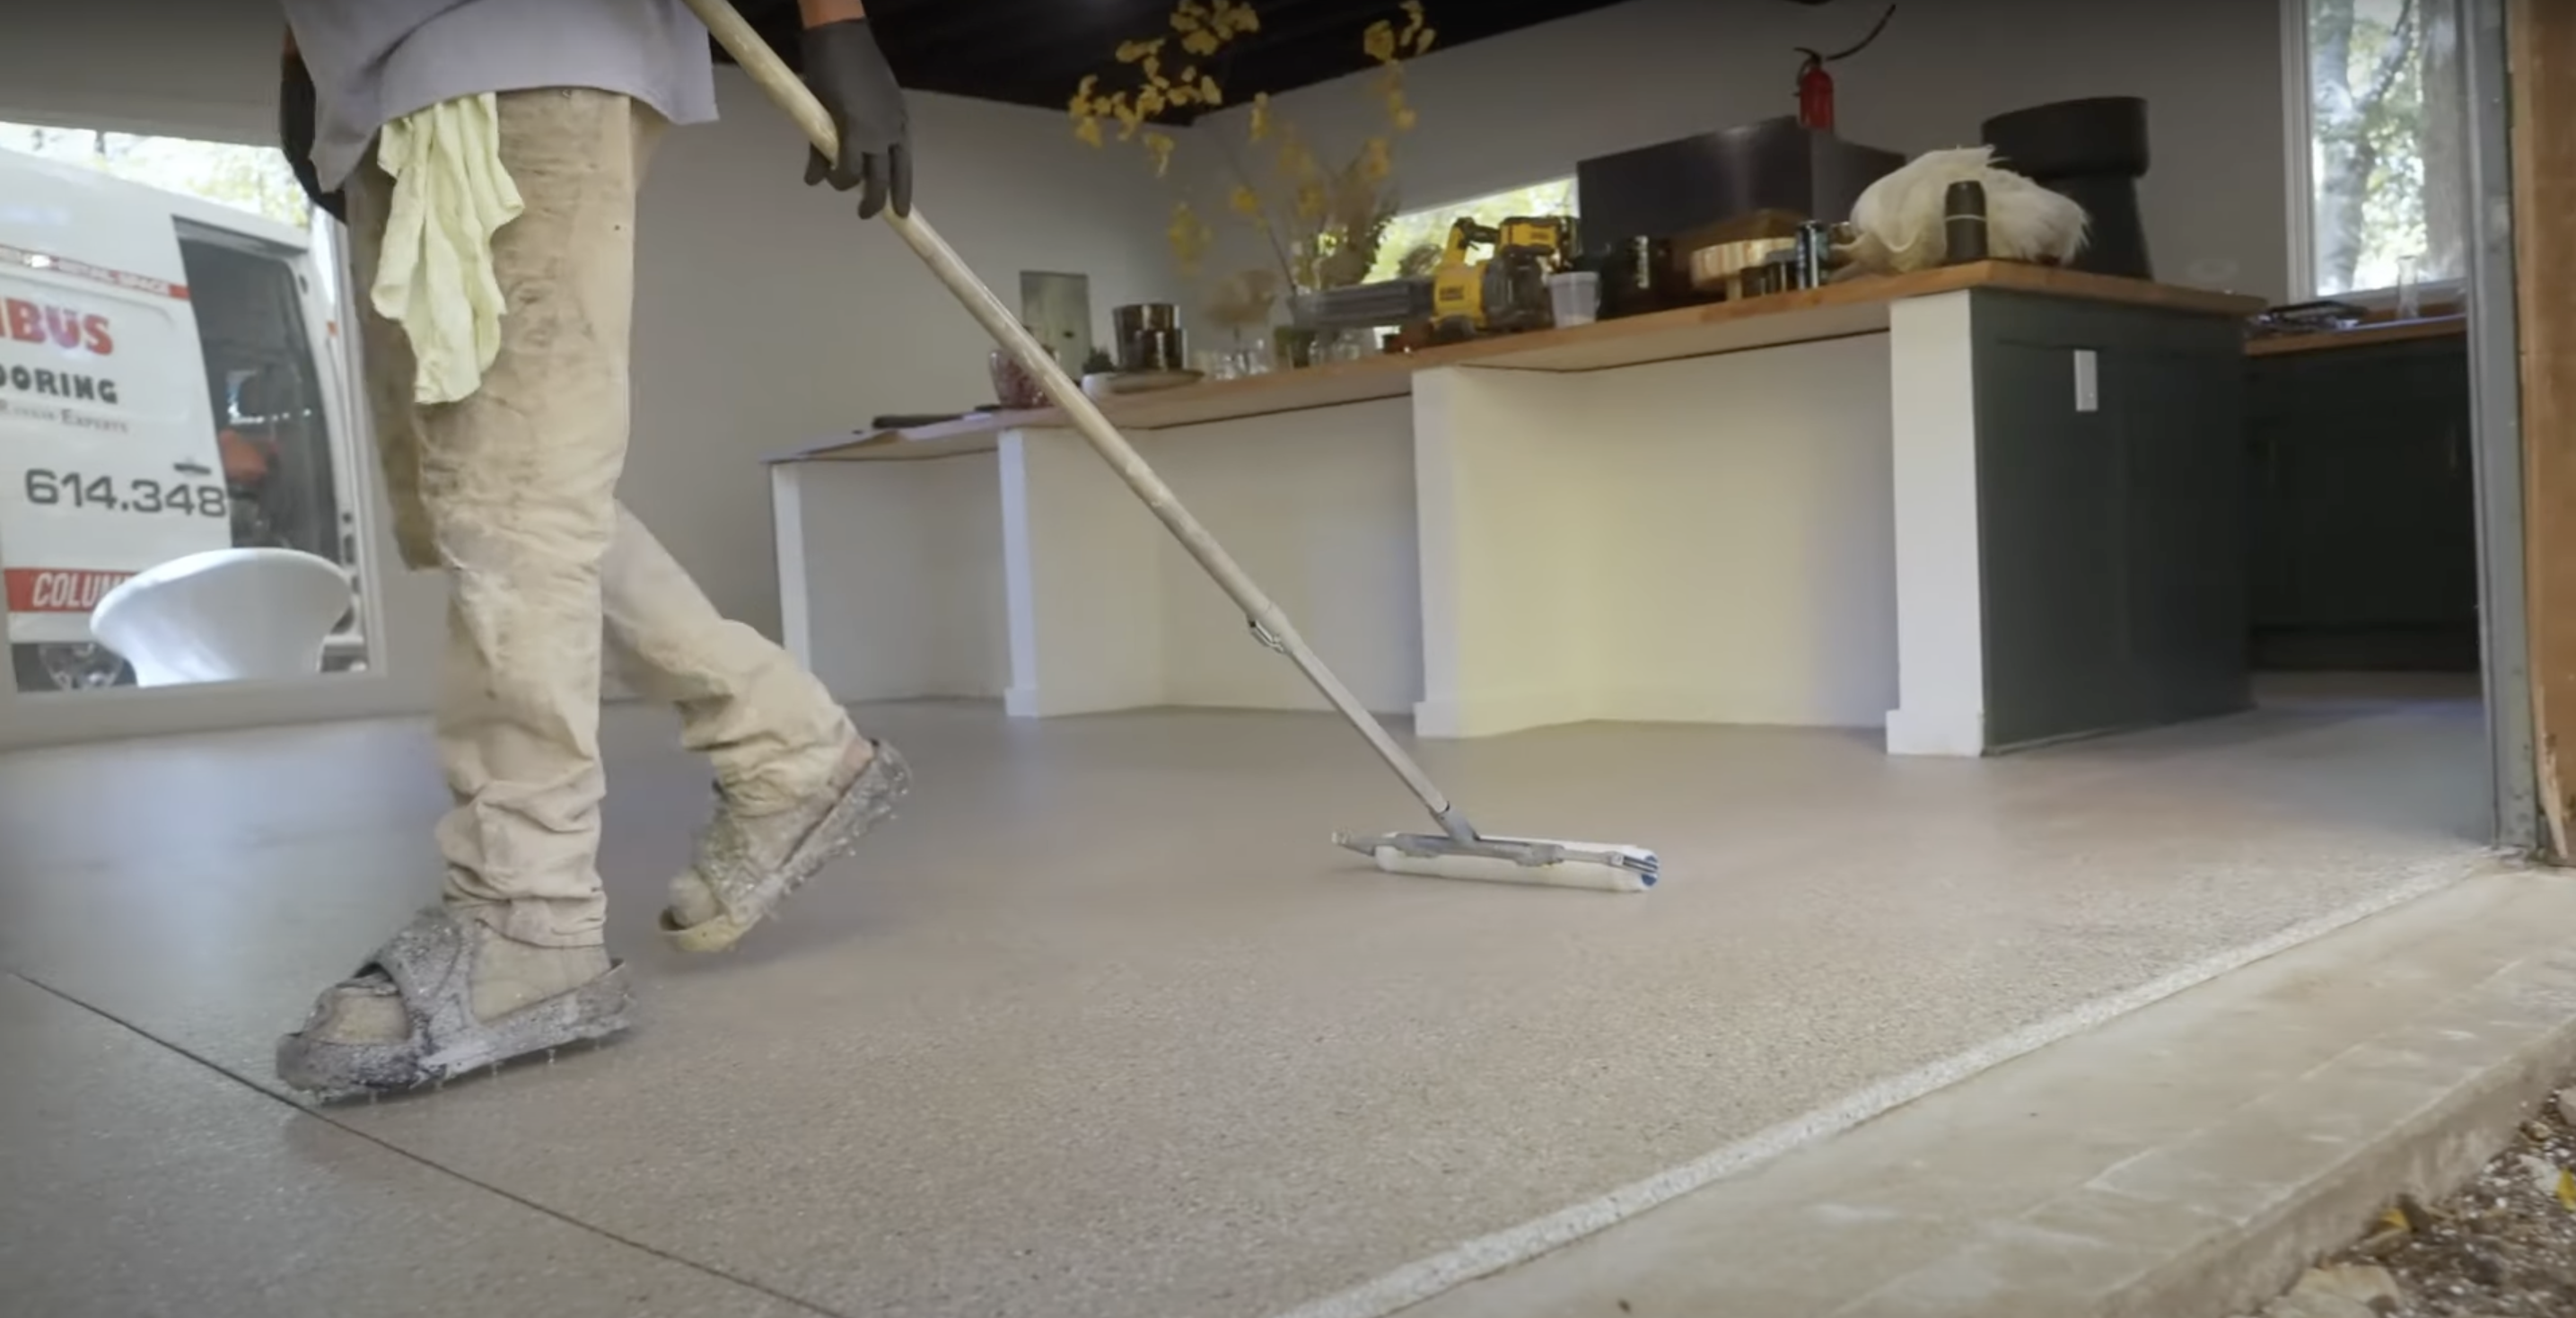
Step 3: Applying Polyaspartic Flooring
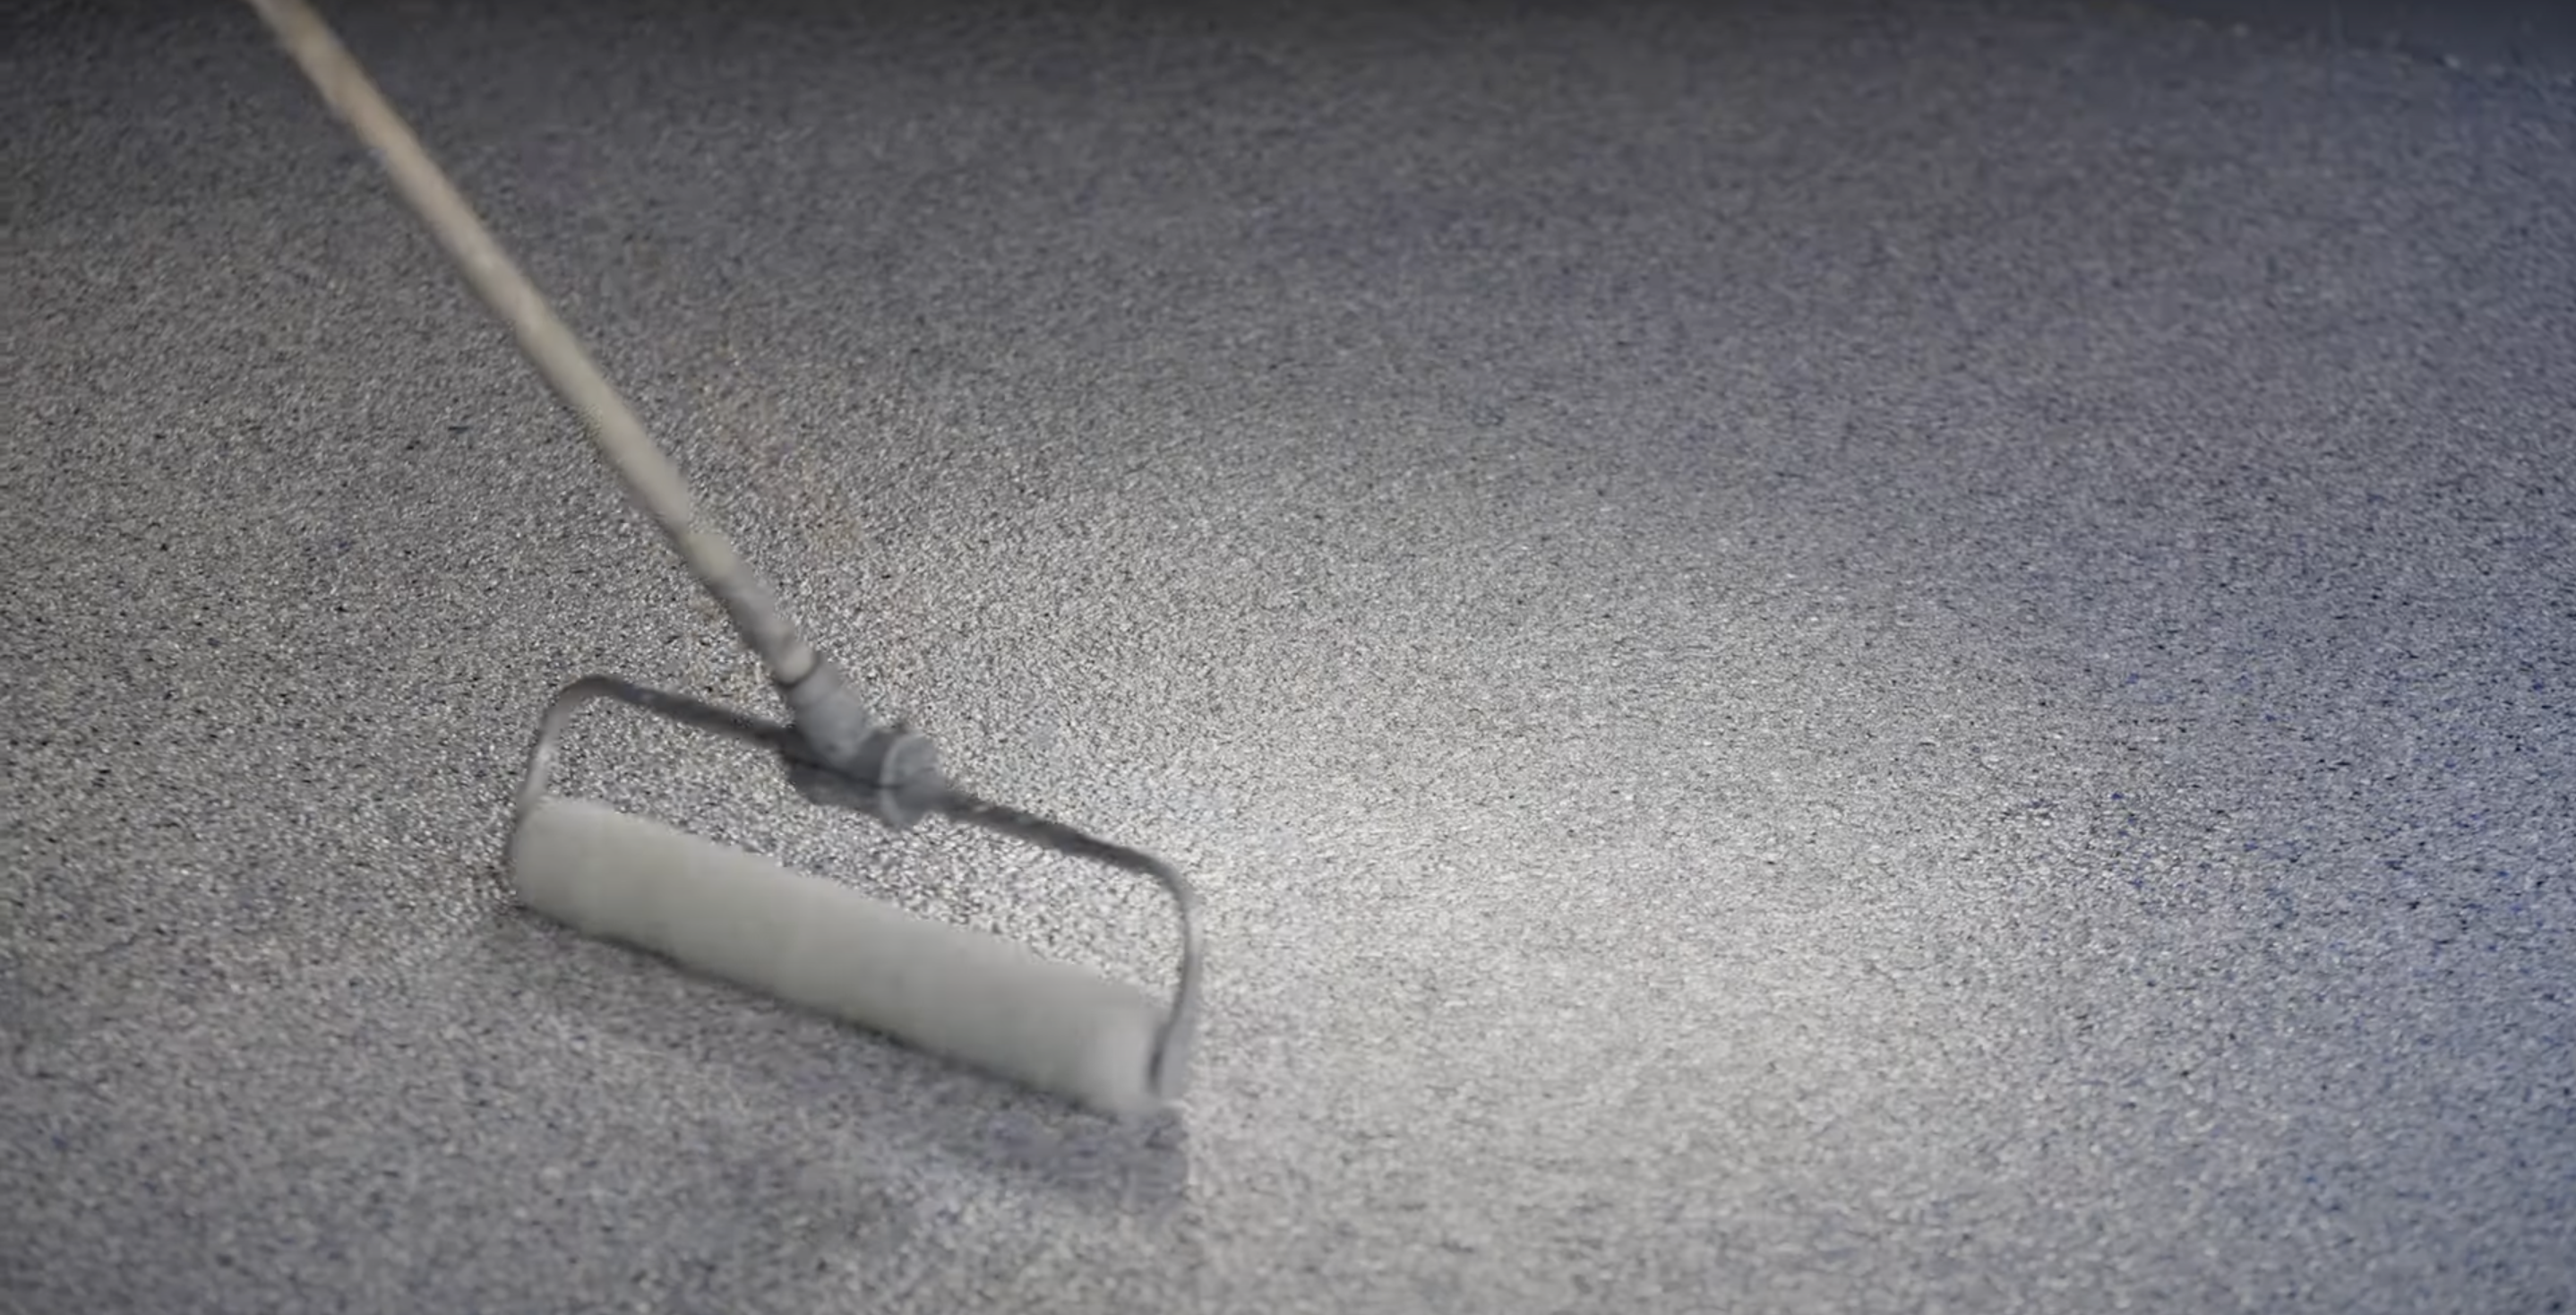
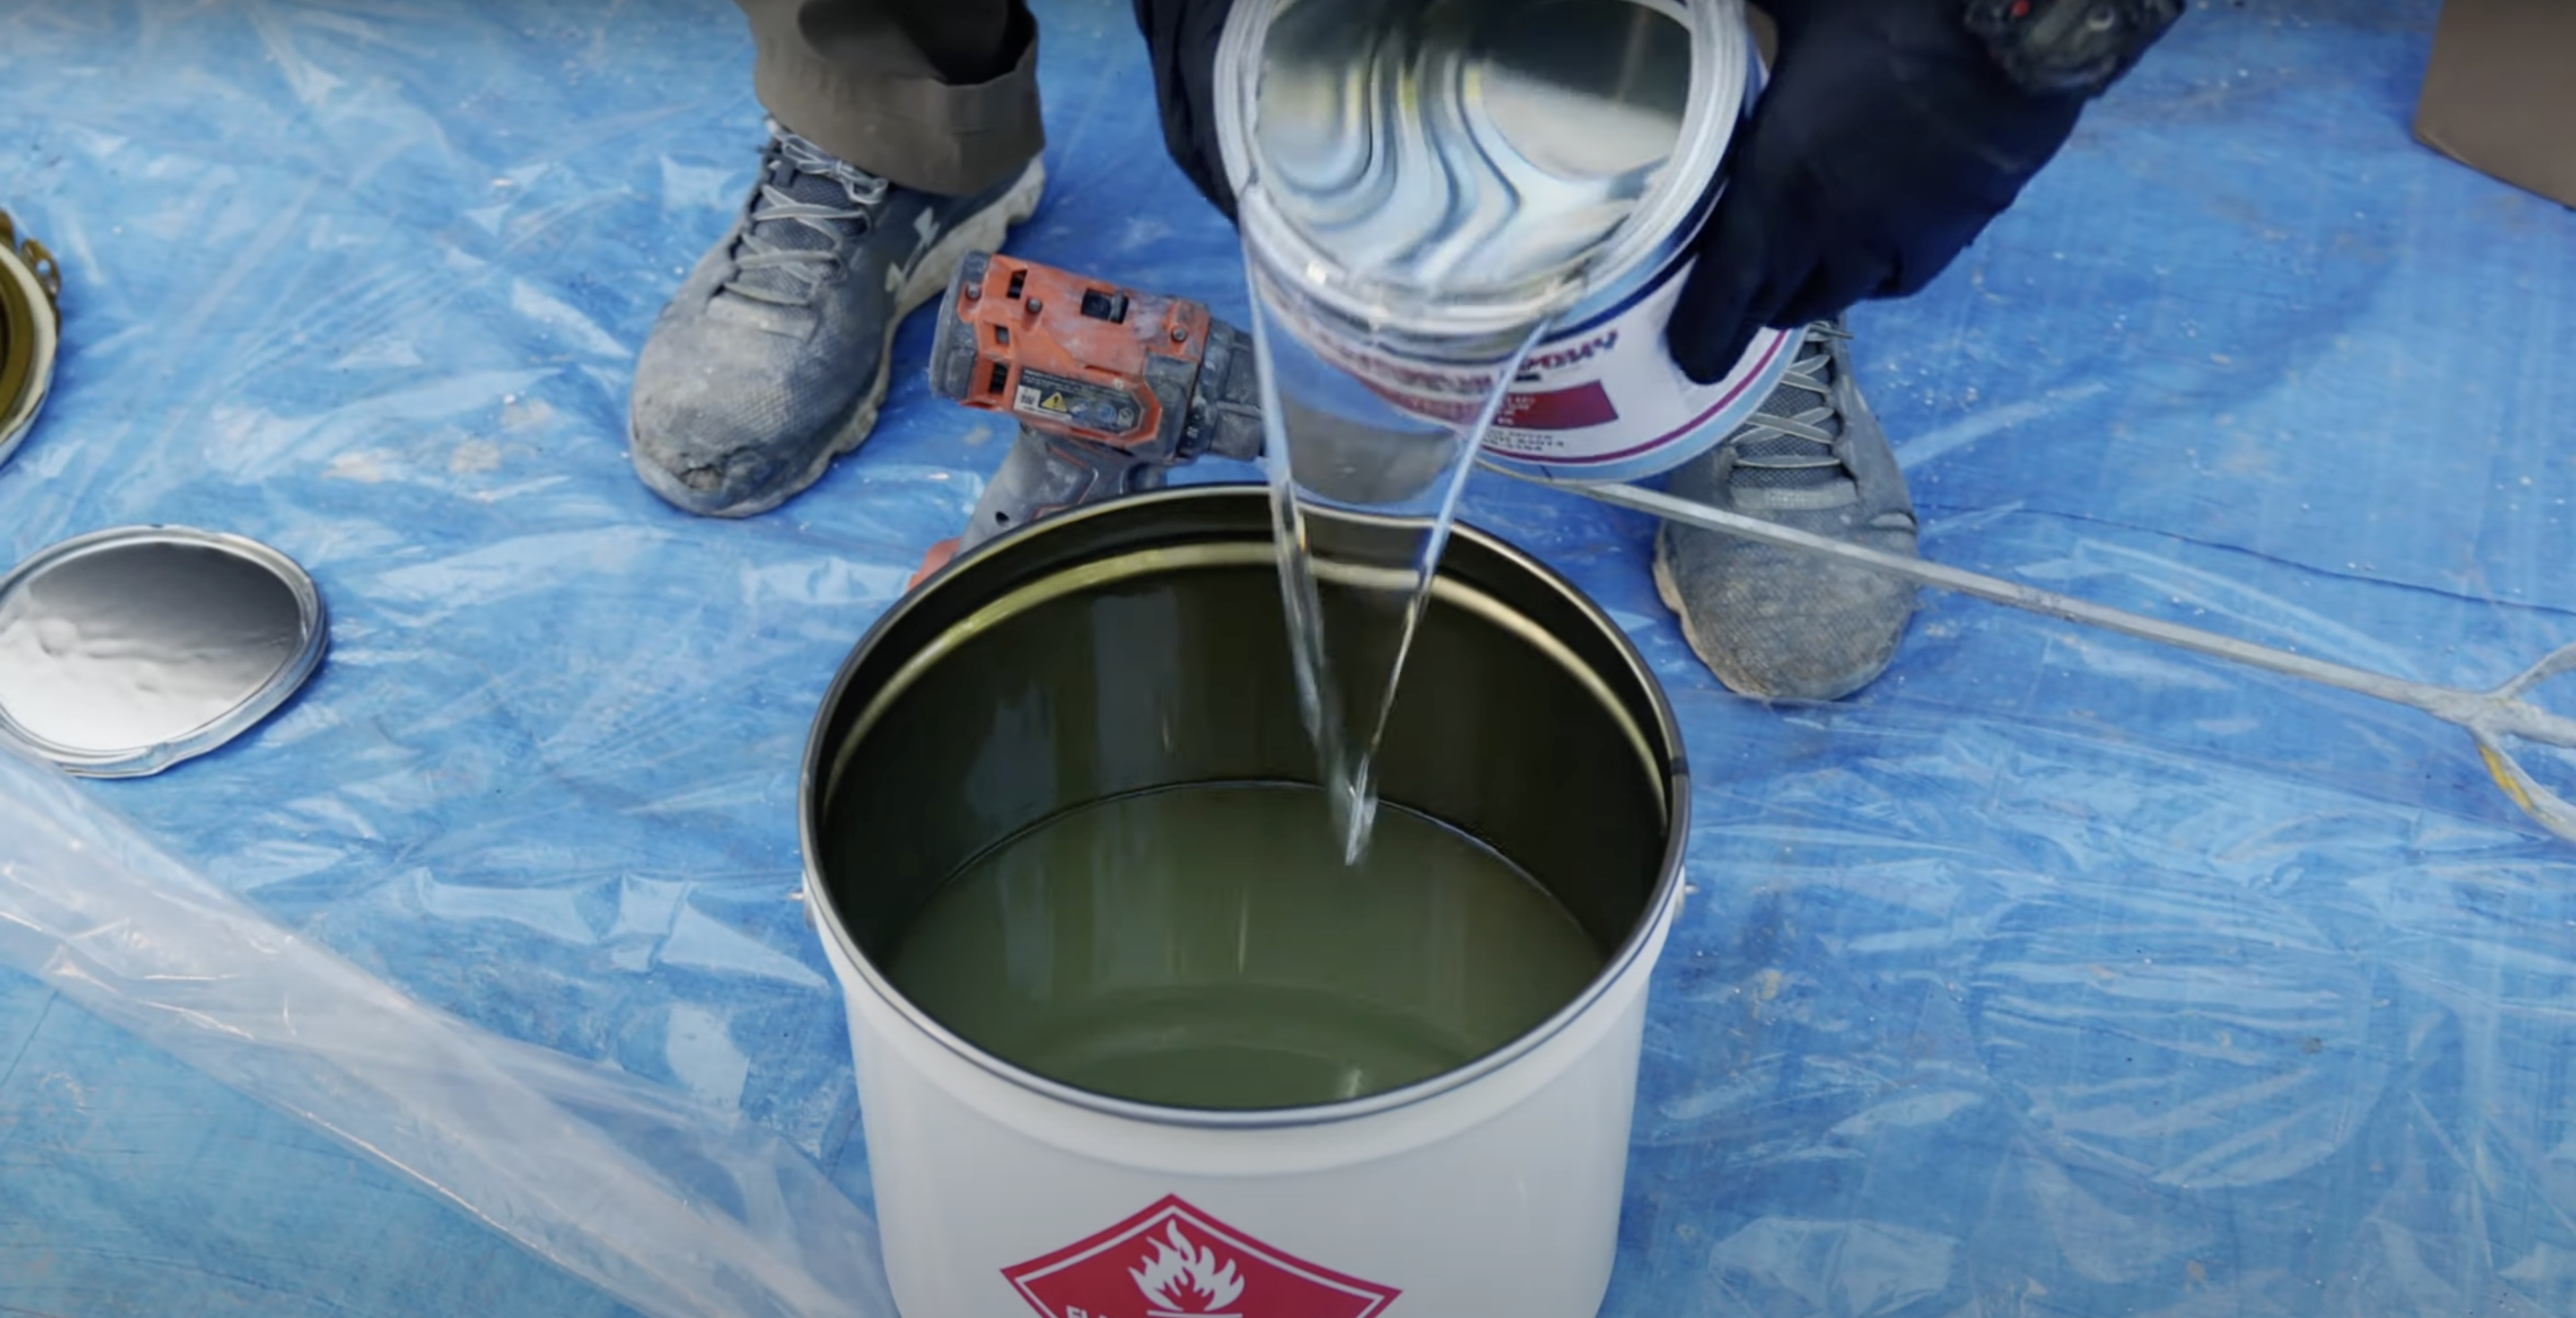
The application process starts with properly mixing your polyaspartic coating. Follow the manufacturer’s instructions exactly, typically using a paddle mixer at medium speed for 2-3 minutes to ensure the components blend thoroughly without introducing too many air bubbles.
Begin the application by “cutting in” the edges with a brush, working about 2-3 inches from walls and corners. Back-rolling in one direction helps remove bubbles and create an even finish. Working with a partner makes the job much easier.
One person can mix and pour while the other spreads and back-rolls, ensuring you can cover the area before the coating begins to set.
Step 4: Curing and Maintenance
Polyaspartic flooring cures much faster than many other coatings, but patience remains important. While you can typically walk on the surface in 4-6 hours, allow 24 hours before normal foot traffic and at least 72 hours before placing heavy items on the floor.
Maintaining your polyaspartic floor is straightforward. Sweep regularly to remove dirt and grit that could scratch the surface.
Clean spills promptly with a pH-neutral cleaner, avoiding harsh chemicals. For long-term care, inspect the floor yearly for signs of wear.
Video Tutorial
For a detailed video, check out How to Apply Polyaspartic Top Coat (On Smaller Floors) by Columbus Epoxy Flooring
Common Mistakes to Avoid
Even with the best products, these common errors can ruin your polyaspartic flooring project and waste your time and money.
- Poor surface preparation: Failing to clean the floor thoroughly or repair cracks and damage before application leads to poor adhesion and premature failure of the coating.
- Ignoring moisture issues: Not checking for or addressing moisture in the concrete slab can cause bubbling, peeling, and delamination of the polyaspartic coating.
- Incorrect mixing ratios: Not following the manufacturer’s exact specifications for mixing parts A and B can result in a coating that doesn’t cure properly or perform as expected.
- Working in the wrong conditions: Applying the coating in temperatures that are too hot, too cold, or with high humidity can affect curing and finish quality.
- Rushing the application: Trying to cover too large an area at once can lead to uneven application as the fast-curing product begins to set before you’ve had time to back-roll properly.
- Inadequate ventilation: Not providing proper airflow during application and curing can trap fumes and affect both the safety and the quality of the final finish.
- Skipping the primer: On certain surfaces, skipping the primer coat to save time can result in poor adhesion and a shorter lifespan for your floor coating.
Conclusion
Are you considering your flooring options? Polyaspartic flooring stands out for good reasons. It lasts longer than many choices, handles heavy use well, and can be ready for action in just a day.
Remember that success comes from careful planning. Proper floor prep, selecting the right product, careful application, and basic upkeep all play key roles in ensuring that your floor looks good and performs well for years.
While it might cost more upfront than some options, many find the long-term value worth it. Less maintenance, fewer replacements, and a floor that keeps looking good make a strong case for polyaspartic coatings.
Ready to consider this option for your space? Talk to a flooring expert who can look at your specific needs and help you make the best choice for your home or business.
Frequently Asked Questions
Is Polyaspartic Really Better than Epoxy?
Polyaspartic flooring offers faster curing, better UV resistance, and higher durability than epoxy. While it costs more upfront, it often lasts longer, with less yellowing and better chemical resistance.
What Are the Disadvantages of Polyaspartic Floor Coating?
Polyaspartic floor coatings have higher upfront costs, require more careful preparation, cure very quickly (leaving little time for application), and need professional installation for best results. They can also be slippery when wet.
Is Polyaspartic Worth the Money?
For most people, polyaspartic flooring is worth the money. It lasts longer, resists damage better, and needs less upkeep than cheaper options, saving money over time.
