
I know you’re staring at that cramped, outdated camper bathroom, wondering how on earth you’ll change it into something functional and inviting.
The thought of tackling plumbing, electrical work, and fitting everything into such a tiny space can feel overwhelming. I’ve been there myself.
Here’s the good news: I’m going to walk you through a complete step-by-step process that breaks down this seemingly impossible project into manageable chunks. No fancy contractor skills required – just patience and the right approach.
In this guide, I’ll cover everything, from planning your layout and selecting space-saving fixtures to handling plumbing and electrical work safely.
By the end, you’ll have a clear roadmap to create a camper bathroom that’s both beautiful and practical, without the stress of figuring it out as you go.
Why Remodel Your Camper Bathroom?
Renovating your RV bathroom isn’t just about making i0o,t look better – it’s about creating a space that works for your lifestyle and adds value to your investment.
1. Making Small Spaces Work Better
Every square inch matters in an RV, so poor layouts waste precious space. Better organization and storage make daily routines smoother, while smart design choices can make your tiny bathroom feel bigger than it actually is.
2. Fixing Common Problems
Cracked shower surrounds let in moisture and look worn out. Old fixtures break down frequently and waste water. Poor ventilation leads to mold and unpleasant odors, and inadequate storage creates constant clutter.
3. Boosting Your RV’s Value
An updated bathroom is one of the first things buyers notice. Modern fixtures and finishes can significantly increase resale value. Well-done renovations show the RV has been cared for properly.
4. Improving Daily Life
You’ll actually enjoy using your bathroom instead of dreading it. Better lighting and ventilation make the space more comfortable. Quality materials last longer and require less maintenance on the road.
Step-by-Step: RV Bathroom Remodelling
Here’s how to renovate your RV bathroom step by step, from planning and removing old fixtures to installing new ones and adding the finishing touches for a fresh, functional space.
Tools Required:
| Tool | Purpose |
|---|---|
| Screwdriver / Power Drill | Removing and installing fixtures and accessories |
| Utility Knife | Cutting peel-and-stick tiles and vinyl flooring |
| Silicone Gun | Applying waterproof sealant around sink and tiles |
| Tape Measure | Ensuring precise fitting of sink, mirror, slats |
| Level | Aligning tiles and wood slats evenly |
| Paintbrush / Roller | Painting cabinet and wall surfaces |
| Saw (Miter/Hand Saw) | Cutting wood slats for the feature wall |
Materials Required:
| Material | Purpose |
|---|---|
| IKEA Sink & Faucet | Functional upgrade, perfect fit for small space |
| Silicone Sealant | Sealing edges around sink and tile |
| Peel-and-Stick Tiles | Waterproof wall finish in shower area |
| Vinyl Plank Flooring | Seamless, water-resistant flooring solution |
| Black Paint (Onyx Black) | Background for feature wall |
| Wooden Slats (Pre-stained) | Decorative feature wall accent |
| Cabinet Paint | Refreshing the vanity/cabinet with new finish |
| Automatic Dispensers | Soap and toothpaste—hands-free, RV-friendly |
| Matte Black Accessories | Shelves, towel racks, and holders for coordinated look |
| Mirror | Mounted with added wood frame to cover crack |
Step 1: Assess and Plan Your Bathroom Makeover
Before diving into any renovation work, take time to evaluate your current bathroom situation and create a solid plan for your transformation project.
- Create a detailed task list including removing cracked shower surround, upgrading sink, adding storage, and painting surfaces.
- Research and decide between real tile versus peel-and-stick options based on your budget and skill level.
- Develop a clear design vision with colors, materials, and style that matches your RV’s overall look.
Pro Tip: Take photos of your current setup before starting – you’ll reference these when shopping for materials and remembering how things were originally connected.
Step 2: Install New Sink and Faucet
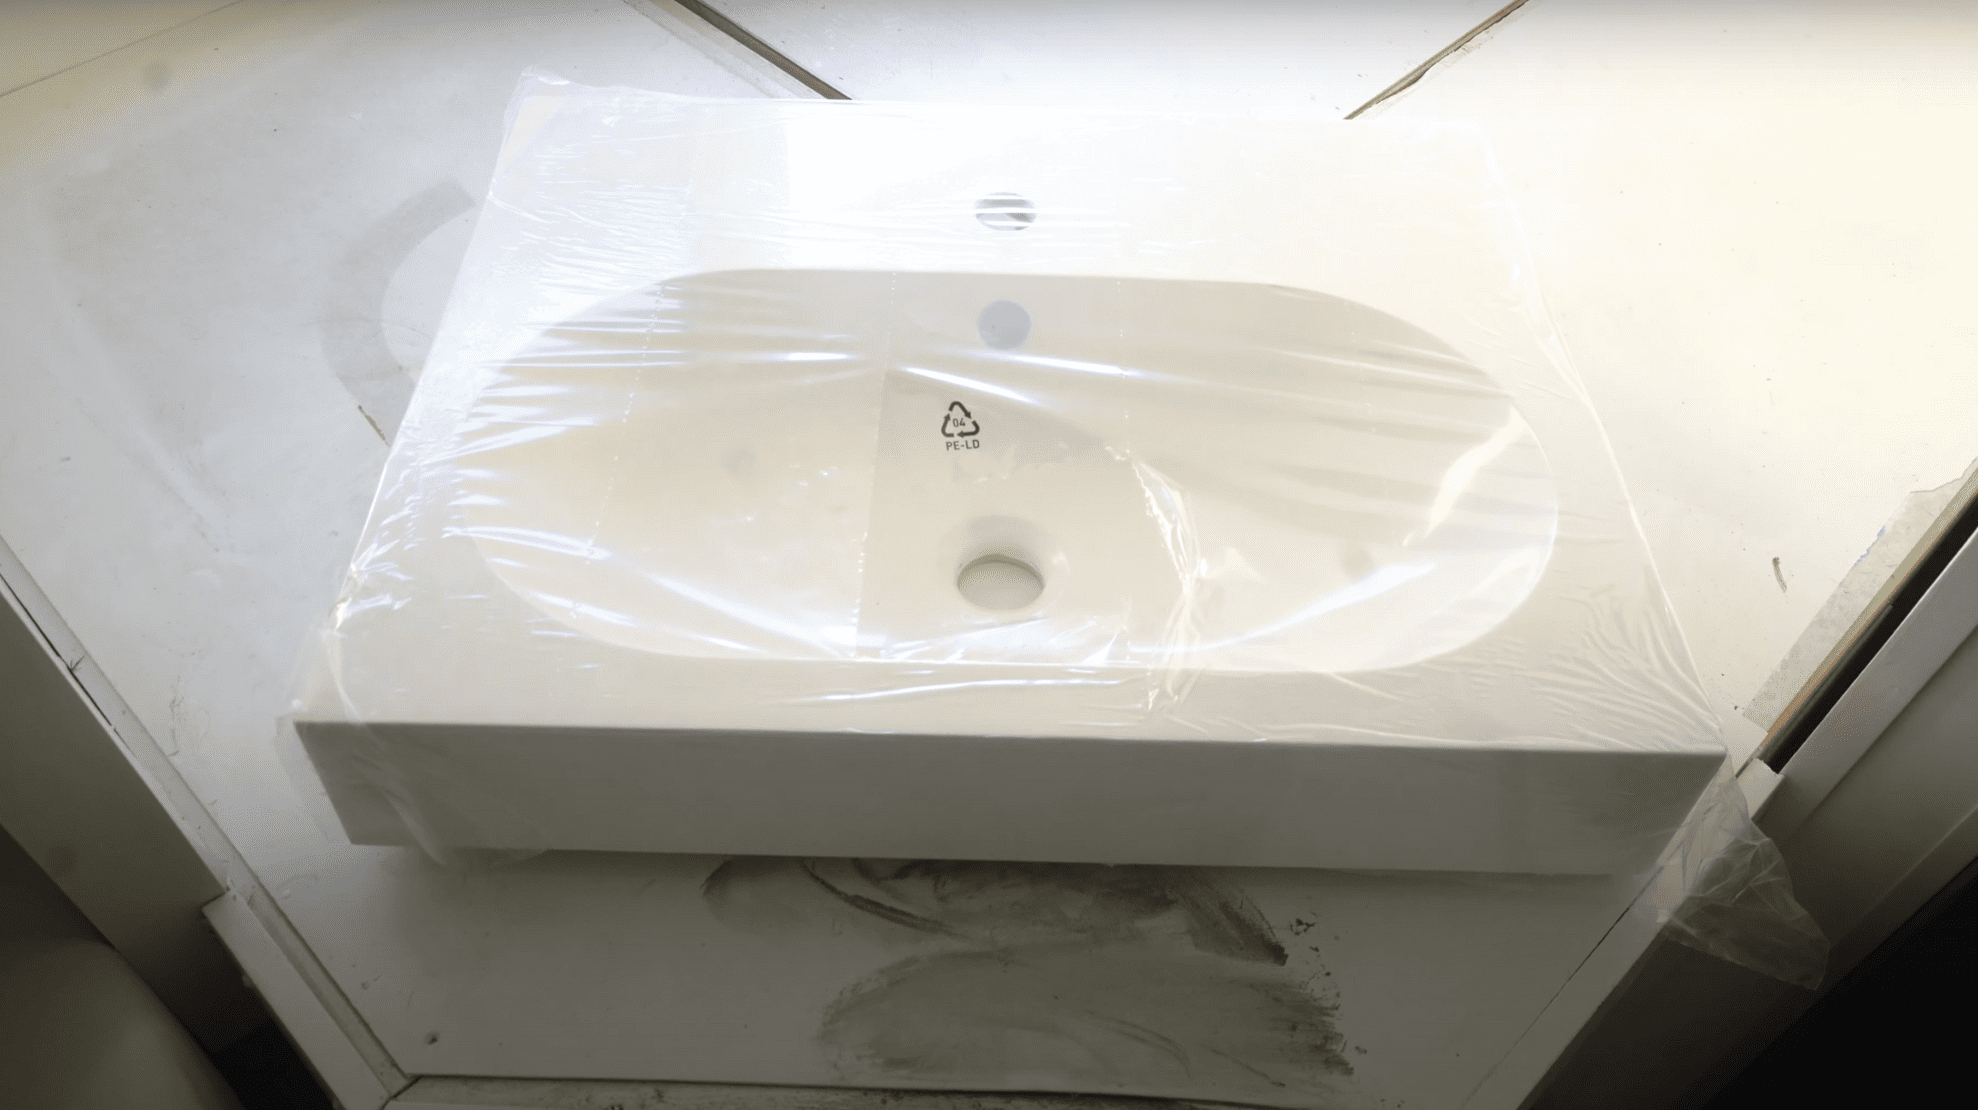
Upgrading your sink and faucet is one of the most impactful changes you can make, instantly modernizing your bathroom’s look and functionality.
- Select compact sink and faucet designed for RV spaces.
- Remove old fixtures and disconnect existing plumbing connections.
- Install new sink ensuring proper fit in countertop opening.
- Connect faucet and test water flow for proper operation.
- Apply silicone sealant and check all connections for leaks.
Pro Tip: Keep a bucket handy when disconnecting plumbing – there’s always more water left in the lines than you expect, even after shutting off the main supply.
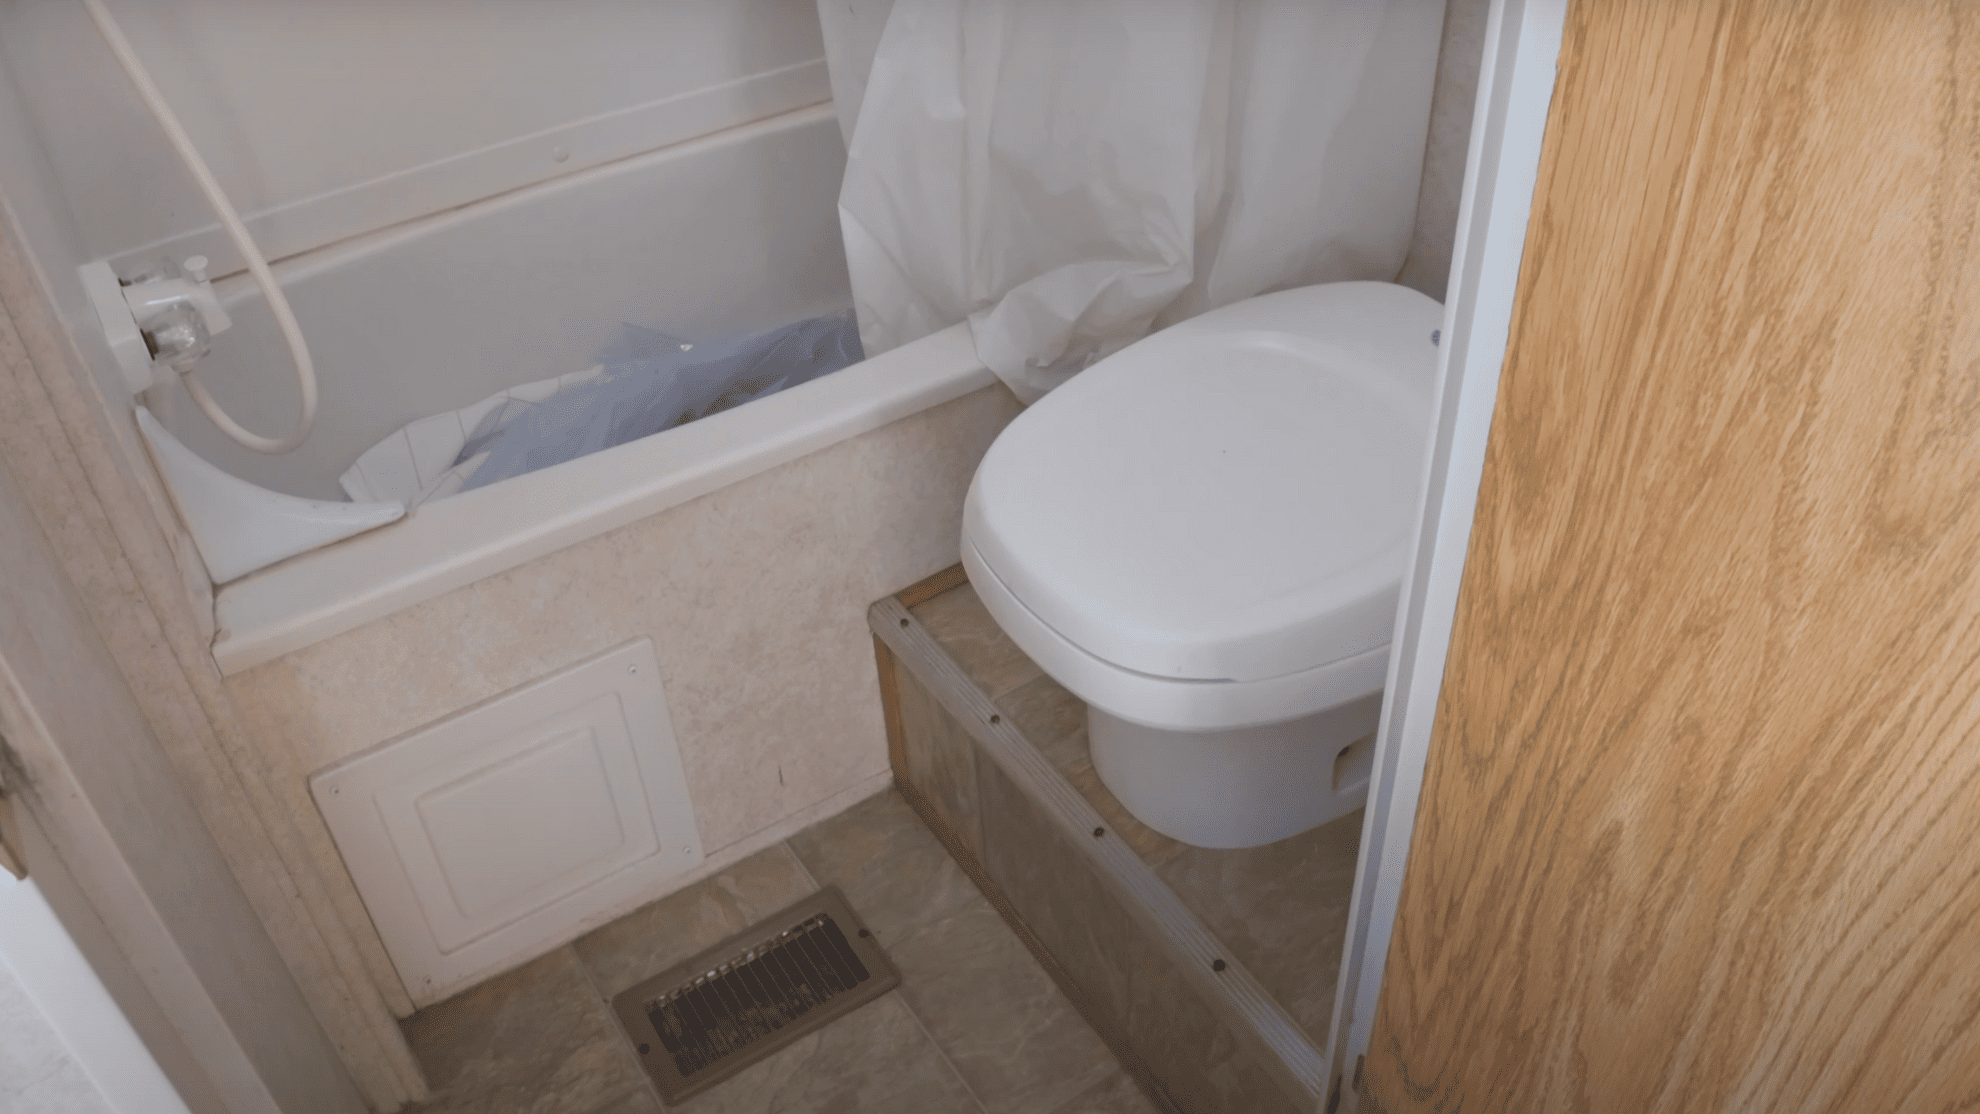
Step 3: Upgrade Flooring and Toilet
New flooring not only transforms your bathroom’s appearance but also provides enhanced water resistance. Vinyl planks are perfect for RV bathrooms due to their durability.
- Choose waterproof vinyl plank flooring for RV use.
- Remove toilet temporarily for full floor access.
- Install planks and wrap around toilet base area.
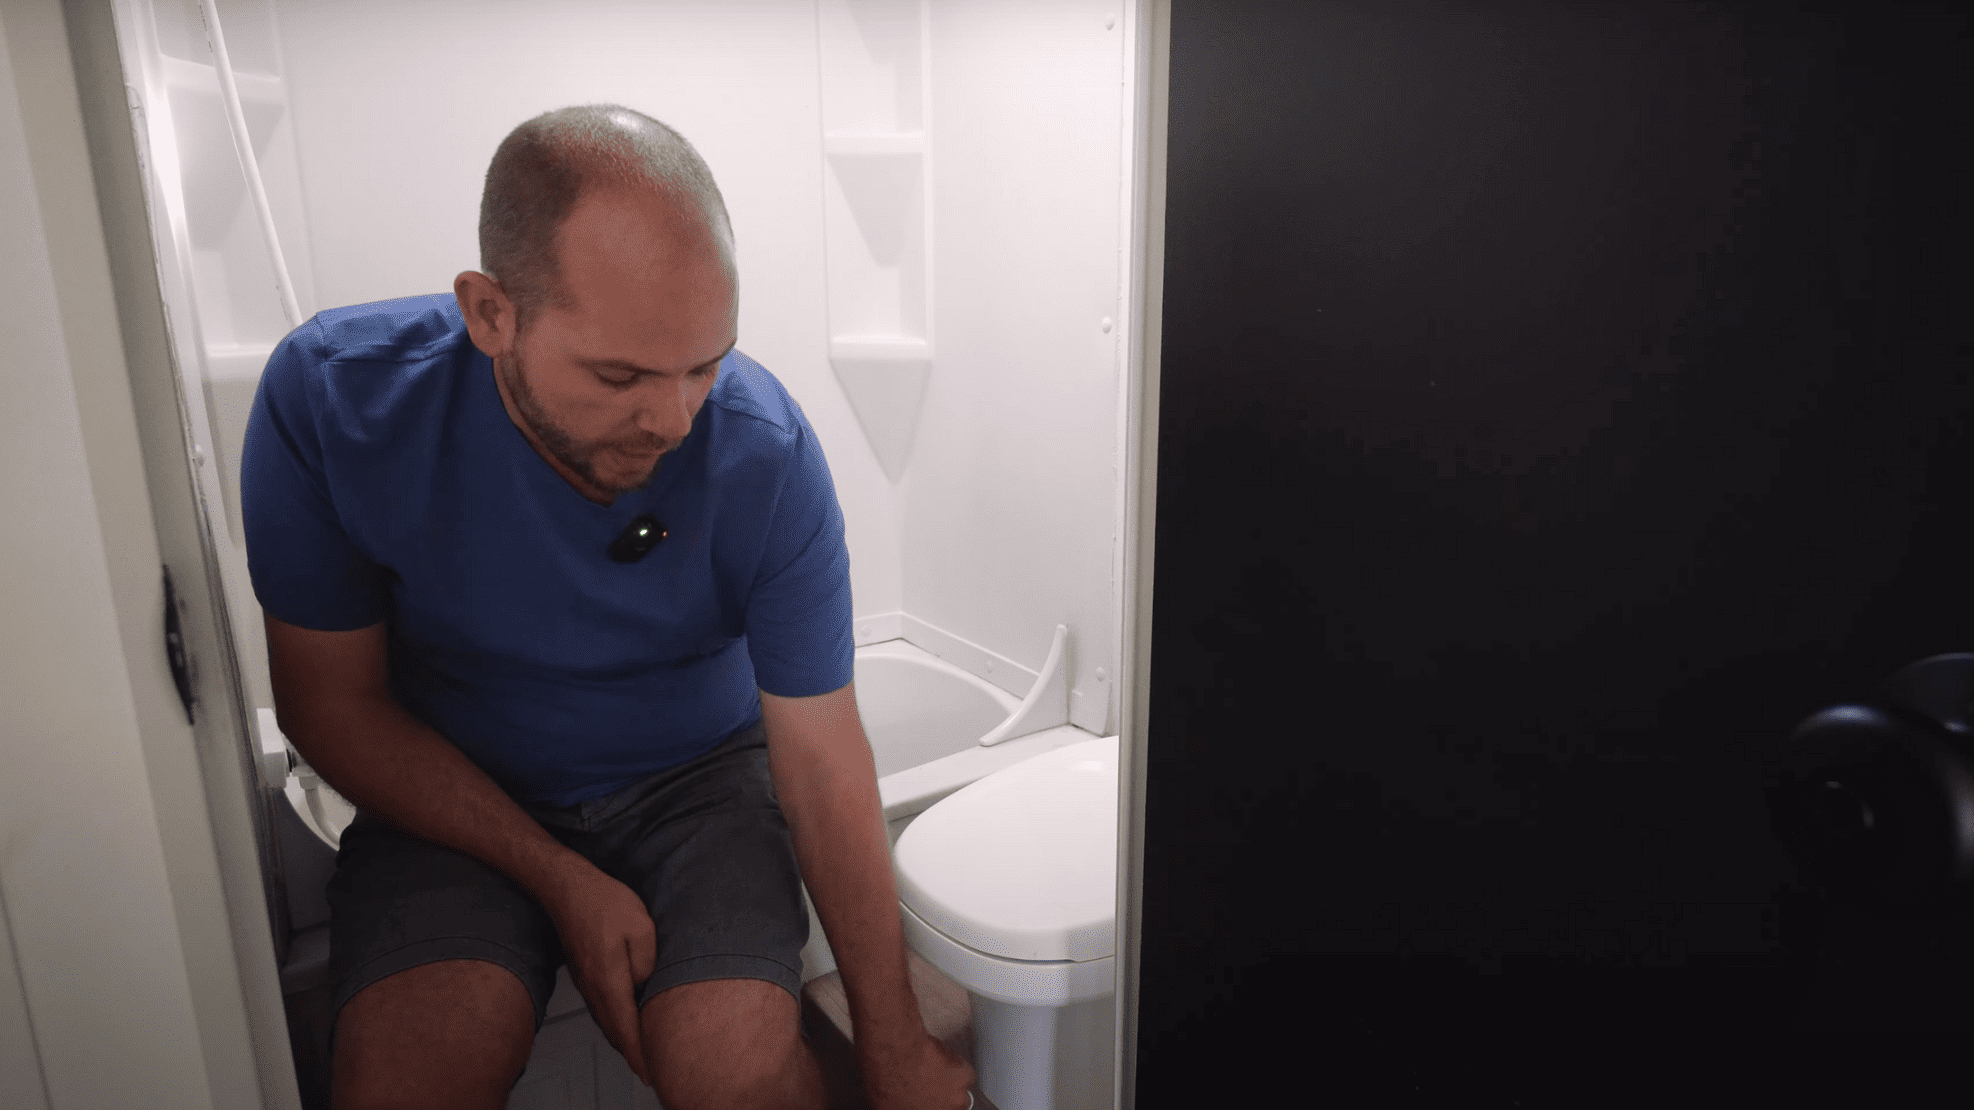
- Reinstall toilet securely and test the function.
Pro Tip: Replace the toilet wax ring while you have the toilet removed – it’s cheap insurance against future leaks and much easier to do now.
Step 4: Remove Old Shower Surround
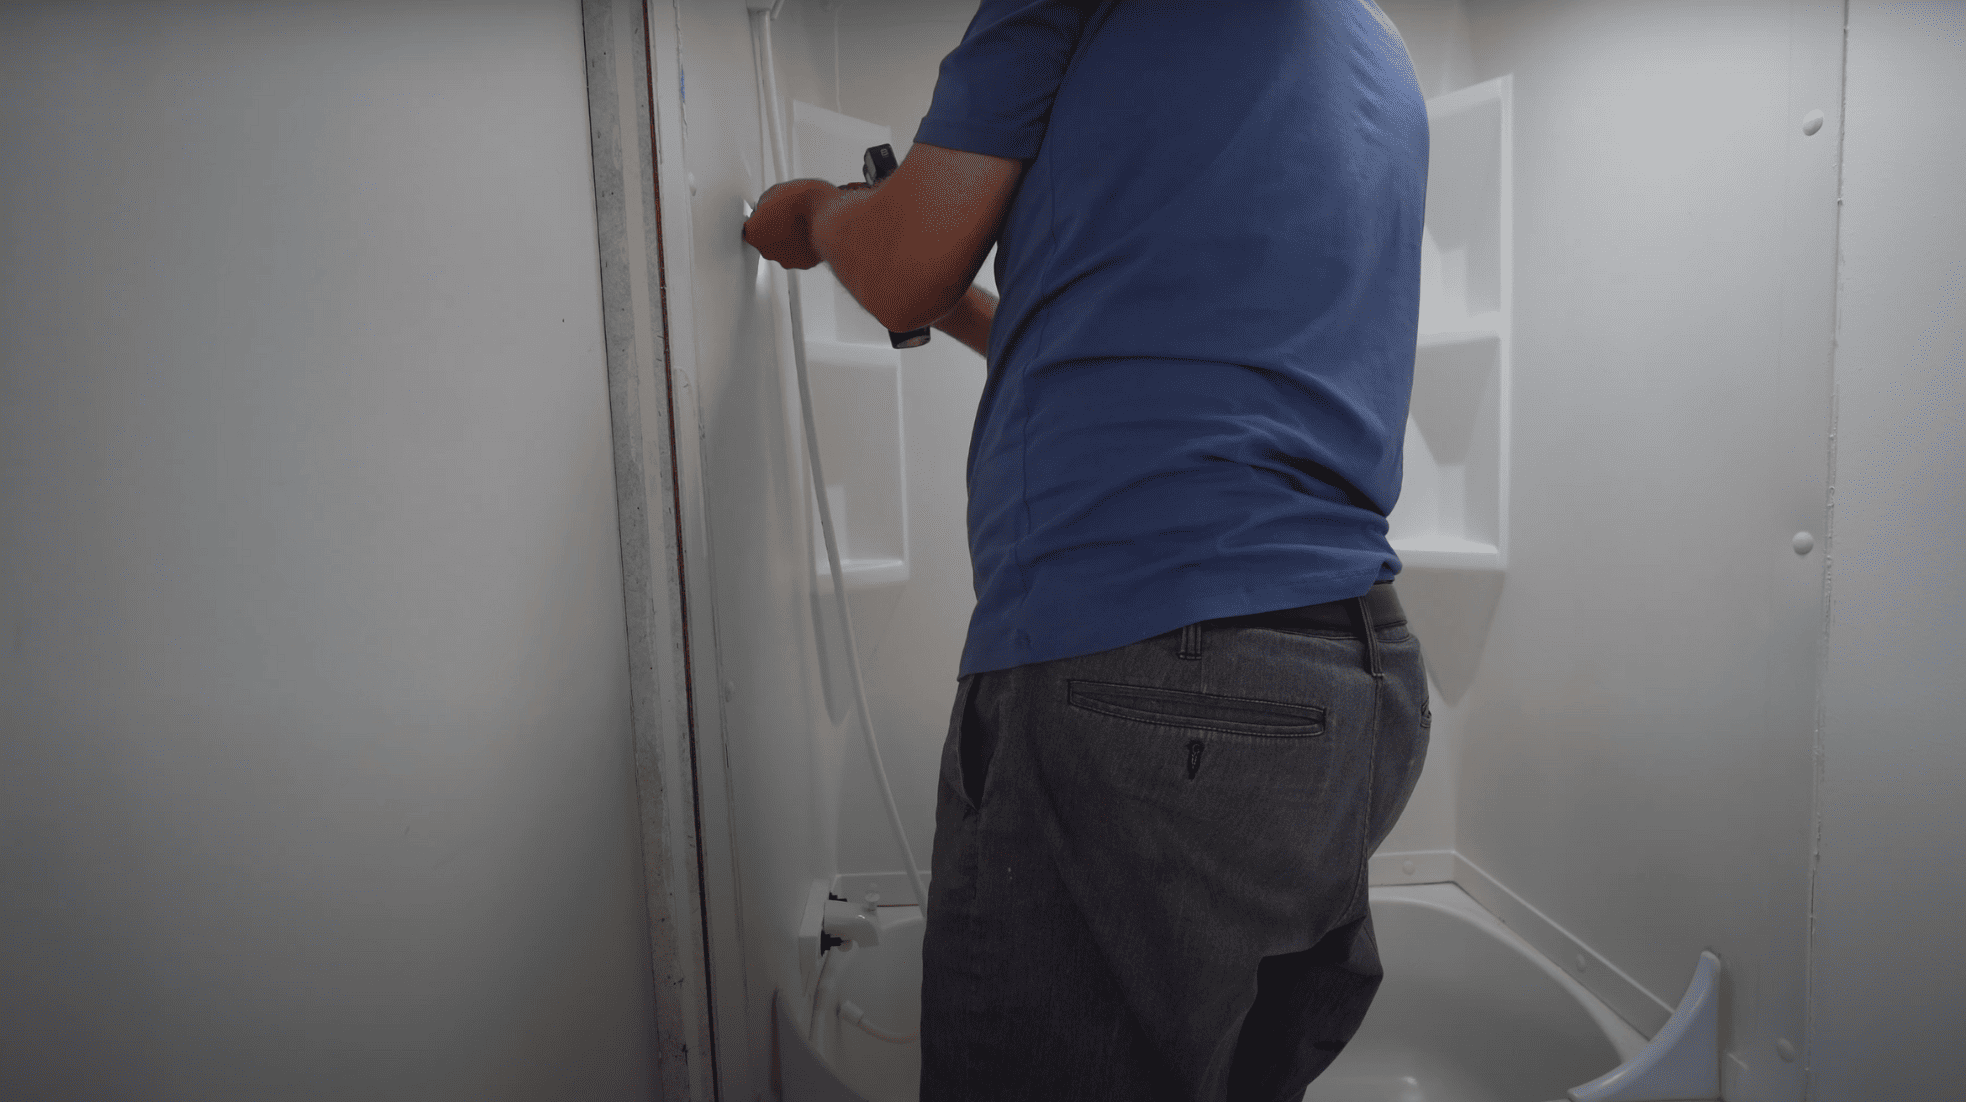
Getting rid of that old, damaged shower surround is messy work, but it’s essential for creating a clean foundation for your new tiles.
- Carefully remove the old fiberglass unit from shower area using proper tools.
- Scrape away any remaining adhesive or caulk from wall surfaces.
- Clean walls thoroughly and check for water damage or mold issues.
- Ensure surface is completely dry and smooth before proceeding to next step.
Pro Tip: Use a heat gun or hair dryer to soften stubborn adhesive – it comes off much easier when warm and saves your arms from all that scraping.
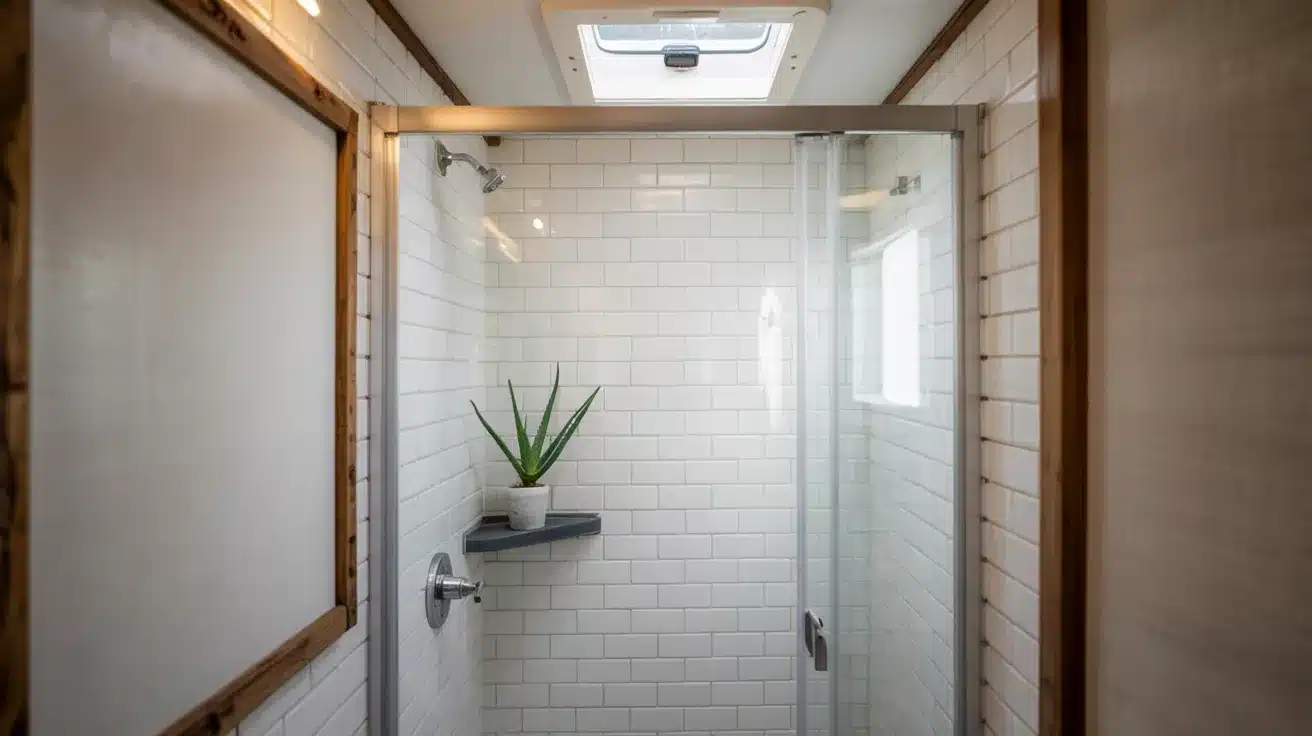
Step 5: Install Peel-and-Stick Tiles
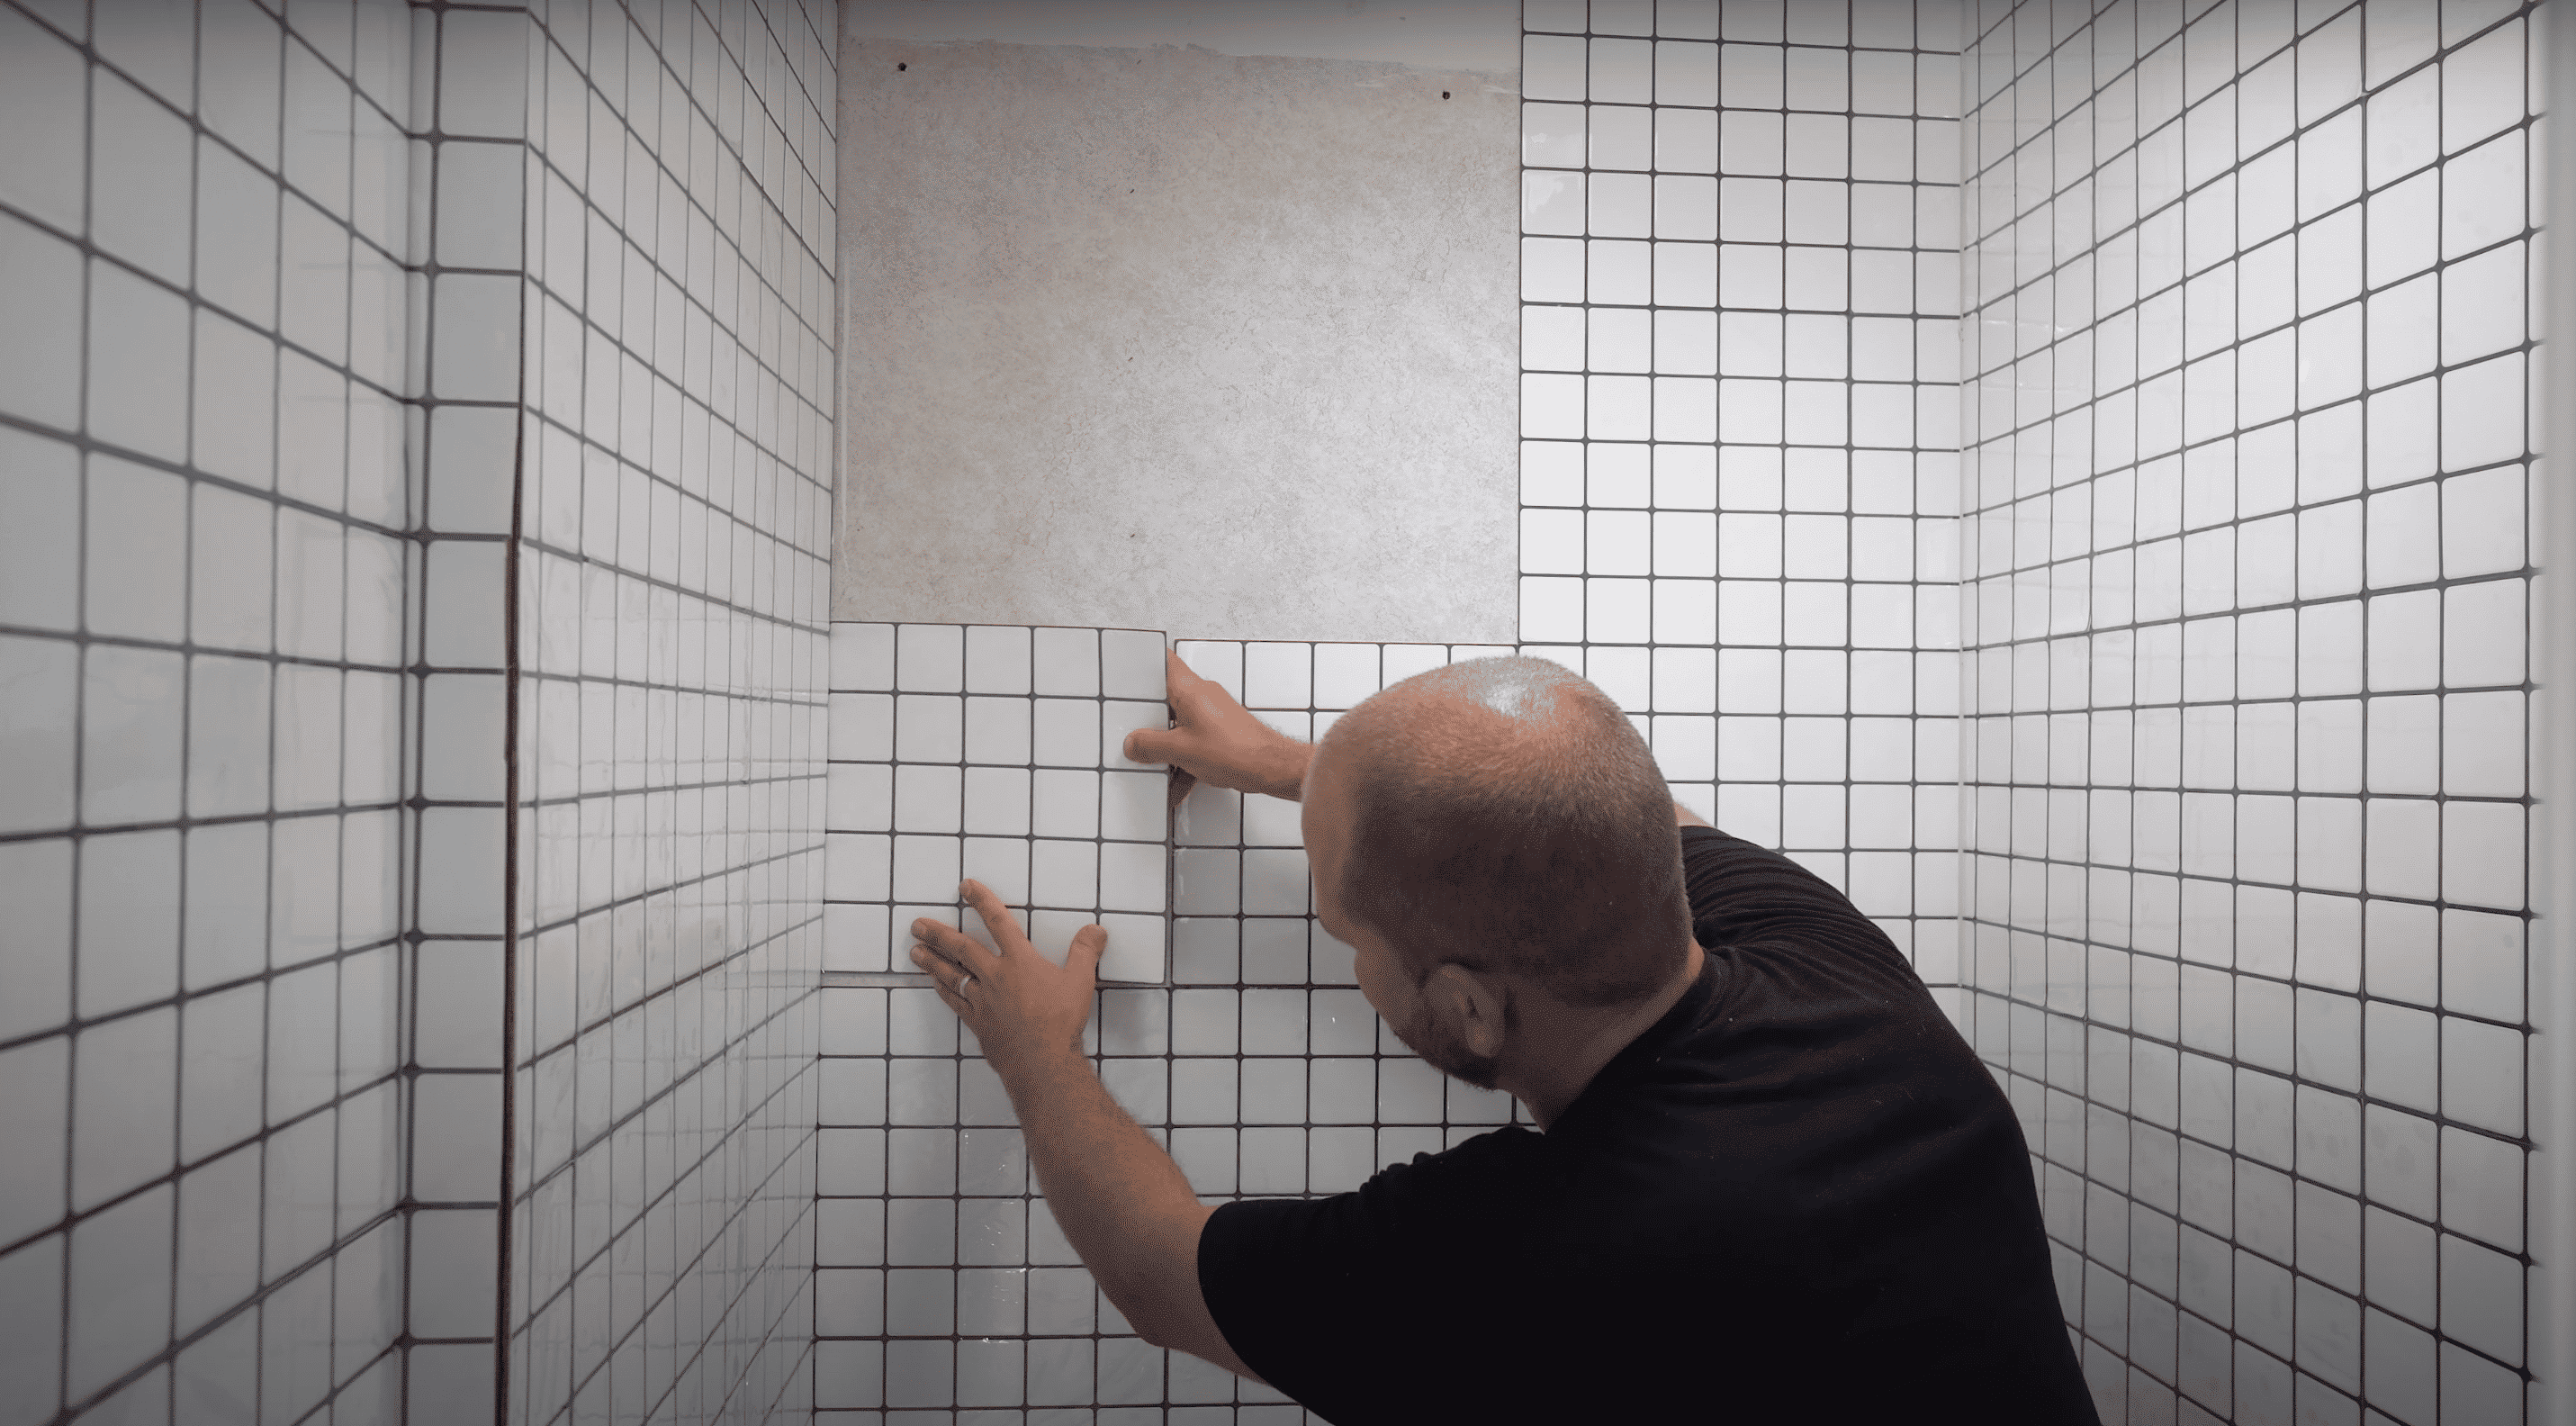
Peel-and-stick tiles are perfect for RV bathrooms – they’re lightweight, waterproof, and forgiving if you need to make adjustments during installation.
- Choose waterproof peel-and-stick tiles that match your RV’s style and color scheme.
- Start from bottom corner and work upward for best alignment and support.
- Cut tiles carefully to fit around corners, fixtures, and other tight spaces.
- Take time to align properly – you can readjust tiles if they don’t line up correctly.
Pro Tip: Warm the tiles with a hair dryer before applying – this makes the adhesive more flexible and helps them stick better, especially in cooler weather.
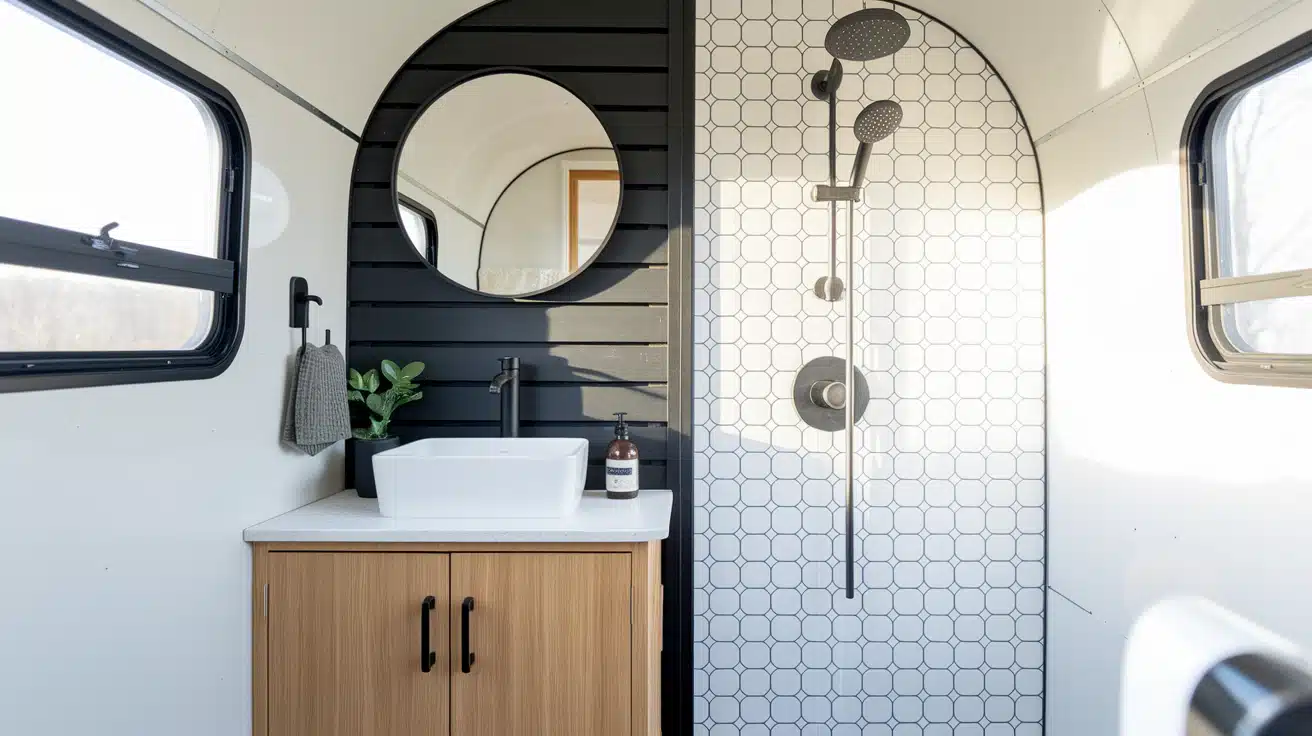
Step 6: Paint the Cabinet and Build Feature Wall
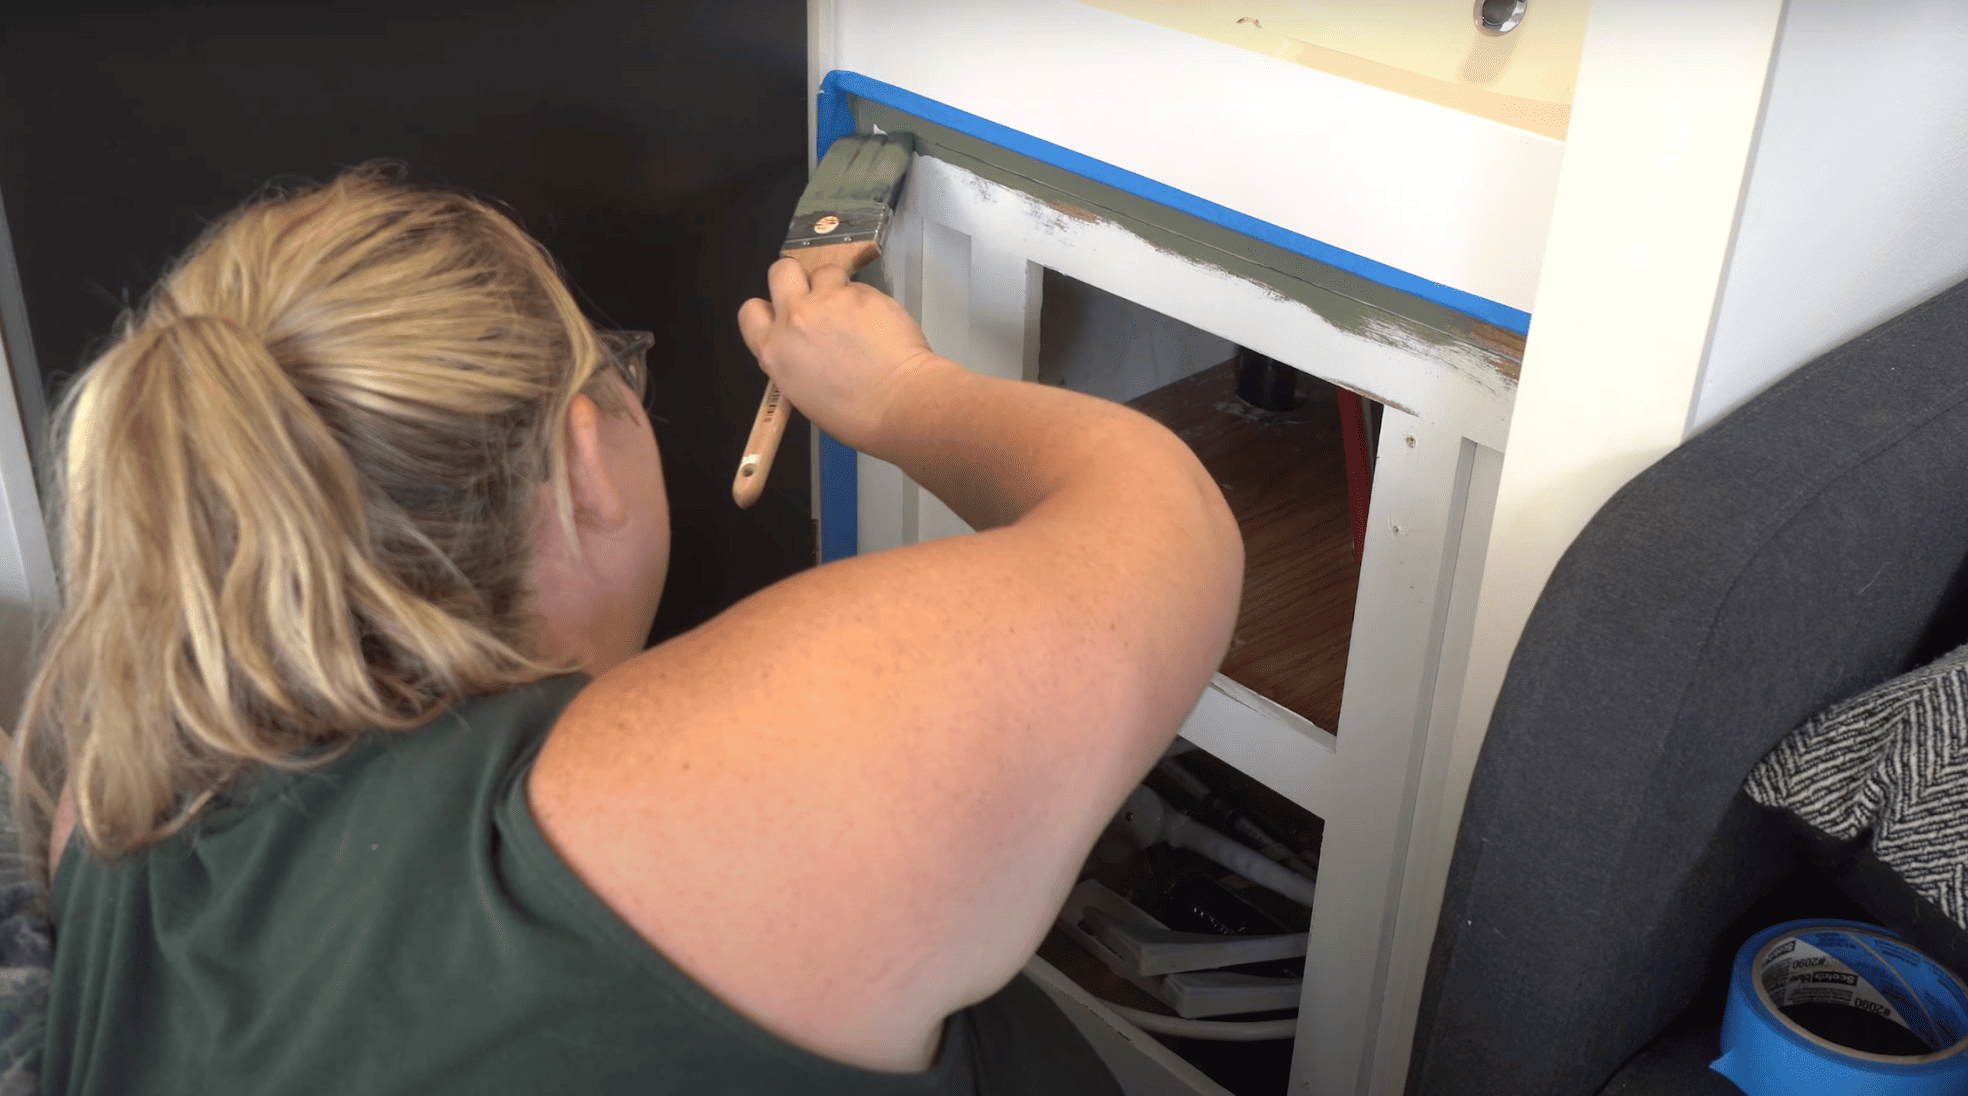
Adding fresh paint and a wooden accent wall brings personality and modern style to your bathroom while creating visual interest in the small space.
- Clean and prep the bathroom cabinet surface for painting.
- Apply chosen paint color to the cabinet with even coats.
- Paint the feature wall area with black base color.
- Cut and stain wooden slats to desired finish.
- Install slats evenly spaced across the painted wall.
Pro Tip: Use painter’s tape to mark your slat spacing before installation – this ensures perfectly even gaps and saves you from measuring each piece individually.
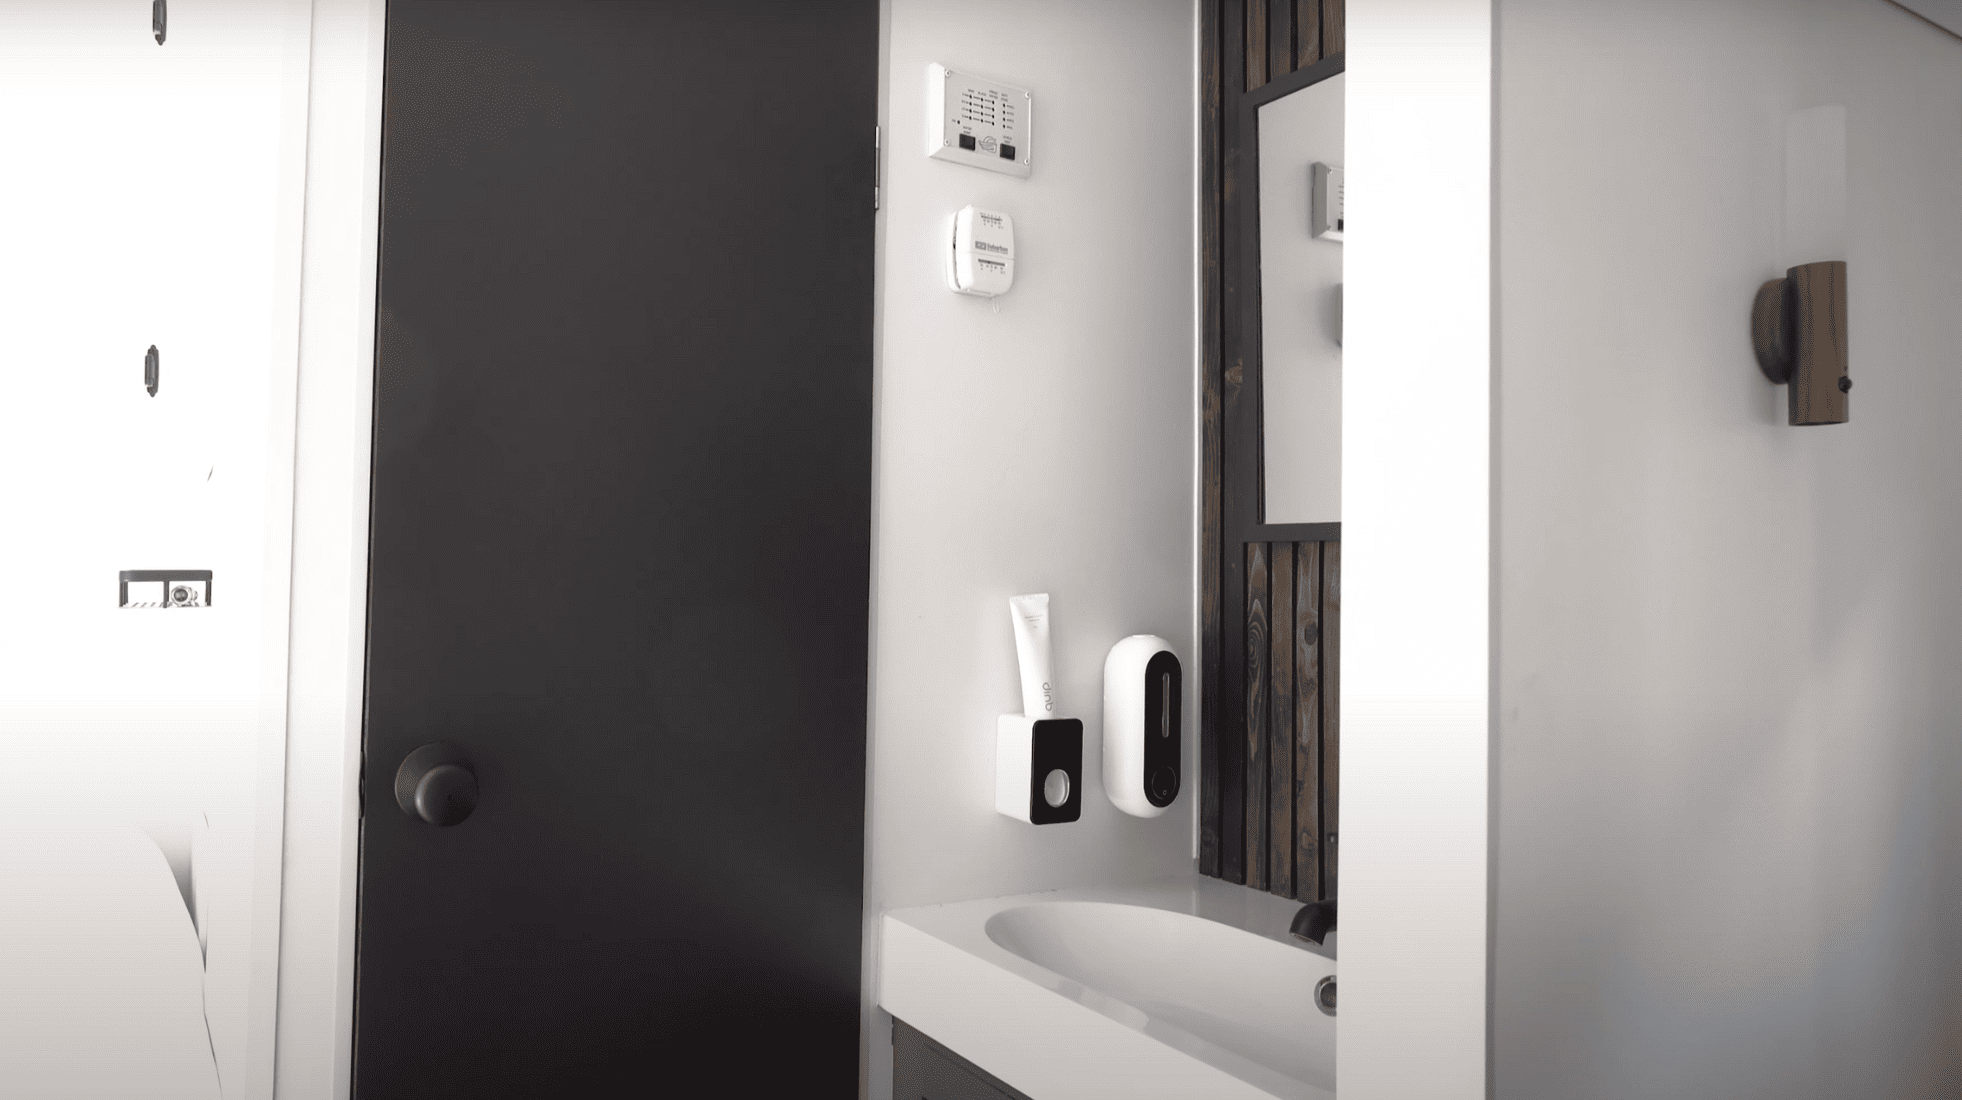
Step 7: Install Accessories and Final Touches
The finishing touches are what really make your bathroom renovation shine – these final details tie everything together and add both function and style.
- Install matte black fixtures like soap dispensers, shelves, and towel racks.
- Mount or frame the mirror to match your design scheme.
- Apply silicone sealant around edges to prevent water damage.
- Style with coordinating accessories and storage solutions.
- Do a final walkthrough to ensure everything is secure and finished.
Pro Tip: Wait 24 hours after your final silicone application before using the shower – patience here prevents having to redo any sealing work later.
Video Tutorial
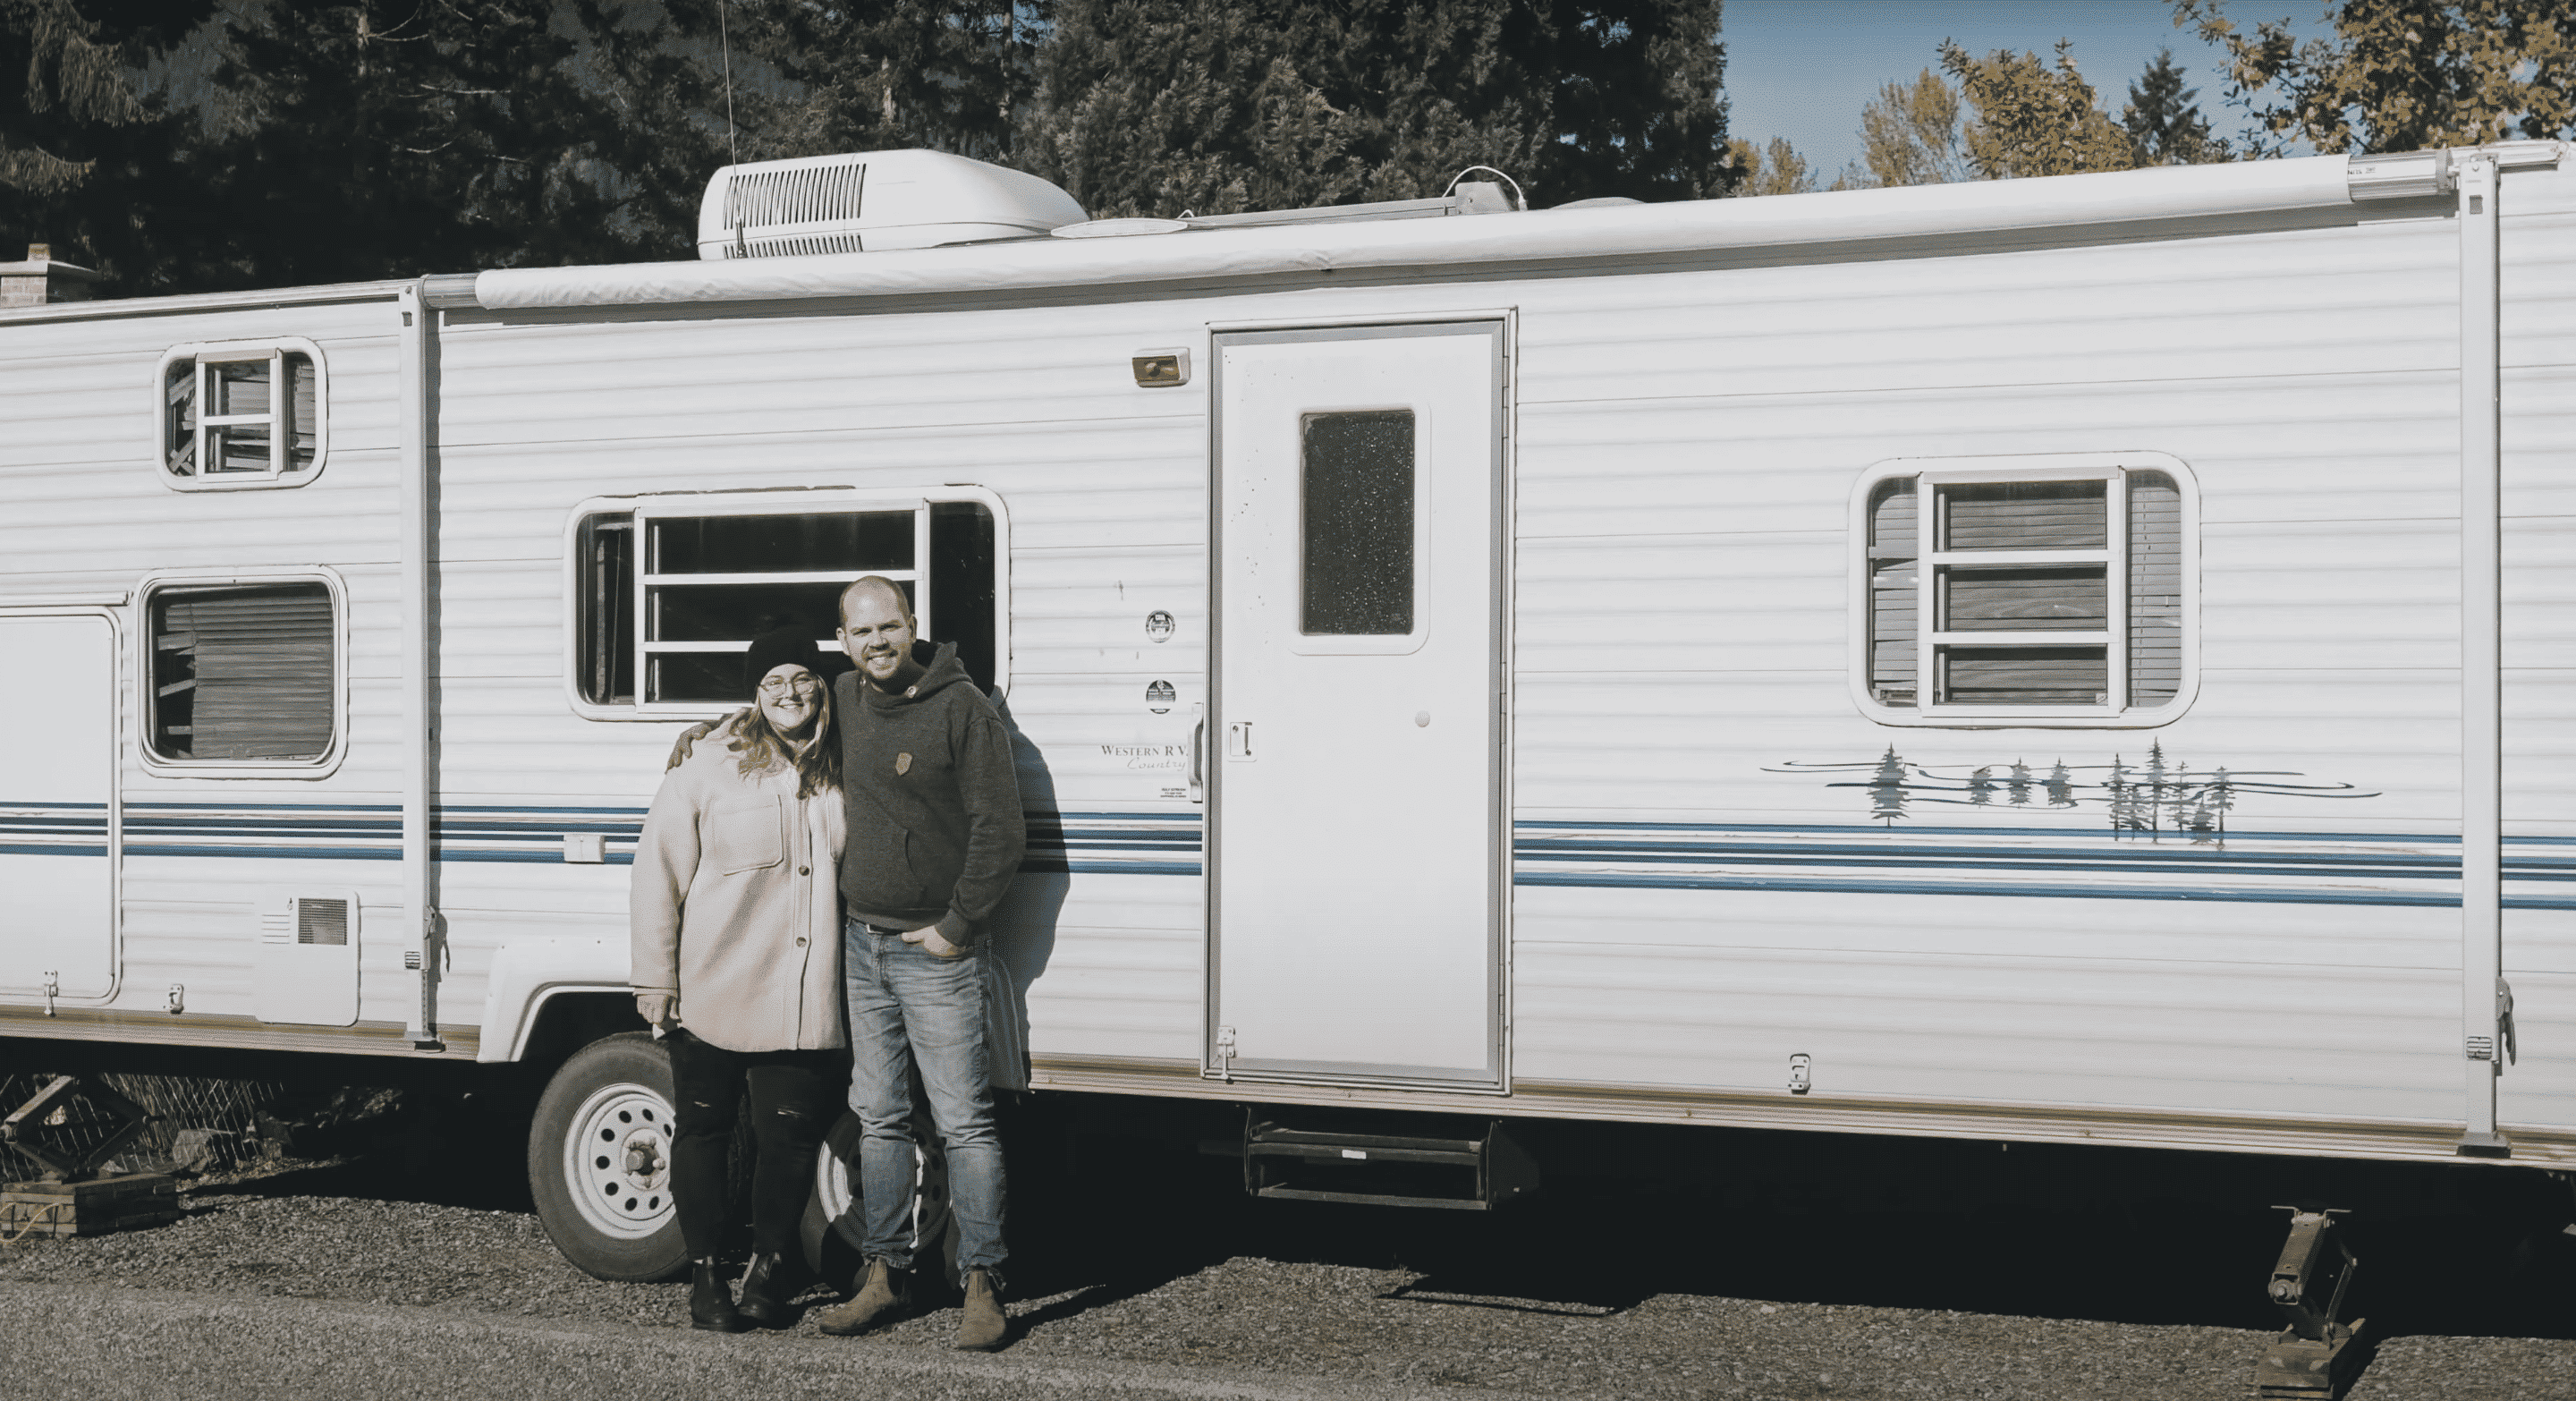
Special thanks to Lindi & Russfor providing valuable insights in their video, which I referenced while creating this guide.
Top 5 Ideas to Remodel Your Camper Bathroom
Ready to update your cramped RV bathroom without breaking the bank? These five practical renovation ideas will help you create a more functional and attractive space that maximizes every square inch of your travel trailer.
1. RV Shower Curtain to Glass Door Conversion
Replace your flimsy shower curtain with sleek glass doors for an instant upgrade.
Glass doors prevent water from splashing outside the shower area and are much easier to clean than fabric curtains.
This change gives your tiny bathroom a more upscale, spa-like appearance while improving functionality.
2. Medicine Cabinet Replacement with Built-in Storage
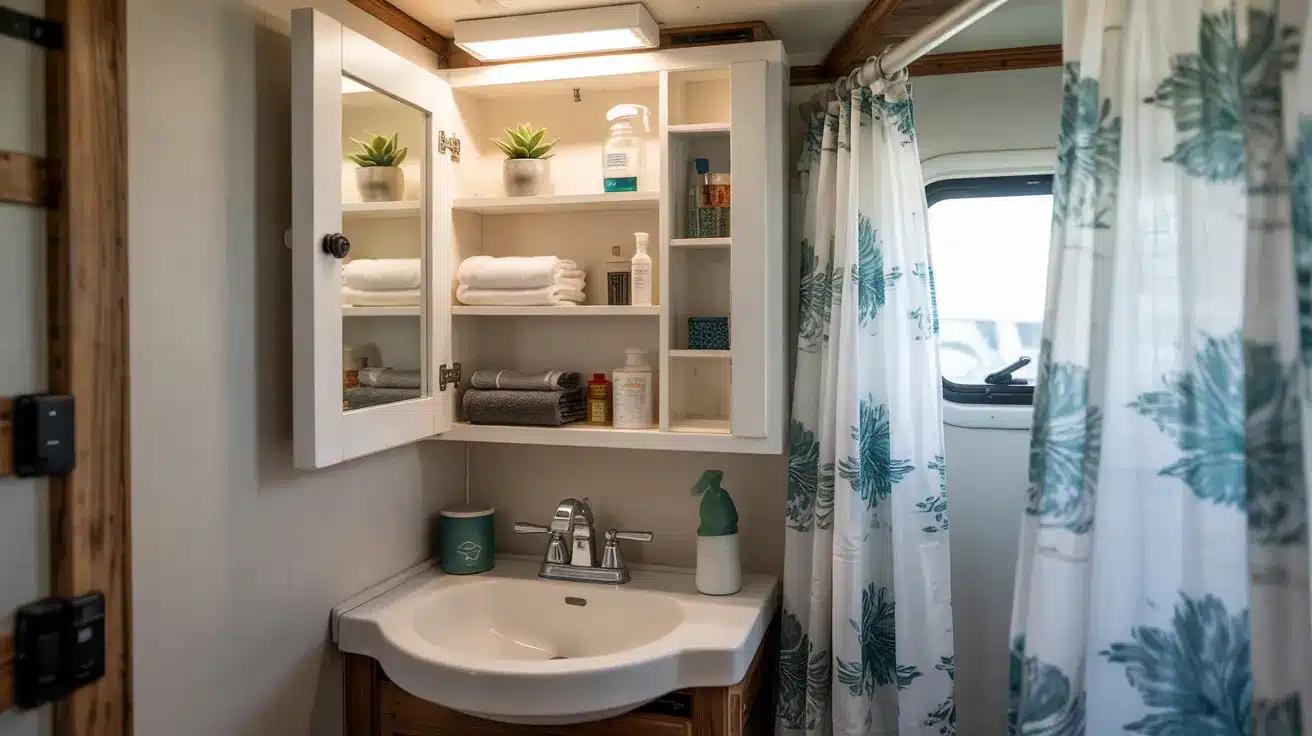
Swap out that old, cramped medicine cabinet for a modern version with better organization features.
New medicine cabinets come with adjustable shelves, better lighting, and more storage compartments for toiletries.
This simple replacement can double your bathroom storage space without taking up any additional room.
3. RV Toilet Upgrade to Porcelain Model
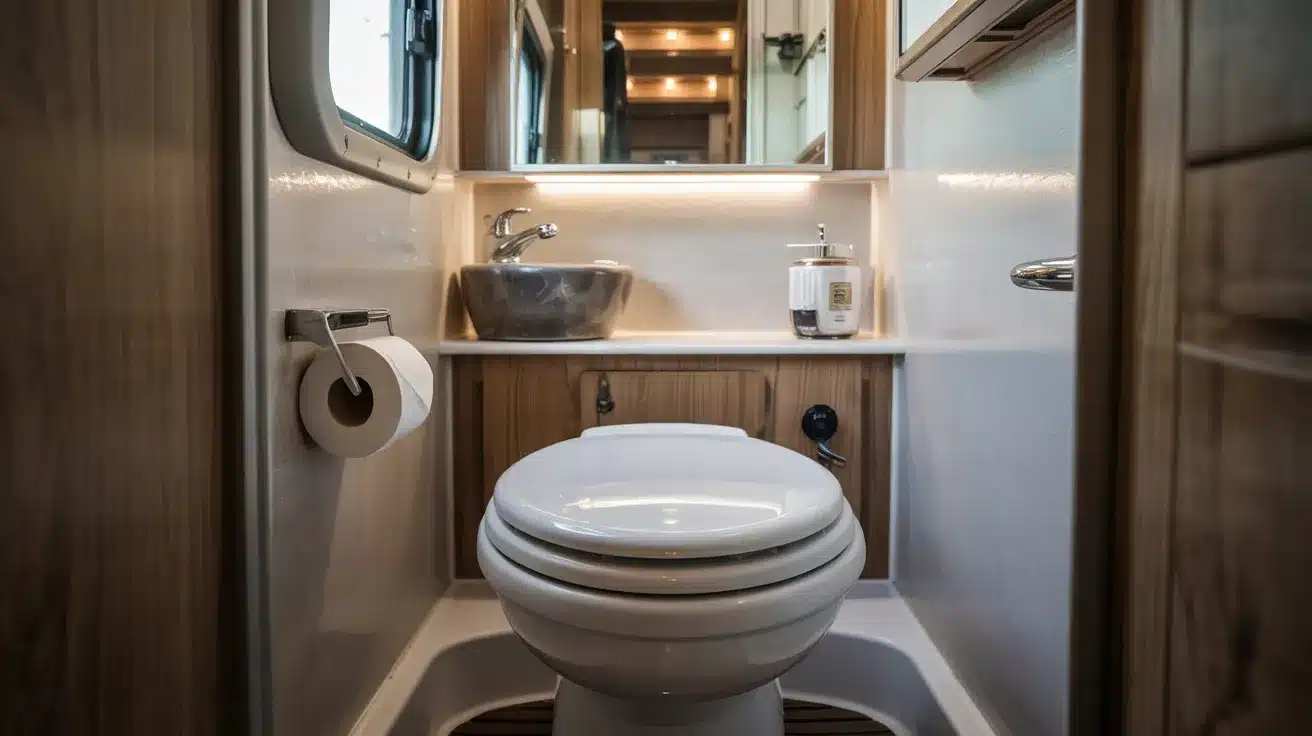
Replace your plastic RV toilet with a standard porcelain model for better comfort and durability.
Porcelain toilets are easier to clean, more comfortable to use, and look much better than typical RV toilets.
Just make sure your RV can handle the extra weight before making this upgrade.
4. Bathroom Exhaust Fan Installation
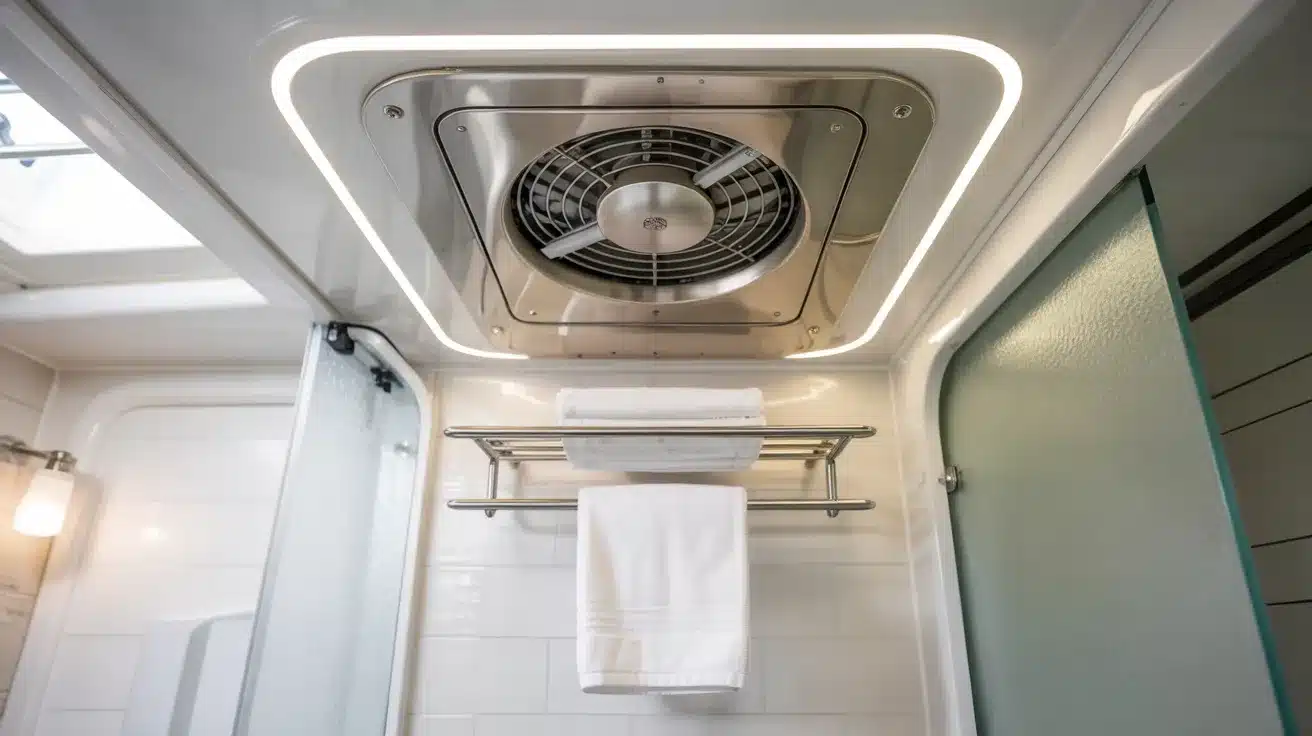
Install a proper exhaust fan to prevent mold and moisture buildup in your small bathroom space.
Good ventilation removes humid air quickly after showers and helps eliminate odors naturally.
A quality exhaust fan will protect your RV from water damage and keep the air fresh.
5. Corner Shower Caddy Installation
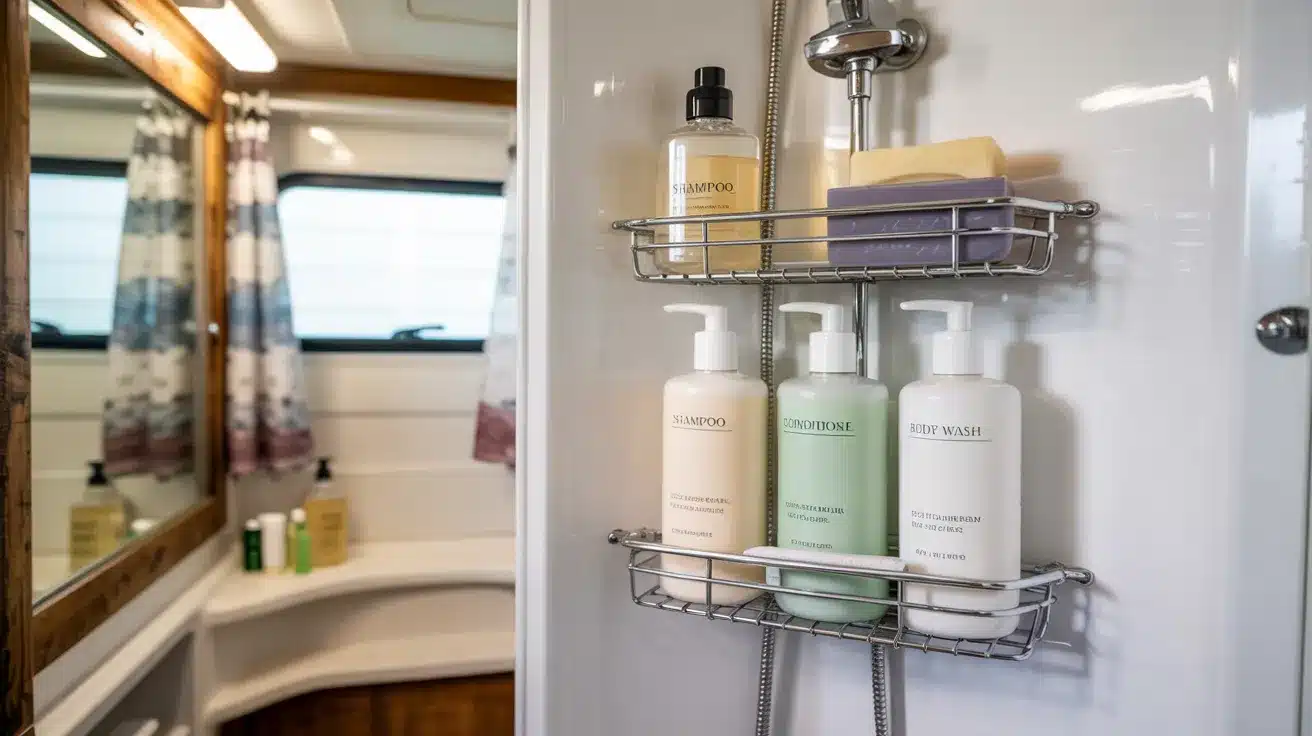
Add a built-in corner caddy to your shower for organized storage of shampoo, soap, and other bathing essentials.
These caddies fit perfectly in unused corner spaces and keep items secure while traveling down the road.
Choose models with drainage holes to prevent water buildup and soap scum formation.
Planning Your RV Bathroom Design Strategy
When working with a tiny RV bathroom, every decision matters. You need to balance function with style while making the most of your limited square footage.
Make Every Inch Count
- Choose fixtures that serve multiple purposes
- Pick items that fit your space scale, not full-sized home fixtures
- Focus on wall-mounted solutions to save floor space
Smart Storage Ideas
- Use corner shelves and over-toilet storage units
- Add magnetic strips for small items like tweezers and nail clippers
- Keep surfaces clear so the space doesn’t feel cramped
Style on a Budget
- Stick to clean lines and simple designs
- Use neutral colors with one accent color
- Match all fixtures for a polished look
Connect with Your RV
- Choose colors that flow with the rest of your camper
- Use similar materials throughout for a unified feel
- Think lightweight to stay within weight limits
Conclusion
Looking back at this guide, you now have all the tools needed to tackle your camper bathroom renovation with confidence.
From planning and removing old fixtures to installing modern upgrades and adding those final touches, each step builds toward creating a space you’ll actually enjoy using.
Remember, RV renovations require patience and flexibility – not every wall is perfectly straight, and that’s okay. The key is working with your space’s quirks rather than fighting them.
Your compact bathroom might be small, but with smart planning and the right materials, it can feel both spacious and stylish.
Ready to get started? Take those “before” photos, gather your materials, and tackle this project one step at a time.
Your future self will thank you every time you step into your newly renovated bathroom. What’s stopping you from beginning today?