
I’ve watched countless DIY enthusiasts struggle with traditional concrete mixing, wasting hours and materials on projects that should be simple.
What if I told you there’s a method where you can skip the messy pre-mixing stage entirely? The dry concrete method lets you pour dry ingredients first and add water later it sounds too good to be true, but it’s real.
This technique can save you time on small projects like fence posts or tool shed foundations. You’ll learn exactly when to use it, what tools you need, and most importantly, when to avoid it completely.
I’ll walk you through every step of this process, from mixing dry ingredients to final curing. By the end, you’ll know whether dry concrete is right for your next project and how to do it safely.
What Is the Dry Concrete Method?
The Dry Concrete Method is a construction technique where dry concrete ingredients are placed first, and water is added afterward.
This approach differs from traditional concrete mixing, where all materials, including water, are combined and then placed.
Dry concrete is defined as the fresh mixture of concrete having no flowability with a very small slump value.
It is a hardened mixture mixed with essentially the same raw materials (cement, aggregate, and supplementary cementitious material) but with lower water content than conventional concrete.
The dry blend is transported to the residential or commercial construction site in bags or bulk, such as in a cement truck or a silo.
Once the dry mix arrives at the site, it is poured into the designated area where the concrete is needed.
After the dry mix is in place, water is added to activate the cement and initiate the chemical reaction that leads to hydration.
This method offers faster construction times and reduced labor costs for specific applications.
Key Features
- Lower water content than regular concrete mixes
- No flowability during the initial placement stage
- Fast hardening speed and high early strength development
- Quick construction process with immediate demoulding capability
- Cost-effective for certain project types
- Limited applications – best suited for small, non-load-bearing structures
However, experts caution that this method has significant limitations and should be avoided for structural applications that require long-term durability.
Step-by-Step Breakdown of The Dry Concrete Method
The dry concrete method involves four main stages: mixing dry ingredients, placing them in forms, adding water, and compacting for setting. Each step requires specific safety measures to ensure worker protection and project success.
Materials
| Material | Purpose |
|---|---|
| Portland Cement | Primary binding agent |
| Sand & Gravel | Aggregate for structure |
| Water | Activates cement hydration |
| Formwork | Contains concrete during setting |
| Release Agent | Prevents sticking to forms |
Tools
| Tool | Function |
|---|---|
| Mixer | Blends dry ingredients |
| Screed | Levels concrete surface |
| Steel Rake | Spreads dry mix evenly |
| Hose/Sprayer | Applies water uniformly |
| Trowel | Finishes surface |
| Wheelbarrow | Transports materials |
| Level | Check grade accuracy |
| Tamper | Compacts concrete |
| Safety Gear | Protects workers |
| Plastic Sheet | Covers during curing |
1. Mixing Dry Ingredients Off-Site or On-Site
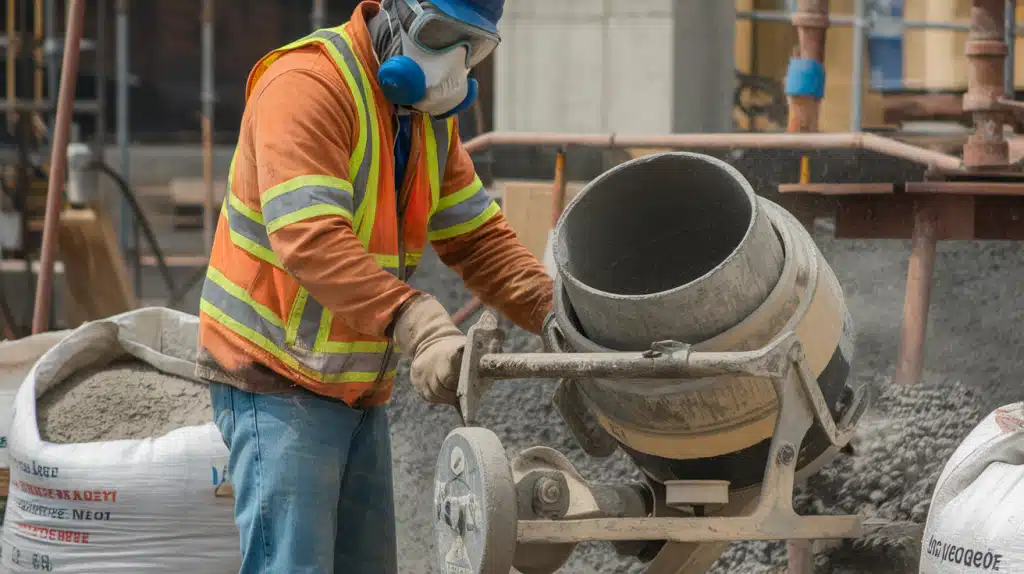
The raw materials (cement, aggregate, and supplementary cementitious material) are carefully measured and combined according to specific ratios.
This process can happen at a batching plant or directly at the construction site using portable mixers. The dry components must be thoroughly blended to ensure uniform distribution before transport or placement.
Quality control during this stage is crucial for achieving the final concrete performance.
Safety Tip: Always wear protective equipment including dust masks, safety goggles, and gloves when handling dry cement materials. Ensure proper ventilation in enclosed mixing areas to prevent inhalation of fine particles that can cause respiratory issues.
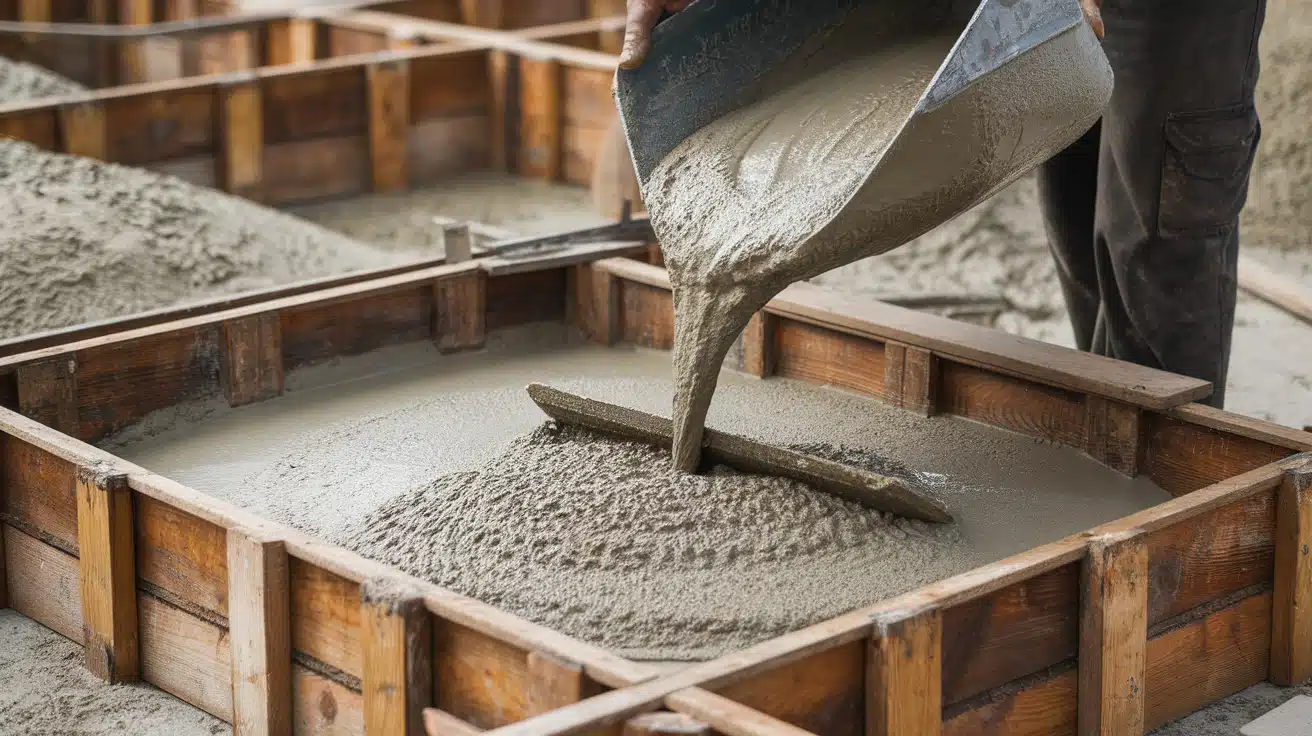
2. Placement Into Formwork or Target Area
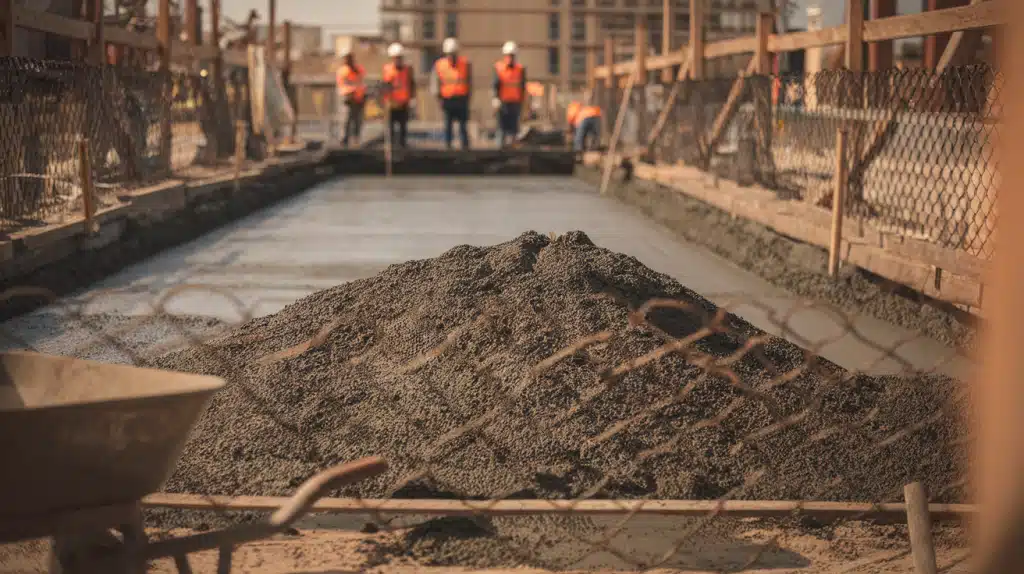
Once the dry mix arrives at the site, it is poured into the designated area where the concrete is needed. This can serve as formwork for a slab, a mold for a precast element, or any other suitable structure.
The dry mixture is spread evenly using rakes or screeds to achieve the desired thickness and level. Proper placement ensures uniform coverage and prevents weak spots in the final product.
Safety Tip: Check that formwork is properly secured and can handle the weight of dry materials. Keep walkways clear of loose concrete mix to prevent slips and falls. Use proper lifting techniques when moving heavy bags to avoid back strain.
3. Application of Water (Manually or Mechanically)
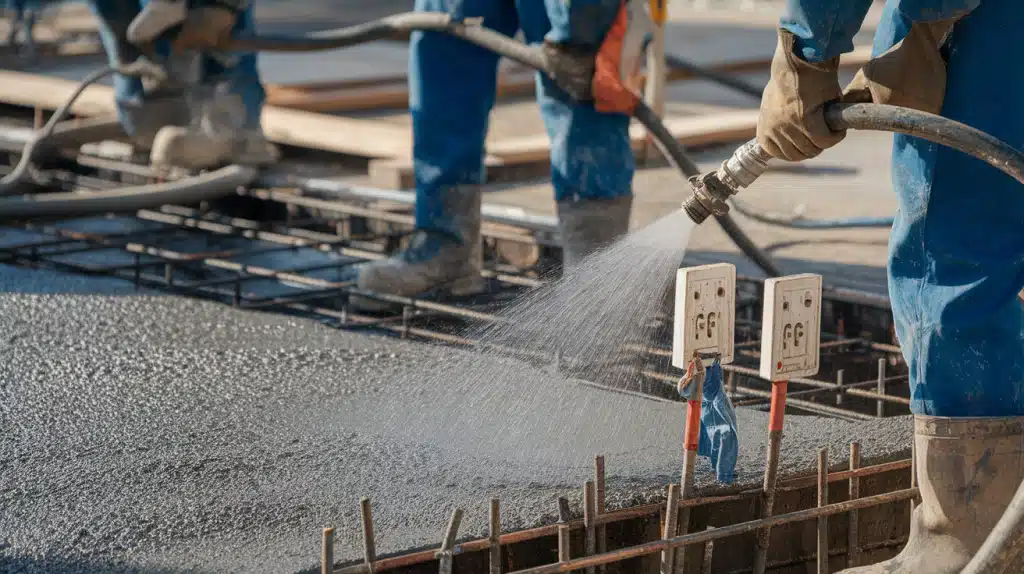
After the dry mix is in place, water is added to activate the cement and initiate the chemical reaction that leads to hydration. The water is typically added using a hose or sprayer and distributed evenly throughout the dry mix.
The water application must be gradual and systematic to ensure complete penetration through all layers. This process requires careful monitoring to achieve proper moisture levels throughout the concrete mass.
Safety Tip: Use clean, potable water only and avoid over-watering, which can weaken the concrete. Keep electrical equipment away from wet areas and use ground fault circuit interrupters (GFCI) for any electrical tools near water sources.
4. Compaction and Setting
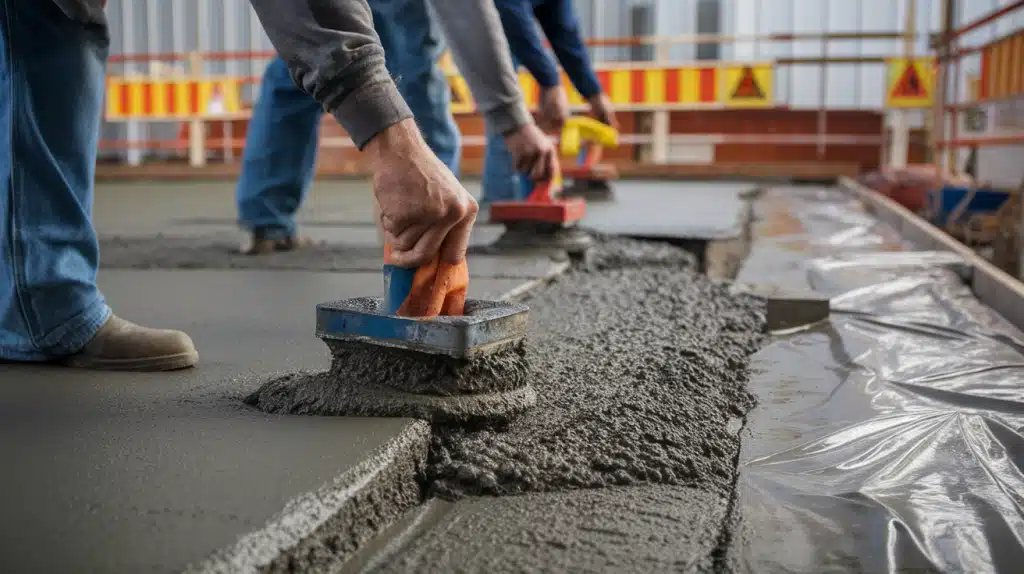
The dry blend is mixed and compressed using various techniques once the water is added. This can involve manual mixing with shovels or mechanical mixing with concrete mixers or pumps.
The goal is to achieve a homogeneous mixture with proper workability. Following compaction, the concrete begins its setting process and must be protected from rapid moisture loss. Proper curing practices ensure strength development over time.
Safety Tip: Allow adequate curing time before applying any loads – typically 24-48 hours minimum. Cover the surface with plastic sheeting or curing compounds to prevent rapid drying and cracking. Mark the area clearly to prevent accidental traffic during the setting period.
Applications of the Dry Concrete Method
1. Small Non-Load Bearing Slabs- Some may use it for small slabs that don’t bear much weight, like the entrance to a tool shed or storage areas where structural integrity is not critical.
2. Fence Post Installation- Although dry pouring of concrete might be fine for filling fence-post holes, this remains one of the most accepted applications for this method.
3. Roller-Compacted Concrete (RCC)- RCC is generally applied to engineering areas of dams and pavements where heavy compaction equipment creates dense, durable surfaces.
4. Precast Concrete Elements- DCC mechanical consolidation and vibration are greatly required to cast the prefabricated elements like pipes, segmental retaining walls, and concrete masonry units
5. Temporary Construction Bases- Used for creating temporary work platforms, equipment pads, or construction access roads where permanent strength is not required.
6. Agricultural Building Floors- Applied in farm structures like barns or equipment storage, where high structural performance is less critical than cost-effectiveness.
Dry Concrete vs. Wet Concrete A Comparative Table
Dry concrete is added water after placement, while wet concrete pre-mixes all its ingredients. The dry method offers speed for limited applications.
| Feature | Dry Concrete | Wet Concrete |
|---|---|---|
| Water Usage | Lower water content as compared to conventional concrete | Higher water content mixed beforehand |
| Setup Time | Faster curing times, which are crucial for projects with tight deadlines | Longer setup due to pre-mixing requirements |
| Strength Control | Limited control, uneven hydration is possible | Better strength and durability with uniform mixing |
| Equipment Requirement | Fairly simple: Trowel, Mixer, Formwork | Requires concrete mixers, pumps, and transport trucks |
| Cost Implications | Fast and cheap initially, but higher maintenance costs | Higher upfront costs but better long-term value |
| Ideal Use Cases | Fine for filling fence-post holes and small non-structural slabs | All structural applications, driveways, and foundations |
Wet pour concrete tends to have better strength and durability for most projects. Dry pouring should be avoided for slabs requiring long-term durability.
Conclusion
The dry concrete method can be a practical solution for specific small-scale projects, but it’s not a magic fix for all concrete needs.
I’ve shown you the complete process from mixing to curing, along with the critical safety steps that protect both you and your project.
Remember, this technique is most effective for fence posts and small, non-structural slabs. For any project requiring long-term strength, such as driveways or foundations, opt for traditional wet concrete methods.
Before starting your next project, honestly assess whether dry concrete meets your specific needs. The time you save upfront might cost you more later if the application isn’t right.
What’s your next concrete project? Start with the right method, and you’ll save yourself both time and headaches in the long run.