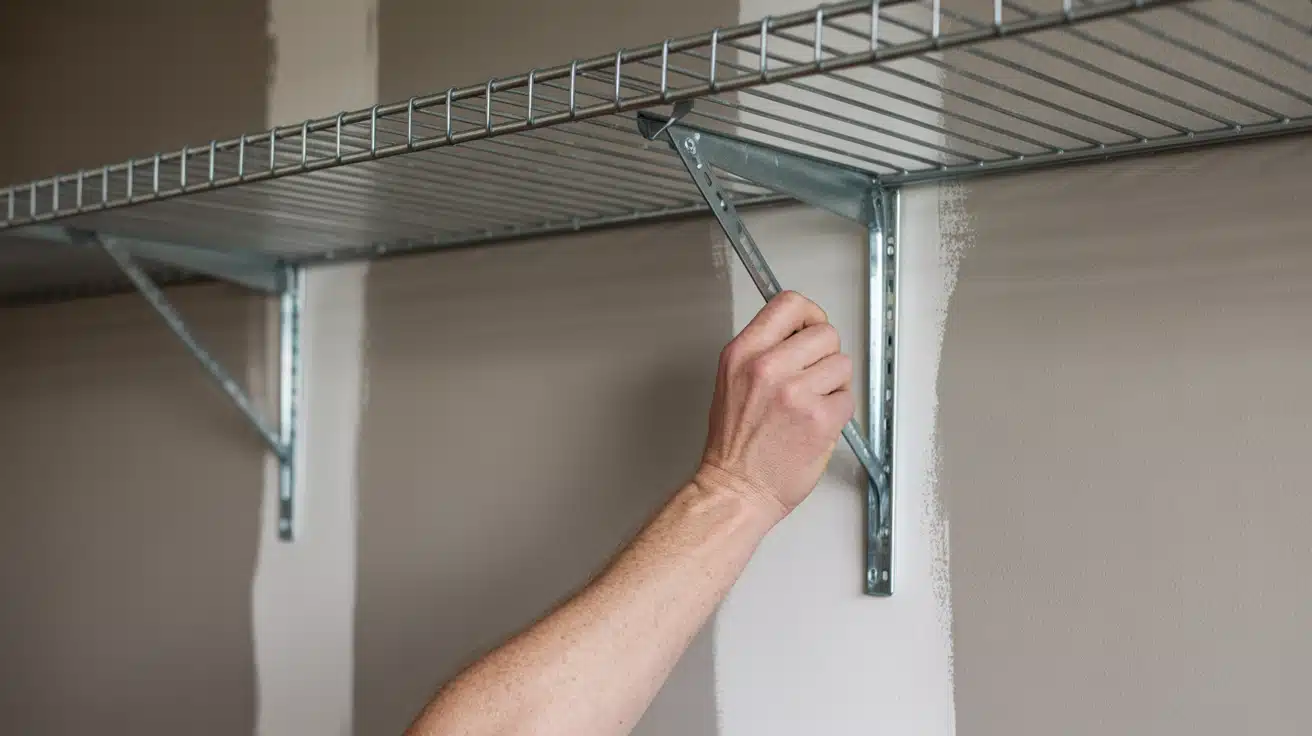

Are you tired of looking at those cheap wire shelves that came with your home?
Wire shelving might seem permanent, but removing it is easier than most homeowners think. You don’t need special skills or expensive tools to take down these metal storage systems.
The good news is that you can remove wire shelving yourself without creating huge holes in your walls or hiring a contractor. With the right technique and basic tools, you can have those shelves down in 30 minutes or less.
This guide covers everything you need to know about how to remove wire shelving safely and efficiently.
You’ll learn which tools work best, step-by-step removal techniques that minimize wall damage, and how to patch any holes afterward.
Plus, we’ll share pro tips that keep repair work to a minimum and explore your best replacement options.
How to Remove Wire Shelving Without Damaging Your Walls?
Now that you know when and why to remove wire shelving, let’s move on to the practical steps. First, you’ll need to gather the right tools for the job.
Tools and Materials You’ll Need:
| Tool/Material | Purpose |
|---|---|
| Needle-nose pliers | Grip and pull out small nails |
| Flat-head screwdriver | Pry the brackets off the wall |
| Safety glasses | Protect your eyes from debris |
| Work gloves | Protect hands from sharp edges |
| Small container or bag | Hold nails and small parts |
| Vacuum or broom | Clean up dust and debris |
| Ladder or step stool | Reach higher shelves |
| Small flashlight | Improve visibility in dark areas |
| Putty knife | Patch holes post-removal |
Step 1: Remove Support Brackets First
Start with the support brackets underneath the shelving. These small metal pieces hold the wire rack in place and must come out first.
Grip the nails in each support bracket with your needle-nose pliers and pull them straight out, they usually come out easily.
Push up on each bracket after removing its nail. The brackets should pop right out of the wall now that the nail isn’t holding them expanded. You’ll see small holes where they were attached.
Step 2: Work on Bottom Hook Brackets
Most wire shelving systems have two sets of hooks – top and bottom. The bottom hooks prevent the shelf from being lifted off the wall.
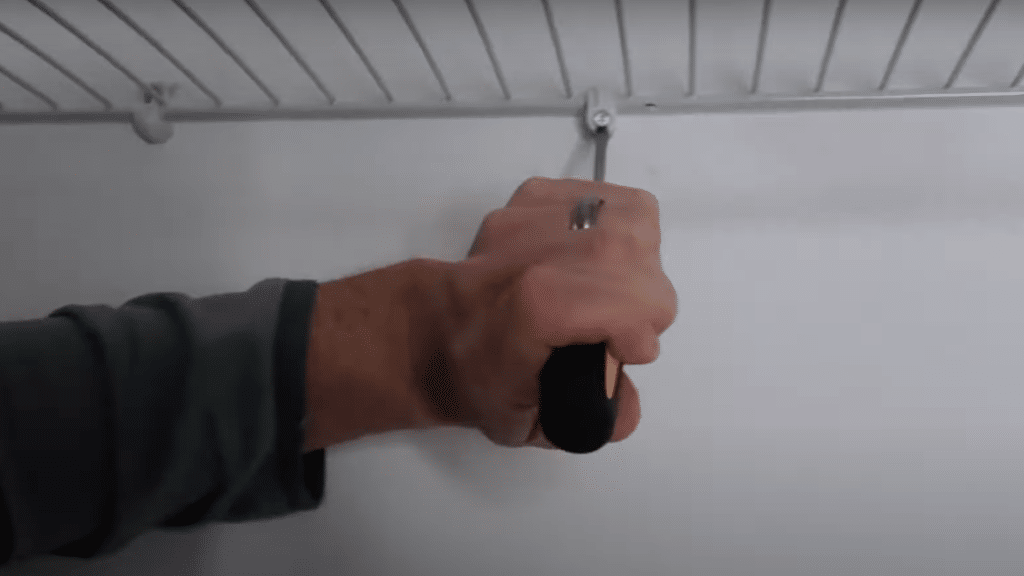
Use your flat screwdriver to pry underneath each bottom hook bracket. You only need to lift it slightly – just enough to access the nail inside.
Pull out the bottom hook nails with your needle-nose pliers once you can reach them. Remove all the nails from the bottom hooks, then work the brackets out of the wall with your pliers. Pull straight out to minimize the hole size.
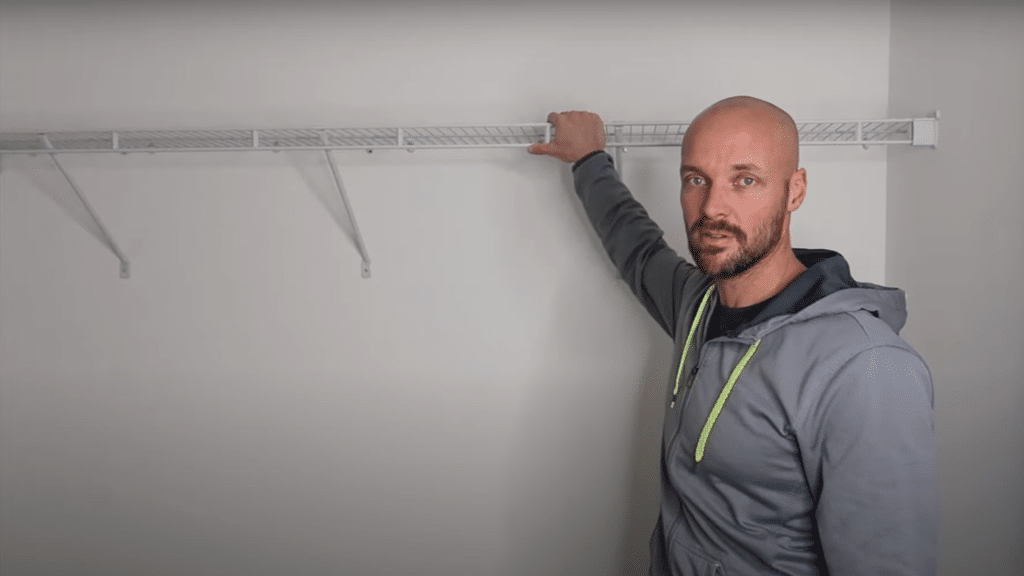
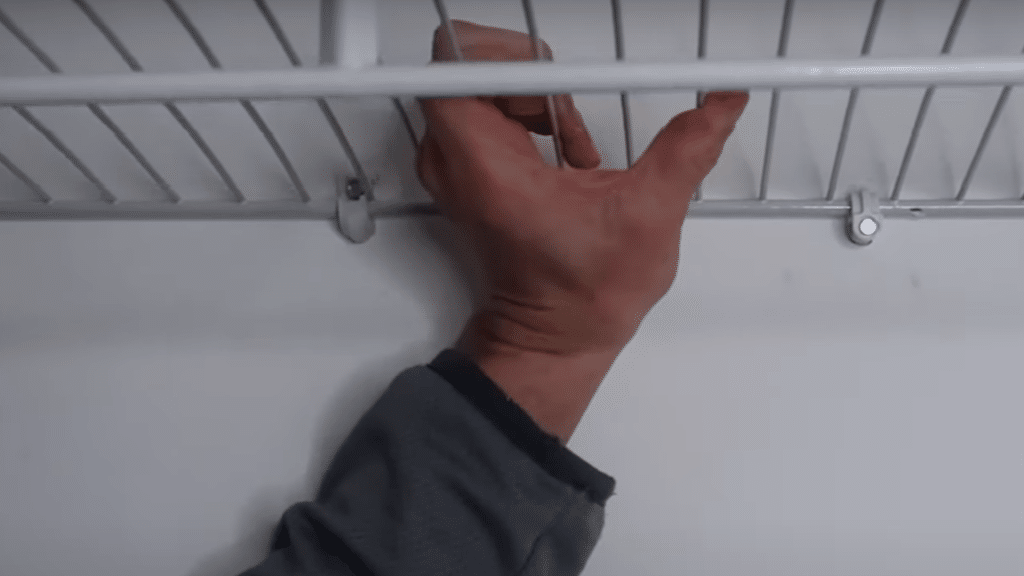
Step 3: Remove the Wire Shelf and Top Hook Brackets
Lift off the wire shelf once all bottom supports are removed. The shelf should now snap out of the top hooks easily. Pull it down and set it aside.
Now, remove the top hook brackets using the same method as the bottom ones. Pry slightly with your screwdriver, then pull the nails with pliers.
Work out the top brackets carefully since these often create the largest holes. Take your time and pull straight out to keep holes as small as possible.
Step 4: Handle Side Wall Brackets and Final Cleanup

Handle the side wall brackets last. These sit in wedge-shaped holders and usually come out easier than the others. Use the same prying and nail removal technique.
Clean up any debris as you work. Small pieces of drywall or metal can fall during removal, so keep your work area tidy. Check that all brackets and nails have been removed completely.
Video Tutorial
I’d like to give credit to L J for their informative video, which served as a reference for this guide.
How to Patch Walls After Removing Wire Shelving?
After removing all the wire shelving brackets, you’ll be left with small holes in your wall. These holes are much smaller thanks to the nail-removal technique we just covered.
Start by gathering the following materials: spackling compound, a putty knife, fine-grit sandpaper, and primer. Clean each hole with a vacuum, then apply spackling compound with your putty knife, overfilling slightly since it shrinks when dry.
Let it dry for 2-4 hours, then sand smooth until flush with the wall. Apply a second coat if needed, then prime and paint to match your existing wall color.
Pro Tips to Minimize Wall Damage
- Always remove nails first: Pulling brackets with nails still attached creates holes twice as large.
- Use needle-nose pliers for a better grip: Regular pliers can slip and damage the surrounding drywall.
- Pry brackets just enough to reach nails: Over-prying can crack or chip the wall surface.
- Support the wall while pulling: Place your free hand against the wall to prevent flexing.
- Use proper lighting: Good visibility helps you see exactly where the nails are located.
What to Use Instead of Wire Shelving?
Once you’ve removed your wire shelving, you have several replacement options available. Each solution offers distinct benefits tailored to your specific space, budget, and storage requirements.
| Option | Best For | Key Benefits |
|---|---|---|
| Wood Shelving | Living areas | Sturdy, stylish, versatile |
| Custom Closet Systems | Bedrooms, closets | Space-saving, modular, tailored fit |
| Built-in Cabinets | Pantries, laundry rooms | Seamless, hides clutter, adds value |
| Adjustable Shelving Tracks | Flexible storage needs | Reconfigurable, kid-friendly |
| Floating Shelves | Modern decor | Minimalist, great for light items |
| Cabinet & Drawer Combos | Small kitchens | Mixed storage, neat appearance |
| Professional Organizers | Unique spaces | Expert help, custom solutions |
Conclusion
Removing wire shelving doesn’t have to be a difficult or messy job when you follow the right steps. The key is always pulling out those nails first – this simple technique prevents large holes and saves you hours of patching work later.
Remember to use needle-nose pliers for nail removal. Work slowly to avoid wall damage, and always pull brackets straight out rather than at an angle. These small details make a huge difference in your final results.
What’s your next move? Now that you know how to remove wire shelving properly, you can start planning your upgrade. Whether you choose wood shelves, custom closet systems, or built-in storage, you’ll have clean walls ready for installation.
Ready to get started? Gather your tools and tackle this project this weekend. Your updated storage solution is just a few steps away, and you’ll feel great about doing it yourself.