

Do you have old sweatshirts lying around? You know, the ones you never wear because they look too basic? I was in the same boat last winter. My closet had five plain sweatshirts I hadn’t touched in months.
What if I told you those boring tops could become your favorite pieces? Most people think they need special skills to fix up clothes. They don’t.
With a few simple tricks, your old sweatshirt can be transformed into something fresh and new—no fancy tools or art skills needed.
Want to know how people turn $10 sweatshirts into pieces that look like they cost $100? The secret isn’t buying expensive items. It’s about making small changes that create big results.
Step-by-Step Guide to Sewing Your DIY Sweatshirt
Follow these simple steps to create a custom sweatshirt that fits perfectly and showcases your style.
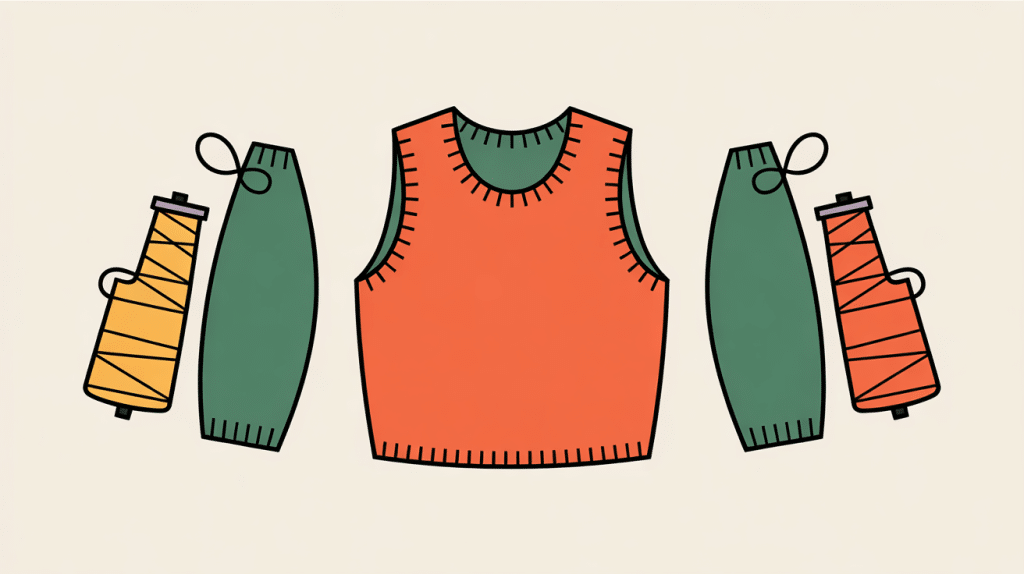
Materials You’ll Need
| Material | Description | Amount |
|---|---|---|
| Fabric | Sweatshirt fleece or cotton blend for comfort | 1.5 yards for adult size |
| Tools | Sewing machine | 1 |
| Sharp fabric scissors | 1 pair | |
| Straight pins | 10-20 pins | |
| Measuring tape | 1 | |
| Thread (matching or contrast) | 1 spool | |
| Ribbing | Stretchy ribbing for cuffs, waistband, and neckline | 1/2 yard |
Remember, high-quality materials yield a superior final product. Feel the fabric before buying to check its softness and stretch.
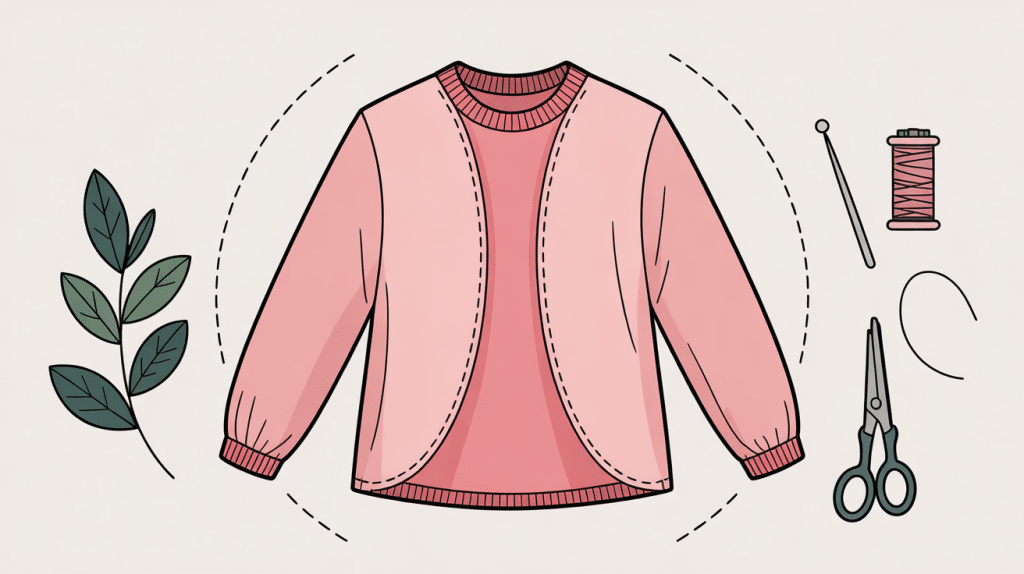
Step 1: Cutting the Fabric

First, lay your fabric on a flat surface with the wrong side up. Use your pattern to trace the front piece, back piece, and two sleeves. Make sure to add a half-inch around all edges for sewing room.
Take your time with cutting. Clean cuts now mean less fixing later. Use weights to hold the pattern in place while you cut with sharp scissors along the lines.
Step 2: Sewing the Shoulders and Side Seams
Place the front and back pieces with right sides together. Pin along the shoulder edges to keep them from slipping. Sew the shoulder seams with a zigzag stitch to allow for stretch.
Next, pin the sides from the armhole to the bottom edge. Sew with the same zigzag stitch for stretch. Turn the piece right side out to check your work. The main body now looks like a simple vest.
Step 3: Attaching the Sleeves
Fold each sleeve piece in half lengthwise and sew the long edge to create a tube. Turn the main body inside out again. With the sleeve still right side out, push it into the armhole.
Pin the sleeve to the armhole, matching the sleeve seam with the side seam. Work your way around, pinning every few inches. Sew carefully around the circle to attach the sleeve. Repeat for the second sleeve.
Step 4: Adding the Cuffs and Waistband
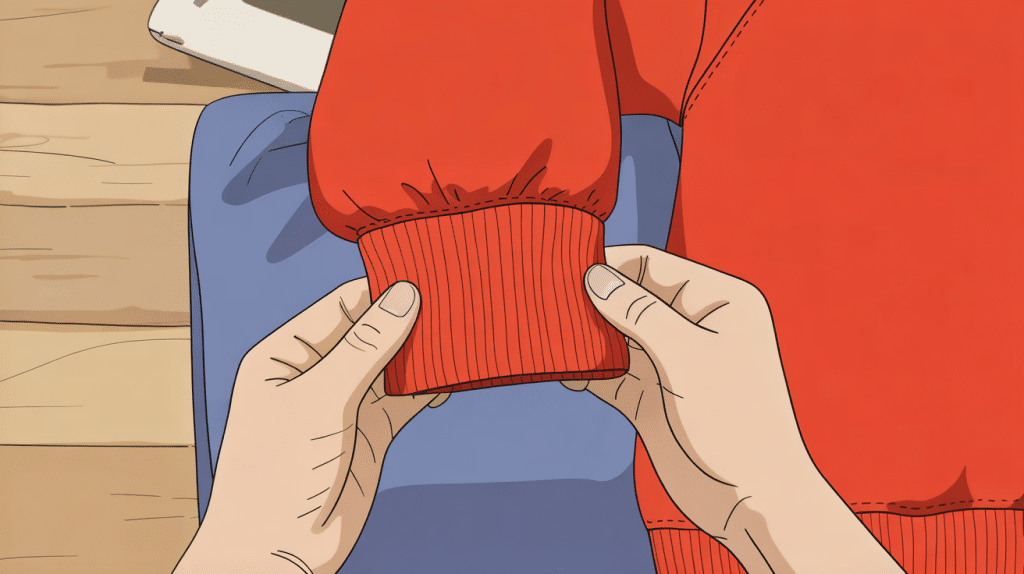
For each cuff, fold the ribbing piece in half with right sides together. Sew to form a loop. Then fold this loop in half width-wise with the wrong sides together. This creates a double-thick band.
Stretch the cuff loop as you pin it to the end of the sleeve, aligning the raw edges to ensure a neat fit. Sew in place, stretching the band as you go. Use the same method for the waistband, attaching it to the bottom edge of your sweatshirt.
Step 5: Finishing with the Neckband

Measure the neck opening of your sweatshirt. Cut your ribbing about 20% shorter than this measurement. Form a loop with the ribbing by sewing the short ends together.
Fold the ribbing loop in half with the wrong sides facing each other. Pin it to the neck opening, stretching slightly as you go. Distribute the stretch evenly and sew all the way around the edges. This gives your neckline that snug, finished look that won’t stretch out of shape.
Video Tutorial
Special thanks to Sew Happy for providing valuable insights in their video, which I referenced while creating this guide.
Customizing Your Sweatshirt
Make your DIY sweatshirt stand out with personal touches that show off your style and creativity.
- Iron-on patches: Find fun patches at craft stores or online. Place them on your sweatshirt and iron according to package directions. This adds color and personality without sewing.
- Simple embroidery: Even basic stitches can make a big impact. Try your name, a small flower, or a simple shape. Start with small designs if you’re new to embroidery.
- Fabric Paint: Use fabric paint to add designs, words, or patterns to your fabric. Use stencils for clean lines or opt for a freehand approach for a more casual look. Let dry fully before wearing.
- Pocket addition: Sew on a contrasting fabric pocket. It can be a basic square or a fun shape like a heart. Pockets add function and style to any sweatshirt.
- Trim details: Add ribbon, lace, or contrasting fabric along the hem, cuffs, or neckline. This small change makes a big difference in the overall look.
Essential Tips for Perfect DIY Sweatshirt Results
Follow these proven tips to avoid common mistakes and create a sweatshirt you’ll be proud to wear.
- Pre-wash your fabric: Wash and dry your fabric before cutting to prevent shrinkage later. This ensures your finished sweatshirt retains its original size after washing. Cotton, especially, can shrink by up to 5% during the first wash, which could ruin your carefully taken measurements.
- Use sharp scissors: Dull scissors will result in jagged edges and make cutting more difficult. Keep a pair just for fabric cutting to maintain sharpness. Rough cuts create problems throughout the entire sewing process, so this simple step saves time later.
- Create a test piece first: Try sewing with scrap fabric before working with your good material. This helps you practice and adjust tension settings. A small sample lets you test stitch types and check how the fabric handles without risking your project.
- Pin perpendicular to edges: Place pins at right angles to the seam line. This makes them easier to remove as you sew and prevents needle damage. When pins run parallel to the edge, they’re more likely to cause puckering in stretchy fabrics.
- Press seams as you go: Iron each seam after you have sewn it. This creates flatter, more professional-looking results, making the next steps easier. A good press can hide minor sewing flaws and make your sweatshirt look store-bought rather than homemade.
- Take breaks: Sewing requires focus. Rest your eyes and stretch your back every 30 minutes to avoid mistakes caused by fatigue. Many sewing errors happen when you’re tired or rushing, so pacing yourself actually saves time.
- Please keep it simple the first time: Start with basic designs before trying complex patterns. Success with simple projects builds confidence for harder ones later.
Conclusion
Making your DIY sweatshirt isn’t as hard as you might think! We’ve progressed from selecting the right materials to cutting fabric, sewing pieces together, and adding those finishing touches that make it uniquely yours.
Now you have the skills to create a sweatshirt that fits just how you like it. Remember, your first try might not be perfect, and that’s okay. Each project teaches you something new.
The best part? When someone asks where you got your sweatshirt, you can proudly say, “I made it myself!” That feeling beats anything store-bought.
So grab your fabric, set up your sewing machine, and start creating. Your perfect DIY sweatshirt is waiting to be made.
Frequently Asked Questions
How much fabric is needed for a sweatshirt?
For an adult-sized sweatshirt, you’ll need about 1.5 to 2 yards of fabric. Larger sizes may require more. Always buy a little extra to account for mistakes.
What fabric do you use to make a sweatshirt?
French terry, fleece, and cotton-polyester blends work best for sweatshirts. These fabrics are soft, warm, and have good stretch for comfort and ease of movement.
What is the best blend for sweatshirts?
An 80% cotton and 20% polyester blend provides the optimal balance of comfort, warmth, and durability. The cotton feels soft while the polyester helps the sweatshirt keep its shape.