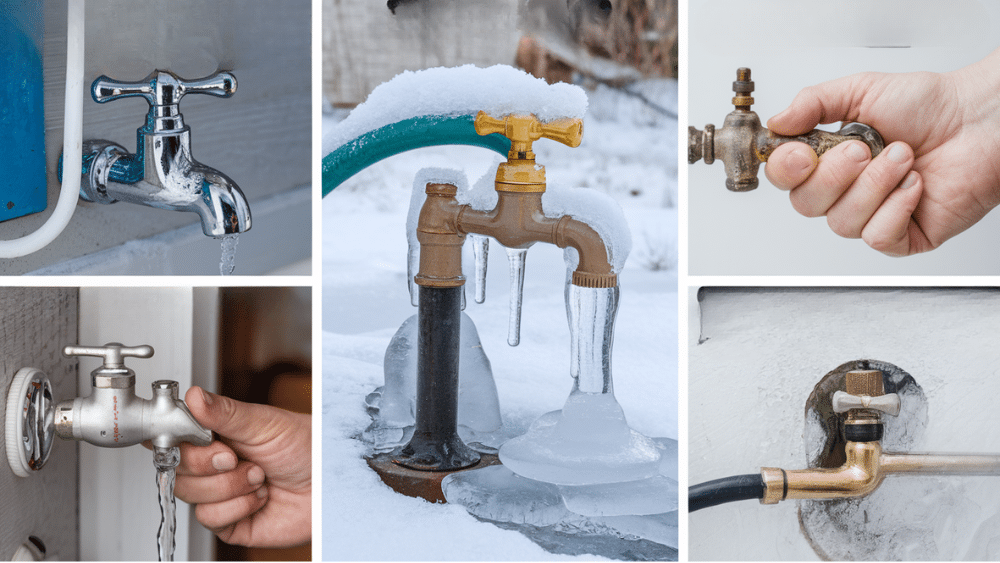
Frozen pipes can cost homeowners thousands in repairs every winter. Most people think turning off outside water is simple, but doing it wrong can lead to burst pipes and expensive damage.
You might know the basics, but seasonal timing and proper shut-off techniques can make the difference between a problem-free winter and a plumbing disaster.
Different seasons require different approaches, and most homeowners miss critical steps that protect their pipes year-round.
This guide will show you exactly when and how to turn off your outside water for every season. You’ll learn the right tools, timing, and techniques that prevent costly damage. Plus, you’ll save money on your water bill and extend your plumbing system’s life.
Ready to protect your home the right way? Let’s start with the essential steps every homeowner needs to know.
When Should You Turn Off Outside Water?
Winter is the most critical time to shut off your outside water supply. Start this process when nighttime temperatures drop below 32°F for several days in a row.
Most experts recommend shutting off outdoor water between October and November, depending on your location.
Here are the main situations when you should turn off outside water:
- Winter preparation: When temperatures consistently drop below freezing for multiple nights
- Extended trips: Any vacation or absence lasting more than one week
- Repair work: Before fixing faucets, pipes, or sprinkler systems
For vacation or extended absences lasting more than a week, always turn off outside water to prevent leaks or freeze damage while you’re away. This simple step protects your home from costly water damage that could happen when no one is there to catch problems early.
Maintenance and repair work also requires shutting off outdoor water. Turn off the supply before replacing faucets, fixing leaks, or working on sprinkler systems. This prevents water waste and keeps you safe during repairs.
The key is timing your shut-off based on weather patterns, not calendar dates. Watch local forecasts and plan ahead. Cold snaps can happen earlier than expected, so prepare your outdoor plumbing before the first freeze hits your area.
Step-by-Step Guide to Preventing Water Spigot Freezing
Tools Required
- Flashlight – Light up basement area to find shut-off valve
- Pliers (optional) – Turn stubborn valves if needed
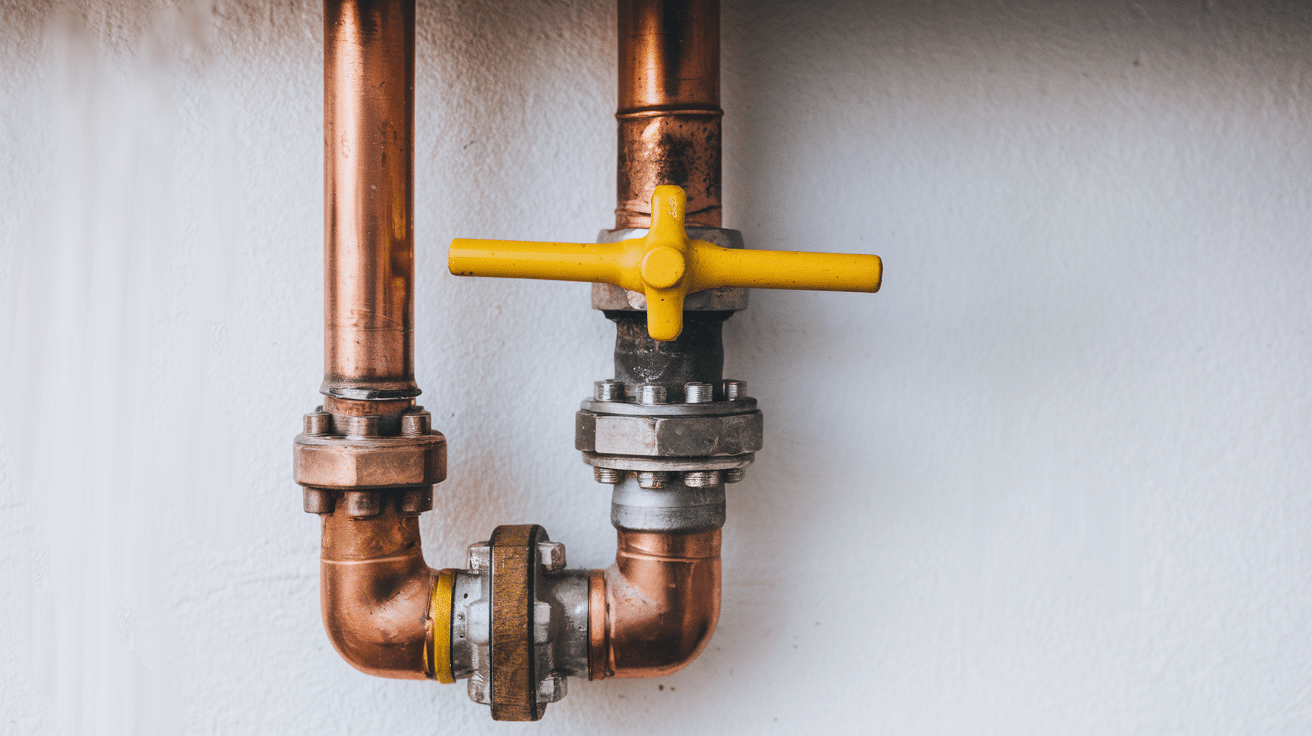
Step 1: Locate Your Indoor Shut-Off Valve
Find the water shut-off valve in your basement or crawl space. This valve controls water flow to your outside spigot. Look near the area where your outdoor faucet sits on the exterior wall.
- Check basement walls near exterior spigot locations
- Look for a valve handle or lever near water lines
- The valve is usually within a few feet of the outside spigot
Remember: The valve position shows water status – horizontal means on, vertical means off.
Step 2: Turn Off the Indoor Water Supply
Turn the shut-off valve to stop water flow to your outside spigot. Rotate the handle from horizontal to vertical position. This cuts off water supply but doesn’t remove water already in the pipes.
- Turn the valve handle 90 degrees clockwise
- Make sure the handle sits in vertical position
- Feel for resistance to confirm the valve is fully closed
Remember: Water may still be trapped in the outdoor pipe even after shutting off the valve.
Step 3: Go to Your Outside Spigot
Head outside to your water spigot location. You need to drain any remaining water from the pipe between the shut-off valve and the spigot. This prevents freeze damage from trapped water.
- Walk to the exterior spigot you just shut off
- Check that no hose is attached to the spigot
- Prepare to turn on the spigot handle
Remember: Trapped water in pipes can still freeze and cause damage even with the valve off.
Step 4: Open the Outside Spigot to Drain Water
Turn the outside spigot handle to the fully open position. This allows any remaining water in the pipe to drain out completely. You may see water come out initially, then it should stop flowing.
- Turn the spigot handle counterclockwise to open fully
- Let all water drain from the pipe system
- Wait until no more water comes out
Remember: Keep the spigot open until spring to prevent any water from getting trapped.
Step 5: Leave the Spigot Open for Winter
Once all water has drained out, leave the outside spigot in the open position. This prevents any remaining moisture from freezing and expanding in the pipe. Your spigot is now ready for winter weather.
- Keep the spigot handle in the open position
- Do not close the spigot until spring
- Check that no water drips from the spigot
Remember: The open spigot position allows air circulation and prevents freeze damage all winter long.
Video Tutorial
For a visual tutorial, refer to this video by Tverdov Housing
Tips for Long-Term Prevention
- Install an insulated hose bib cover before winter arrives to add an extra layer of protection against freezing temperatures and harsh weather conditions
- Label your shut-off valve clearly with waterproof tape or a permanent marker so family members can find it quickly during emergencies or seasonal maintenance
- Consider upgrading to a frost-free sillcock which has the shut-off mechanism located inside your heated home instead of outside where it can freeze
- Schedule annual fall inspections of all outdoor water fixtures to check for cracks, leaks, or worn parts that could fail during winter months
- Keep spare hose bib covers and valve handles in your garage or basement toolkit so you have replacements ready if your current protection gets damaged or lost
Common Mistakes: Turn Off Outside Water

1. Forgetting to drain the exterior faucet: Many homeowners shut off the indoor valve but forget to open the outside spigot, leaving water trapped in the pipe that can freeze and cause expensive burst pipe damage.
2. Not removing attached hoses: Leaving hoses connected to your outdoor faucet prevents proper drainage and creates a water trap that can freeze back into your home’s plumbing system, causing serious damage.
3. Turning the valve the wrong way: Confusing valve positions leads to water staying on when you think it’s off, or struggling with a valve that’s already in the correct position and potentially damaging the valve mechanism.
4. Assuming frost-free faucets don’t need shut-off: Even frost-free sillcocks can fail in extreme cold or if installed incorrectly, so skipping the shut-off process leaves your home at risk during severe winter weather.
5. Waiting too late in the season: Procrastinating until after the first freeze has already occurred means ice may have already formed in your pipes, making the shut-off process less effective and potentially causing damage you’re trying to prevent.
Conclusion
Turning off your outside water properly protects your home from costly freeze damage every winter. The simple steps we covered – finding your shut-off valve, turning it off, and draining the exterior spigot – take just minutes but can save you thousands in repair bills.
Don’t wait until temperatures drop below freezing. Start this process when nighttime temps consistently hit 32°F or lower. Remember to avoid the common mistakes like leaving hoses attached or forgetting to drain the outside faucet. These small oversights can lead to big problems.
\Your home’s plumbing system depends on proper seasonal maintenance. Taking these steps now means you’ll have peace of mind all winter long.
Ready to protect your pipes this season? Check your local weather forecast and plan your shut-off timing. Have questions about your specific setup? Leave a comment below and we’ll help you get it right.


