Nothing is permanent, then why be stuck with boring home decor when the trends are changing rapidly? Suppose you’re getting a house today, and all the interiors are done as per your liking and, of course, in congruence with the ongoing trends.
However, five or ten years down the line, you might not like the interiors anymore and want some change. Now, you can’t change bigger stuff like tiles or flooring every 5-10 years, and this is where DIY steps in.
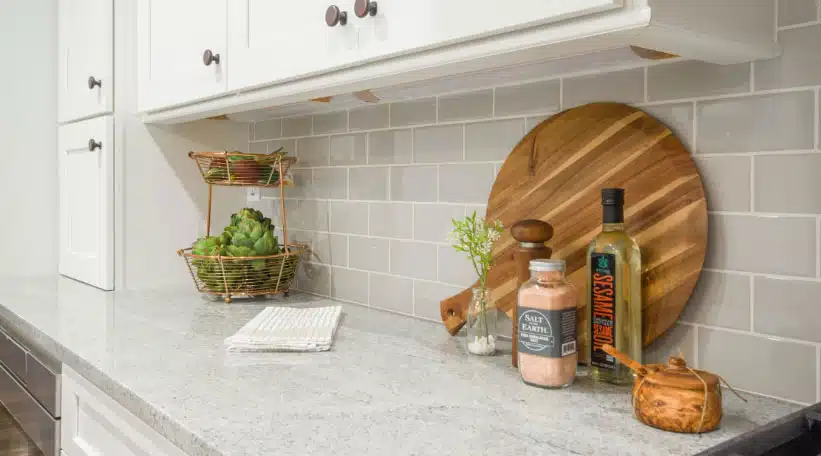
Tiles are something that we are stuck with for years and years, and something as simple as painting them can elevate the look of your interiors. In this blog, we will be talking about kitchen interiors and painting backsplash tile in particular.
You can paint the kitchen hardware, wardrobe, and tile backsplash in similar/contrasting colors to bring out an aesthetic and pleasing look without going through many hassles.
Can Tiles Be Painted?
Beginning with the first question that might’ve popped into your head, and the answer is yes, we can paint over tiles. It is the most affordable way to change the look of tiles in the kitchen/bathrooms without doing any damage. You can easily make your kitchen stand out by painting backsplash tile. All you’ll need to get started is the right preparation and the right materials.
Materials Needed
Here is the list of all the materials that you’ll probably need for painting your kitchen tile backsplash. You can easily get these materials from your neighborhood grocery store or order them from the given links. You will need a few basic supplies to get started, which include.
- Tile Cleaner/Degreaser – This will be used to clean the backsplash before painting.
- Sandpaper/Sanding Block –To roughen the tile surface, which will ease the coating of paint over it.
- Painter’s Tape – This will protect the surrounding areas from accidental paint damage.
- Plastic Sheets – To cover the surrounding area and avoid paint stains.
- Bonding Primer – Coating a layer of this primer before painting will allow better adhesion.
- Tile Paint – Any high-quality paint of any color that you choose for your kitchen makeover.>
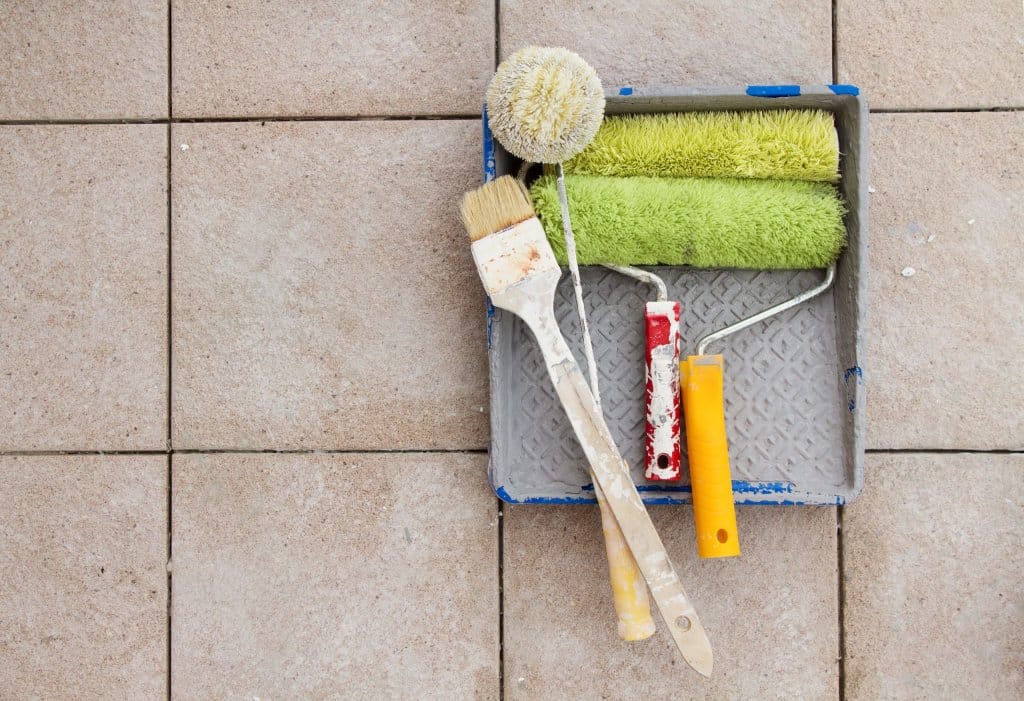
- Paintbrushes – A large brush for priming and painting and a small brush for touchups.
- Foam Roller – This is optional if you’re comfortable painting with a brush. Otherwise, it is best for painting on the majority surface.
- Paint Tray – To hold the paint for easy access while rolling.
- Clean rags – For wiping and cleaning surface spills.
Getting Started with Painting
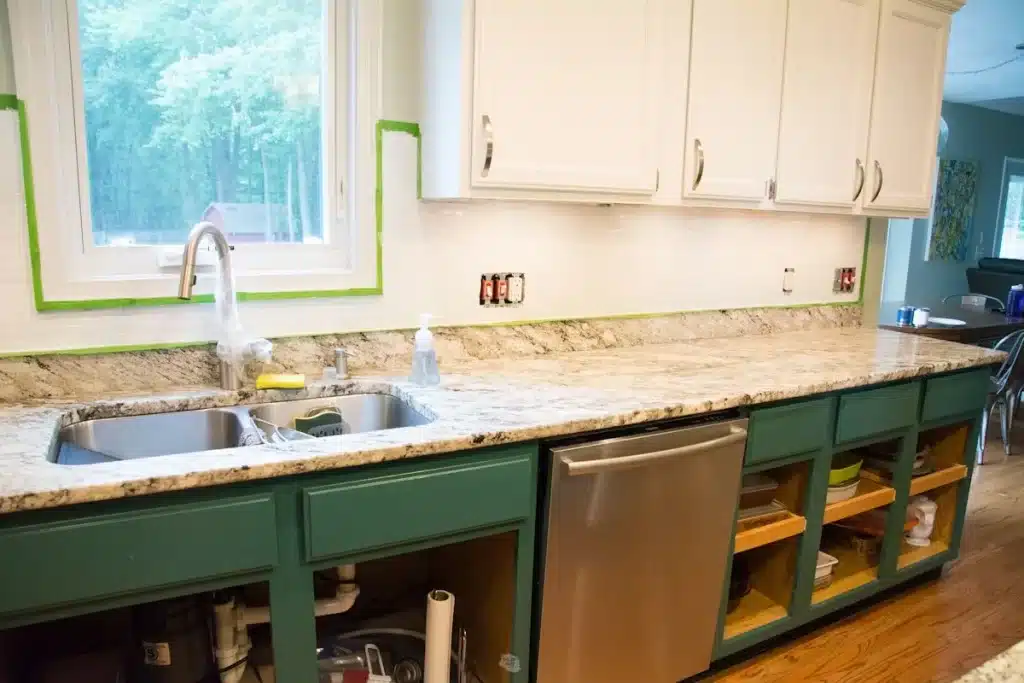
Step 1: Clean & Protect Other Surfaces
Before diving into the process itself, some preparation is very important. You can start by clearing off the kitchen counter and covering it with plastic sheets/drop cloth. We will also advise you to remove any outlet covers/switchboards and all the appliances for a clean and seamless painting experience. Prepare a workstation and set up a designated area like a work table, or you can also use the kitchen island. Inspect the backsplash for any caulks or repair materials, and remove it using a flat knife.
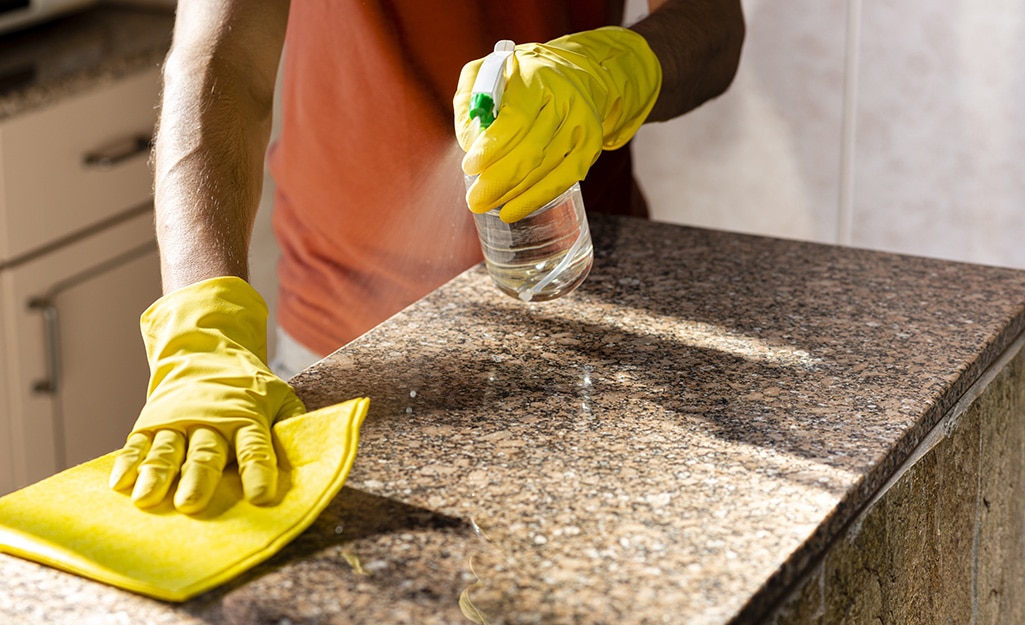
Step 2: Clean Tiles
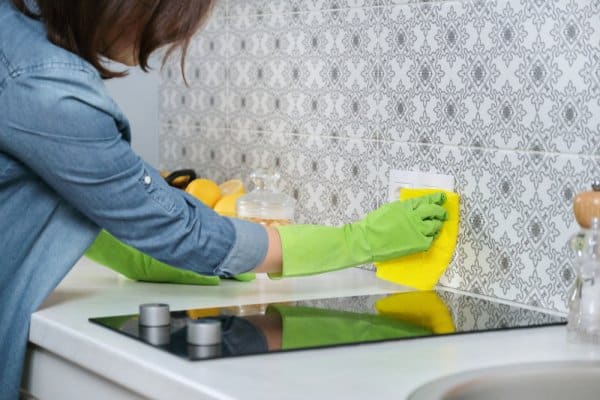
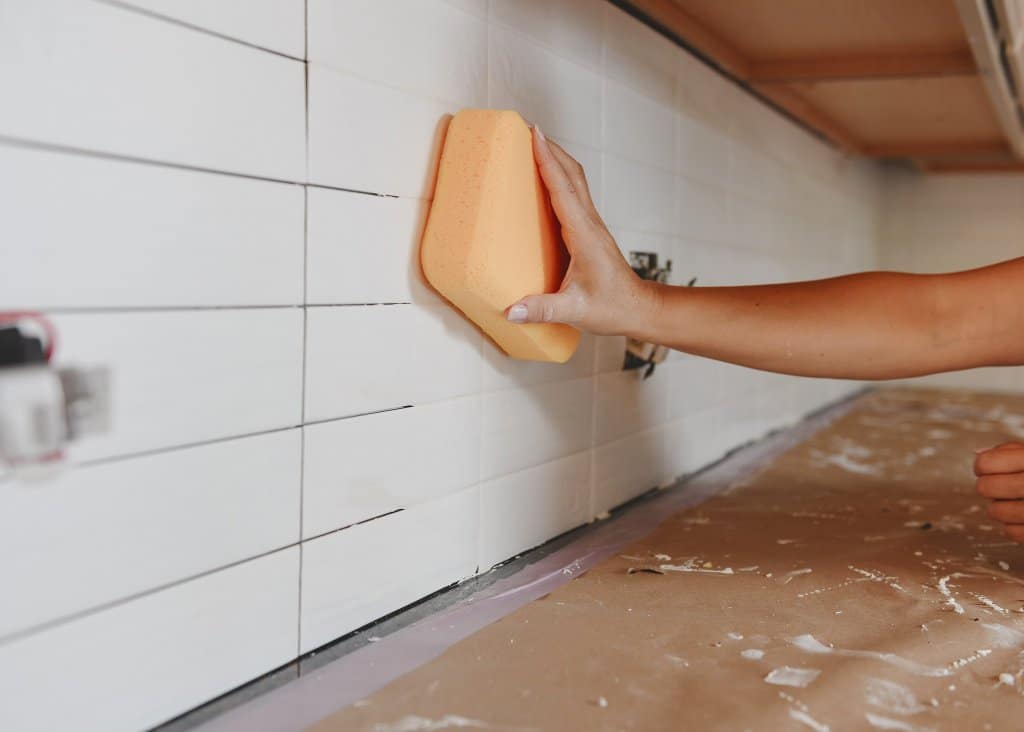
Firstly, clean the tiles using a cloth and regular cleaning chemicals. Post that, use the tile cleaner or the degreaser to get a perfectly clean backsplash. Remember to check the directions of use on the degreaser packet, as these chemicals can be harmful to your skin. While cleaning the backsplash, pay special attention to the areas behind the stove and sink, as they can have really tough stains from water and oil. Before proceeding further, make sure that your whole tile backsplash is fully clean and dry.
Step 3: Tape Away
Time to bring the painter’s tape to some use. Before you begin painting backsplash tile, secure the plastic sheet/drop cloth coverings on the countertops using painter’s tape and create clean paint lines. Tape everywhere along the edges of the backsplash, like countertops, window trim, sides of kitchen cabinets, sink edges, etc. Make sure to cover all the spots and corners where paint can do any damage. Taping not only keeps your stuff safe and clean but also gives a better finish to the overall paint job.
Step 4: Prepare the Surface
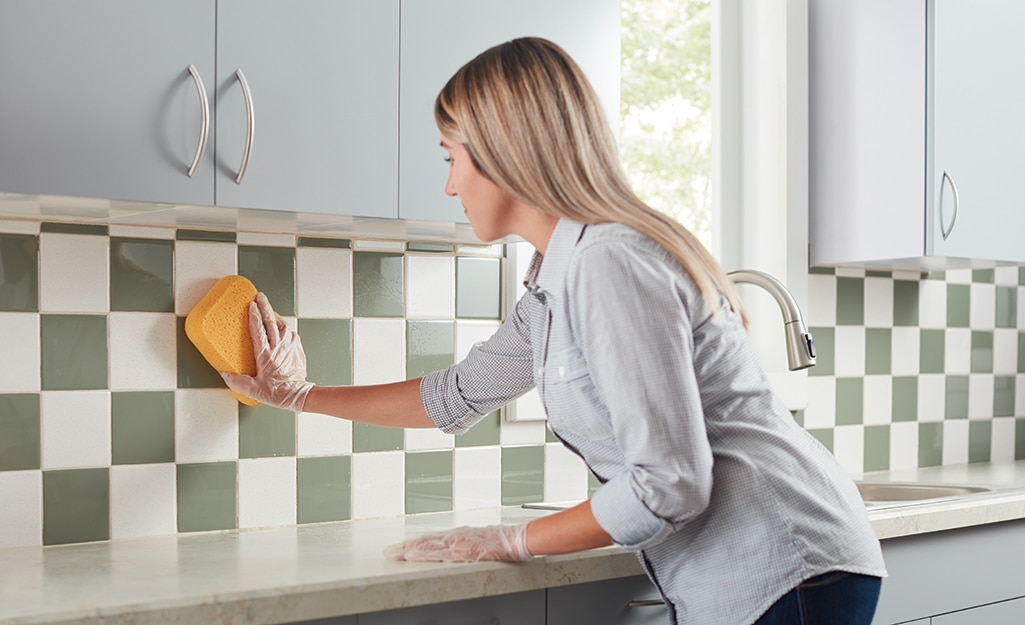
For porous or rough tiles, you won’t have to worry about sanding much, as the primer will automatically stick easily to the backsplash. But in most cases, kitchen backsplashes are made of glossy tiles, in which case, sanding is very crucial for better primer and paint adhesion. After the backsplash is well dried from step 2, use sandpaper or a sanding block to roughen the surface lightly. After roughing the whole surface thoroughly, again clean the backsplash with a damp cloth and let it dry properly.
Step 5: Prime-Time
Here’s where your painting process originally begins. You’ll need to start with a good quality primer which will act as a solid base for the paint. Start with a brush for corners and edges, then move ahead with a foam roller to cover the larger surface. Make sure to cover the grout lines thoroughly as well (you might require a small brush to do that). According to the glossiness of your tile, you might require more than one layer of primer; tread accordingly. Read the instructions carefully on the primer and allow it to dry according to the specified time.
Step 6: Let Dry & Flatten the Pitch
After you’ve let the primer dry for the specified time, inspect the backsplash once again. It often happens that excess primer drips and creates bumps. Look out for these bumps, and sand lightly for an even finish. Before heading to the painting itself, just make sure that the whole surface is evenly covered with primer and well-dried out. Avoid any work in the sink till the time the primer dries.
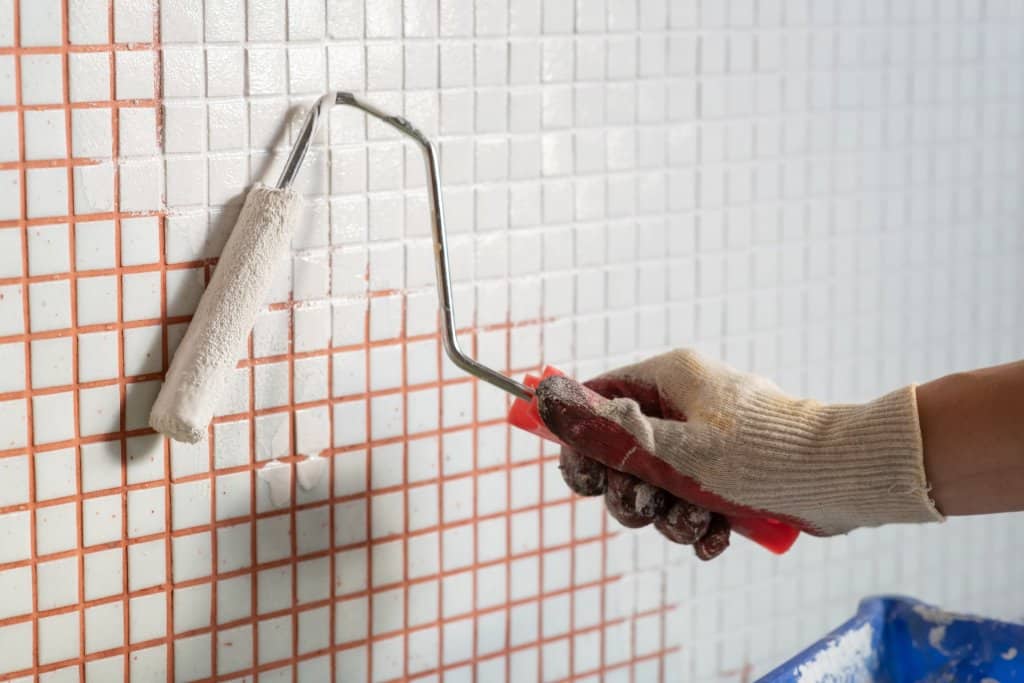
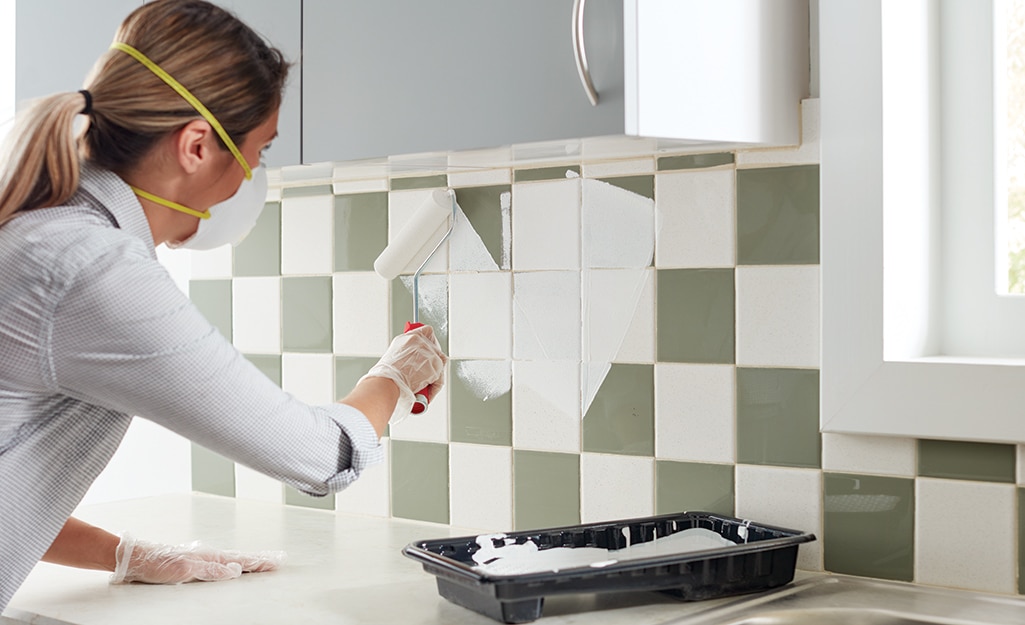
Step 7: Painting Time
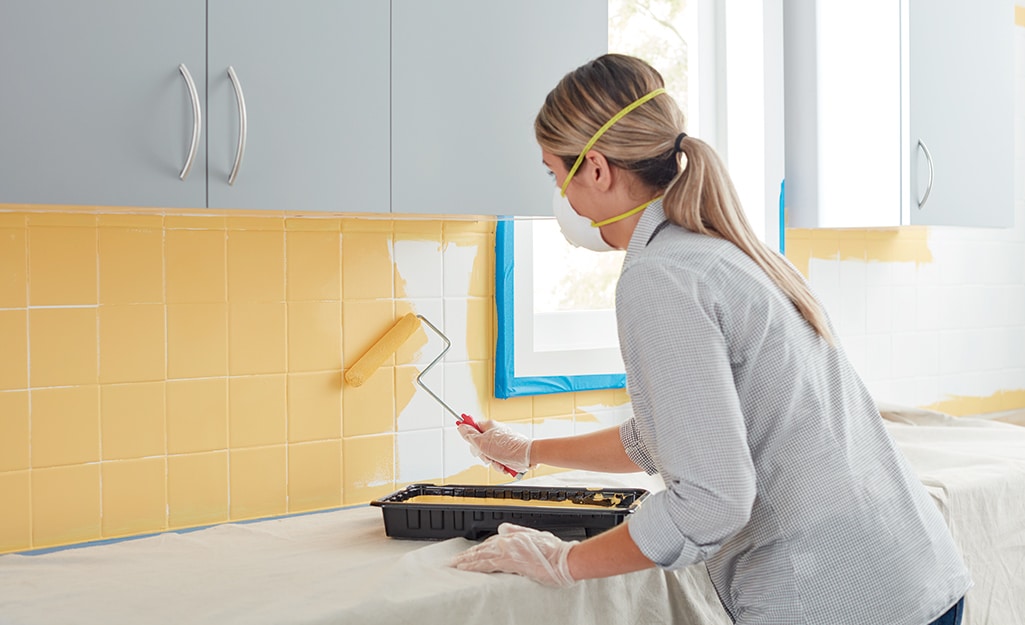
Finally, it’s the hour! You can start painting backsplash tile in a similar manner as the primer step, covering the edges and small surfaces first with the smaller brush. After that, you can move on with the larger brush or foam roller to cover larger surfaces. Again, read the instructions on the paint and let it dry accordingly. Make sure to cover every spot of the tile backsplash before letting it dry. After the paint is dried, take a good look, and if needed, go for multiple layers.
Step 8: Finalizing Things
Once all the layers are done and dried out, you can once again sand(very lightly) the surface to remove any bumps or excessive paint. You may or may not use a sealant, depending on the quality of the paint. Carefully remove the painter’s tape and the plastic sheets/drop cloth and throw it away(or stash for later use). Clean the surface once again before bringing back your appliances and outlet covers. Voila! Enjoy cooking in your brand-new kitchen!
Step 9: Different Colors for Grout
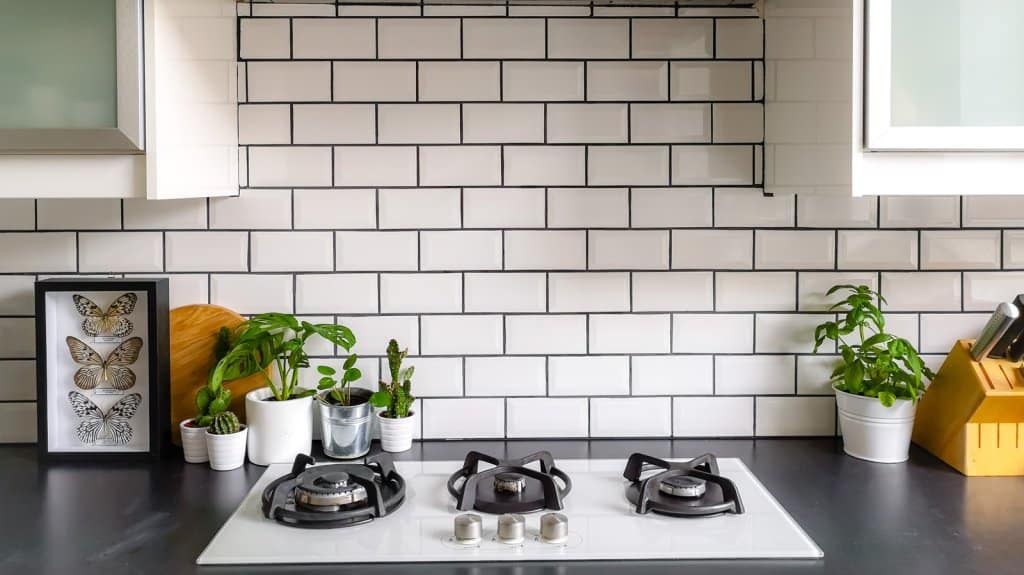
You can very well go for it; after painting the backsplash tile, painting grout in a contrasting color can enhance the overall look and feel of your backsplash, as shown in the image. However, make sure that the grout paint goes well with your kitchen design and the color of the tiles. Remember, use a thin brush and tread with patience while painting the grout, taking care not to get any paint over the tiles. Let the grout lines dry before applying any sealant.
Additional Care after Paint
After you’re done with painting the backsplash tile, make sure not to use harsh chemicals or rough scrubbing over the tile backsplash for a month or two at least. Let the paint settle in well so that your new tile backsplash can get a longer life. Additionally, I’ll advise you to clean the backsplash with a soft cloth immediately whenever you see dirt or food particles on it; this will not only remove the dirt easily but will also enhance the life of your new backsplash.
Conclusion
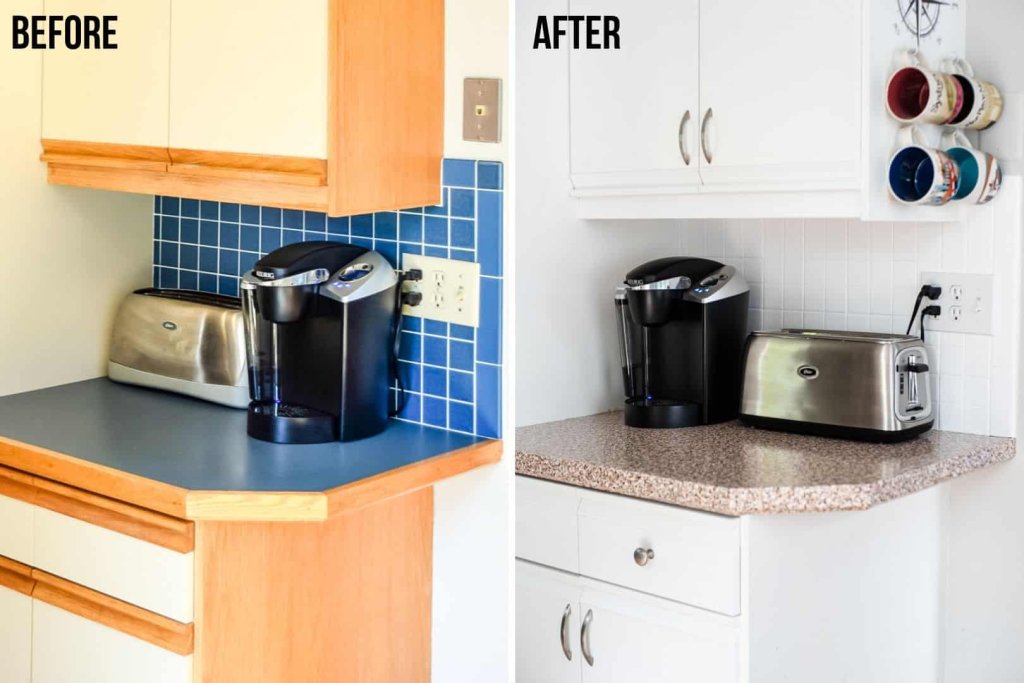
You really don’t need any expensive renovations full of hassles and messes for an enhanced look of your kitchen. You can do the same by simply painting the backsplash tile. It is much easier, can be done by yourself, and is pocket-friendly as well. Moreover, if you’re already a DIY enthusiast, this will be a cakewalk for you.
If you’re not experienced with DIY and painting, you can simply follow the steps mentioned in this blog and create a fresh, new, and aesthetic look for your kitchen. Just remember to gather all the materials beforehand, take care while painting grouts, add multiple layers of primer and paint as needed, and don’t use harsh chemicals for some time after.
Go ahead and give your kitchen this easy and effective makeover!
