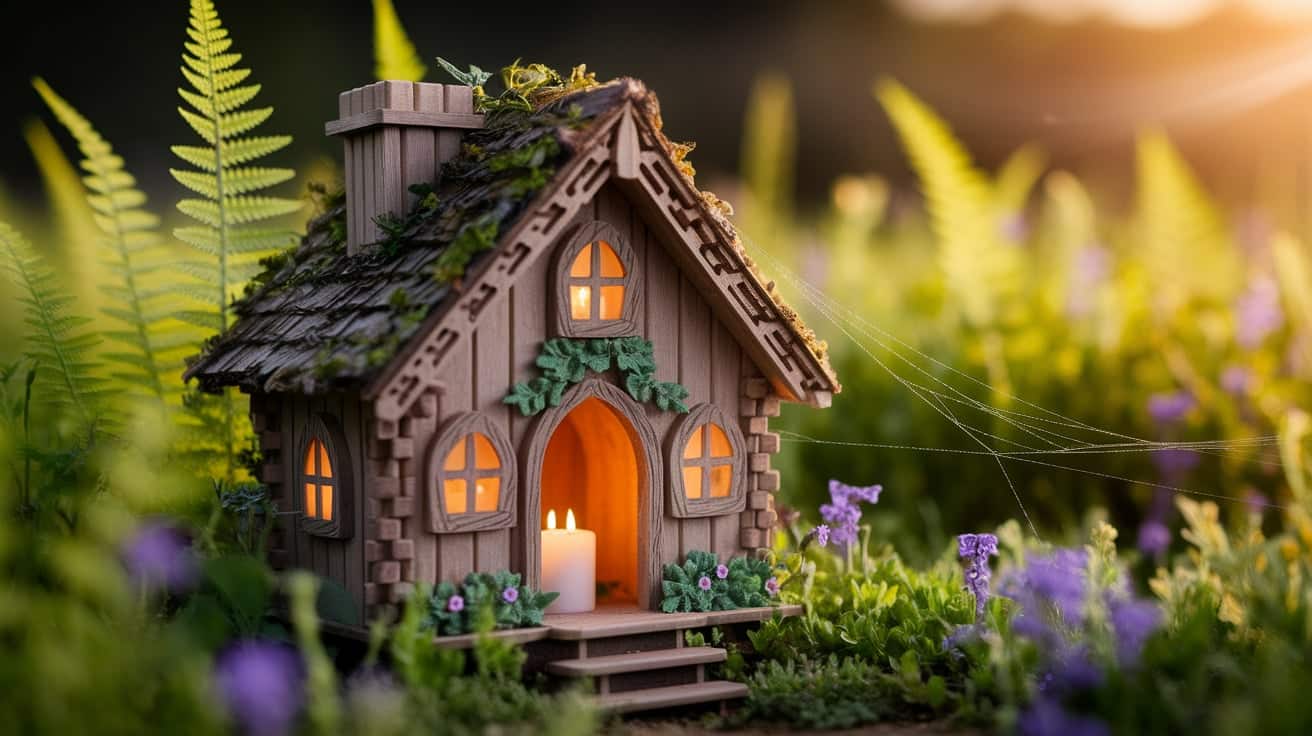
Do you want to add a bit of magic to your garden? Small homes for tiny winged friends have been catching eyes in yards across the country.
Many people feel drawn to these mini homes but don’t know where to start. The good news is that making one doesn’t need fancy skills or costly items.
With just a few sticks, stones, and bits from nature, you can build a home that would make any small visitor feel welcome. Your yard will stand out, and kids and grown-ups alike will stop to look at your creation.
Ready to start? This guide walks you through each step, from picking the right spot to adding those small touches that make all the difference.
The Origins of Fairy Houses: From Folklore to Front Yards
Fairy houses originated in ancient Celtic traditions, where small shelters were constructed near hollow trees and unusual stones as offerings to the “fair folk,” who were believed to bring either good fortune or mischief.
Rural families in Ireland and Scotland built these small dwellings near their homes as a sign of respect, hoping to protect their crops and livestock from fairy mischief.
By the 1990s, fairy gardening emerged as a popular hobby, with dedicated craft supplies and garden festivals celebrating these miniature worlds.
Today, fairy houses have become a social phenomenon, with community fairy trails in parks and neighborhoods bringing people together through shared creativity and wonder, connecting modern gardeners to an ancient tradition of finding magic in the natural world.
Step-by-Step Guide: Crafting Your Fairy House
With just a handful of natural materials and some creative tools, follow these enchanting steps to build your own whimsical fairy retreat one charming detail at a time.
Gather Your Tools & Materials: Nature Meets Craft
| Tools and materials | Purpose |
|---|---|
| Twigs, bark, moss, stones | Core natural elements for building and decorating the house |
| Cardboard or foam board | Provides structure and a strong base for assembly |
| Hot glue gun & glue sticks | Essential for the quick, strong bonding of materials |
| Scissors & craft knife | Used for cutting and shaping materials accurately |
| Craft sticks (popsicle sticks) | Great for frames, siding, and miniature furniture |
| Beads, gems, bottle caps | Add charm and fine details like doorknobs, windows, or décor |
| Acrylic paint & brushes | Brings color and life to your fairy house |
| Sealer spray | Protects from moisture, especially for outdoor use |
| Planter, pot, or stump | Acts as a natural base or platform for displaying your house |
| Mini clamps or clothespins | Holds parts together firmly while the glue dries |
Step 1: Create Your Base
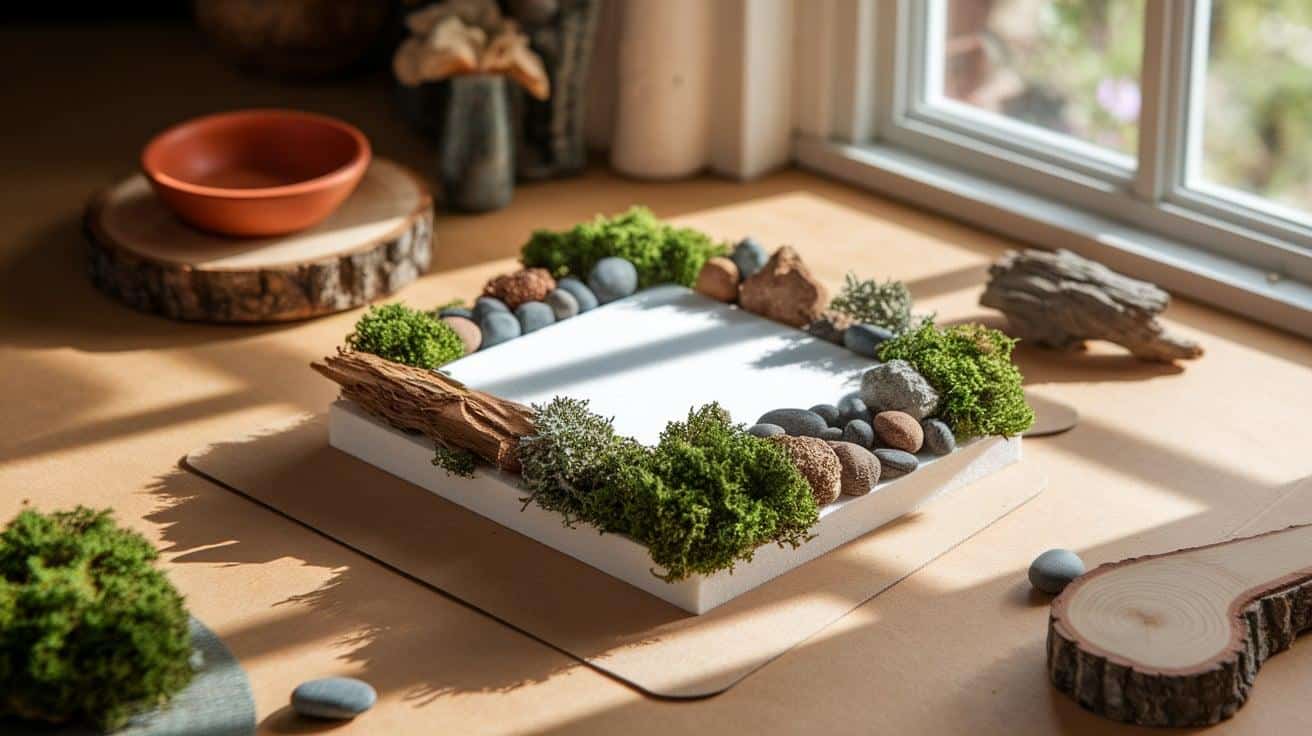
Start with a sturdy circle or square of cardboard or foam board as your foundation. For outdoor durability, consider using a terracotta pot or a wooden slice that can withstand the weather. Make the base generously sized to fit both your fairy house and a surrounding garden area.
This solid foundation keeps everything stable and provides ample space to bring your fairy world to life. Reinforce the edges if needed, especially if using cardboard, by adding a layer of glue along the perimeter to prevent curling as you build.
Common mistake to avoid: Don’t use paper or thin cardboard as your base, it will bend and collapse under the weight of your house.
Step 2: Build the Main Structure
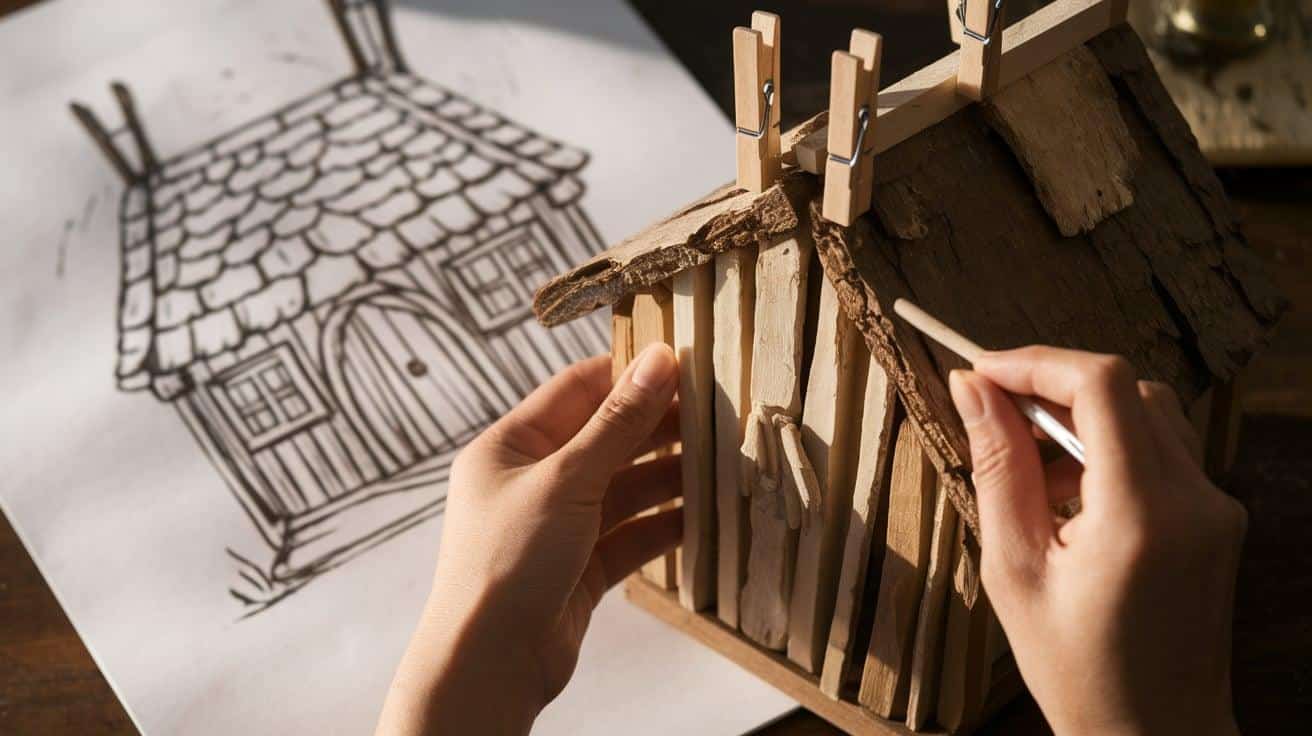
Begin constructing walls by gluing craft sticks, bark pieces, or other natural materials together in a simple box or round shape. Work methodically, adding one wall at a time and allowing the glue to set between each addition. Use clothespins as temporary clamps to hold pieces in position while the glue dries.
Embrace imperfection, slightly crooked walls and uneven edges create character and whimsy, making your fairy house look authentically handcrafted. Consider the size of your doorway as you build, ensuring it’s proportional to the overall structure.
Common mistake to avoid: Applying too much glue that oozes out and looks messy. Use small dots of glue and press firmly.
Step 3: Craft the Roof
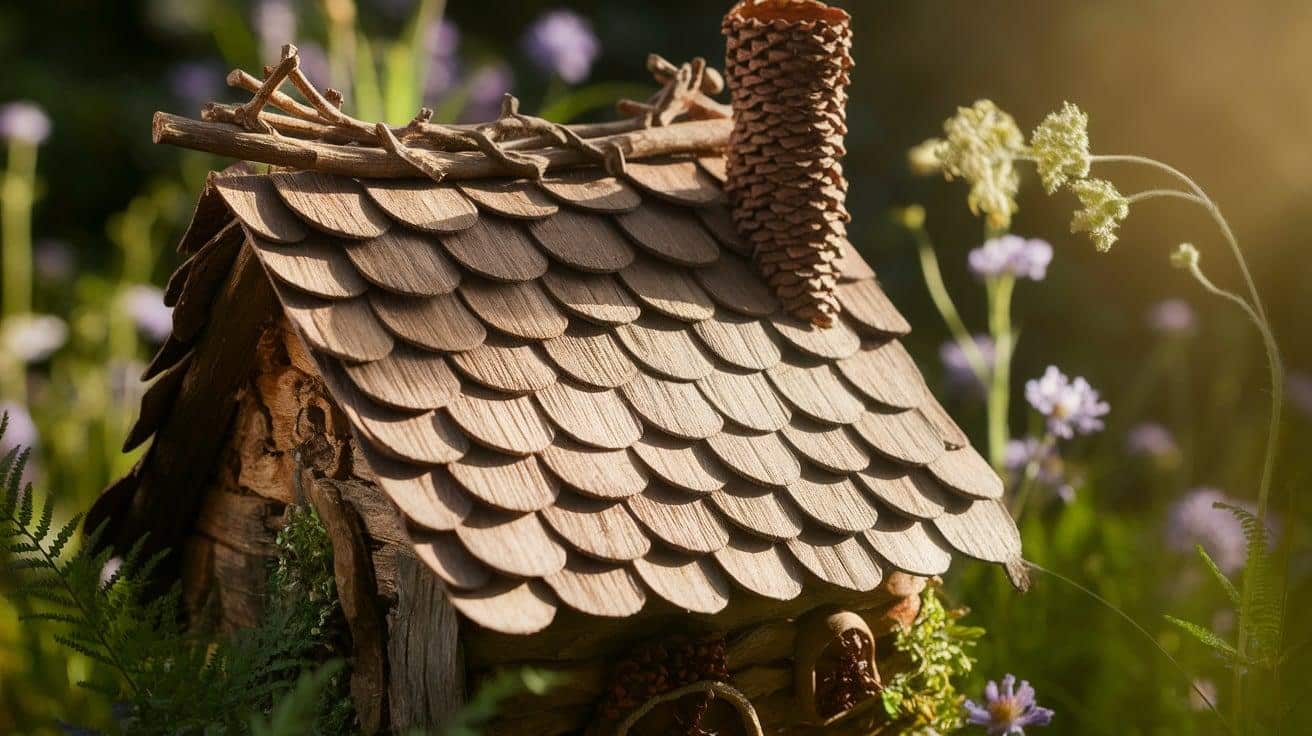
Layer materials like bark strips, dried leaves, pinecone scales, or popsicle sticks to form your roof. Start at the bottom edge and work upward in an overlapping pattern, mimicking real roof shingles for both appearance and functionality. Create a gentle slope to allow for natural water runoff if placed outdoors.
Add extra character with a slight overhang at the edges, which not only looks charming but also protects your walls from moisture. Consider adding a chimney made from a small twig or rolled bark for an extra touch of homeyness.
Common mistake to avoid: Creating a flat roof that won’t shed water or look natural. Always angle your roof to give it a more cottage-like appearance.
Step 4: Add a Doorway and Windows
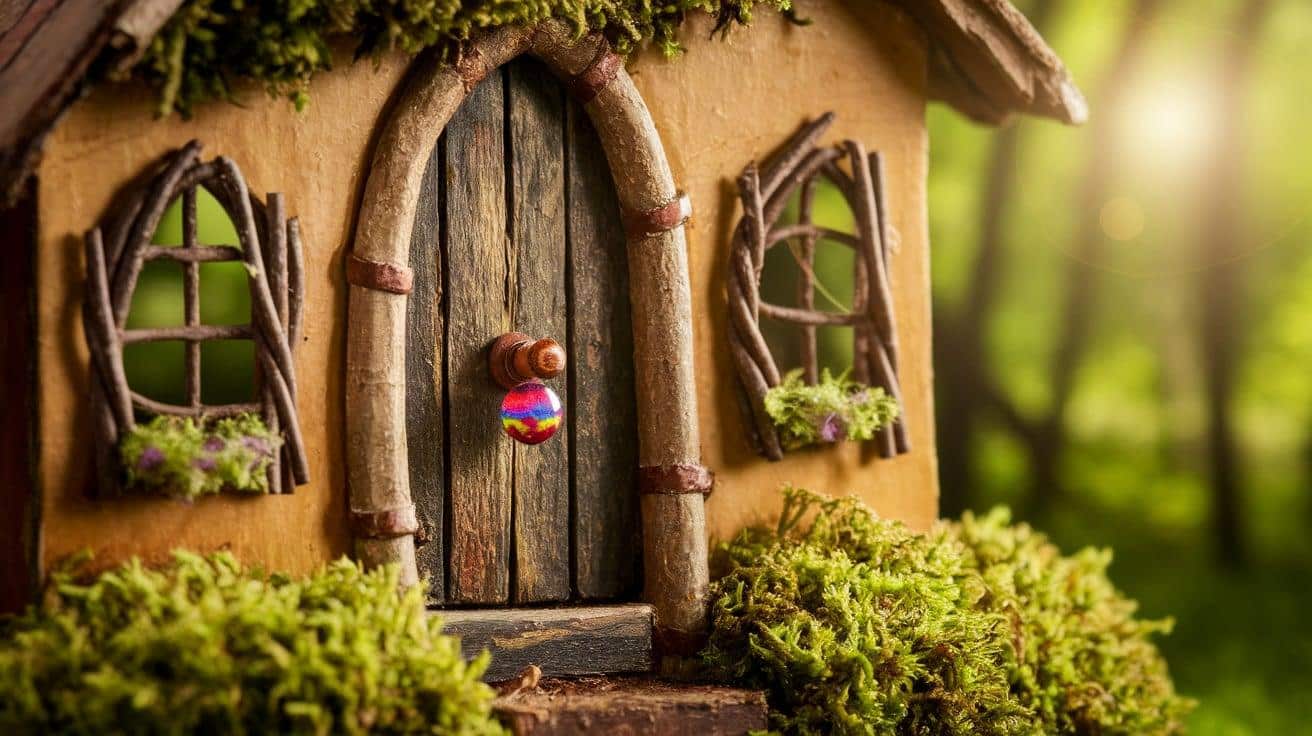
Cut openings for doors and windows while the structure is still slightly pliable. For windows, create charming frames with crossed twigs, decorative seeds, or thin craft sticks.
Add windowsills using flat stones or pieces of bark. Craft a special door that becomes the focal point of your fairy house, perhaps using a round piece of bark with a tiny doorknob made from a colorful bead or seed. Position windows strategically to allow imaginary light to flow through your fairy dwelling.
Common mistake to avoid: Making windows and doors after building the whole structure, it’s much harder to cut clean openings in fully dried materials.
Step 5: Create Pathways and Gardens
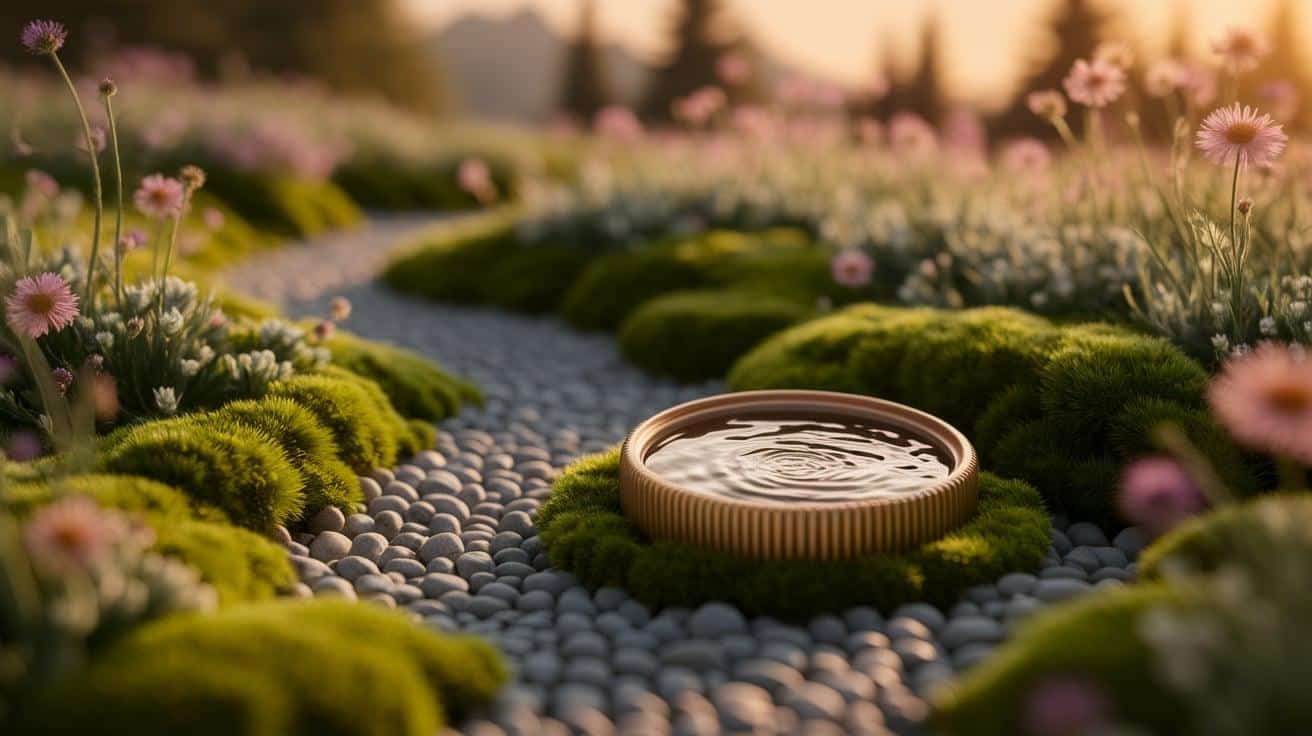
Convert the area around your fairy house by arranging small stones or pebbles to create winding pathways leading to the entrance. Add clusters of moss for miniature lawns, tiny dried flowers for fairy gardens, and small mushrooms (real or crafted) for whimsical touches.
Consider adding a pebble “pond” using blue glass stones or a bottle cap filled with clear glue. This landscaping brings your fairy world to life and makes it feel like a complete miniature environment rather than just a standalone structure.
Common mistake to avoid: Using materials that will rot quickly if outdoors. Choose dried moss or artificial elements if you want your garden to last.
Step 6: Add Finishing Details
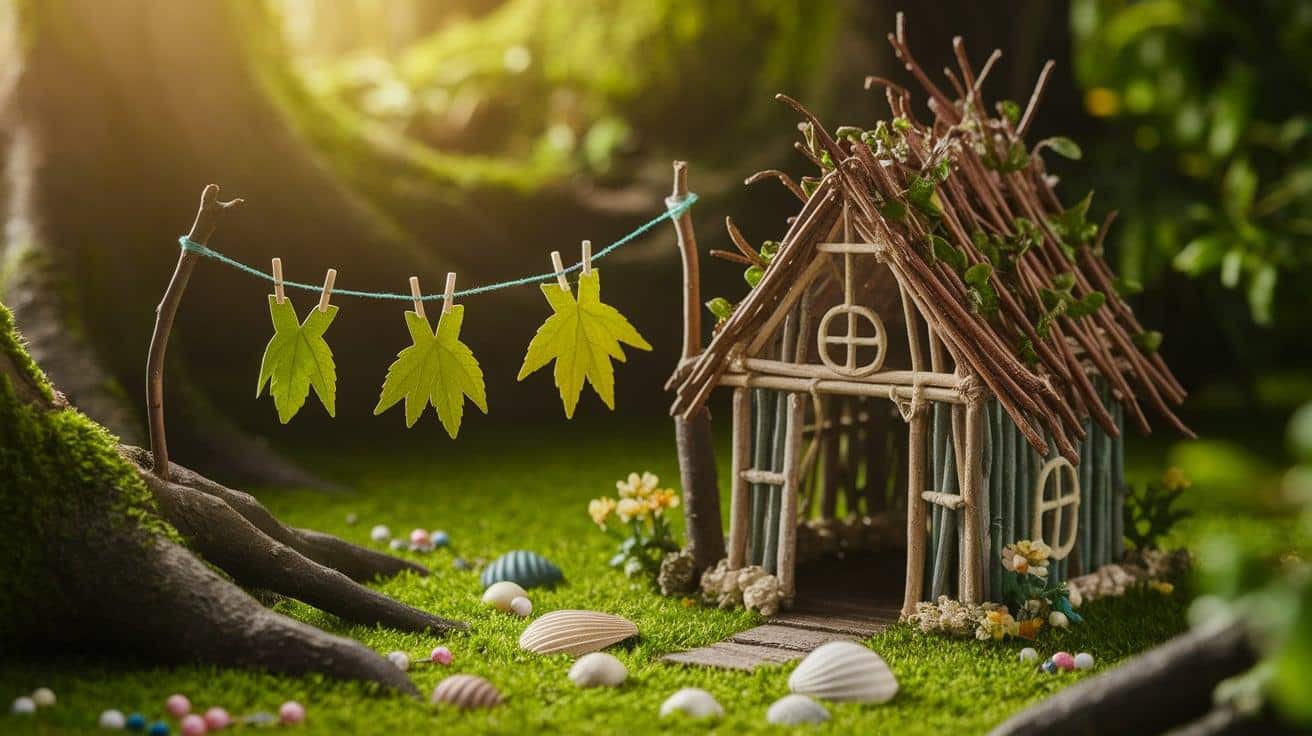
Now’s the time to let your imagination run wild with charming details that make your fairy house magical. Craft miniature furniture from twigs, bottle caps, and acorn caps.
Add tiny clotheslines with string and leaf “clothes.” Create garden accessories like miniature wheelbarrows or watering cans. Incorporate fairy treasures using colorful beads, shells, or tiny pinecones.
Common mistake to avoid: Overdecorating with too many items. Sometimes less is more – fairies appreciate simplicity and natural beauty!
Step 7: Protect Your Creation
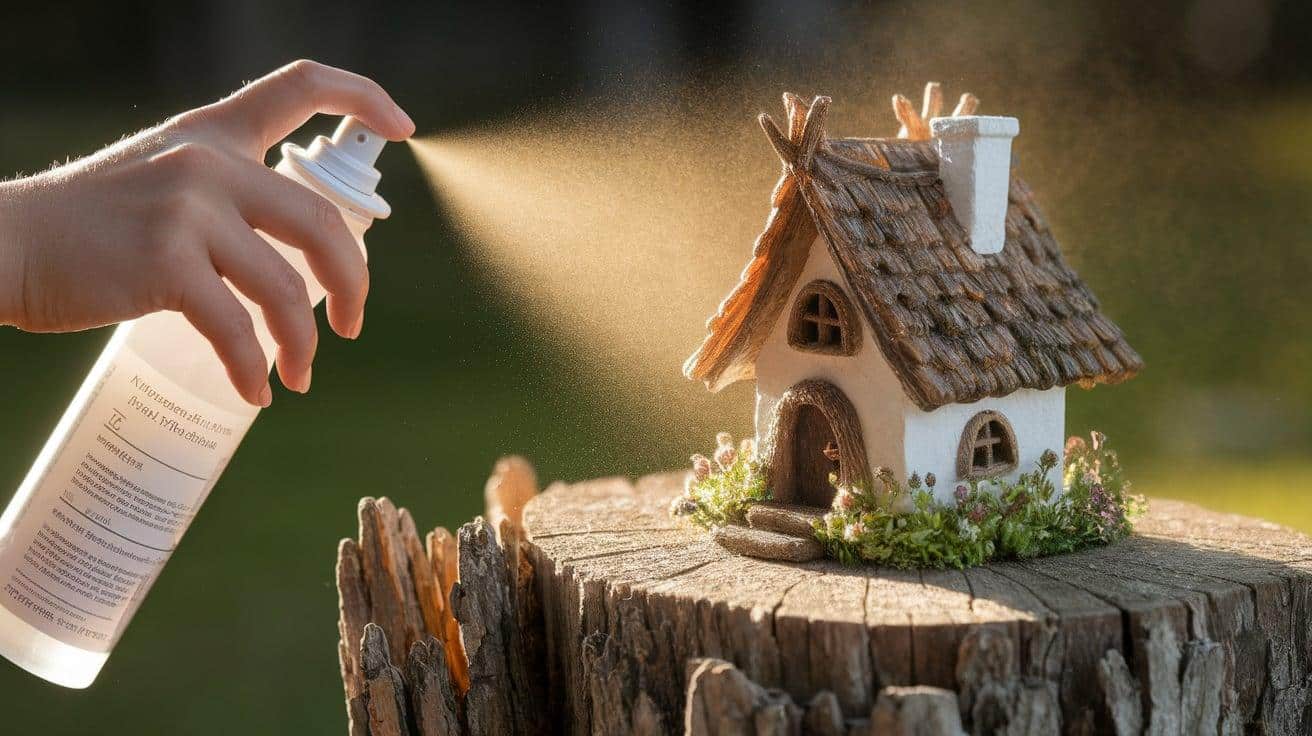
Once you’re satisfied with your fairy house masterpiece, protect it by applying several light coats of clear sealer spray, allowing each layer to dry completely before adding the next. For outdoor houses, choose a waterproof sealer that’s safe for all your materials.
Indoor fairy houses also benefit from sealing, as it prevents delicate elements from falling off over time. After sealing, allow your creation to dry completely in a well-ventilated area before placing it in its permanent home.
Common mistake to avoid: Using too much sealer at once, which can cause materials to droop or run. Apply several light coats instead of one heavy layer.
Choosing the Perfect Spot: Setting the Stage for Magic
1. Garden Nooks: Natural Hideaways
- Position your fairy house between flowering plants to create a hidden sanctuary that looks like it naturally belongs there.
- Seek out areas with existing moss or small ground cover plants that can serve as ready-made fairy lawns.
- Choose locations near butterfly-attracting flowers to bring real-life “fairies” to visit your miniature creation.
2. Tree Bases: Woodland Wonders
- Nestle your fairy house against exposed tree roots that can serve as natural staircases and boundaries for your fairy realm.
- Look for trees with small hollows or crevices at the base that can be incorporated as caves or storage areas in your fairy landscape.
- Choose trees with interesting bark patterns that complement the natural materials of your fairy house design.
3. Indoor Planters: Bringing Magic Inside
- Use deep containers that allow space for both living plants and your fairy structure without overcrowding.
- Select planters with drainage holes and a catch basin to maintain healthy plants without water damage to your fairy house.
- Choose locations near windows for natural light but away from heating vents or air conditioners that could damage delicate fairy house elements.
Maintaining the Magic: 5 Preservation Tips
- Seasonal refreshing: Replace any deteriorated natural materials (leaves, flowers, etc.) quarterly to keep your fairy garden looking vibrant and well-maintained.
- Gentle cleaning: Use a small, soft paintbrush or compressed air to dust your fairy house regularly, removing debris without damaging delicate features.
- Weather protection: Apply a fresh coat of clear sealant every six months for outdoor fairy houses to protect against rain, sun damage, and temperature changes.
- Plant maintenance: Trim any live plants in or around your fairy garden before they overgrow and overwhelm your miniature creation.
- Winter Considerations: For outdoor displays, either bring your fairy house indoors during harsh winter months or cover it with a clear dome to protect it from snow and ice.
Conclusion
Fairy houses bring a touch of magic to any space, turning ordinary gardens and indoor areas into miniature worlds of wonder. By using simple materials from nature and your craft drawer, you’ve now learned how to build these charming dwellings from the ground up.
Remember to start with a strong base, use natural materials for realism, and add those small details that truly bring your creation to life. Whether tucked between garden plants, nestled at the base of a tree, or displayed in an indoor planter, your fairy house will create a focal point that sparks joy.
With proper care and occasional maintenance, your fairy creation can last through changing seasons, bringing smiles to anyone who spots it. So gather your materials, find that perfect spot, and start building your little bit of magic today!
