
Most backyard upgrades cost more than expected and deliver less than promised. The best gravel patio ideas prove that a tight budget and a sharp result aren’t mutually exclusive.
What makes or breaks the outcome isn’t the gravel you choose. It’s the base beneath it, depth, edging, and fabric do the work that gravel alone never can.
Here you’ll find layout ideas, a gravel type comparison, and practical guidance on keeping it all low-maintenance without spending more than you need to.
Whether you’re starting from scratch or fixing what went wrong last time, everything you need to plan a patio that holds up is right here.
What Makes a Gravel Patio Actually Work?
A gravel patio stays attractive and functional only when three things are right from the start: depth, containment, and gravel type.
When a patio fails, gravel spreading into the lawn, weeds pushing through, surfaces sinking, the gravel isn’t the problem. The base prep and edging are. Get those right, and the gravel does its job.
Depth is the one thing you can’t negotiate on. You need 4–5 inches total, with a compacted base layer underneath your finish gravel. That base is what holds everything level and drains water properly.
Think of a paver-and-gravel patio as a system, not just a material choice. The gravel type, base depth, and edging all affect each other. Change one, and the others have to compensate. That’s the lens that makes every decision after this one easier.
Gravel Patio Ideas for Every Backyard Style and Budget
These ideas range from a single weekend of work to a multi-phase project. Each paver and gravel patio layout below has a different priority; knowing what separates them helps you pick the one that fits your yard, not just your Pinterest board.
1. Pea Gravel Seating Circle with Metal Edging
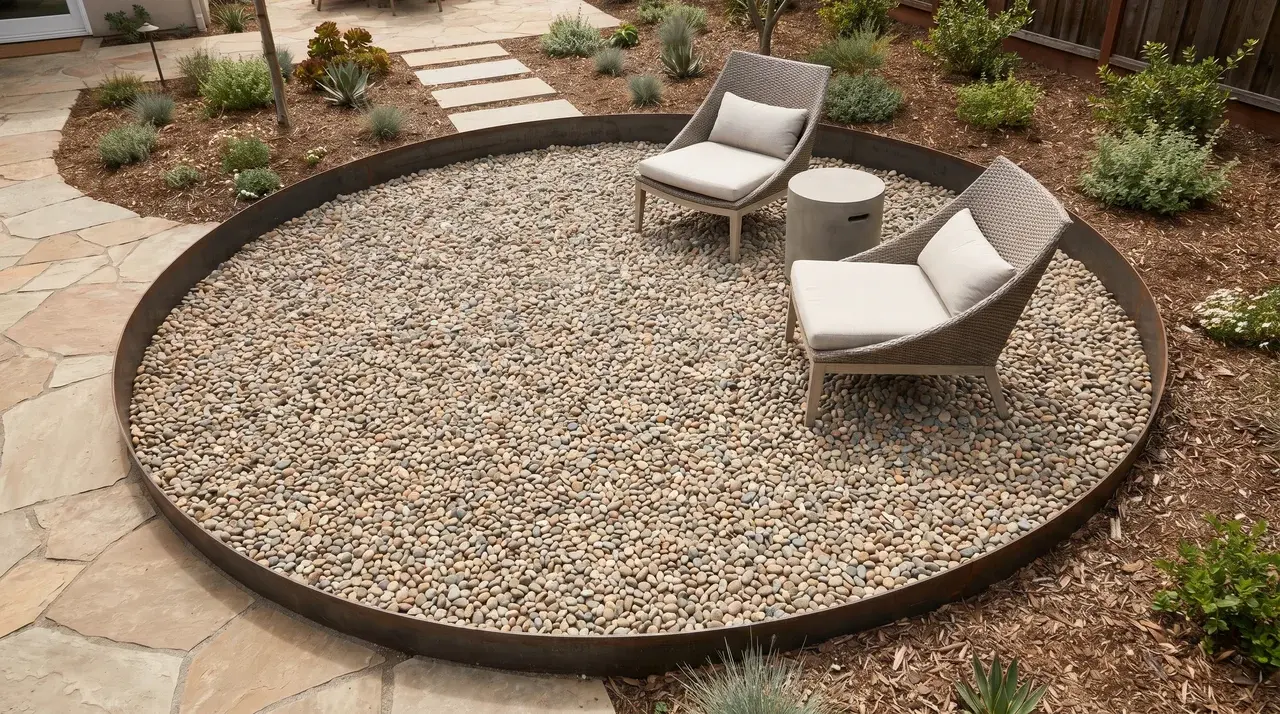
A round gravel area defined by a continuous metal edge makes a clean, contained seating zone. The circle shape gives it presence without extra structure.
Steel or aluminum edging bends cleanly into a curve and stays flush with the surface. Keep the gravel depth at a minimum of 4 inches for lasting stability.
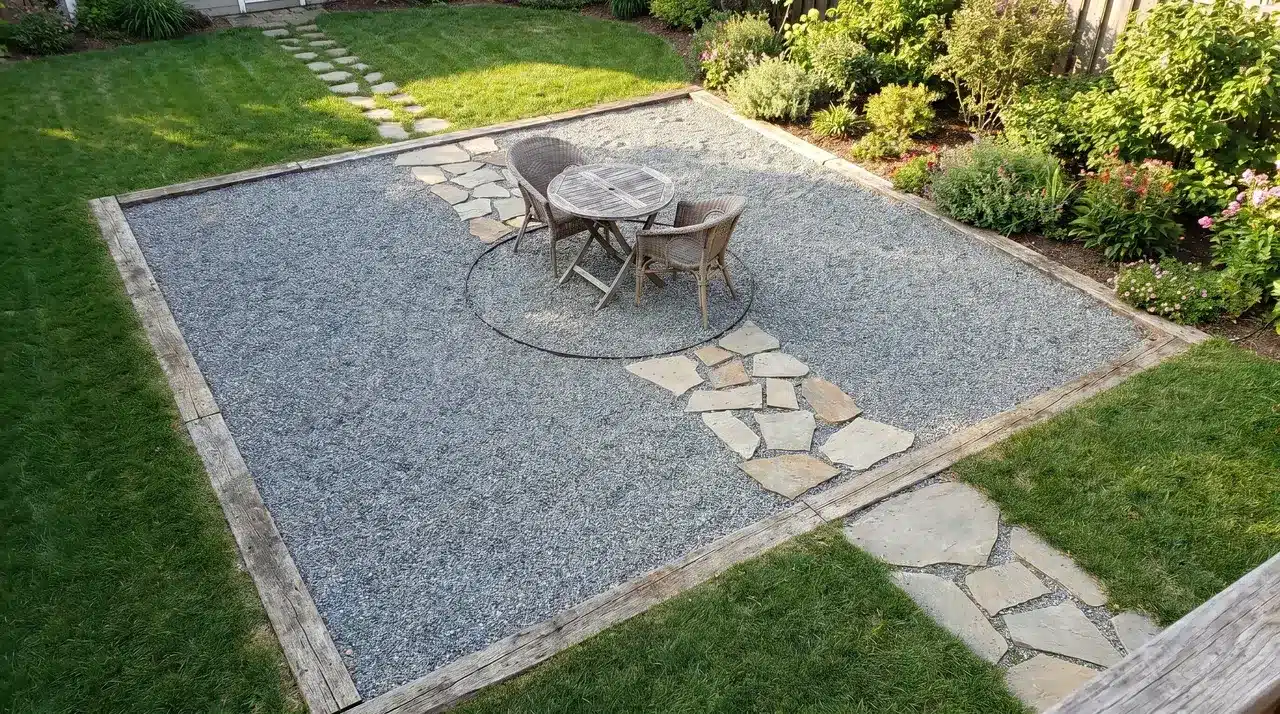
2. Crushed Gravel Rectangular Patio with Timber Border
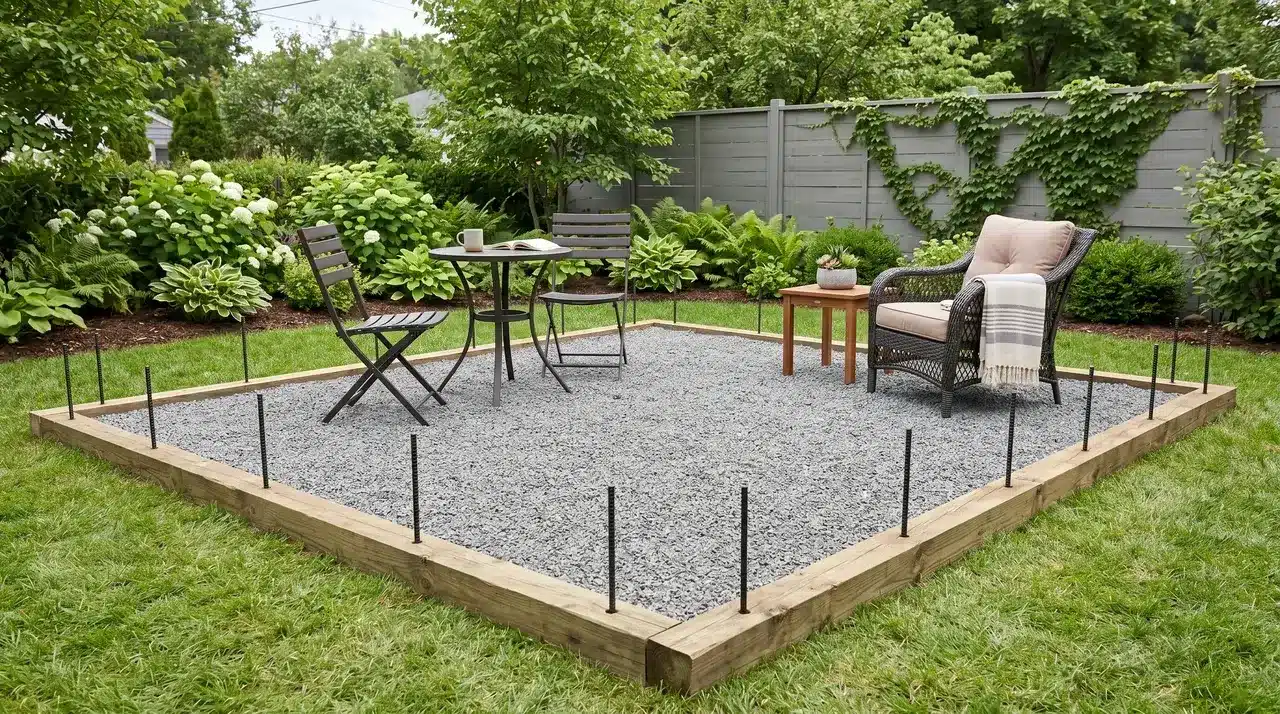
Timber frames the space and locks gravel in place along straight runs. Crushed gravel compacts better than pea gravel, so furniture sits without rocking.
Use pressure-treated timber rated for ground contact. Anchor it with rebar stakes every 4 feet to prevent the border from bowing outward under pressure.
3. Flagstone Stepping Stones Set Into Gravel
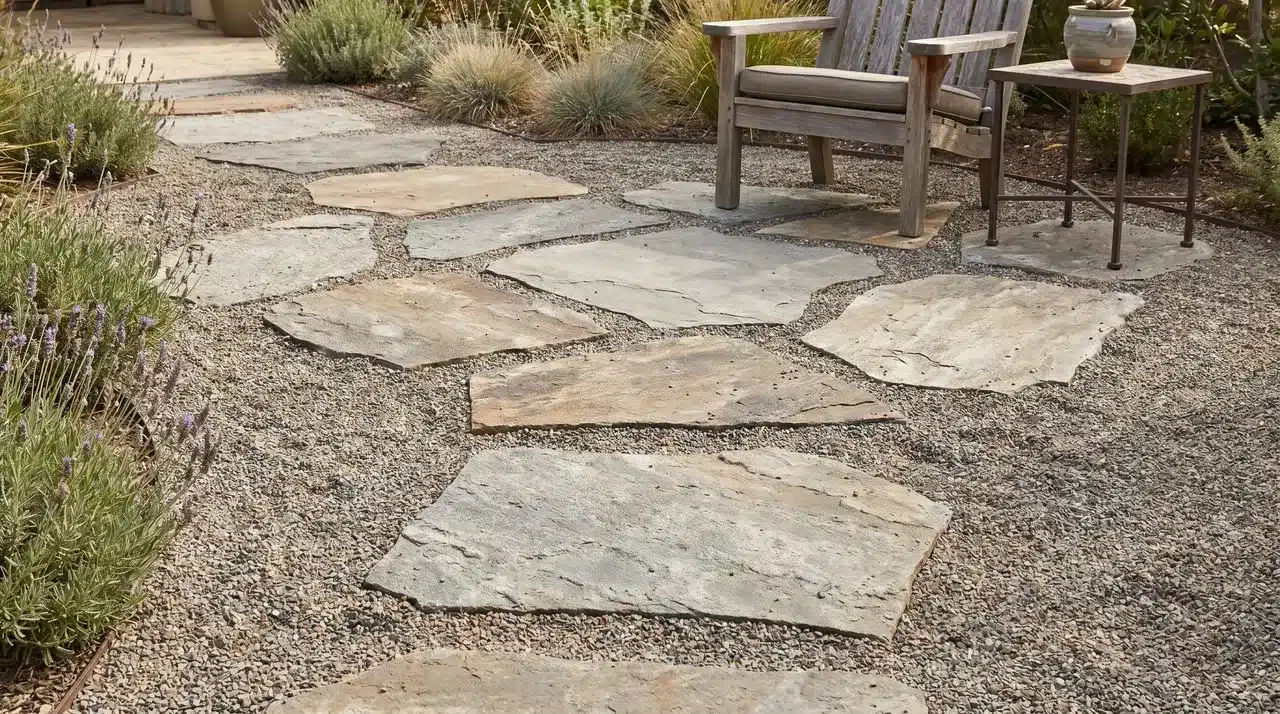
Irregular flagstone pieces laid across a gravel field give the patio a natural, unhurried look. Set them level with the surface so they don’t tip.
Each stone needs a compacted sand bed beneath it. Gravel shifts under concentrated weight, so stones set directly into it will rock with use.
4. Square Concrete Pavers in a Grid with Gravel Infill
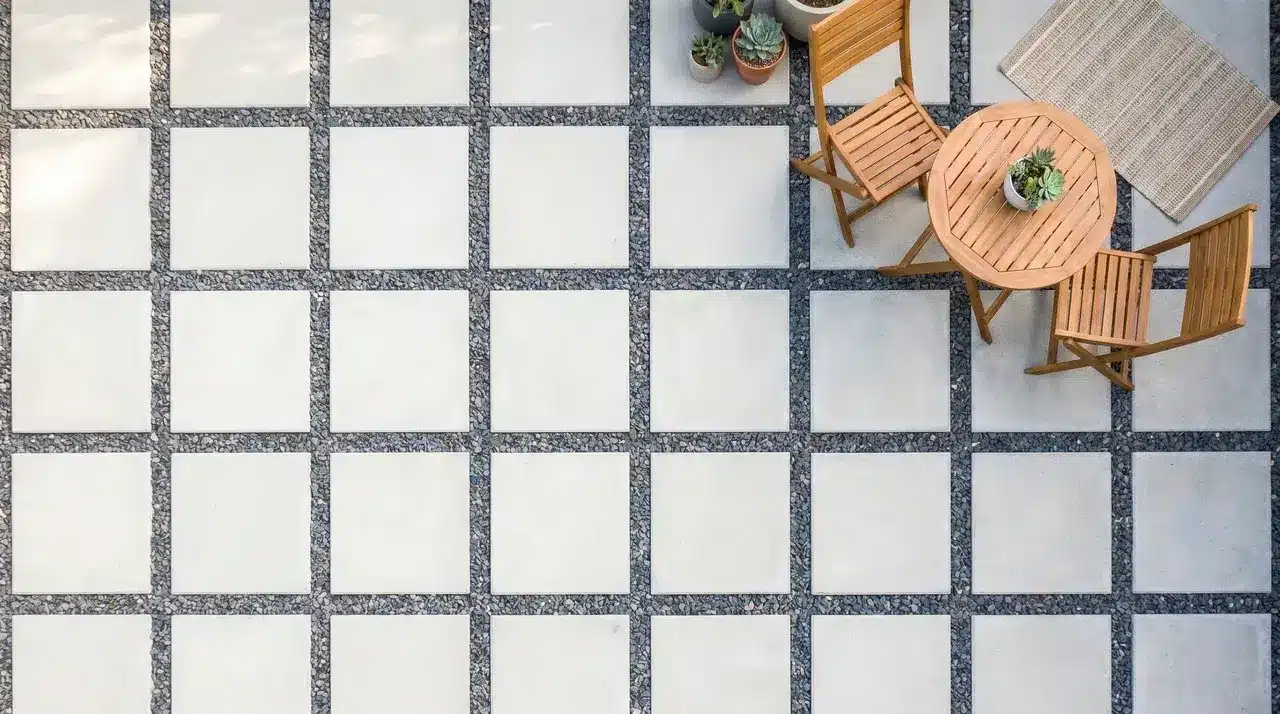
This is one of the most versatile paver-and-gravel patio layouts for mixed-use backyards. Pavers handle the spots where people walk and sit, while gravel fills everything else.
Set pavers on a compacted sand base, not loose gravel. Each one needs stable footing, or it sinks unevenly within a single season of use.
5. Gravel Fire Pit Surround with Stacked Stone Ring
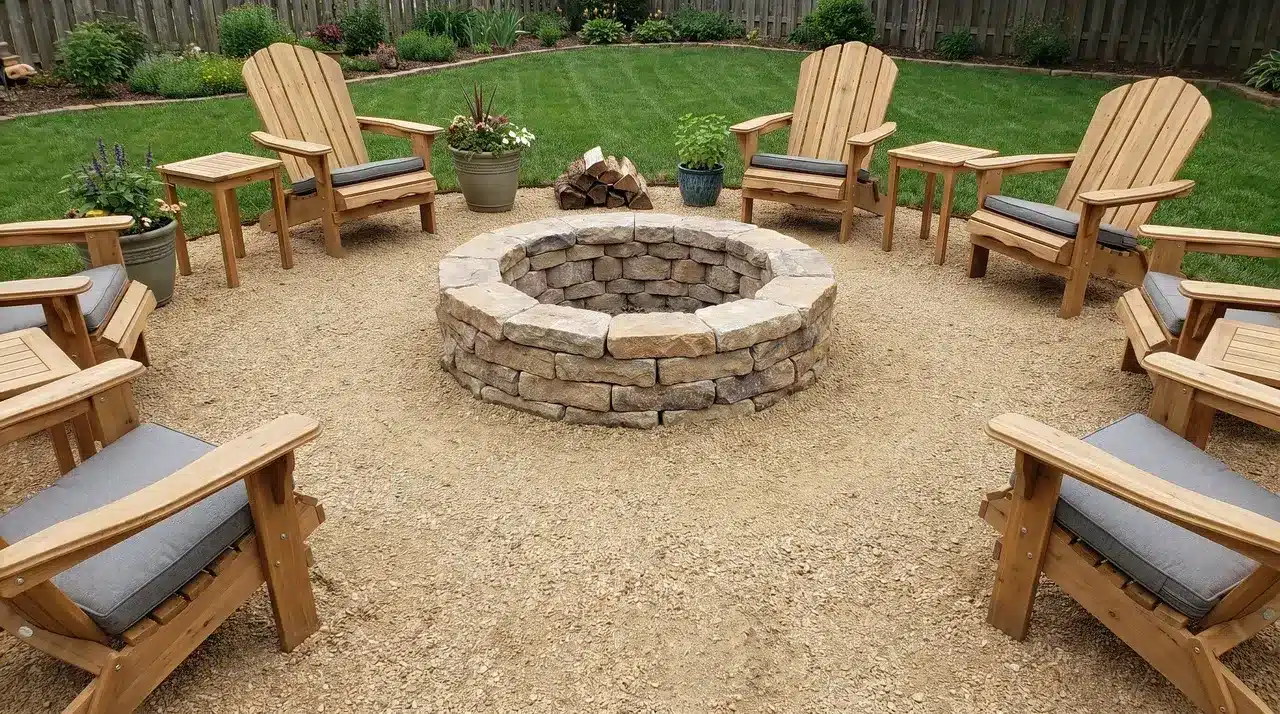
Gravel is a smart surface around a fire pit; it won’t burn and levels easily. Keep pea gravel away from open flames; it can pop when heated.
Crushed granite handles heat better in the immediate fire zone. Extend the gravel area at least 8 feet out for safe seating and ember clearance.
6. Sunken Gravel Nook with Retaining Timber Perimeter
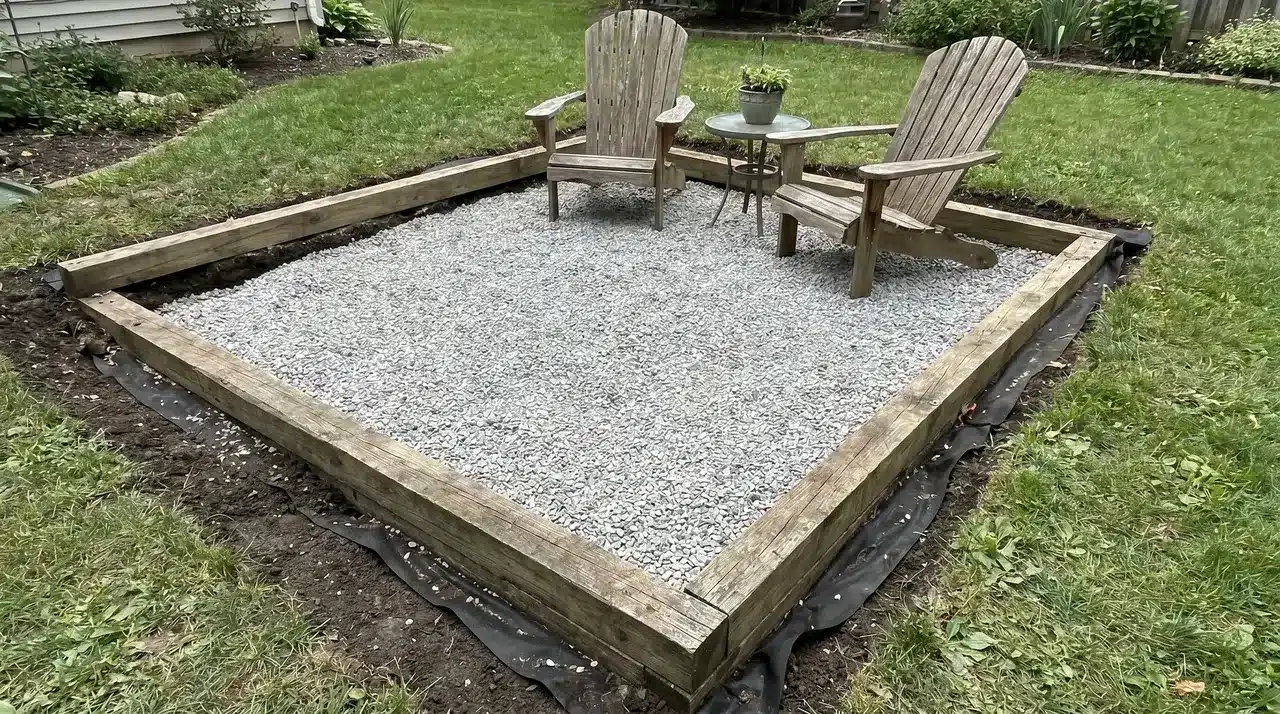
Dropping gravel 3–4 inches below grade and framing it with timber naturally contains the material. It creates a subtle enclosure that feels intentional and defined.
Line the excavated sides with landscape fabric before adding gravel. This prevents surrounding soil from washing into the base layer after heavy rain.
7. Gravel Pathway Connecting Patio Zones
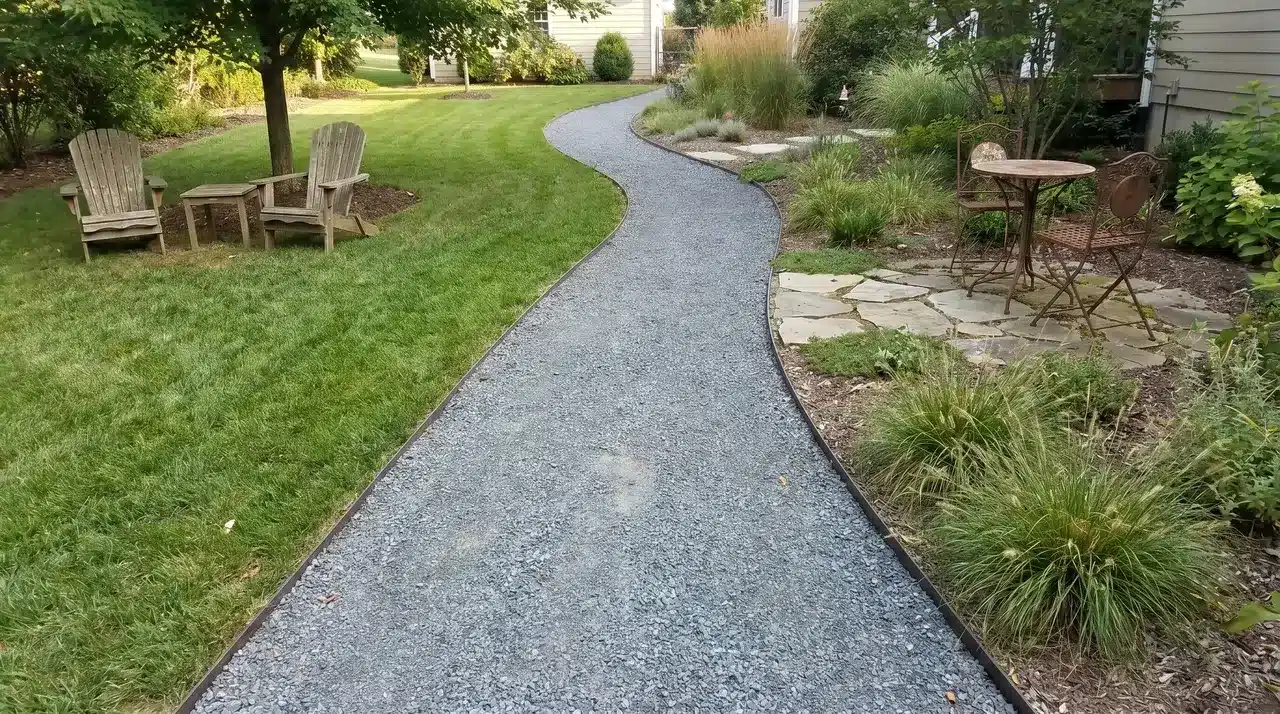
A gravel path between a deck, lawn, and seating area ties the yard together without full hardscaping. Keep it at least 3 feet wide throughout.
Crushed gravel stays firm underfoot and doesn’t scatter like pea gravel. Edge both sides with a steel strip to maintain a clean, defined line over the long term.
8. Mixed Gravel Sizes for Textural Contrast
Layering coarser base gravel under a finer finish layer adds surface depth and improves drainage. Size differences need to be distinct enough to look intentional.
A 3/4-inch base under 3/8-inch finish gravel is a reliable pairing. Keep sizes separate by layer, mixing them within a single layer causes uneven shifting.
9. Decomposed Granite Patio with Plant Border
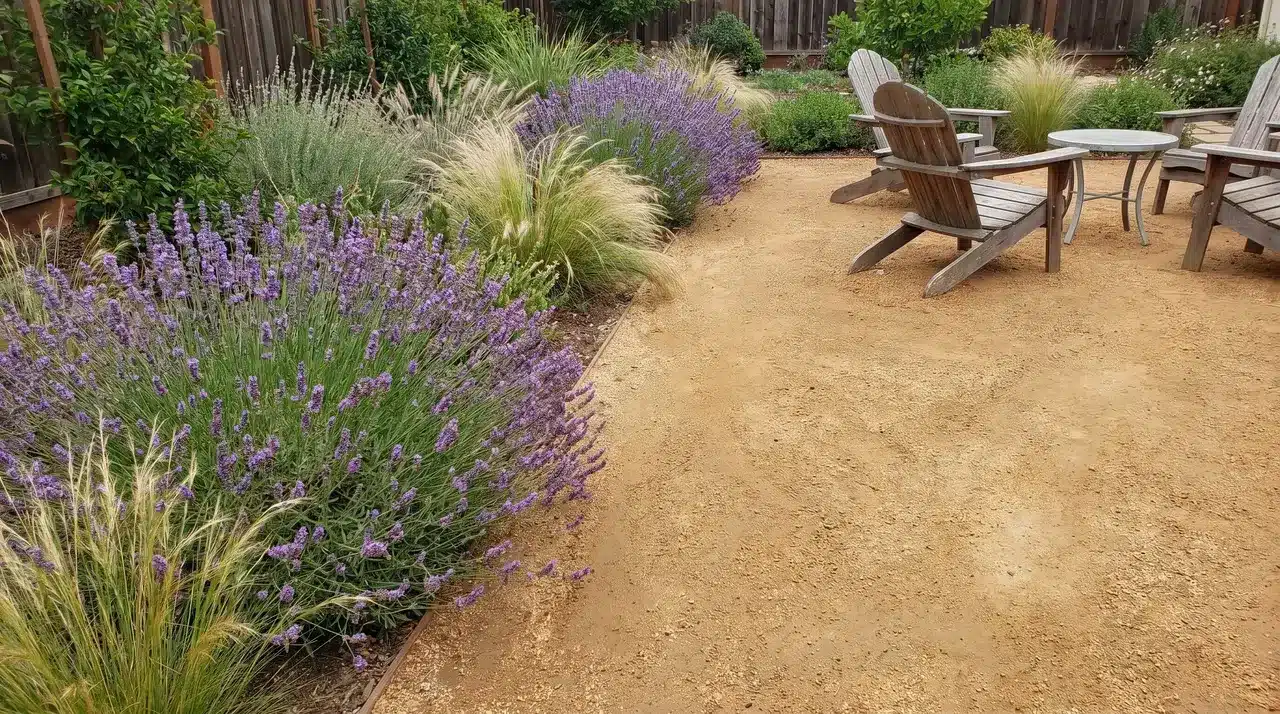
Decomposed granite compacts into an almost solid surface and suits drought-tolerant planting schemes well. It needs reapplication every couple of years as it gradually erodes.
Stabilized decomposed granite extends the time between top-ups. Plant the border with lavender or ornamental grasses; both thrive in the fast-draining conditions this material creates.
10. Gravel Patio with Raised Garden Bed Edging on One Side
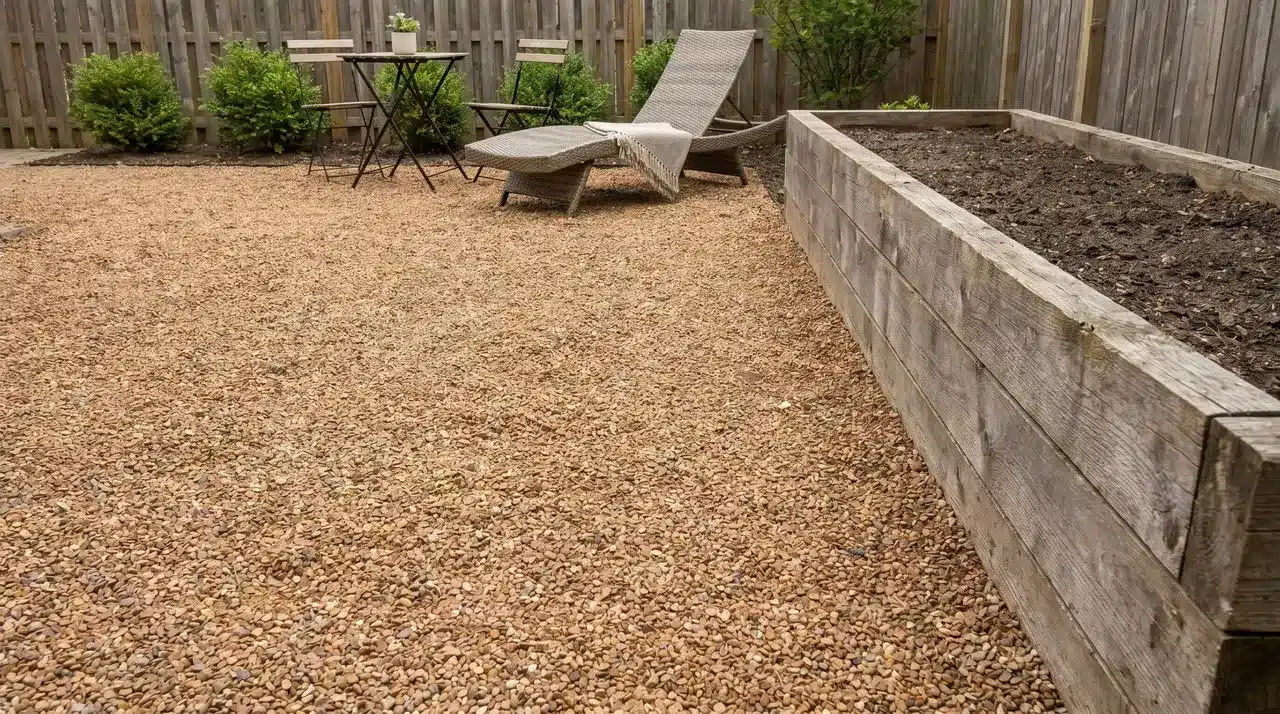
A raised bed along one edge doubles as a visual anchor and privacy screen when planted with taller varieties. It gives the patio a clear boundary.
Build the raised bed before laying the gravel base. Use the bed wall as edging on that side; it eliminates a redundant strip and keeps transitions clean.
11. White Gravel with Dark Metal Edging for Modern Contrast
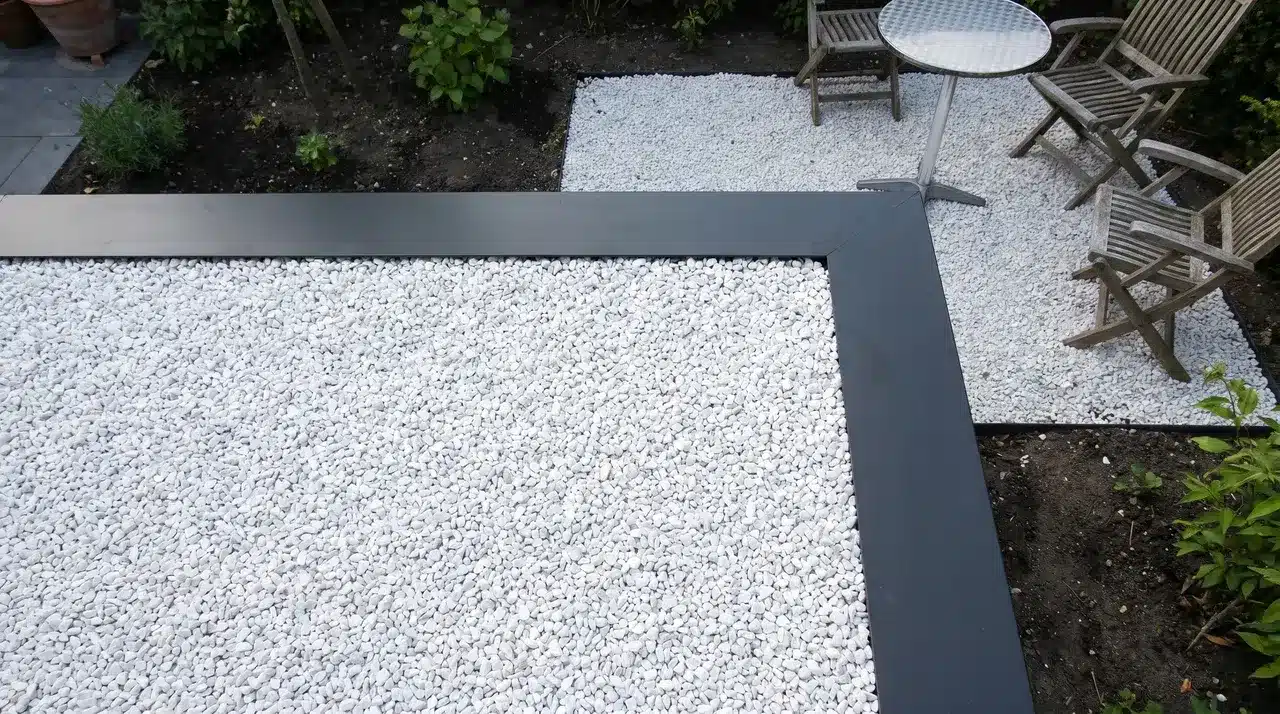
The contrast between pale gravel and dark edging reads as deliberate and sharp. White gravel shows dirt faster, so it suits lower-traffic areas best.
White quartz holds color longer than marble chips under the sun and rain. Rinse annually with a garden hose to restore brightness without replacing the material.
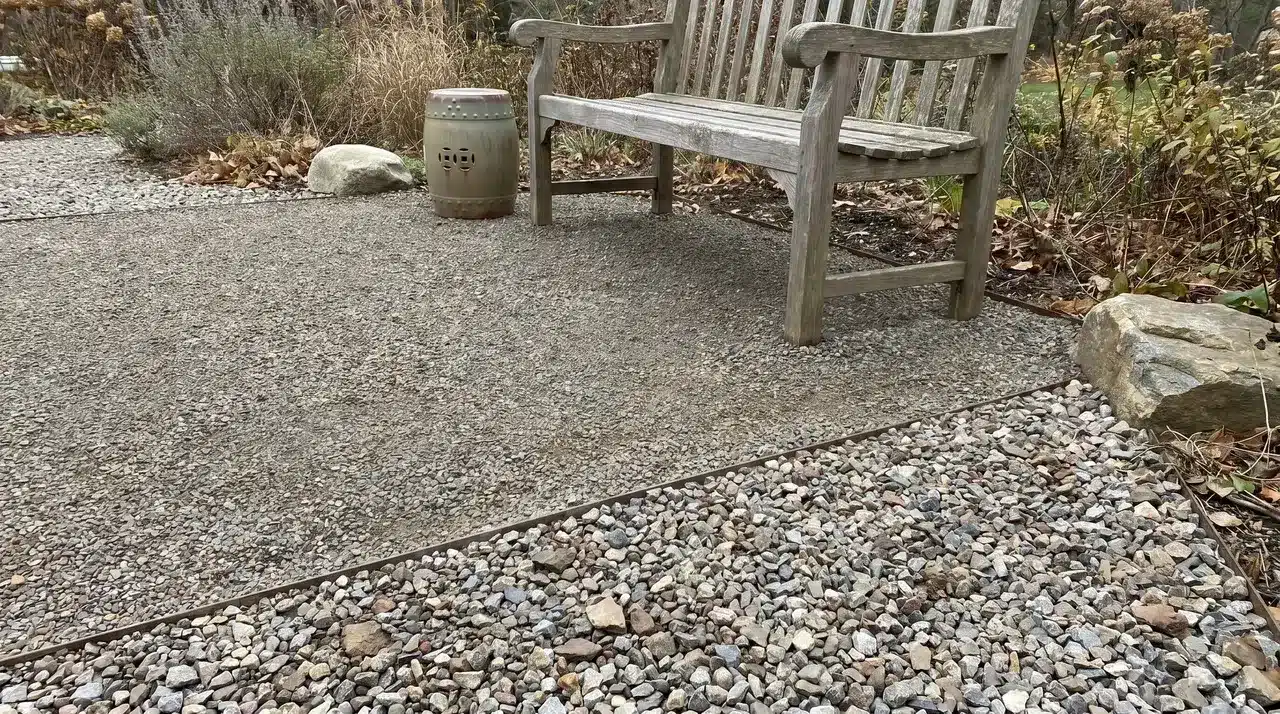
12. Natural Flagstone Perimeter with Pea Gravel Center Fill
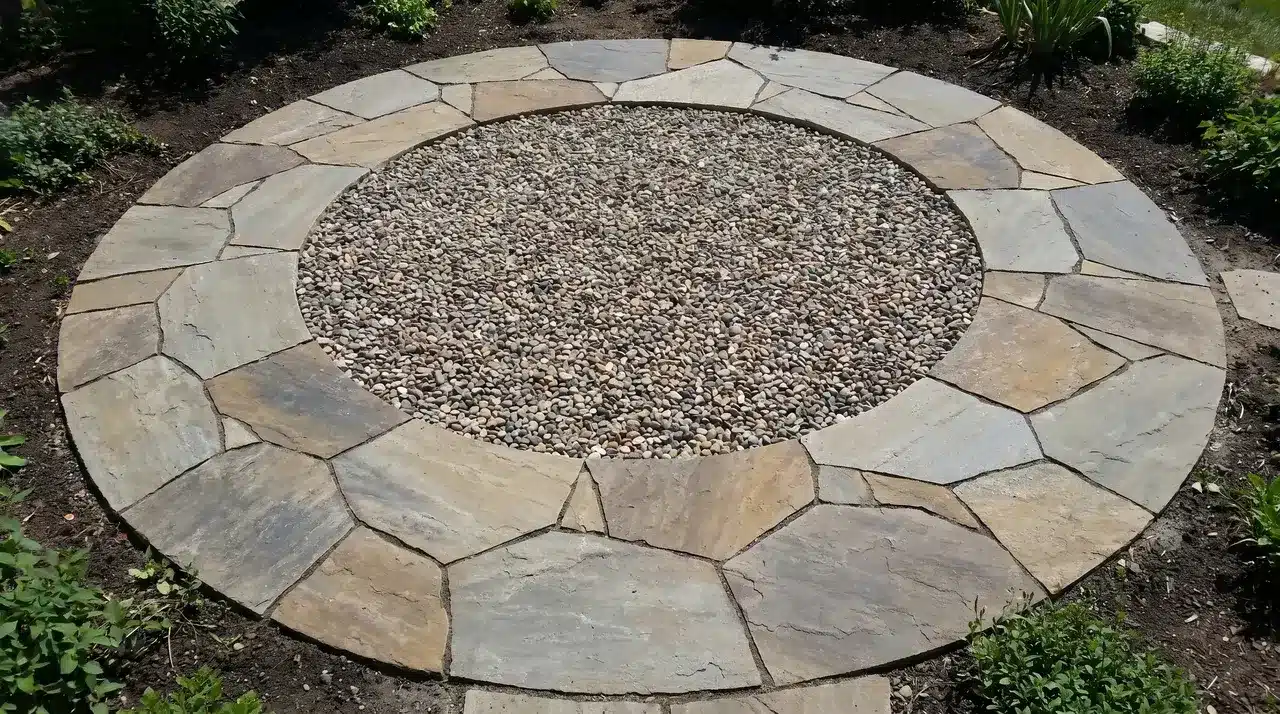
Flagstone around the outside creates a solid, walkable edge while pea gravel fills the interior with texture. The flagstone perimeter also functions as a natural edging.
Set the flagstone on a compacted sand-and-gravel base, not on soil alone. Interior pea gravel should sit just below the flagstone surface to prevent scattering.
13. Gravel Dining Area Defined by Pergola Footprint
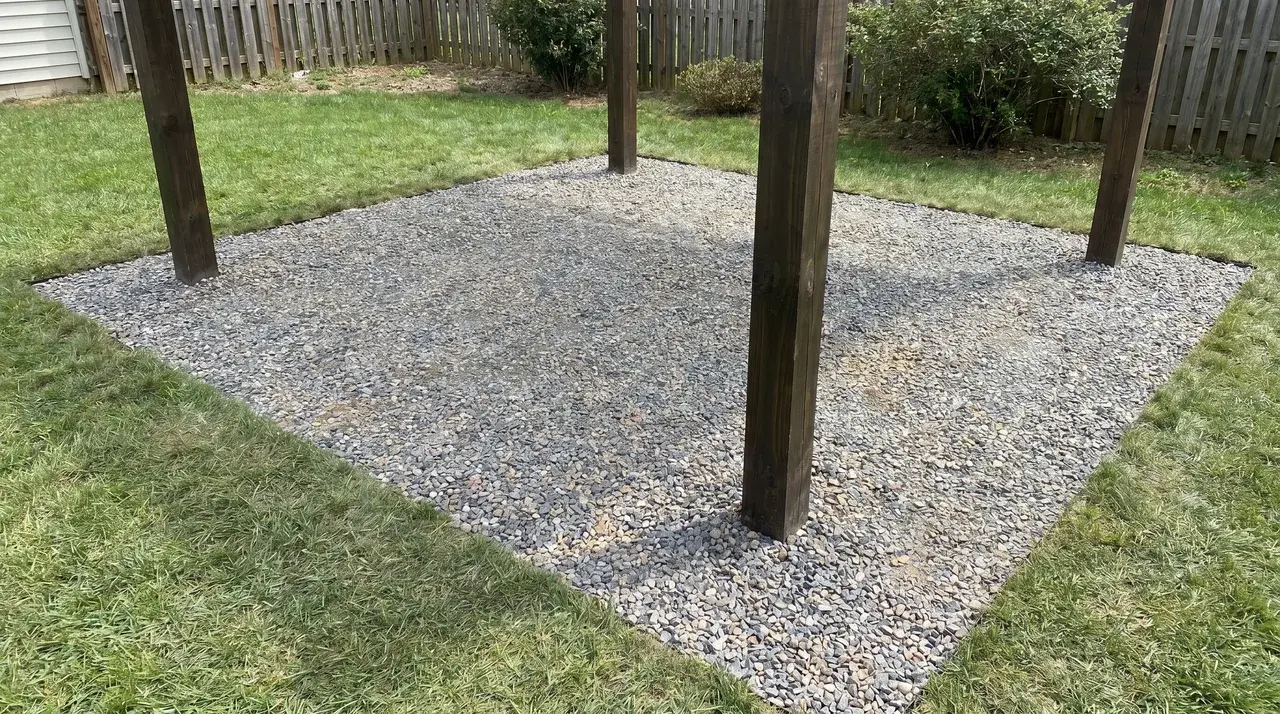
Gravel under a pergola grounds the structure visually and drains better than pavers in a partially covered space. Match the gravel area exactly to the footprint.
Extend gravel 12 to 18 inches beyond the posts on each side. Use crushed gravel under dining furniture; it stays compact and holds chair legs level.
14. Paver Border with Gravel Interior and Outdoor Rug
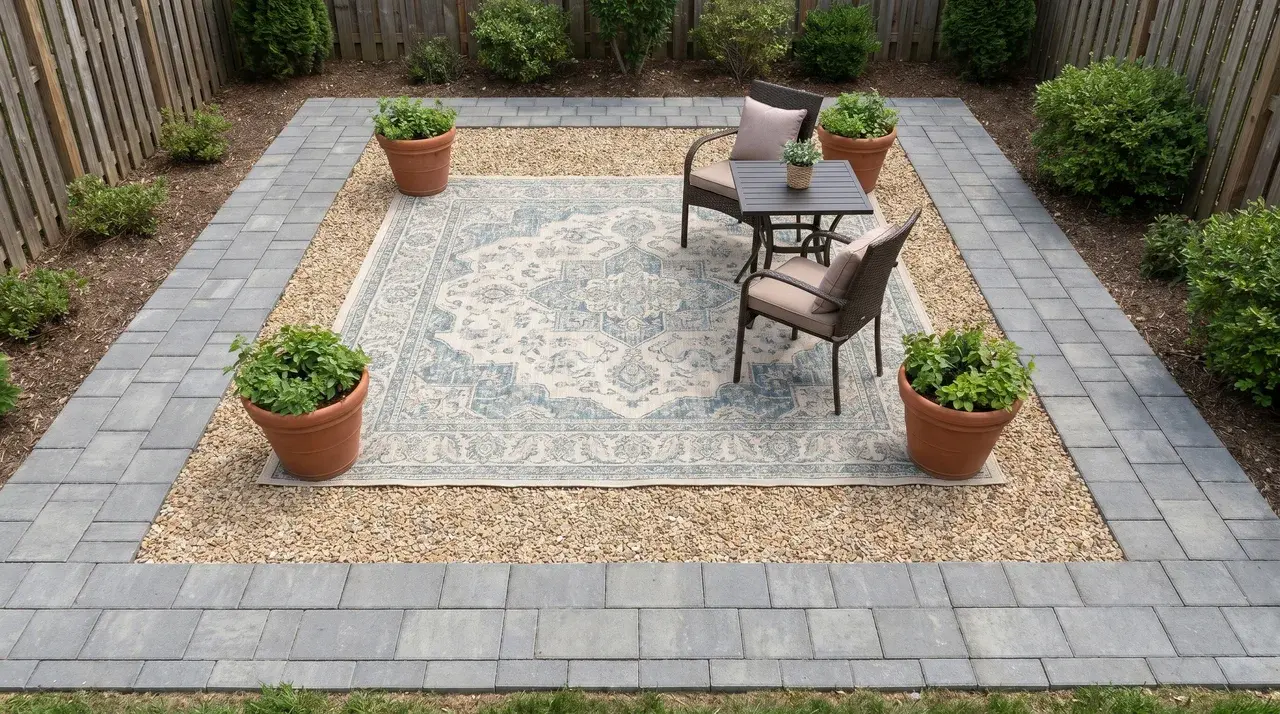
A paver border gives a paver-and-gravel patio a finished edge, while an outdoor rug over the interior provides furniture stability without a full paver installation throughout.
Polypropylene rugs resist moisture and dry quickly on gravel surfaces. Weight the corners with furniture or planters; gravel won’t grip the rug backing against the wind.
15. Dry Creek Bed Transitioning Into Gravel Patio
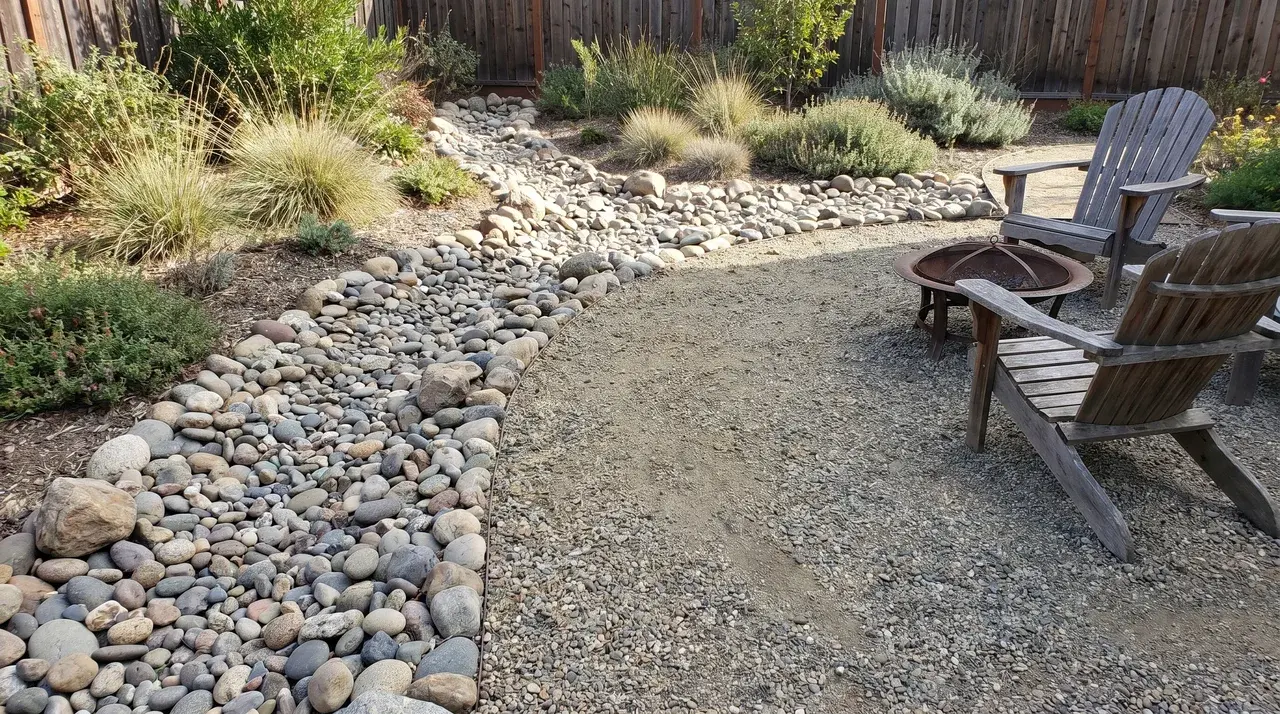
A dry creek bed flowing into a gravel patio blurs the line between landscaping and hardscaping. The result looks considered rather than patched together.
The creek bed stones should be noticeably larger than the patio gravel; that size shift is what makes the transition read as intentional. Shape the bed with a slight curve before it reaches the patio.
16. Gravel Courtyard with Potted Plants as Zone Dividers
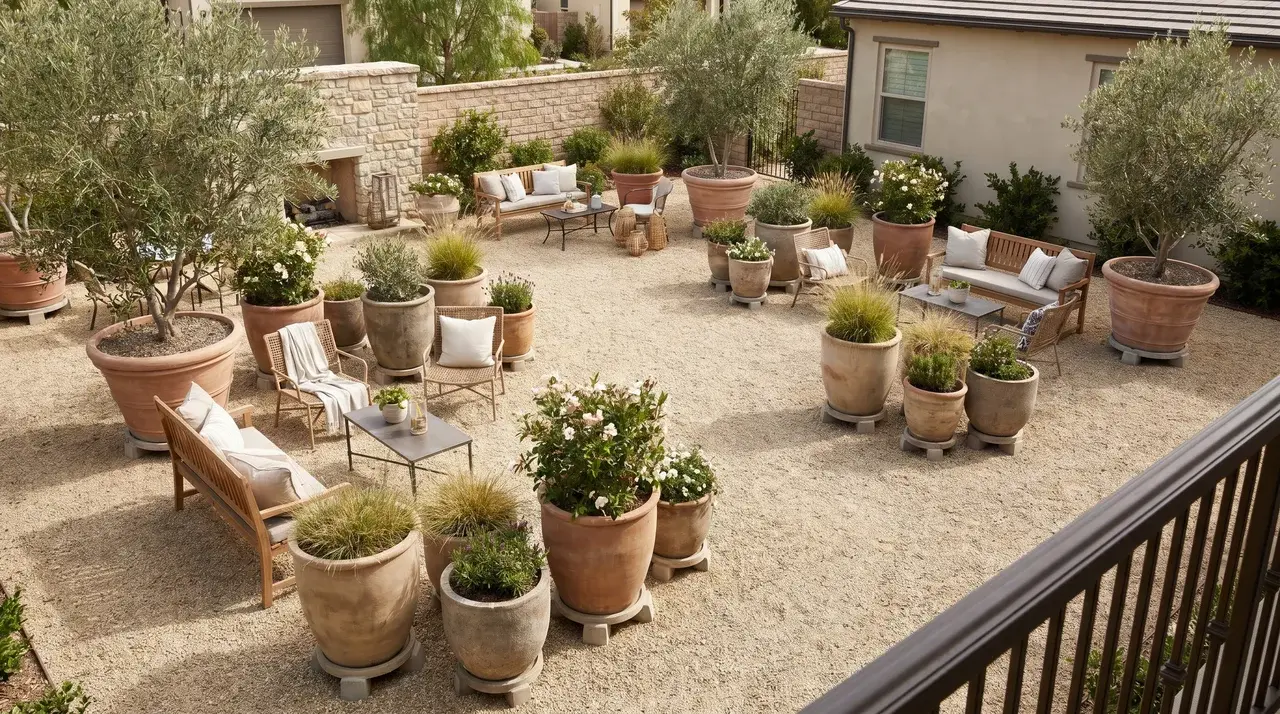
Large pots placed strategically break up a wide gravel area into smaller zones without the need for permanent structures. Move them freely as the space evolves.
Use pots with raised feet to prevent moisture buildup beneath them. Vary container heights to create visual rhythm without cluttering the surface.
17. Stepping Stone Grid Across Gravel for Barefoot Comfort
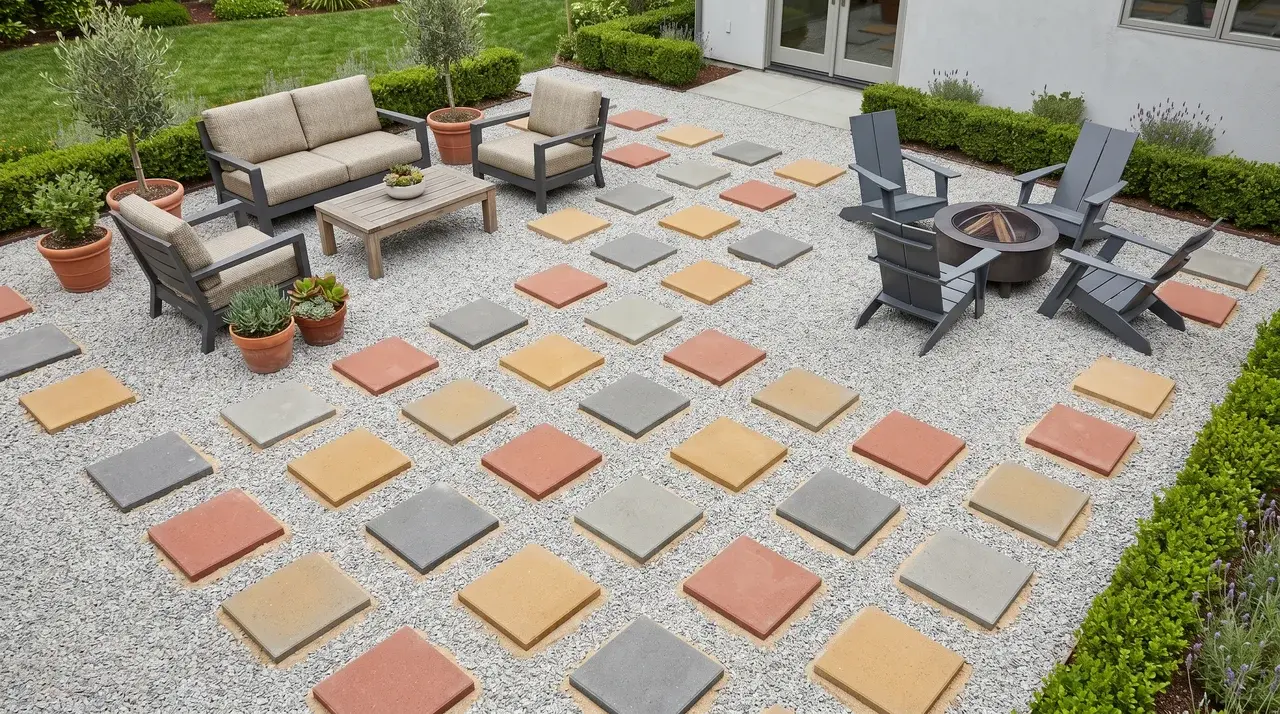
A regular grid of stepping stones gives bare feet a surface to land on without covering the whole patio. Space them at a natural walking stride.
Set each stone on a sand bed for independent releveling. Concrete pavers in a consistent size make the grid easier to keep visually uniform over time.
18. Gravel with Low Ground Cover Plants Growing Through
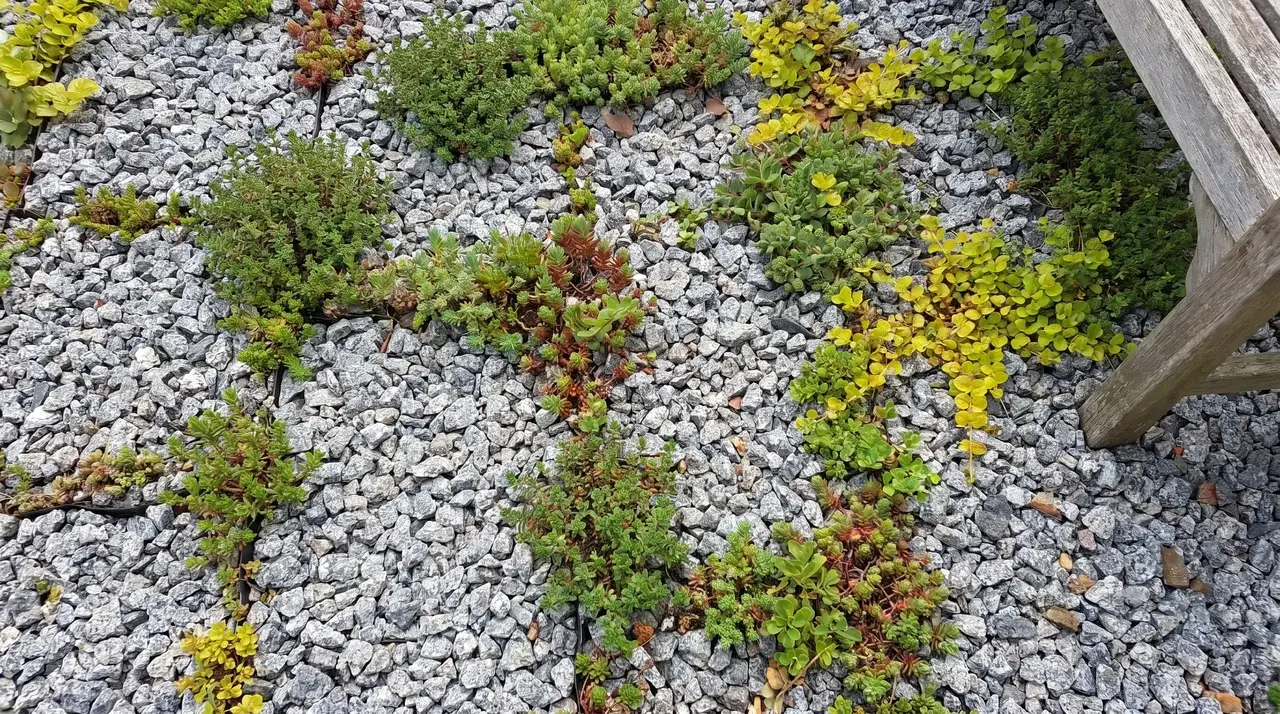
Planting low creeping varieties between gravel sections softens the look and cuts the visual weight of a large gravel area. Use dry-tolerant species throughout.
Thyme, sedum, and creeping Jenny root well in gravel gaps without overwhelming the surface. Cut fabric holes before adding gravel; planting through it later damages the barrier.
19. Pea Gravel Around an Above-Ground Pool Deck
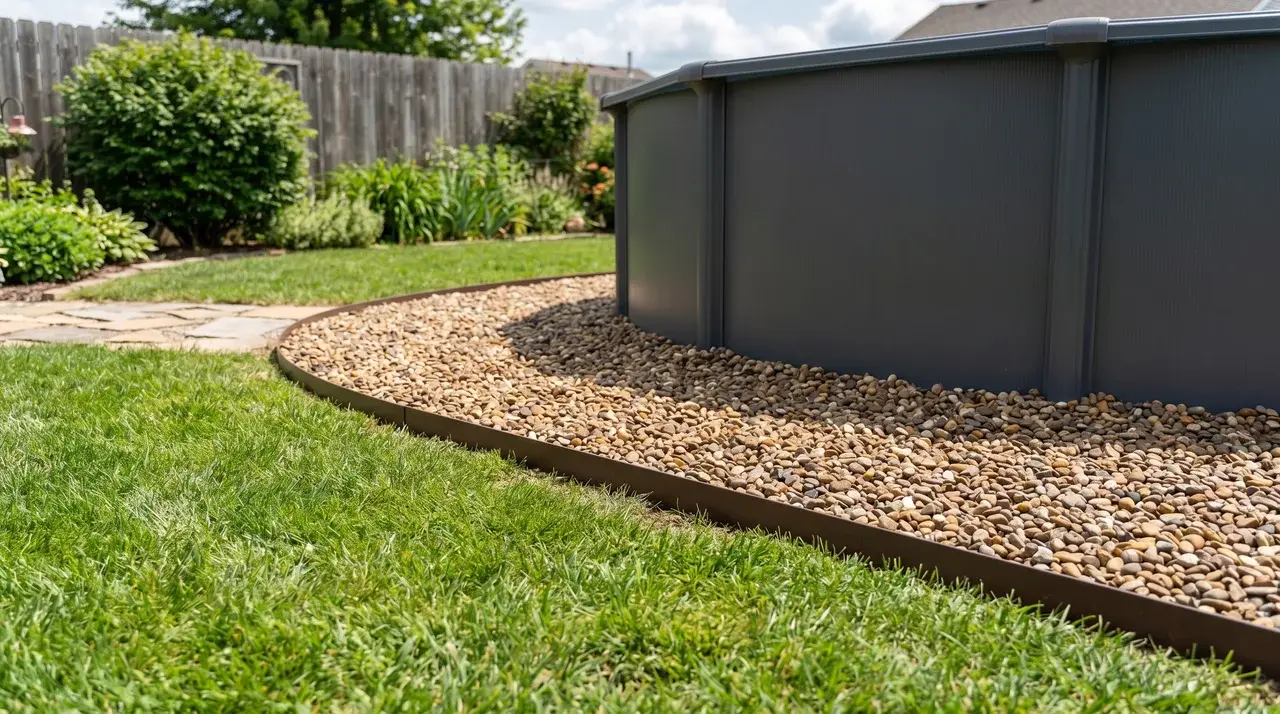
Gravel around a pool drains quickly, handles foot traffic, and stays cooler underfoot than concrete. Contain it tightly; wet feet carry gravel further than you’d expect.
Install steel edging at the transition between gravel and adjacent lawn. Top up the gravel level each spring, as pool areas displace material faster than standard patios.
20. Tiered Gravel Patio on a Sloped Yard Using Retaining Walls
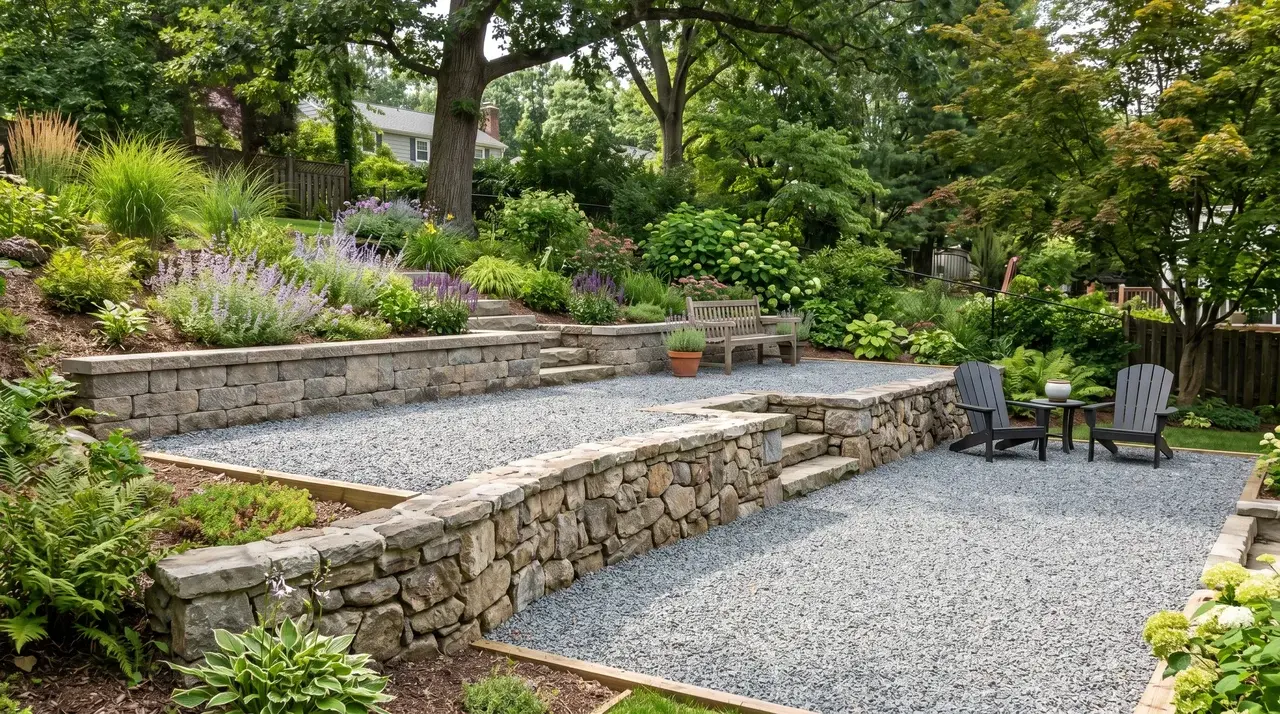
Retaining walls cut into a slope to create level gravel terraces that would otherwise stay unusable. Each tier needs its own base prep and edging installed separately.
Drainage between tiers matters as much as within them. Keep individual tiers under 10 feet deep; wider tiers trap water and make it harder to maintain an even surface.
Which Gravel Type to Use and Why it Matters?
Pea gravel and crushed gravel are the two dominant choices for patios, and they behave differently underfoot, under furniture, and under rain. Decomposed granite sits in its own lane, almost a paved surface, not quite a gravel one.
The table below breaks down how each material performs across the decisions that matter most.
| Features | Pea Gravel | Crushed Gravel | Decomposed Granite |
|---|---|---|---|
| Comfort underfoot | Smooth, barefoot-friendly | Hard and angular | Firm, almost path-like |
| Furniture stability | Shifts under legs | Holds well once compacted | Holds well when dry |
| Drainage | Excellent | Good | Fair; muddies when wet |
| Slope performance | Poor; rolls and migrates | Strong; pieces lock together | Moderate |
| Maintenance | Regular top-up needed | Less frequent | Needs reapplication over time |
| Best suited for | Casual seating, flat yards | High-traffic areas, slopes | Dry, naturalistic aesthetics |
If you’re on a slope, crushed gravel is the call regardless of what else appeals to you. For a flat, casual seating area where comfort matters more than firmness, pea gravel delivers more for less.
How Do Pavers and Gravel Work Together?
In a paver and gravel patio, pavers serve two functions at once: they anchor foot traffic paths and give furniture stable footing, while gravel fills the space with drainage and visual texture.
Pavers dropped directly into gravel without a compacted sand or stone base will shift within one season. Gravel compresses unevenly under weight, the paver sinks on one side and tips. The base prep under each paver is what keeps the whole surface honest.
Not every paver type is the right fit for every situation. Here’s how the main options differ in practice:
- Square concrete pavers are the most affordable and easiest to level. They read as utilitarian up close, which suits relaxed, informal layouts well.
- Natural flagstone looks more organic and suits casual designs. Irregular thickness makes leveling harder; budget extra time for base prep.
- Stepping stones work well for path lines through gravel. They’re not suited for furniture zones; the surface area is too small to support a chair leg.
Pick the paver type based on where it’s going and what it needs to support. How it looks in photos is the last thing to factor in, not the first.
How to Keep a Gravel Patio Low-Maintenance?
A gravel patio isn’t automatically low-maintenance. Its upkeep stays minimal only when the right materials and depth are installed correctly from the start. These three steps do most of the work:
- Use landscape fabric: Place fabric under the gravel to block weeds. Overlap each seam by at least 6 inches; gaps let weeds through faster than bare soil would.
- Maintain proper gravel depth: Less than 3 inches lets foot traffic push the fabric to the surface. Aim for a minimum of 4 inches for reliable, long-term weed suppression.
- Top up gravel annually: Gravel compacts and shifts with use. Replacing about 10–15% of the original volume each year keeps the surface even and the fabric covered.
Conclusion
A well-built gravel patio isn’t luck. It’s the result of getting three decisions right: depth, containment, and gravel type, before anything else.
The ideas here cover every yard size, slope, and budget. Each one works when the base beneath it is built to hold up, not just hold together.
What separates a patio that lasts from one that scatters, sinks, and fills with weeds within a season is rarely the gravel. The difference is almost always below the surface.
Pick the layout that fits how you use your yard, build the base right, and start. A patio that works well doesn’t have to cost much to get there.
Frequently Asked Questions
How deep should gravel be for a patio?
A minimum of 4 inches total, a compacted base layer plus finish gravel on top. Less than that allows foot traffic to push through and weed fabric to surface.
What type of gravel is best for a patio?
Crushed gravel for high-traffic areas and slopes; pea gravel for flat, casual seating zones. Decomposed granite suits dry, naturalistic designs but muddies in wet conditions.
Do gravel patios need landscape fabric?
Yes. Fabric laid under the gravel blocks weeds from below. Seams must overlap by at least 6 inches; gaps are where most weed problems start, not the surface.