
I have always liked crafts that don’t require expensive supplies, and string bracelets are a perfect example.
With just a few strands of embroidery floss, you can create colorful accessories that feel personal and fun to wear. Some patterns are quick and simple, while others take a little more patience and practice.
That variety is what makes string bracelet patterns so popular with beginners and experienced crafters alike.
From classic friendship bracelets to creative designs featuring flowers, waves, and hearts, there are plenty of ideas to inspire your next project and help you make something uniquely your own.
Why DIY String Bracelets Never Go Out of Style
DIY string bracelets have stayed popular for generations because they are easy to make and feel more meaningful than many store-bought accessories.
Each bracelet is handmade, giving it a personal touch that a machine cannot replicate.
They also make thoughtful gifts since you can pick colors, patterns, and details that reflect someone’s personality or interests. Another reason people enjoy making them is the low cost.
A few strands of embroidery floss can create several bracelets without stretching your budget. Best of all, there are countless ways to get creative.
Different knot styles, color combinations, beads, and charms give every bracelet its own unique look.
How to Make a String Bracelet?
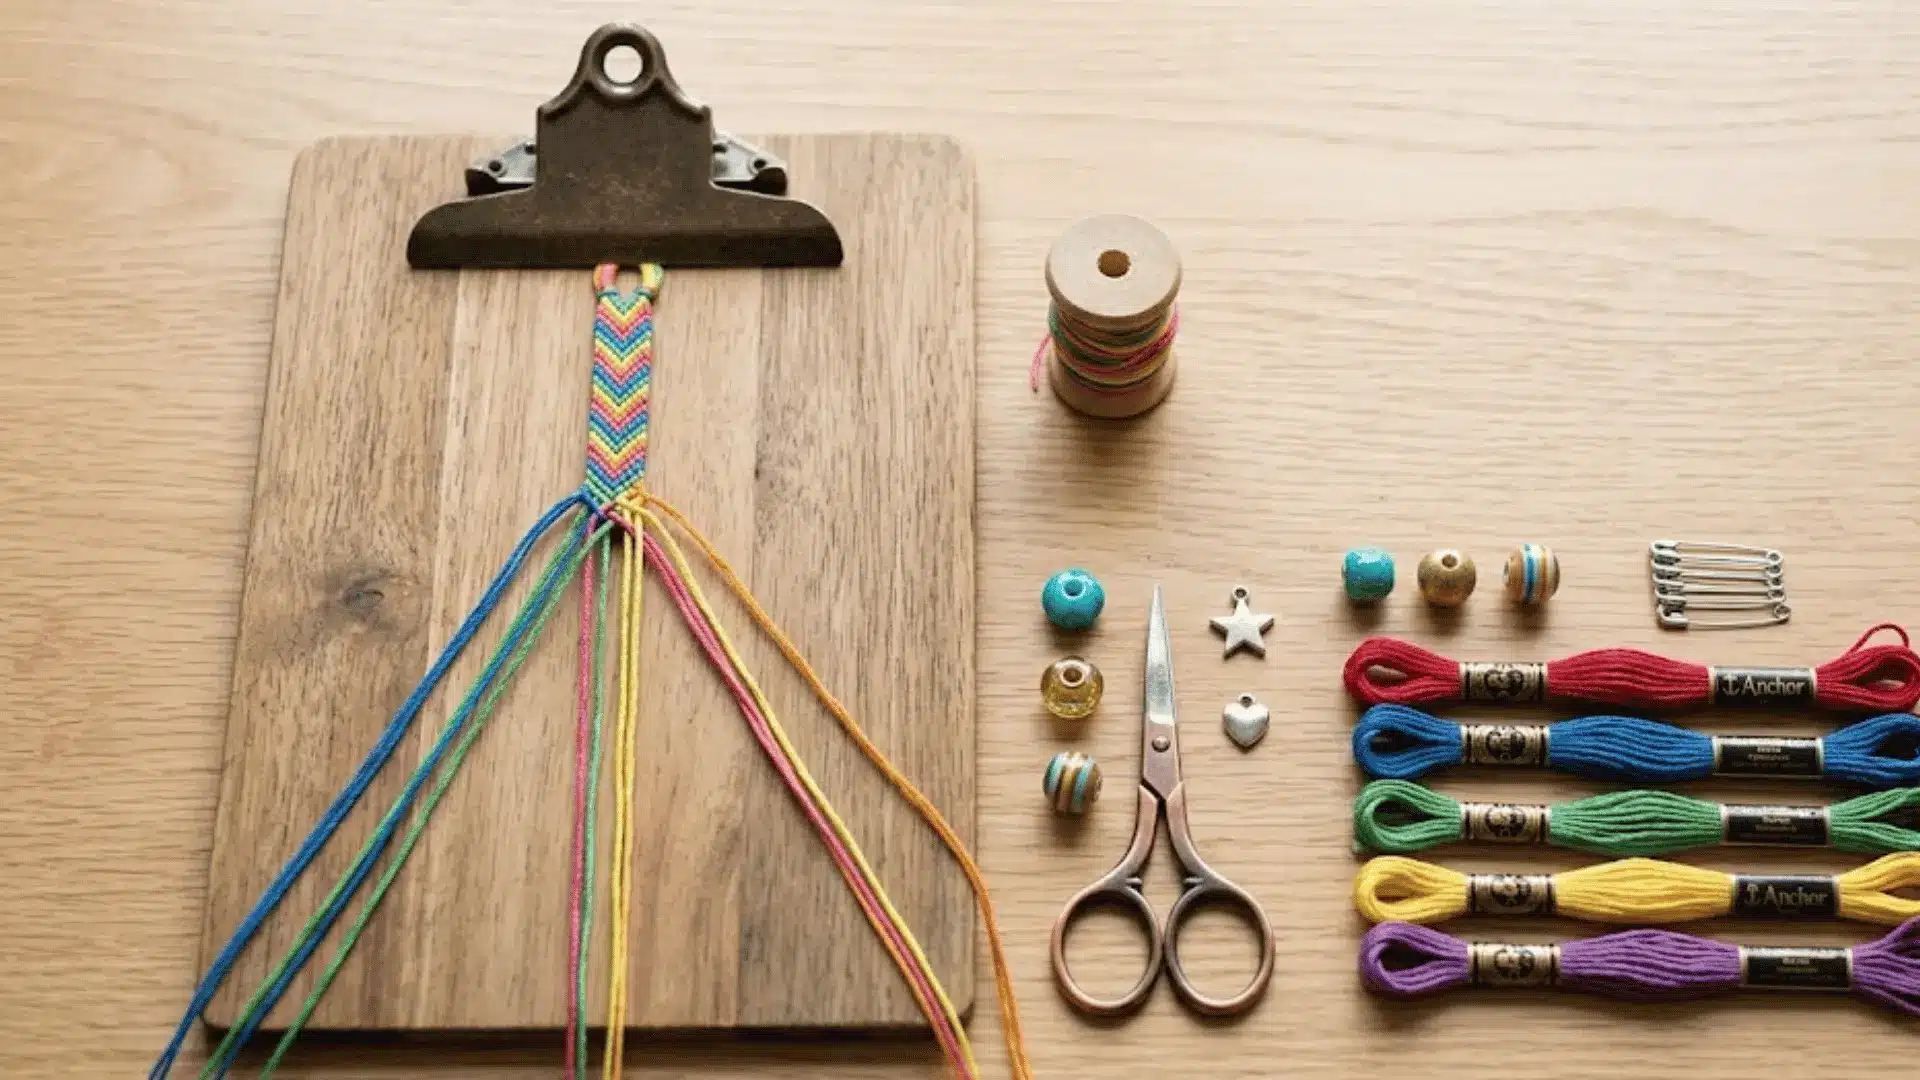
Making a string bracelet is easier than it looks. Once you learn the basic process, you can create many different string bracelet patterns using simple knots and colorful embroidery floss.
| What You’ll Need: Embroidery floss, scissors, tape or a clipboard, a safety pin (optional), and beads or charms (optional). |
- Choose Your String Colors – Pick colors that look good together and match the style you want. Beginners often start with two to four colors for a simple design.
- Cut and Arrange the Strands – Cut each strand to the desired length and place them in the order needed for your pattern. Keeping them organized will make knotting easier.
- Secure the Strings – Use tape, a clipboard, or a safety pin to hold the strings in place. This helps keep the bracelet steady while you work.
- Tie the Pattern Knots – Follow your chosen pattern, tying the knots carefully. Try to keep the tension even so the design looks neat and consistent.
- Finish and Tie Off the Bracelet – When the bracelet reaches the right length, tie a secure knot at the end. Add beads or charms if you’d like extra detail.
With these simple steps, you’ll be ready to create everything from beginner-friendly bracelets to more detailed patterns.
Once you get comfortable with the basics, experimenting with new colors and designs becomes even more fun.
String Bracelet Patterns You’ll Want to Make Right Away
String bracelets come in a variety of styles, from simple beginner designs to more detailed patterns. Below are some popular ideas that can be customized with your favorite colors
1. Wave Pattern Bracelet
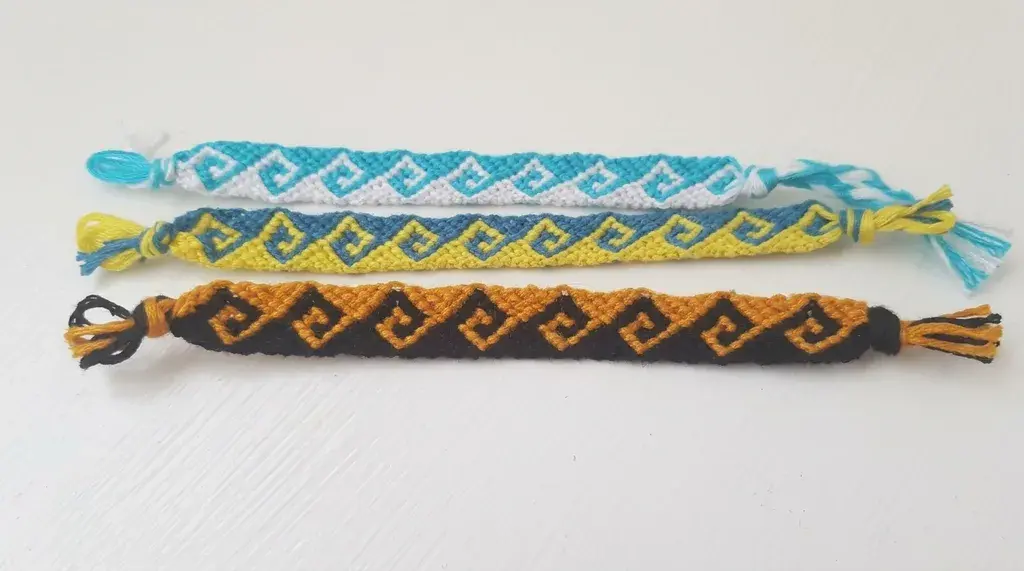
The Wave Pattern Bracelet features curved lines that flow across the bracelet, creating a design reminiscent of rolling ocean waves. It works well with cool-toned colors like blue and green, but brighter shades can make the pattern stand out even more.
The repeating curves add visual interest without making the bracelet look too busy. Most people can complete this intermediate-level design in about 45 to 60 minutes.
2. Heart Friendship Bracelet
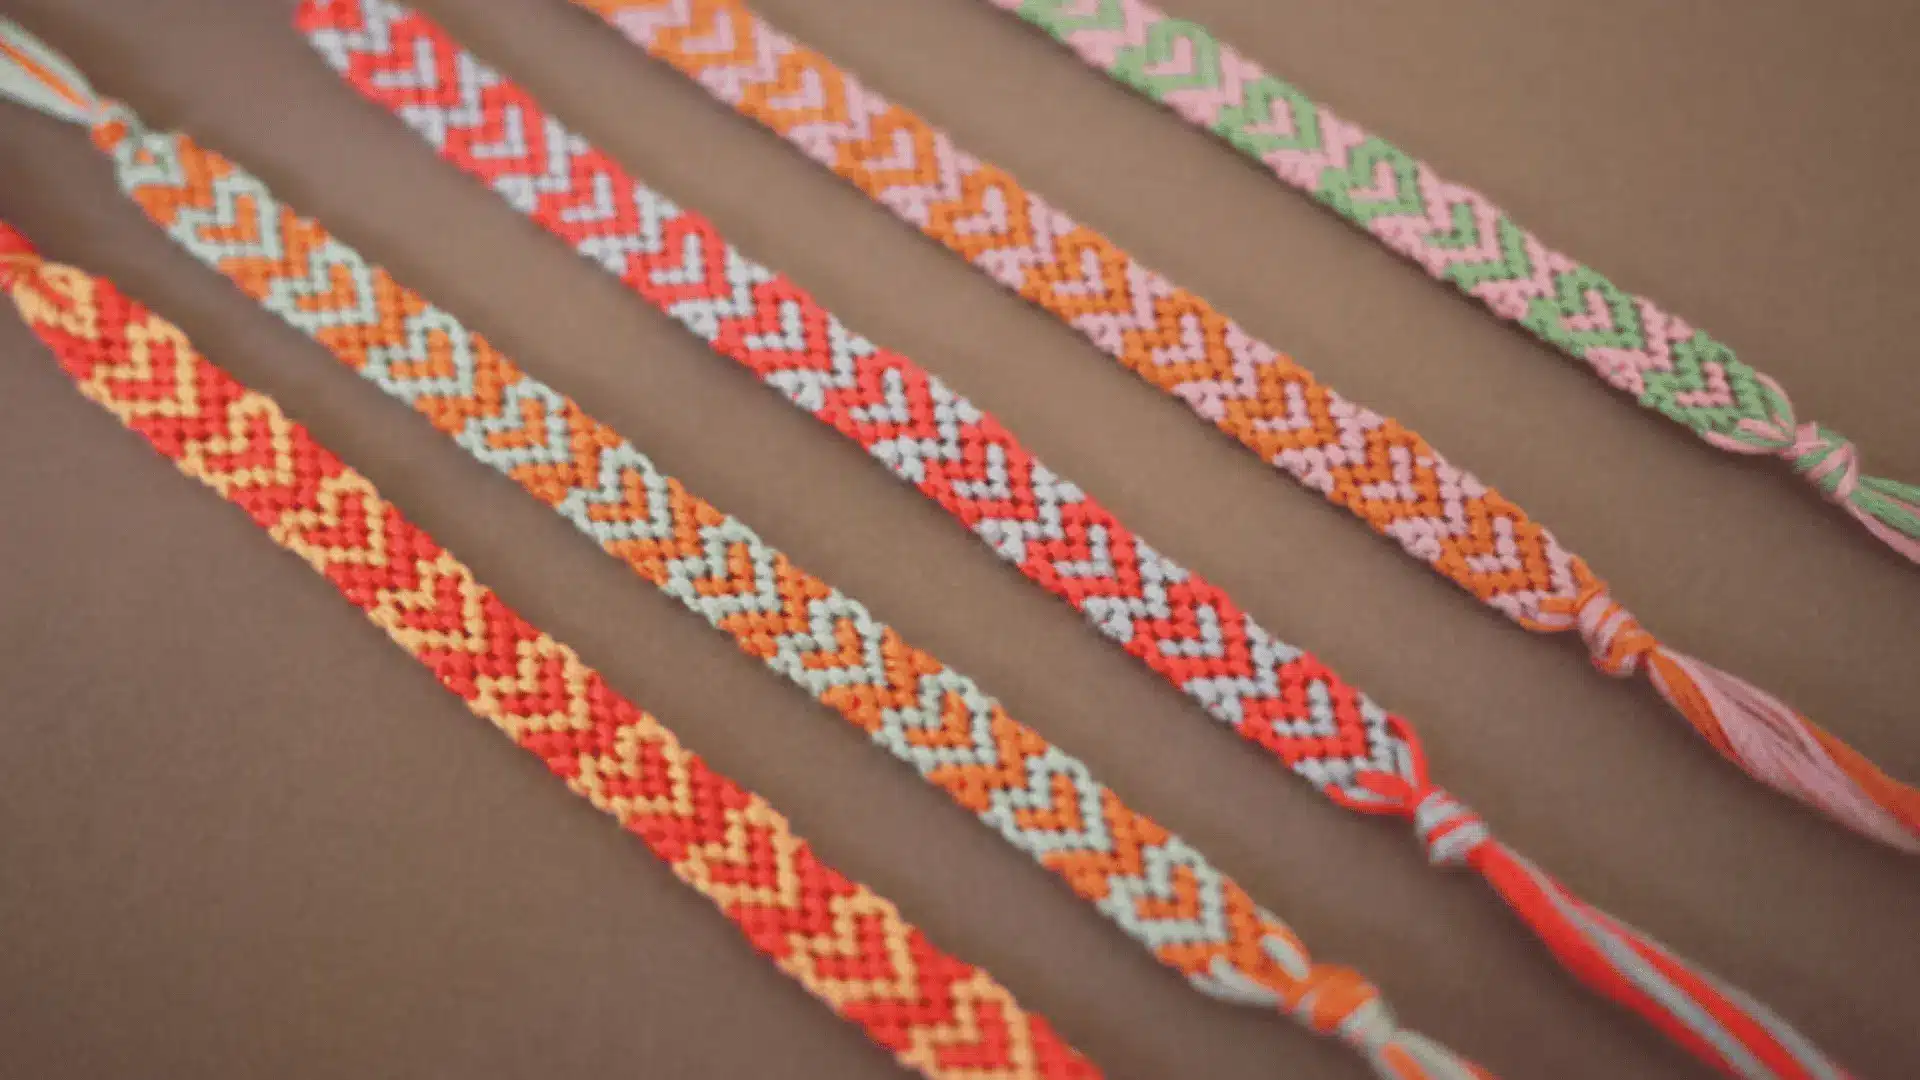
The Heart Friendship Bracelet is a favorite for gifts because small hearts are woven directly into the design. You can use traditional red and pink shades or customize the hearts with any color combination you like.
The pattern feels personal and thoughtful, especially when made for a friend or loved one. Since the heart shapes require careful knot placement, this intermediate-level bracelet usually takes around 1 to 2 hours to finish.
3. Arrowhead Bracelet
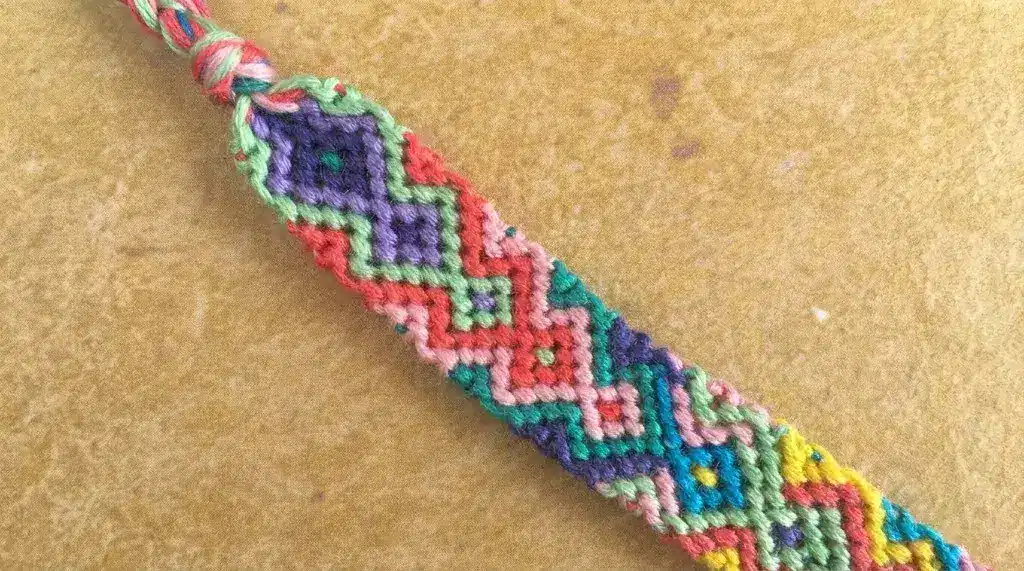
The Arrowhead Bracelet uses repeating V-shaped sections that point toward the center of the design. This geometric pattern looks clean and organized, especially when made with contrasting colors.
It is a popular choice for friendship bracelets because it looks detailed without requiring advanced skills. Most crafters can finish this intermediate-level bracelet in about 45 to 75 minutes, depending on its width and length.
4. Flip-Flop Bracelet
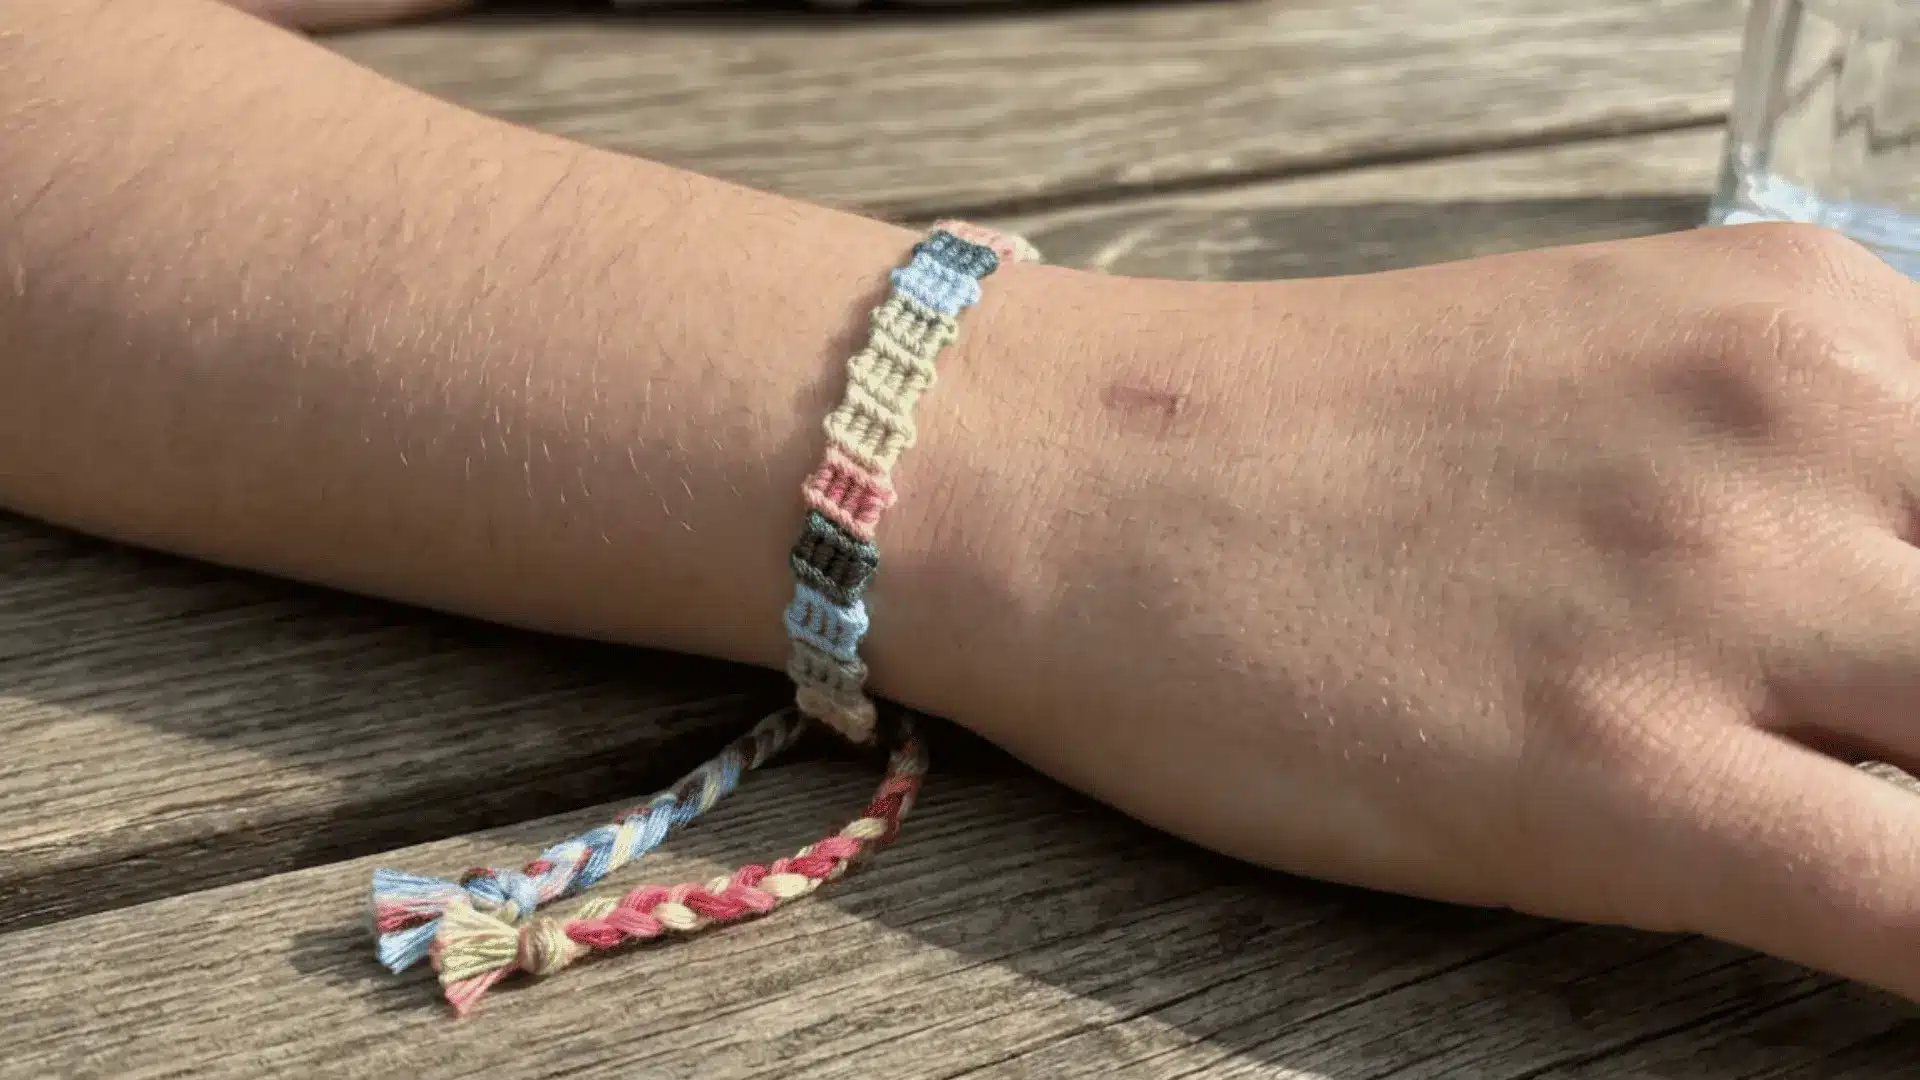
The Flip-Flop Bracelet gets its name from the way the pattern appears to shift back and forth across the bracelet. Alternating knot directions create an interesting design that stands out from basic stripe patterns.
Bright colors work particularly well, but softer shades can give it a more subtle look. Once you learn the knot sequence, this intermediate-level bracelet can usually be completed in 45 to 60 minutes.
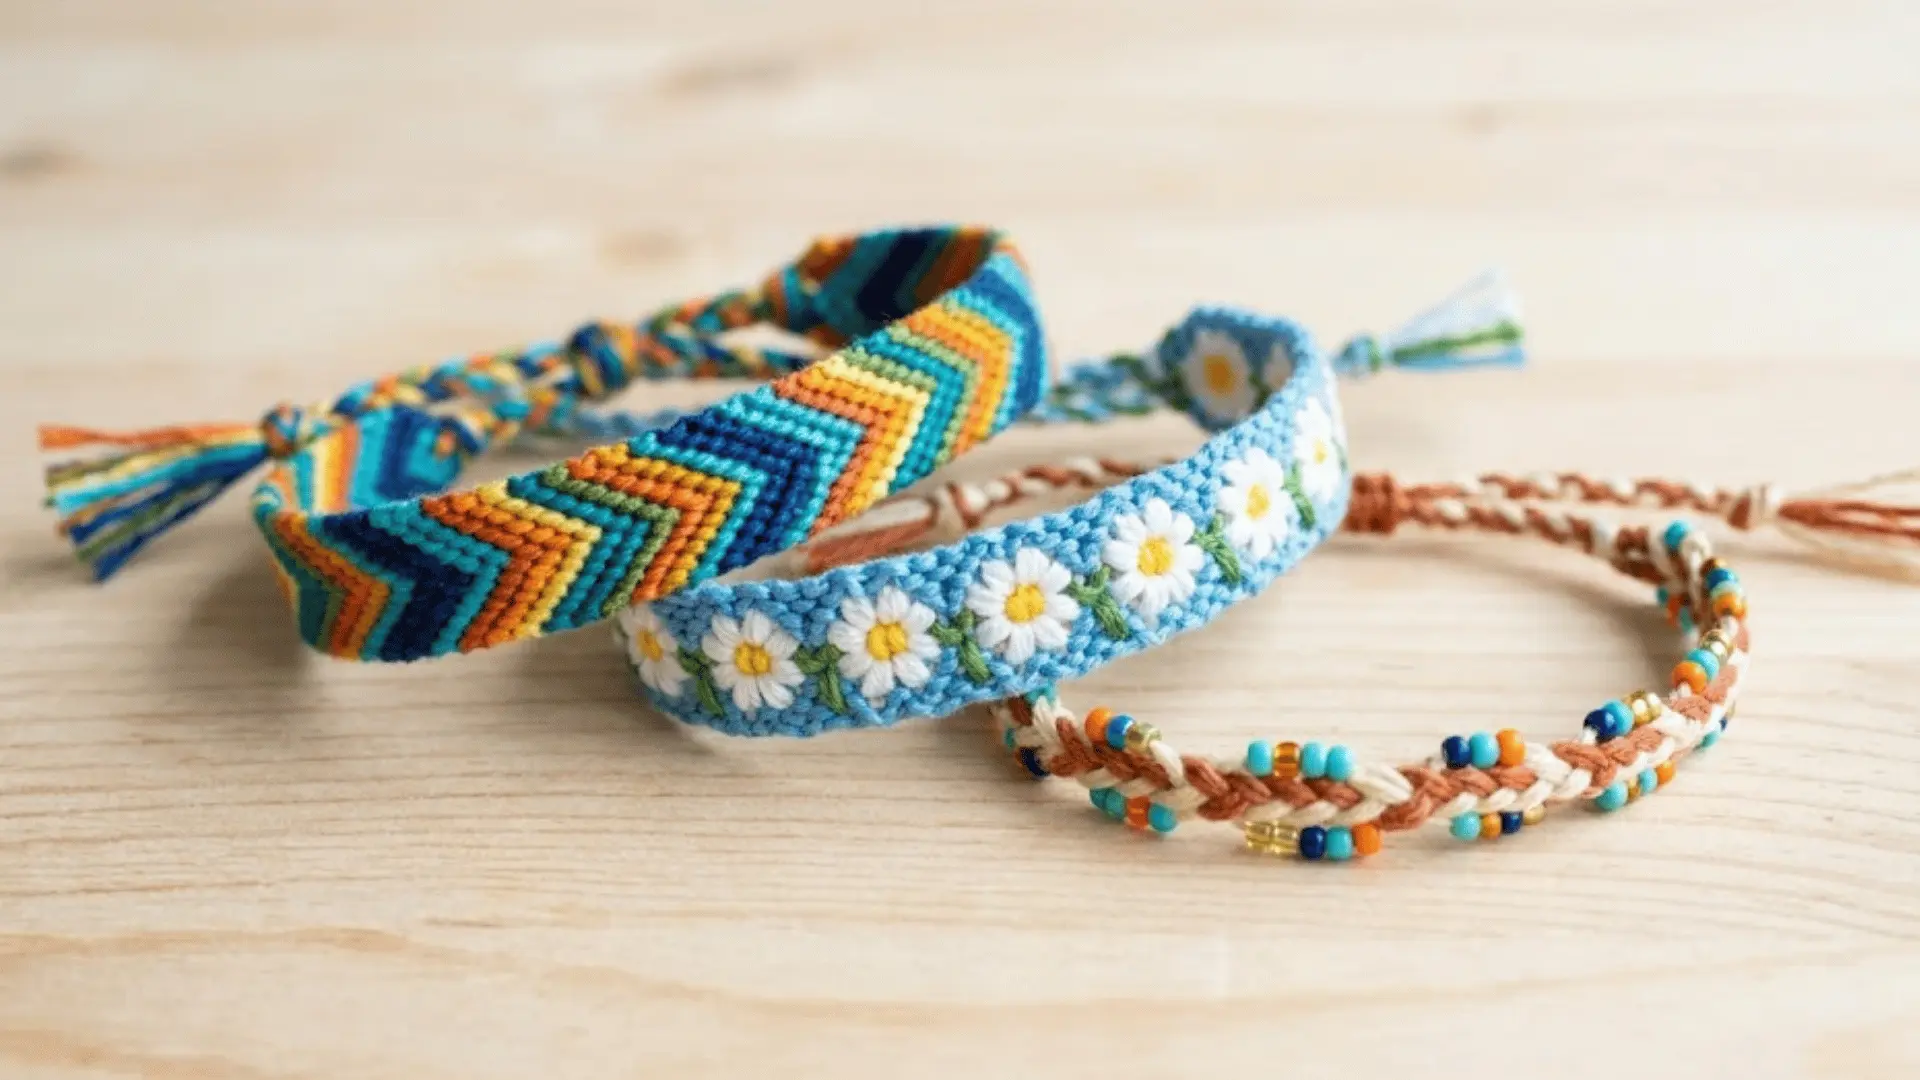
5. Flower String Bracelet
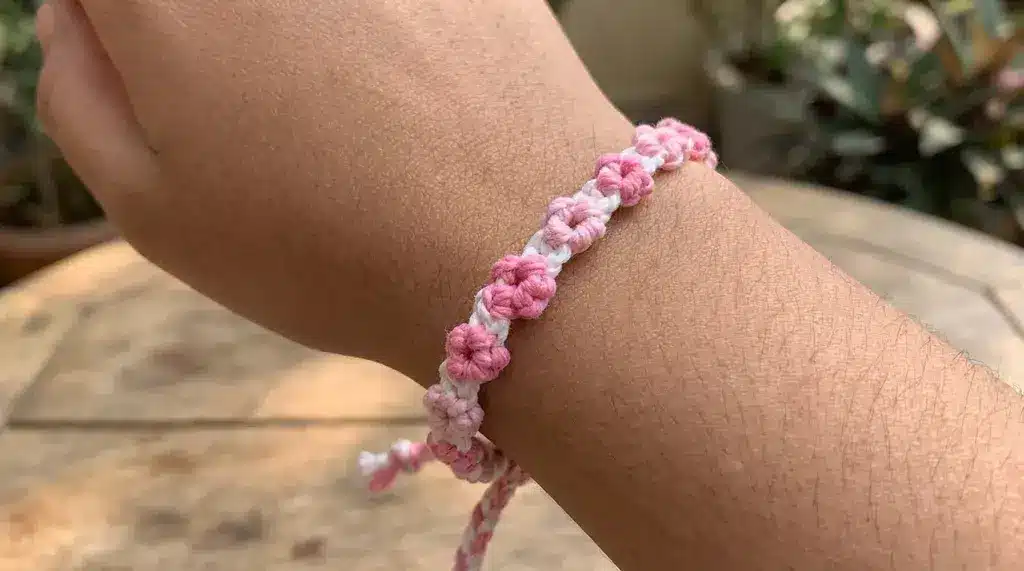
The Flower String Bracelet adds small flower shapes throughout the design, making it a cheerful option for spring and summer. Different color combinations can completely change the look, from classic white daisies to colorful floral patterns.
The repeated flowers create a fun and decorative effect that many bracelet makers enjoy. Because the design requires extra attention to detail, it is usually considered an intermediate-level project that takes 1 to 2 hours.
6. Daisy Chain Bracelet
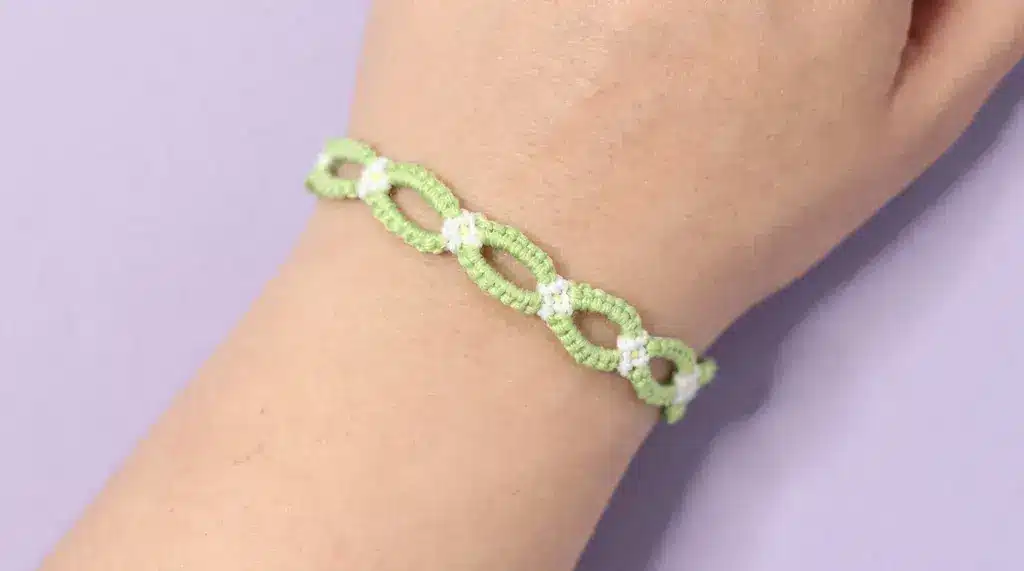
The Daisy Chain Bracelet is one of the easiest floral bracelet designs to make. Small daisy flowers are connected along the bracelet, creating a light and playful pattern that looks great in bright colors.
It is often recommended for beginners because the technique is simple and easy to learn.
Most people can complete this easy-level bracelet in about 20 to 40 minutes.
7. Beaded String Bracelet
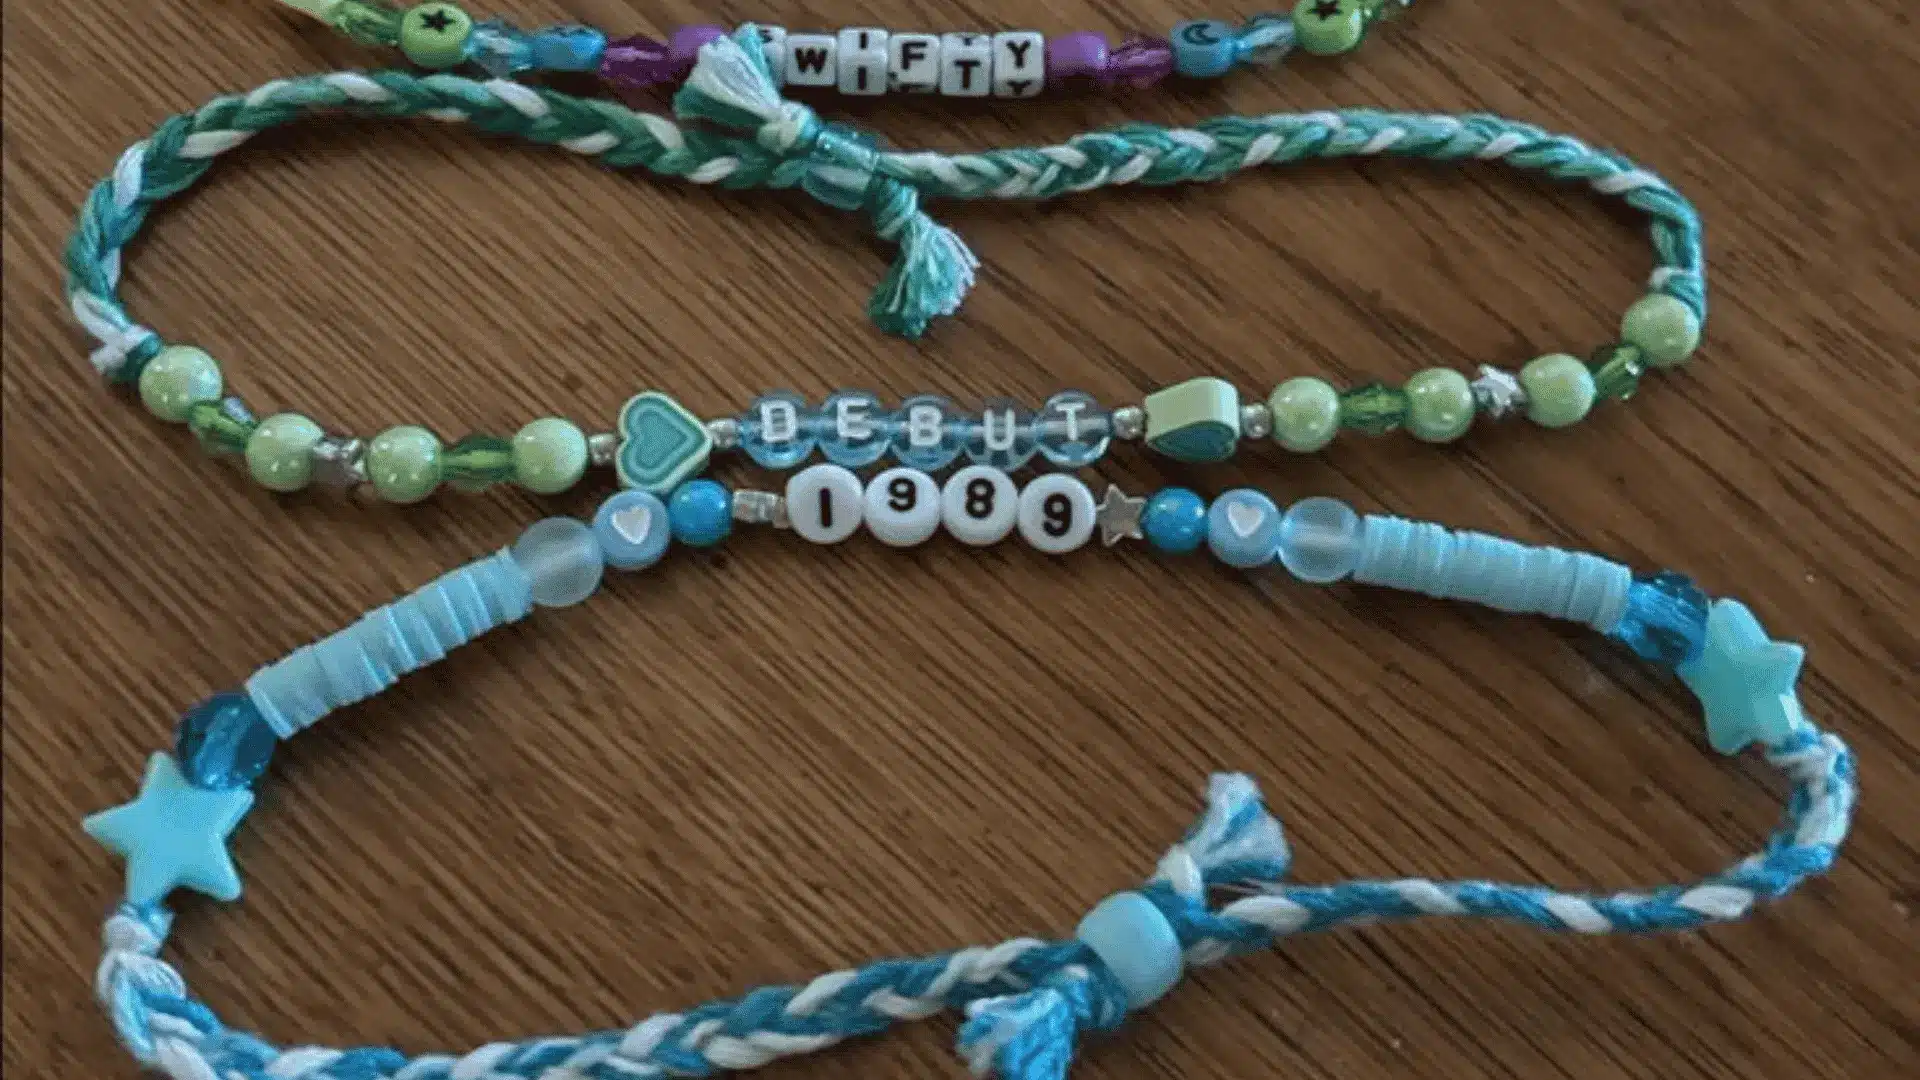
The Beaded String Bracelet combines colorful string with decorative beads to create extra texture and personality.
Letter beads, colorful acrylic beads, or small charms can all be added to make the design more unique. Since there are countless ways to customize it, no two bracelets need to look the same.
This easy-level project typically takes between 20 and 45 minutes to complete.
8. Rainbow Stripe Bracelet
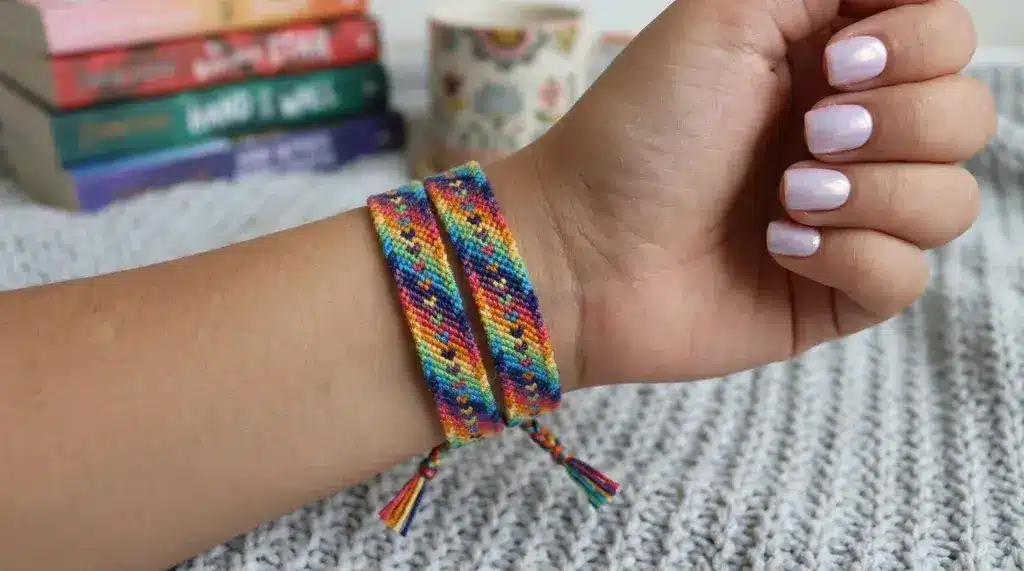
The Rainbow Stripe Bracelet is a bright, colorful design featuring multiple strands arranged in rainbow order. The simple stripe pattern allows the colors to take center stage, making it a great choice for beginners.
It is also a fun way to use leftover embroidery floss from other projects. Thanks to its straightforward knot sequence, this easy-level bracelet can usually be finished in 30 to 45 minutes.
9. Ombre String Bracelet
The Ombre String Bracelet creates a gradual color transition from light shades to darker ones. Choosing colors from the same family helps achieve a smooth and balanced effect.
The finished bracelet has a clean look that pairs well with both casual and dressy outfits. Since the knotting itself is fairly simple, most people can complete this easy-to-intermediate pattern in about 30 to 60 minutes.
10. Fishtail Bracelet
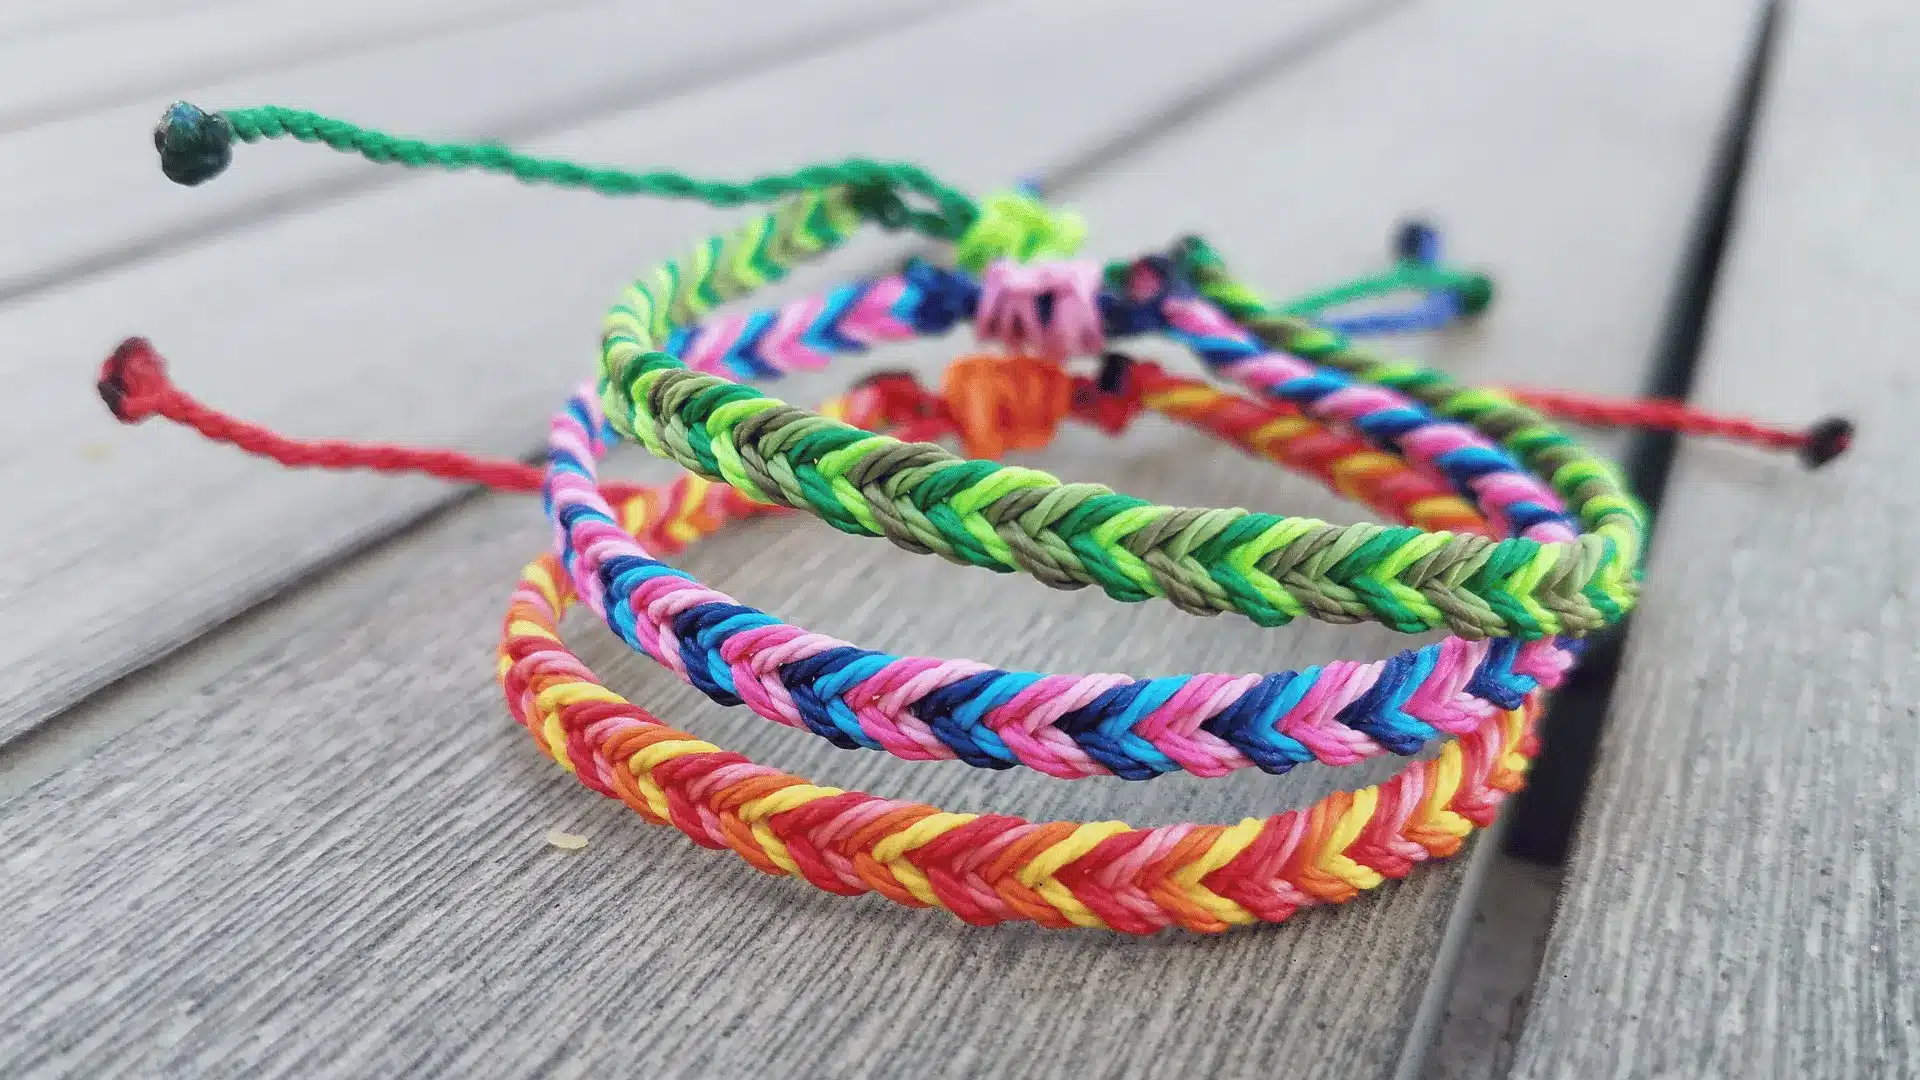
The Fishtail Bracelet features a braided design that resembles the tail of a fish, giving it a neat and textured appearance. Its woven pattern looks detailed, but the technique is surprisingly simple, making it a popular choice for beginners.
Using two or more colors can help the braid stand out and add extra visual interest. Since it requires only basic weaving skills, this easy-level bracelet can usually be completed in about 15 to 30 minutes.
11. Candy Wave Bracelet
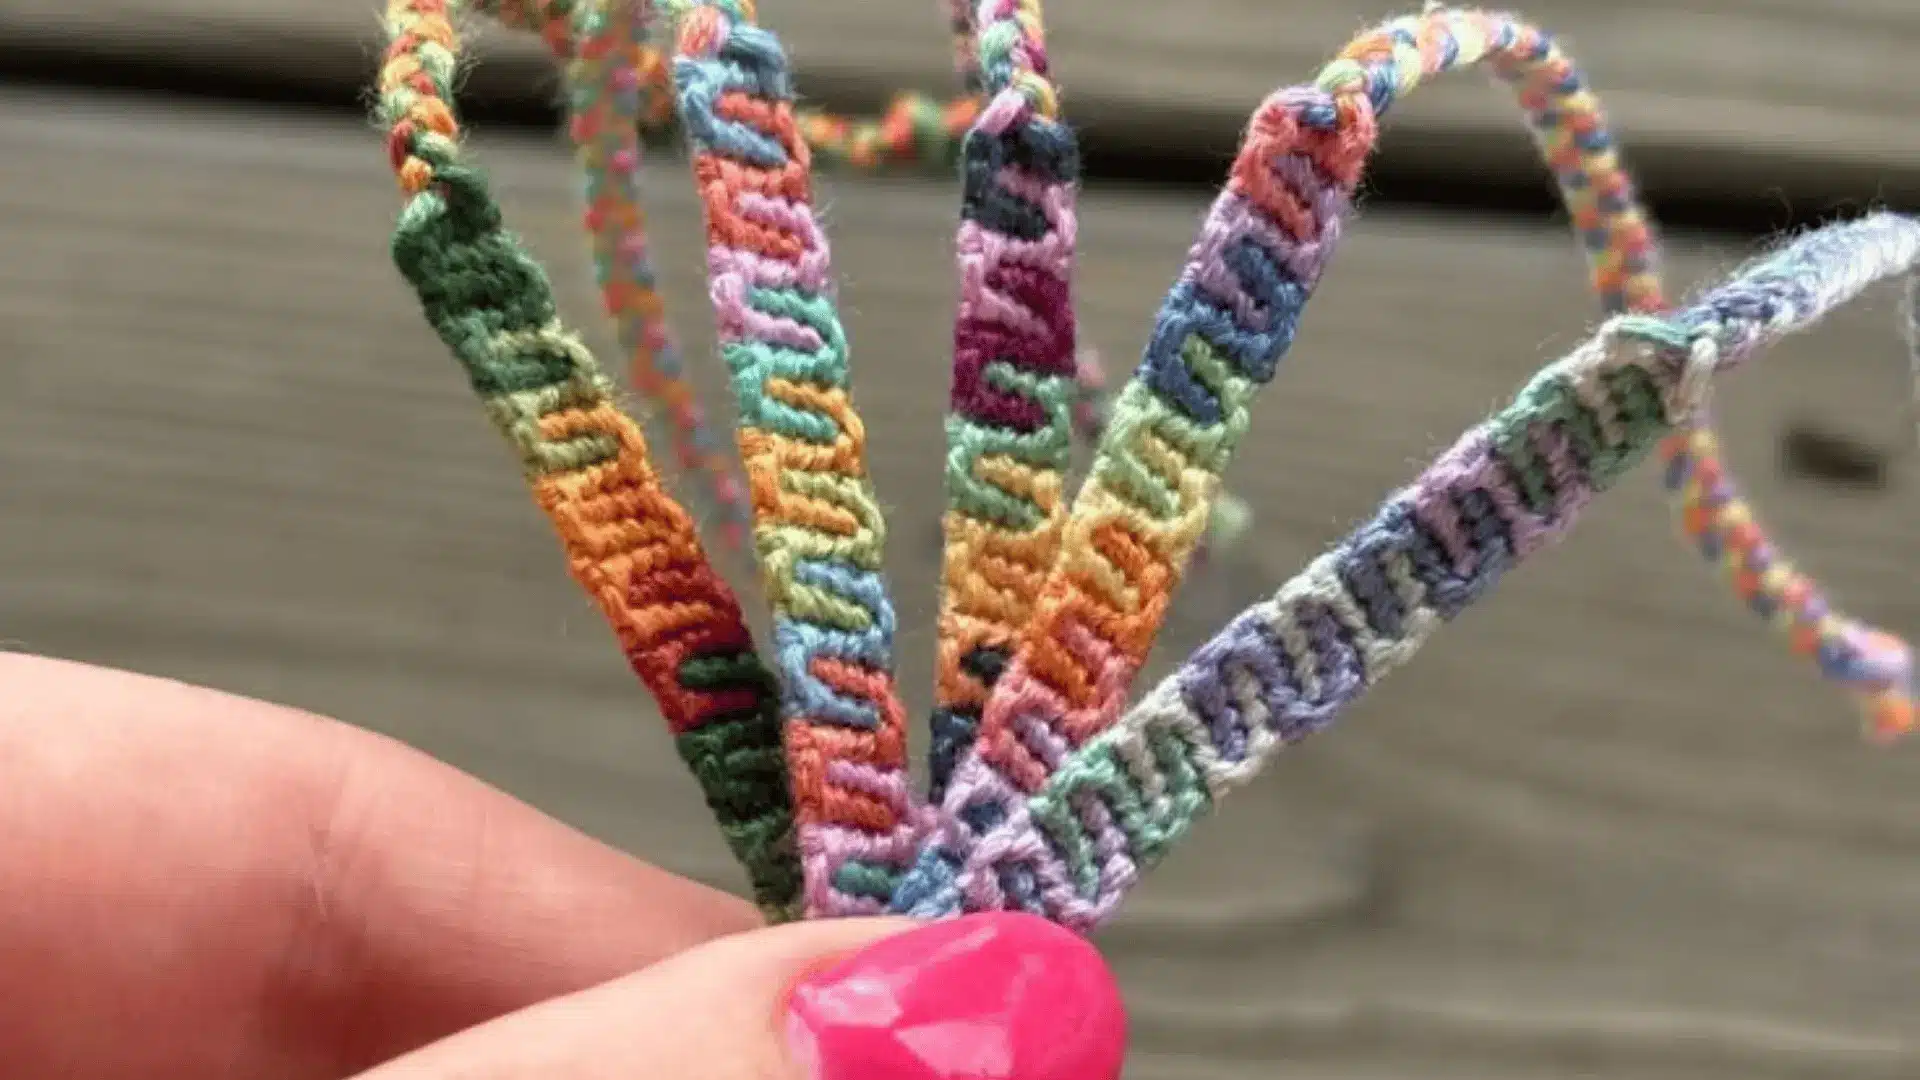
The Candy Wave Bracelet combines colorful stripes with a flowing wave effect, giving the design plenty of movement. It is a fun choice for anyone who enjoys bold color combinations and playful patterns.
The repeated knot sequence becomes easier as you work, making the bracelet enjoyable to create from start to finish. Most crafters can complete this intermediate-level pattern in about 45 to 75 minutes.
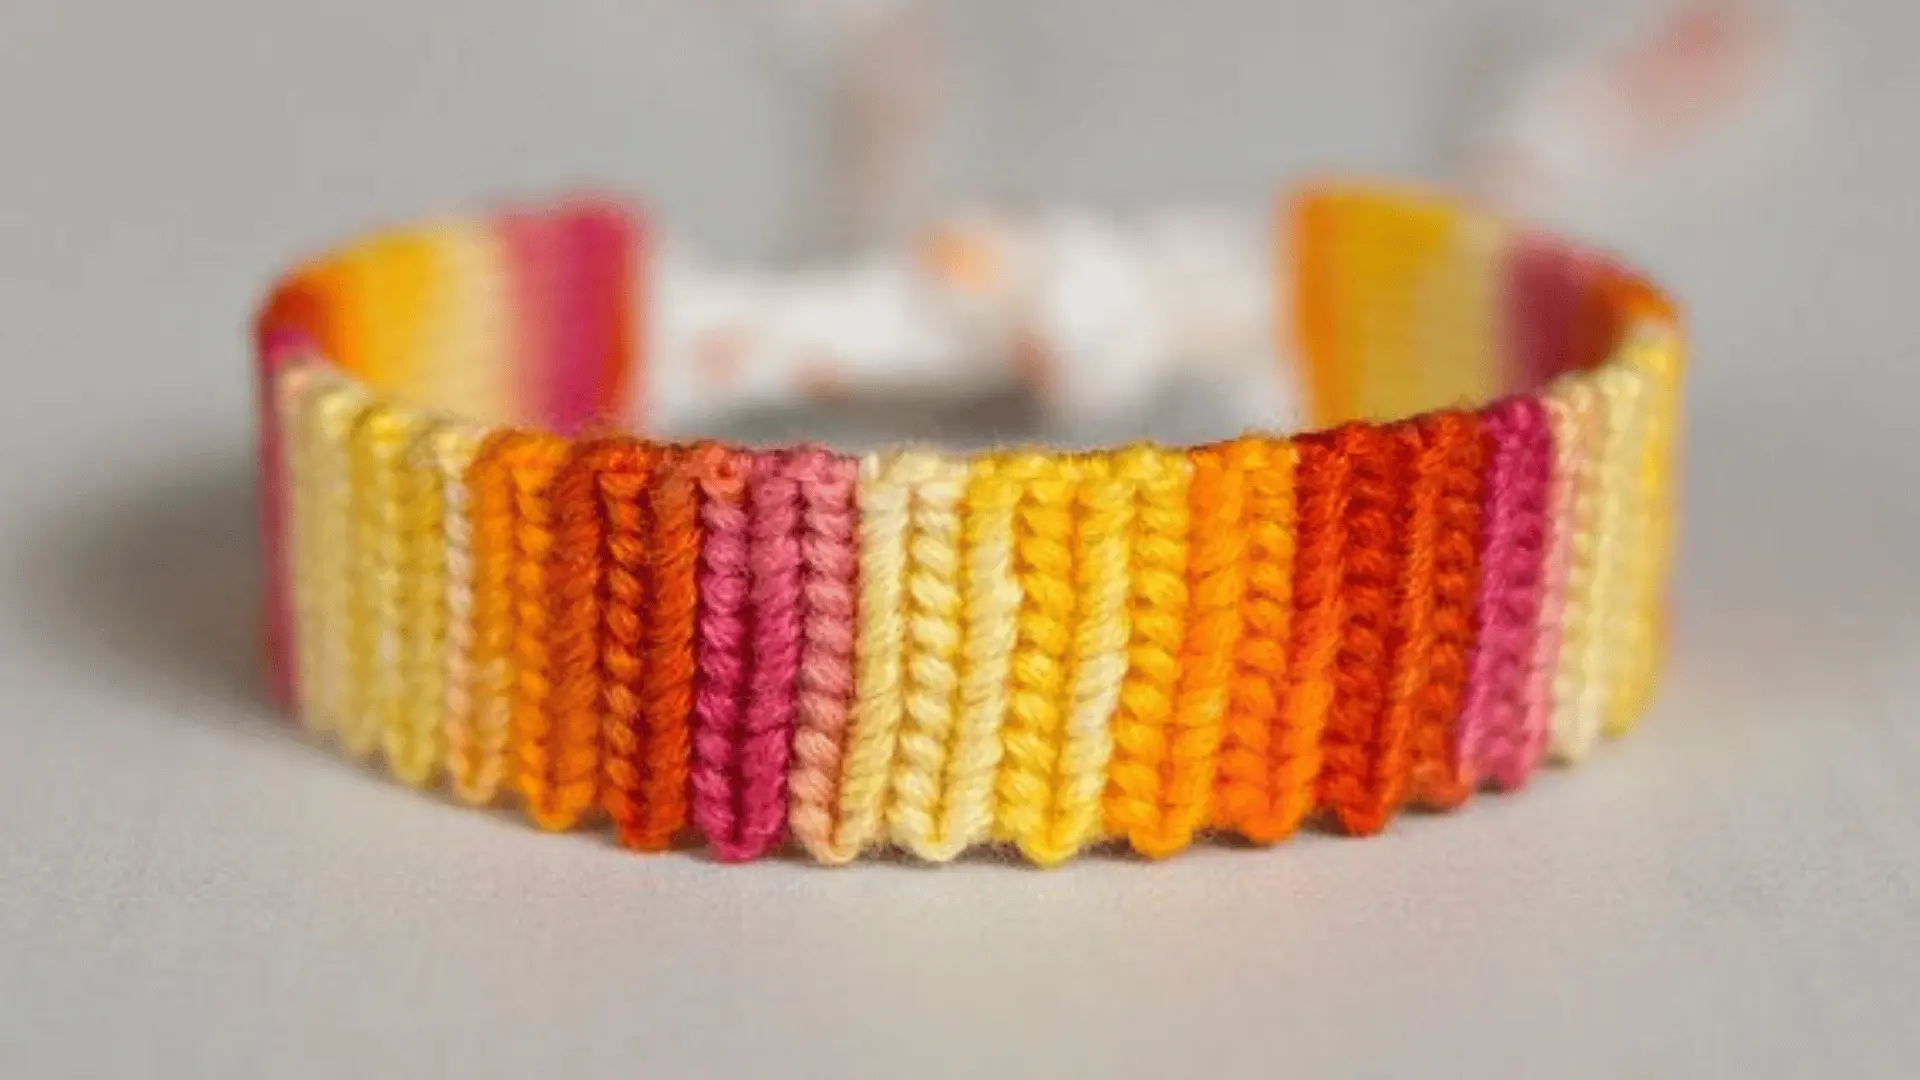
12. Sunburst Bracelet
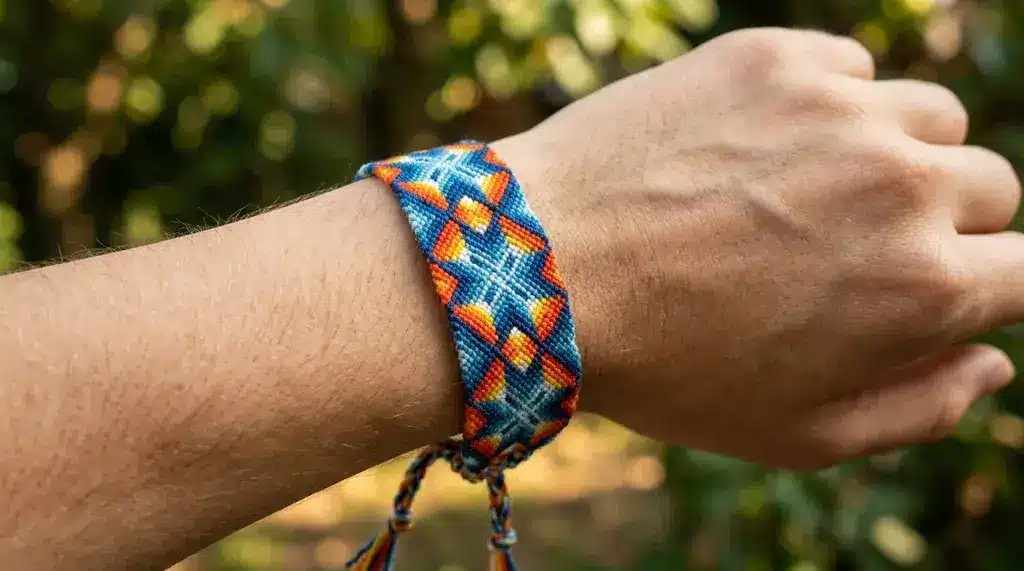
The Sunburst Bracelet features lines radiating outward from the center, resembling sun rays. Yellow, orange, and red are popular color choices, though other shades work just as well.
The pattern has a bold look that stands out from simpler bracelet styles. Because it requires careful knot placement and color arrangement, this intermediate-level bracelet typically takes about 45 to 75 minutes to make.
13. Checkerboard Bracelet
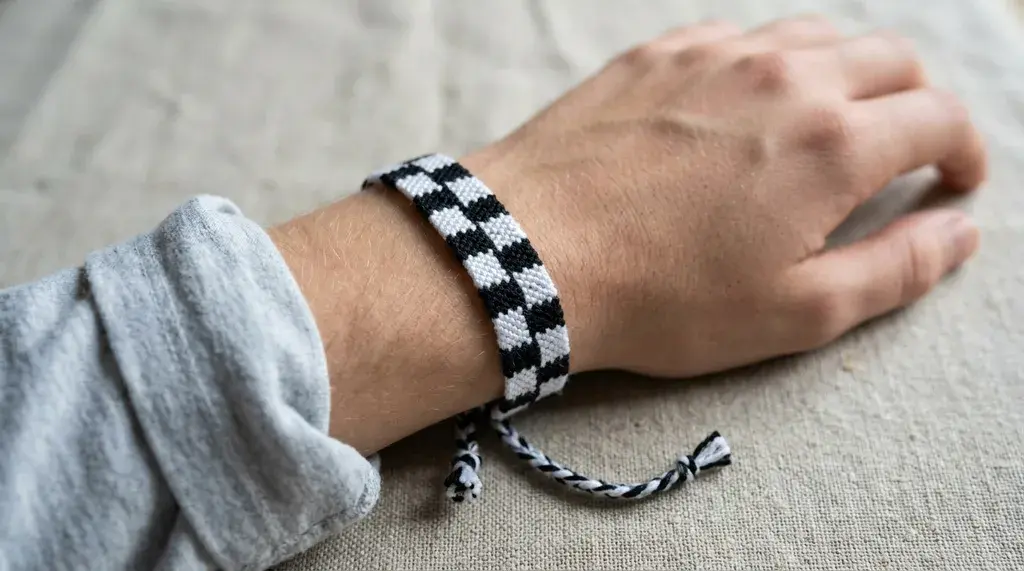
The Checkerboard Bracelet uses alternating colors to create a repeating grid of squares across the design. While black and white is a classic combination, colorful versions can look just as fun.
Its clean, organized appearance sets it apart from many traditional friendship bracelets. Most crafters can complete this intermediate-level pattern in about 45 to 70 minutes with steady and consistent knotting.
Common String Bracelet Mistakes and How to Avoid Them
Even simple string bracelet patterns can run into small problems during the making process. The good thing is that most mistakes are easy to fix once you know what causes them.
Here are some common issues and simple solutions to help your bracelets look neat and consistent.
| Mistake | Quick Fix |
|---|---|
| Uneven strands | Measure all strings before cutting |
| Loose knots | Keep steady tension while knotting |
| Twisted pattern | Follow the knot direction carefully |
| Bracelet too short | Start with longer strands than needed |
A little extra attention during each step can make a big difference in the final result. With practice, you’ll avoid these common mistakes and create cleaner, more polished bracelets every time.
Let’s Tie It All Together
One of the best things about string bracelet patterns is that there is always a new design to try.
You can keep things simple with easy braids and stripes or challenge yourself with detailed shapes and colorful layouts.
I hope these pattern ideas have inspired your next DIY project and shown how much creativity can come from a few pieces of string. Don’t be afraid to mix colors, add beads, or put your own twist on a design.
Do you have a favorite pattern or a bracelet idea to share? Leave a comment below and join the conversation!
Frequently Asked Questions
How Do I Read a Friendship Bracelet Pattern Chart?
Count the vertical lines at the top of the knot grid to know how many strings you need. Follow the arrows on each square, which indicate whether to tie a forward or backward knot across the rows.
What Knots are Used to Make a Chevron Bracelet?
You typically use three knots: the left knot, the right knot, and the down knot. The process relies on mirroring the string order (e.g., Blue, Red, White, Red, Blue) so the left side knots toward the center.
How Do I Keep Track of Which Row I Am on in a Pattern?
Use a sticky note or piece of paper below the row you are working on. For complex patterns, the knotting-in-sections method (tying diagonally rather than row by row) can also help you keep your place.