
Looking for a simple way to add seating and storage to your home?
I found that a storage bench solves both problems at once. When I needed extra space for shoes and blankets in my entryway, I built a bench that looks good and works hard.
Building your own storage bench costs less than buying one from a store. Plus, you can make it fit your space exactly.
This blog will show you how to build a practical storage bench step by step. I’ll cover everything from picking the right wood to adding the final touches. Let’s start making a useful addition to your home.
Why Build a Storage Bench?
A storage bench is a useful piece of furniture that serves two purposes at once. It combines comfortable seating with hidden storage space, making it perfect for homes of any size.
When space is limited in your home, finding smart solutions becomes important. A storage bench takes up the same floor space as a regular bench but gives you extra room to store items that would otherwise clutter your living areas.
Building your own bench costs less than buying one from a store. You can make it exactly the size you need, choose materials that match your home, and gain useful woodworking skills along the way.
Key Benefits
- Saves space by combining seating and storage
- Fits perfectly in entryways, bedrooms, or living rooms
- Costs less than store-bought options
- Allows for complete control over size, style, and finish
- Offers a chance to learn and practice woodworking skills
- Provides a sense of achievement when completed
Choosing the Right Wood for Your Storage Bench
Selecting the right wood for your storage bench affects both its look and durability. Different woods offer various benefits in terms of strength, appearance, and how easy they are to work with.
1. Pine
- Budget-friendly option for beginners
- Easy to cut and work with
- Takes paint well for different looks
2. Oak
- Strong and durable for heavy use
- Good grain pattern adds visual appeal
- Resists dents and scratches well
3. Walnut
- Rich, dark color for a luxury look
- Stable wood that stays flat over time
- Worth the higher cost for its beauty
4. Plywood
- Cost-effective for larger projects
- Comes in various grades and types
- Less prone to warping than solid wood
What to Consider When Choosing Wood:
- Usage location: For high-traffic areas like entryways, choose harder woods like oak that resist wear.
- Skill level: Beginners may want to start with pine or plywood, which forgives mistakes.
- Budget: Balance cost with quality—sometimes spending more upfront means your bench lasts longer.
- Finish: Some woods like cherry or walnut have natural beauty that shows best with clear finishes.
- Weight: Consider if you’ll need to move the bench—some hardwoods make very heavy furniture.
Materials and Tools You Will Need
Before starting your project, gather these materials and tools:
| Materials | Tools |
|---|---|
| Walnut wood or plywood | Miter saw or circular saw |
| Wood screws | Drill and drill bits |
| Wood glue | Sander |
| Drawer slides | Clamps |
| Foam padding | Staple gun |
| Upholstery fabric | Measuring tape |
| Finishing materials | Square tool |
| Drawer pulls | Pencil and paper |
The quality of your materials will affect how long your bench lasts and how good it looks. Good tools make the work easier and more precise.
Step-by-Step Guide to Building a Bench with Storage
This guide breaks down the process into clear steps. Each step builds on the last to create a solid, useful bench. Take your time with each part for the best results.
Step 1: Planning and Preparing the Wood
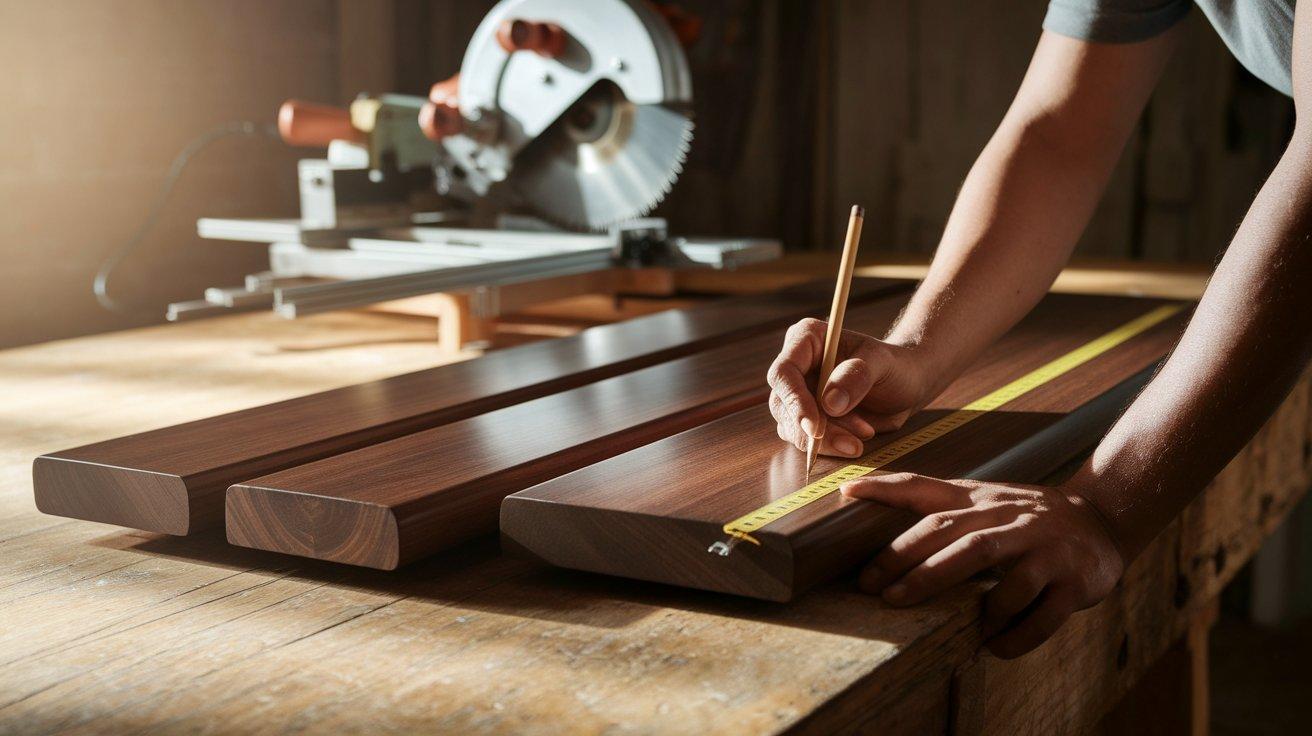
Before cutting any wood, measure your space and decide on the bench dimensions. Draw a detailed plan including the height, width, and depth that will work best in your home. Purchase all materials before starting to avoid delays.
Cut all wood pieces according to your measurements using a miter saw or circular saw. Make sure to label each piece to keep track of what goes where. Sand all cut edges smooth to prevent splinters and create a clean look.
- Measure twice, cut once to avoid wasting materials
- Label all pieces clearly with their dimensions and location
- Sand edges immediately after cutting for efficiency
Step 2: Assembling the Frame
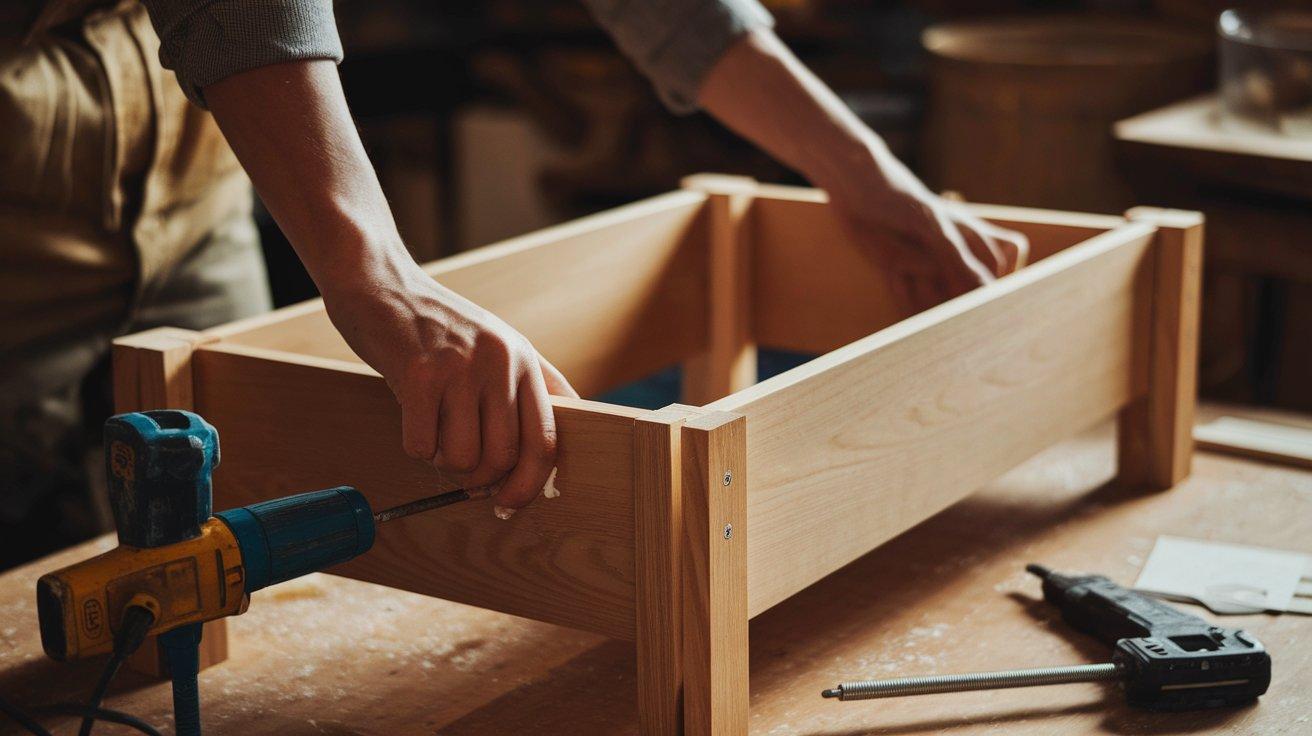
Start by building the main frame of your bench, which provides the structure. Join the side panels to the back panel using wood glue and screws for strength. Make sure to pre-drill holes to prevent the wood from splitting.
Check that your frame is square by measuring diagonally from corner to corner. Both measurements should be equal. Use clamps to hold everything in place while the glue dries, typically 24 hours for full strength.
- Pre-drill all screw holes to prevent wood splitting
- Use a square tool to check for 90-degree angles
- Allow adequate drying time for a strong bond
Step 3: Installing the Storage Compartments
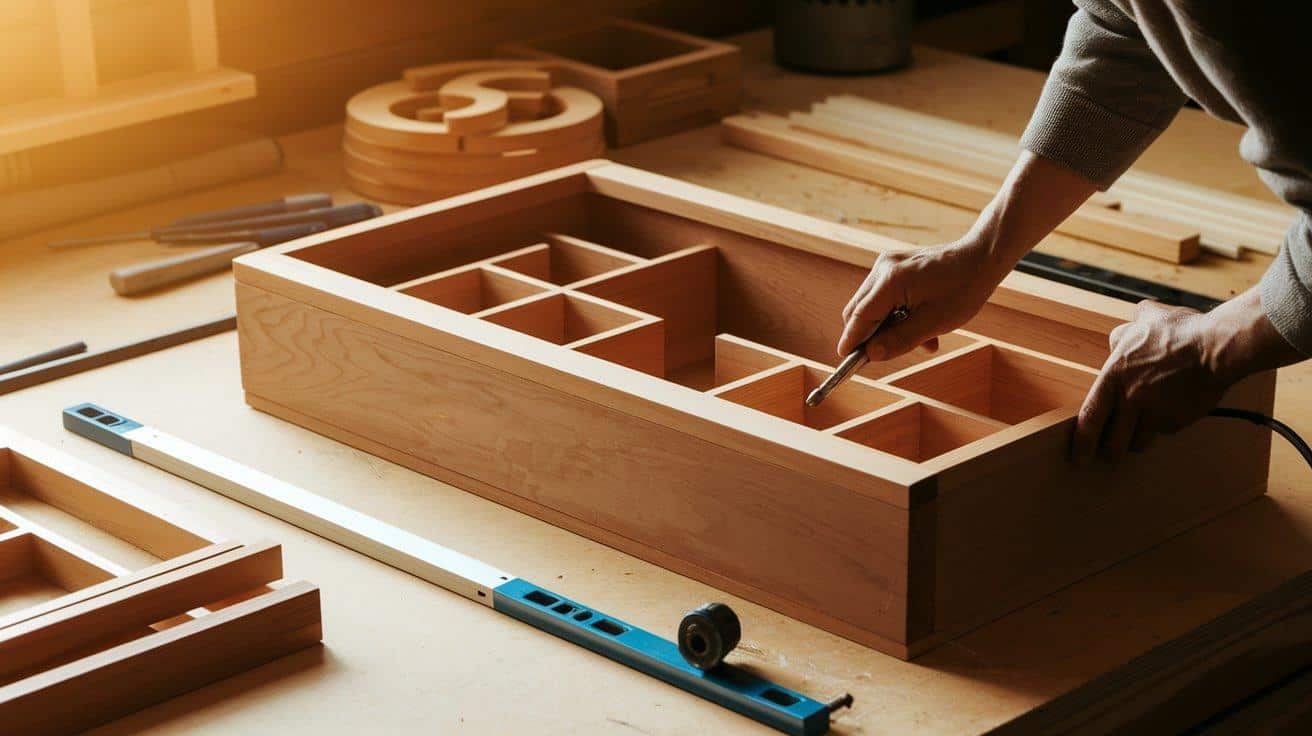
Once the frame is dry, add the internal dividers to create storage sections. These dividers add structural support while creating useful spaces for organizing items. Attach them securely to both the bottom and back of the frame.
For drawer compartments, install drawer slides according to the manufacturer’s instructions. Make sure they’re level and at the same height on both sides for smooth drawer operation later.
- Position dividers evenly for balanced storage spaces
- Use a level when installing drawer slides
- Secure all components with both glue and screws for stability
Step 4: Building the Drawers
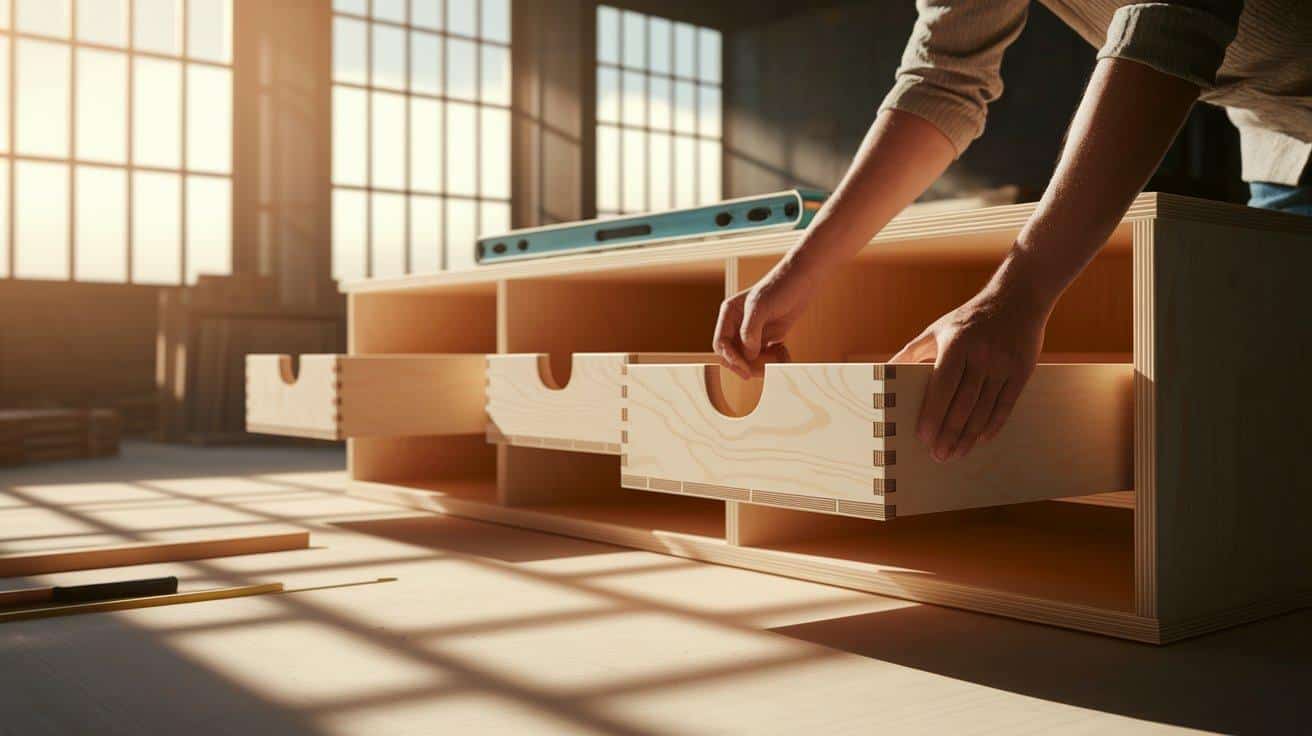
Construct drawer boxes using plywood or solid wood boards. Join the sides using glue and pocket hole screws for a clean look. Make sure the drawer dimensions allow for easy sliding on the installed rails with about 1/8 inch clearance.
Test fit each drawer in its opening before final assembly. Adjust as needed for smooth operation. Attach drawer fronts last, making sure they’re aligned with even gaps around all sides.
- Build drawers slightly smaller than the openings for smooth movement
- Check drawer operation before attaching fronts
- Align drawer fronts with equal spacing for a professional look
Step 5: Creating the Bench Top
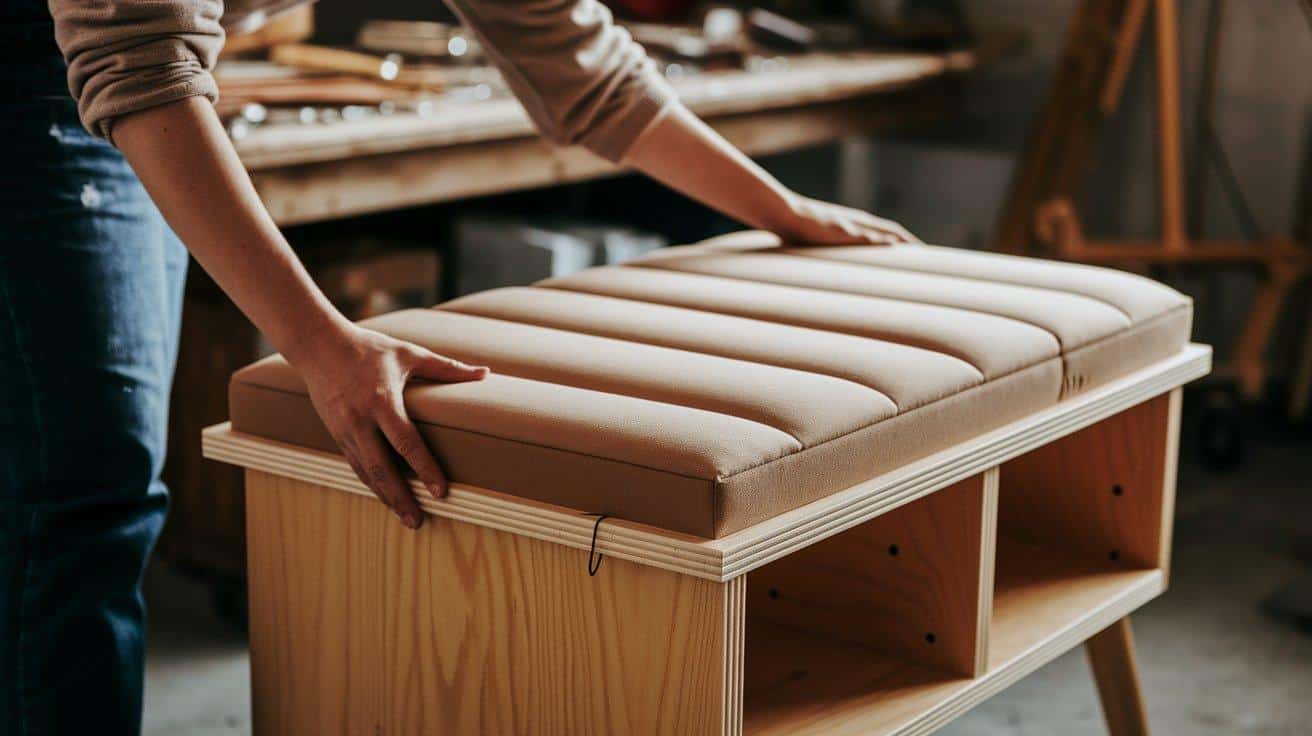
For the bench top, cut a piece of plywood to the exact dimensions of your frame. Add a layer of 1-2 inch foam on top for comfort. Cover with your chosen fabric, pulling it tight and stapling it to the underside of the plywood.
Attach the completed top to the frame using hinges for lift-top storage or secure it permanently with screws from underneath. If using hinges, add safety mechanisms to prevent the lid from slamming shut.
- Choose upholstery fabric that matches your decor and is durable
- Pull the fabric tight to avoid wrinkles when stapling
- Consider adding slow-close hinges for safety if making a lift-top
Step 6: Finishing Touches
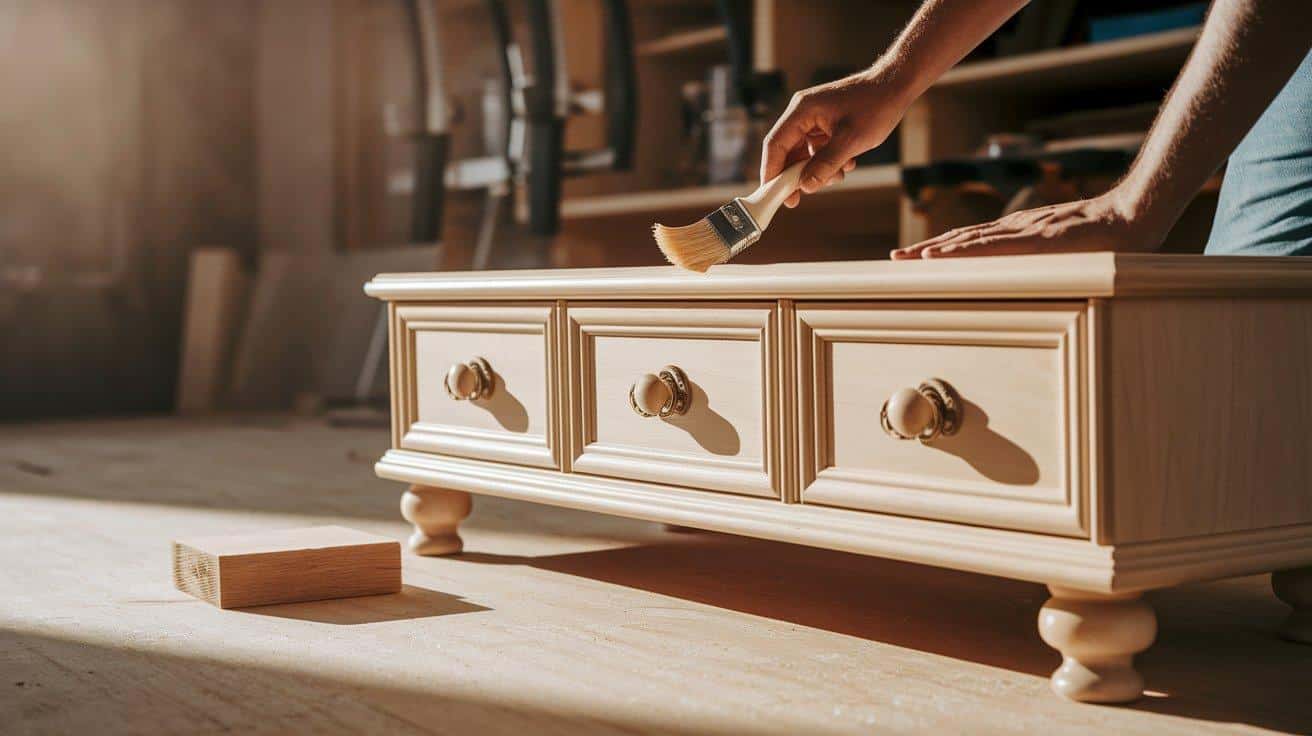
Sand any rough spots on exposed wood and apply your chosen finish. Options include paint, stain with polyurethane, or simply clear polyurethane to protect the natural wood. Apply at least two coats for durability.
Add any hardware like drawer pulls or knobs. If needed, install rubber feet on the bottom of the bench to protect your floors and prevent sliding. Take photos of your completed project to share or reference for future builds.
- Apply the finish in a well-ventilated area.
- Allow each coat to dry completely before adding another
- Choose hardware that complements your home’s existing style
Video Tutorial
I’d like to give credit to Wood Pack DIY for their informative video, which served as a reference for this guide.
Tips for Customizing Your Bench
- Add hinges to the top for a lift-up lid instead of drawers
- Paint or stain the wood to match your home’s color scheme
- Use weather-resistant wood and finish for outdoor use
- Install hooks on the sides for hanging bags or keys
- Add decorative molding to the edges for a more formal look
- Use casters instead of feet to make the bench movable
Common Mistakes to Avoid
- Skipping the planning phase and rushing into cutting
- Using green or untreated wood that may warp over time
- Making the bench too tall for comfortable seating
- Forgetting to account for drawer clearance in measurements
- Using weak joinery methods that won’t hold up to daily use
- Applying a finish before proper sanding
- Choosing fabric that isn’t durable enough for regular sitting
Conclusion
Building a storage bench combines practical function with personal style. This project creates a piece that serves your specific needs while fitting your space perfectly.
The step-by-step method I’ve shared makes this task clear for both new and skilled woodworkers.
The true value of making your own bench goes beyond saving money. It’s about creating something with your own hands that will be used daily in your home. Your bench will hold items, provide seating, and stand as proof of your skills.
Now that you know how to build your own storage bench, gather your materials and get started. Your new bench is waiting to become part of your home.
Frequently Asked Questions
How Long Does It Take to Build a Storage Bench?
Most beginners can complete this project in a weekend. With proper planning and all materials ready, experienced woodworkers might finish in 4-8 hours.
Can I Build a Storage Bench if I’m a Complete Beginner?
Yes! Start with simple joinery, pre-cut lumber, and take your time. Pine and plywood are forgiving woods for beginners learning basic woodworking skills.
