-
Ever stared at an empty wall and wished for a custom desk that fits perfectly? Those fancy built-in desks in home magazines look amazing, but who has $2,000 to spare?
Good news! You don’t need to empty your wallet for a stylish workspace.
With a few IKEA pieces, some basic tools, and a weekend of your time, you can create a stunning built-in desk that looks custom-made. This simple hack turns ordinary furniture into something special.
No fancy woodworking skills needed. No complicated plans to follow. Just straightforward steps anyone can handle.
Ready to revamp that boring corner into the envy of your Zoom calls? This IKEA hack delivers professional results at a fraction of the cost. Let’s turn that dream desk into reality!
What Materials and Tools Did We Use?
Before starting your project, ensure you have the necessary tools and supplies on hand. Here’s a simple list to help you prep for a smooth and budget-friendly stair upgrade.
Tool Purpose Screwdriver/Drill Assembling IKEA units and attaching parts Hand Saw Cutting wood pieces and trim (skirting board, molding, etc.) Measuring Tape Measuring wall space and wood cuts accurately Spirit Level Ensuring shelves and frame pieces are even Paintbrush Applying paint to corners and detailed areas Foam Roller For smooth paint application on larger surfaces Sandpaper Prepping surfaces and smoothing after wood filler Wood Filler Filling gaps, screw holes, and seams for a seamless look Clamps (optional) Holding wood pieces in place during installation Ziploc Bags Storing paintbrushes and rollers between coats to avoid drying Utility Knife Cutting cling film or painter’s tape Primer & Paint Creating a strong base and color for the project Painter’s Tape Masking areas you don’t want painted Hinges & Screws For installing custom doors at the top Cling Film Protecting wires and cables during sanding or painting DIY IKEA Desk Hack: 6 Detailed Steps with Tips
“Build a stylish custom desk using basic IKEA pieces with this step-by-step DIY guide.”
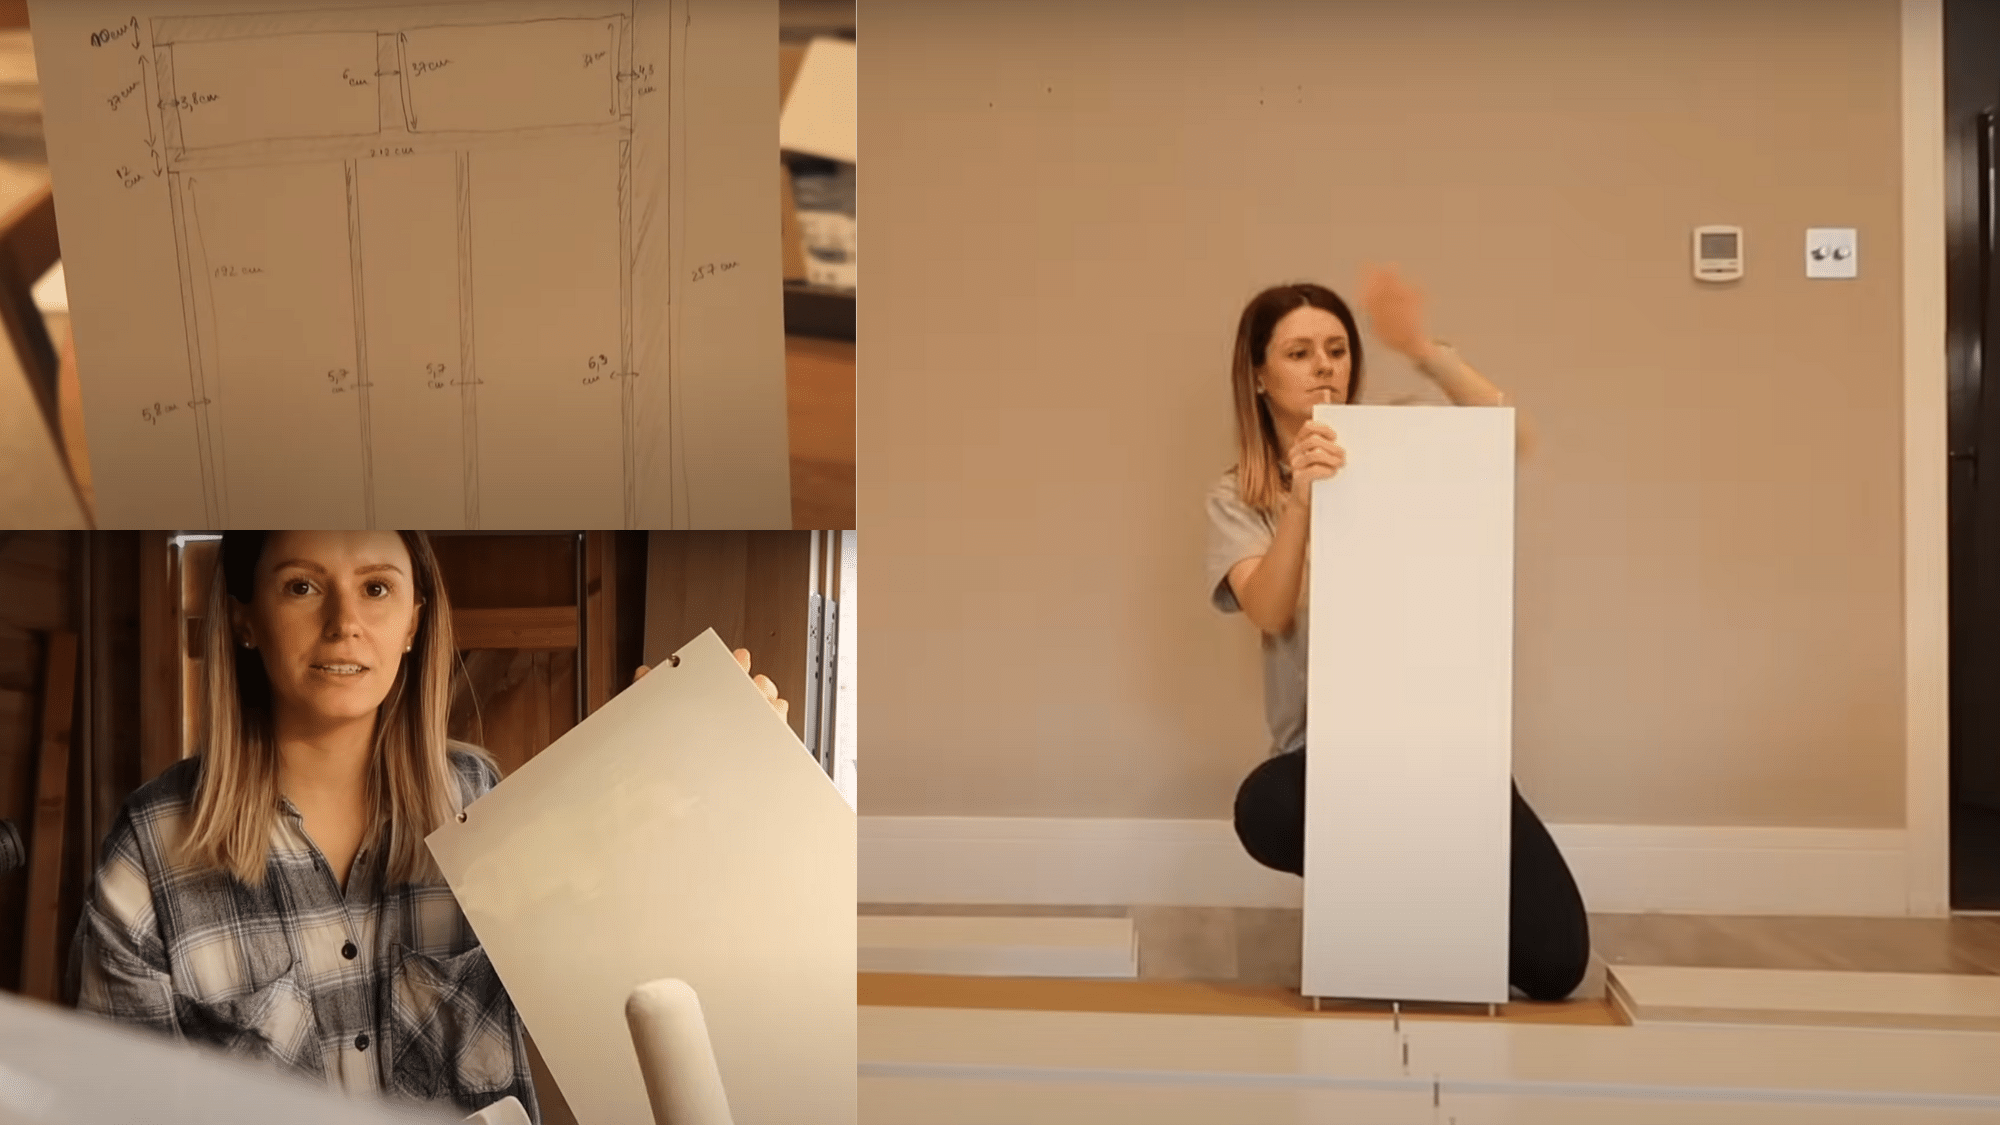
Step 1: Measure, Plan & Visualize Your Dream Desk

Before you buy anything, take time to plan your desk setup properly. Think about how you’ll use the space—do you need a wide desk for two people? Extra storage? A minimal workspace for your laptop and a plant?
Here’s what to do:
- Use a measuring tape to get the width, height, and depth of your space.
- Choose your main pieces: popular options include IKEA Alex drawers for storage or Billy bookcases if you want open shelving.
- Sketch a layout or try using IKEA’s free planner tool online.
- Consider where power outlets are located, where light falls in the room, and whether you want the desk to look built-in or stand-alone.
- Don’t forget to factor in chair space and legroom—comfort matters as much as style!
Step 2: Build the IKEA Furniture You’ll Use
Once your IKEA units arrive, unbox and assemble them following the instructions. This part is pretty straightforward, but take your time—well-built furniture is the foundation of your desk hack. At this stage, you’re not attaching anything yet, just getting everything ready.
Assembly tips:
- Lay out all pieces on the floor and make sure nothing is missing.
- Use a power screwdriver or drill for faster assembly (but don’t overtighten screws).
- Build each drawer unit, shelf, or cabinet carefully.
- Set the pieces side-by-side in your planned layout to check spacing and alignment.
Step 3: Add a Framed or Built-In Look (Optional for a Custom Finish)
If you want to take your IKEA desk hack to the next level, framing is a game-changer. It helps hide gaps, gives a cleaner finish, and makes your furniture look like it was built specifically for your space. You’ll need wood or MDF boards, but the result is totally worth it.
To build the custom frame:
- Buy MDF or wooden planks from a hardware store (like B&Q or Home Depot).
- Cut the boards to the right size for the sides, top, or between drawer units.
- Attach the boards using wood glue, nails, or screws depending on the surface.
- If your desk is going into a nook or corner, you can also cut away skirting boards or moldings for a tighter fit (just like in your Billy project).
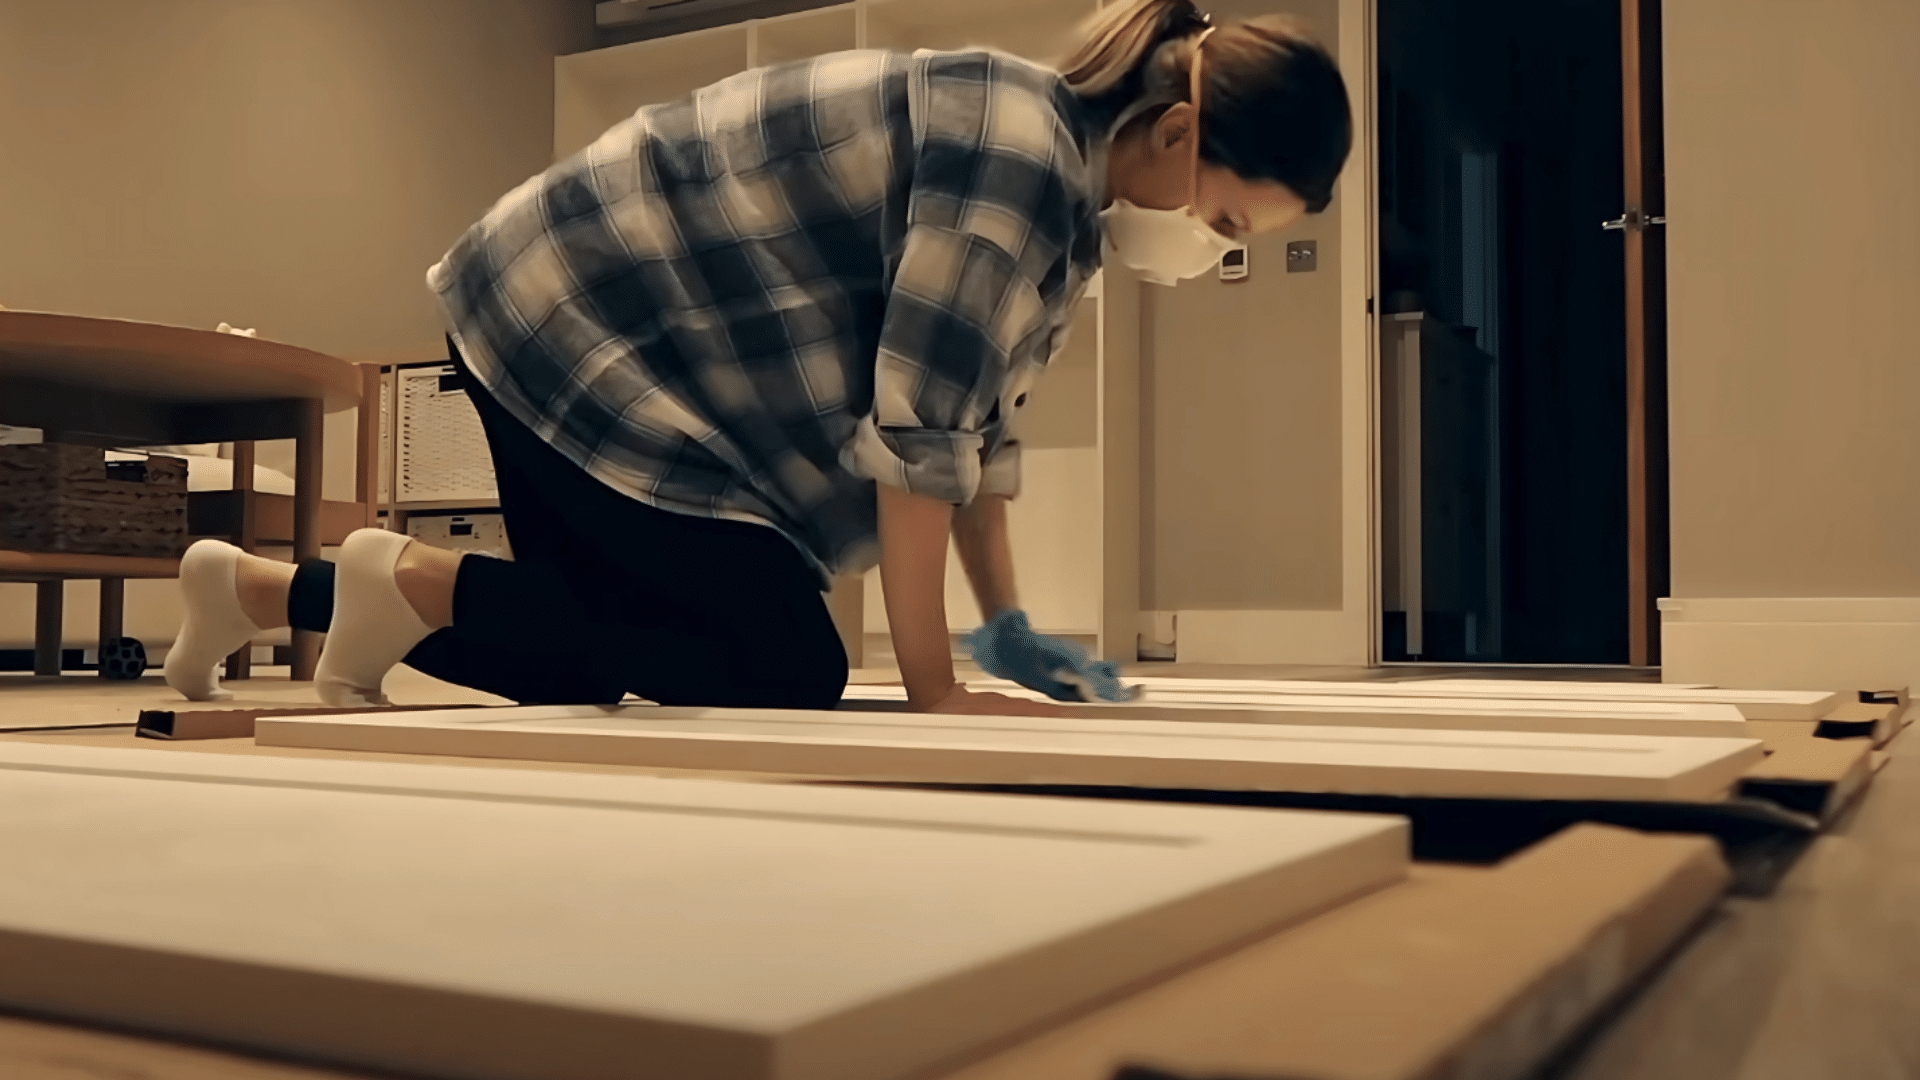
Step 4: Prime, Sand & Paint for a Seamless Look
Now it’s time to make all the parts match and flow together. You’re painting IKEA furniture or your framing wood, sanding, and priming help paint stick and ensure a smooth, long-lasting finish. It’s a bit of a time investment, but the transformation is huge!
Painting process:
- Lightly sand every surface you want to paint to help the primer grip.
- Apply a coat of primer—water-based options are great for indoor use.
- Wait 24 hours for the primer to dry completely.
- Lightly sand the primer coat to knock down any texture or brush strokes.
- Apply the first coat of paint using a foam roller for large areas and a brush for edges.
- Once dry, apply a second coat for even coverage.
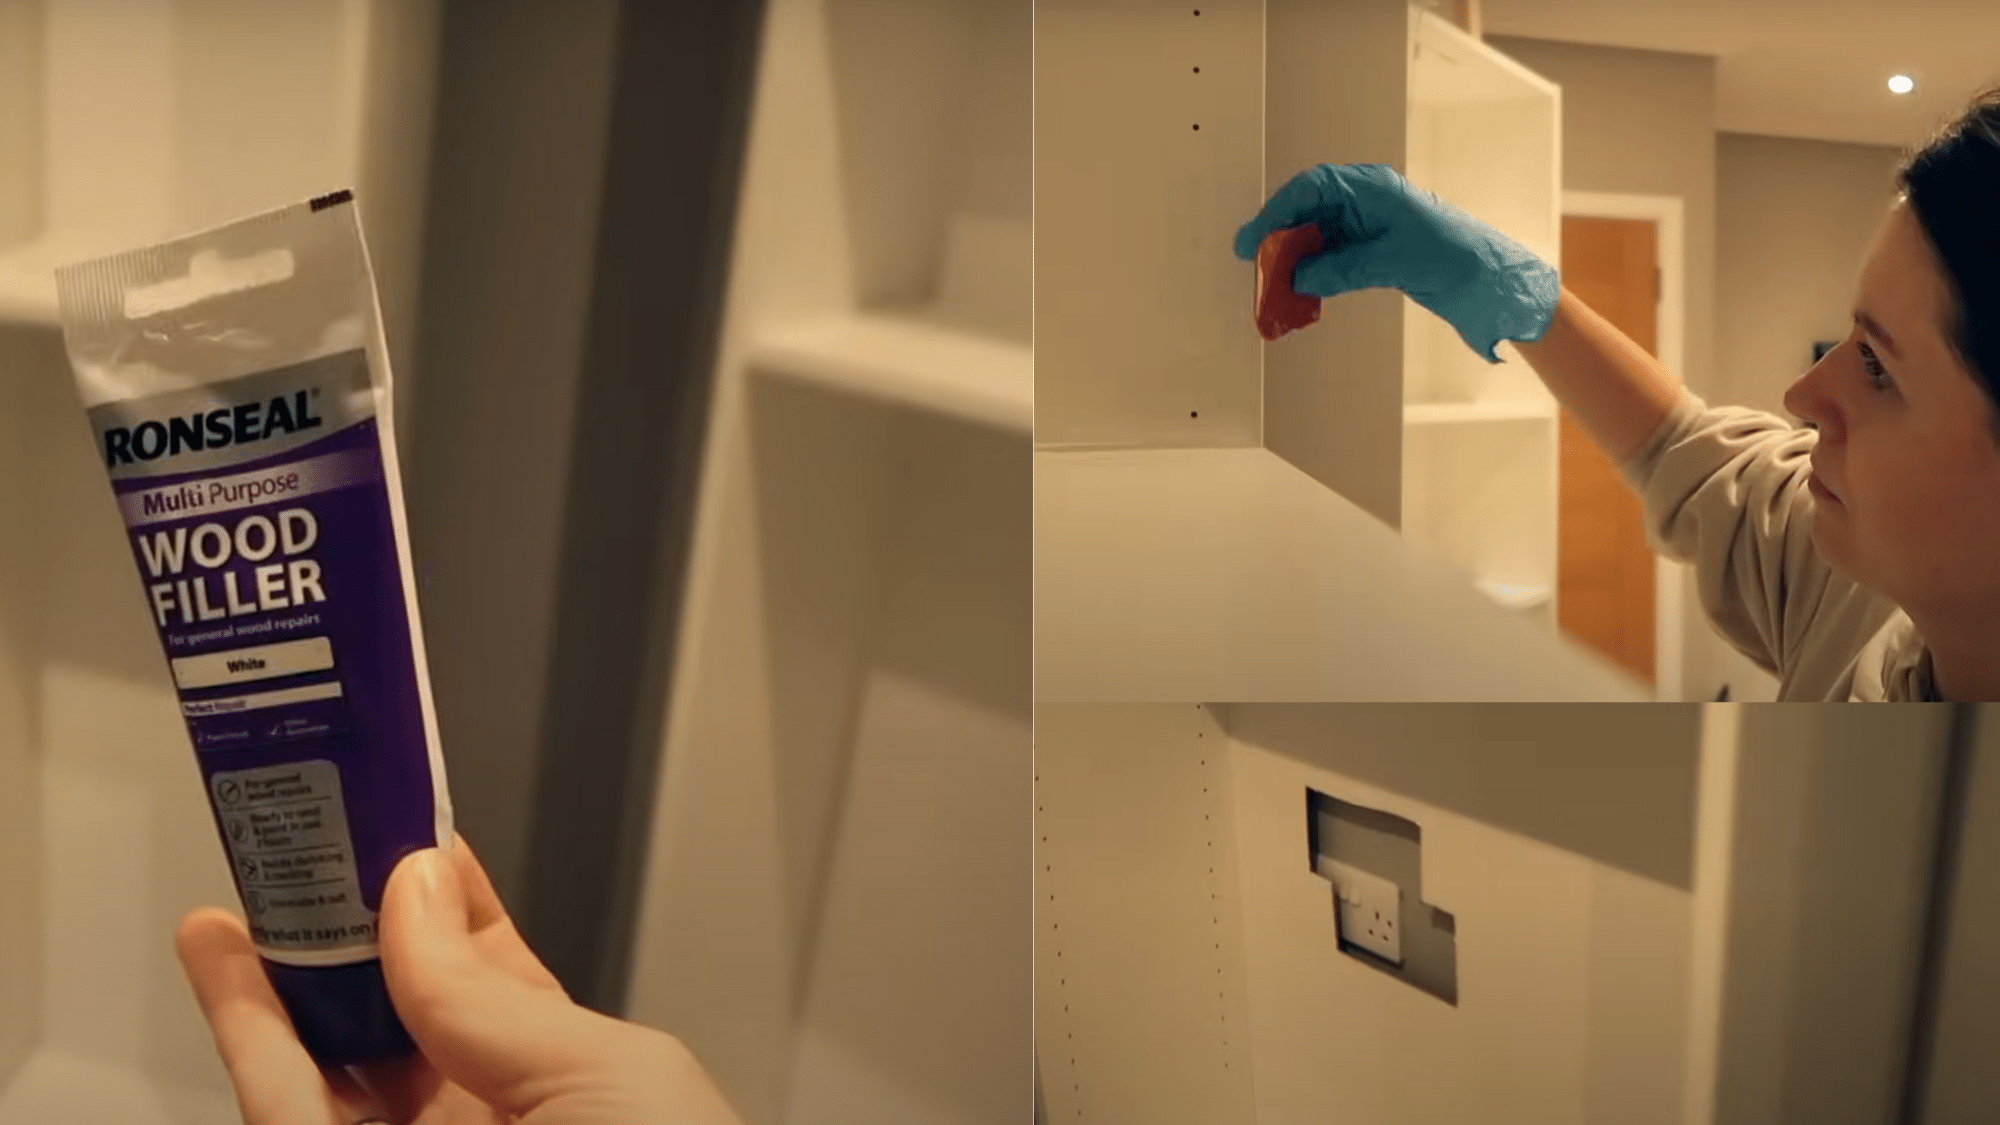
Step 5: Attach the Desktop & Add Finishing Touches
With the base and frame ready, now you can install your desktop panel. This is the main surface of your desk, so make sure it’s sturdy and nicely finished. You can buy a tabletop from IKEA (like Linnmon or Karlby), or have one custom-cut to size from a hardware store.
To finish this step:
- Choose a surface that fits across your base units—standard depth is 60cm, but you can go bigger or smaller.
- Rest the desktop on the drawer units, or attach it securely with brackets or L-braces underneath.
- Use wood filler to hide any gaps, seams, or visible screw holes.
- Sand and repaint those filled areas for a flawless finish.
- You can also add LED strip lights, cable grommets, or hooks underneath for function and flair.
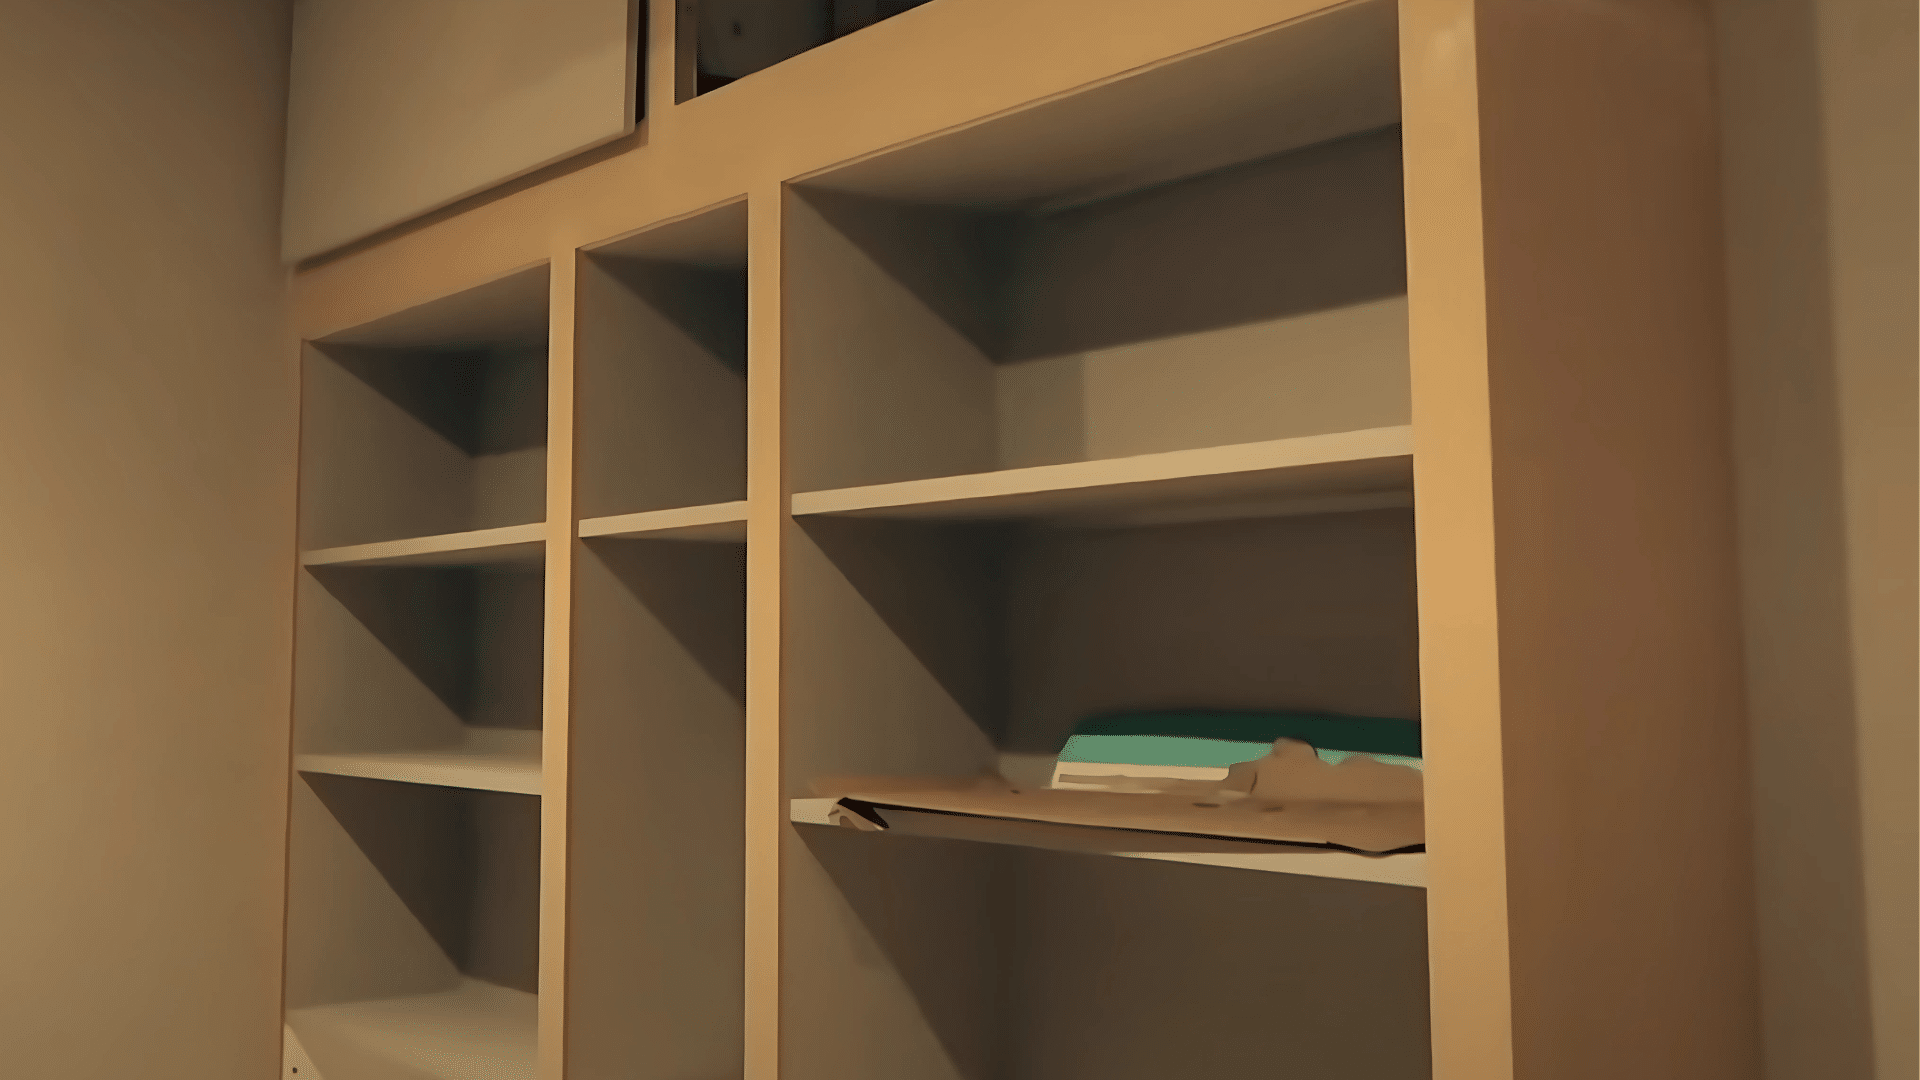
Step 6: Style Your Desk & Enjoy the Results
Once the paint is dry and everything’s assembled, it’s time for the fun part—styling your desk and setting it up for real life! Whether it’s for working from home, gaming, or crafting, make it reflect your personal taste and needs.
Final touches to consider:
- Organize cables using clips or a cable tray under the desk.
- Set up your computer, monitor, or laptop with the right height and lighting.
- Decorate with a plant, framed photo, or your favorite motivational quote.
- Add organizers inside drawers or bins on shelves to keep things neat.
- Sit down, take it all in, and enjoy your beautiful, budget-friendly IKEA desk hack
If you loved this IKEA DIY, you might also enjoy our step-by-step guide on creating a custom built-in look with IKEA desk
Video Tutorial
Special thanks to Madeline Hegedus for providing valuable insights in their video, which I referenced while creating this guide.
How Much Did It Cost?
A quick breakdown of what we spent and where it went.
Item Cost (£) IKEA Billy bookcases £310 Timber for framing £75 MDF panels for doors and trim £120 Farrow & Ball paint and primer £195 Hinges, handles, and fixings £85 LED light strips £45 Additional tools and supplies £27 Total £857 Was It Worth It?
Absolutely! Beyond the practical storage space we gained, this project gave us:
- A truly custom look that fits perfectly with our home décor
- The satisfaction of creating something beautiful with our own hands
- Quality time spent working together as a couple (even with the occasional measuring disagreement)
- A newfound confidence in our DIY abilities
The finished result looks so professional that visitors often assume we had it professionally installed. That’s perhaps the biggest compliment a DIY enthusiast can receive!
Conclusion
If you’ve been dreaming of custom-built-in shelving but balking at the professional price tag, consider this IKEA hack as your solution.
With some patience, basic DIY skills, and a willingness to learn from mistakes, you can change standard Billy bookcases into a stunning custom feature in your home.
Yes, there will be moments of frustration. Yes, you might measure something wrong (twice!). But the pride you’ll feel when you’re sitting in your room, admiring your handiwork, makes every challenge worthwhile.
Would you try this IKEA hack in your home? Have you completed a similar project? Let us know in the comments below!
Looking for more interior design inspiration? Check out our other guides on interior design to create a home you’ll love