
Ever opened your closet and felt instantly overwhelmed? That jumbled mess of clothes, shoes, and who-knows-what-else hiding in the corners doesn’t have to be your reality.
A DIY closet makeover is totally worth your weekend—it’s simpler than you think, costs way less than hiring someone, and the results will make you smile every morning.
In just a few days, you can turn that chaotic closet into an organized dream space where everything has its place. No contractor is needed, just some basic tools and a bit of planning.
Ready to maximize both space and style? Let’s dive in.
Closet Goals? DIY It and Save Big
Thinking about hiring professionals? Your wallet might thank you for doing it yourself. A custom closet installation can cost thousands, while a DIY approach might run just a few hundred dollars for materials.
When you take control of the design, you get exactly what you want. Need extra shoe storage because of your sneaker collection? Want specific drawer depths for your folded clothes? You make the calls on everything from measurements to materials.
The satisfaction of looking at your finished project and saying “I built that” just can’t be matched. Plus, you can adjust and modify as your needs change without calling in help every time.
What Should You Consider Before Starting?
Measure twice, cut once—this old carpentry saying is crucial for closet makeovers. Get exact measurements of your closet’s height, width, and depth. Don’t forget to account for doors, baseboards, and any weird angles.
Think about your wardrobe and how you use your closet. Do you need more hanging space for dresses and suits? More shelves for folded items? Drawers for small things? The perfect closet fits your stuff, not the other way around.
Look into different storage systems before you commit. IKEA’s PAX system offers affordable customization. The Container Store’s Elfa provides flexibility. Or you might prefer building completely custom shelving for an exact fit.
Materials and Tools Required
Here’s a clean and simple table listing all the materials and tools required for your DIY Closet Makeover:
| Item | Purpose |
|---|---|
| 12” MDF Boards (8 ft long) | Main structure for shelves and vertical supports |
| 1×2 Pine Boards | Trim for a finished, custom-built look on shelf fronts |
| 1×1 Pine Boards | Trim for small shoe cubbies |
| Pocket Hole Jig | To create strong joints for attaching shelves to side panels |
| Drill | Used for assembling and attaching components |
| Circular or Miter Saw | For cutting boards to the right length |
| Nail Gun | To quickly secure trim and shelf supports |
| Measuring Tape | To get accurate dimensions for layout and cuts |
| Wood Screws | To fasten shelves and supports securely |
| Wood Filler | To fill gaps, nail holes, and seams for a smooth finish |
| Caulk | To seal edges where wood meets the wall for a clean look |
| White Paint | To refresh and brighten the closet interior |
| Foam Paint Roller | For smooth painting on flat surfaces |
| Angled Paint Brush | For painting corners and tight spots |
| Painter’s Tape | To map out your design layout directly in the closet |
| Closet Rods | To hang clothes on either side of the center shelf unit |
| Wall Anchors (optional) | For additional support when attaching shelves to drywall |
DIY Closet Makeover: 8 Simple Steps to Upgrade Your Space
Revamp your cluttered closet into a stylish, organized space with these 8 simple and budget-friendly DIY steps.
Step 1: Empty and Prep Your Closet
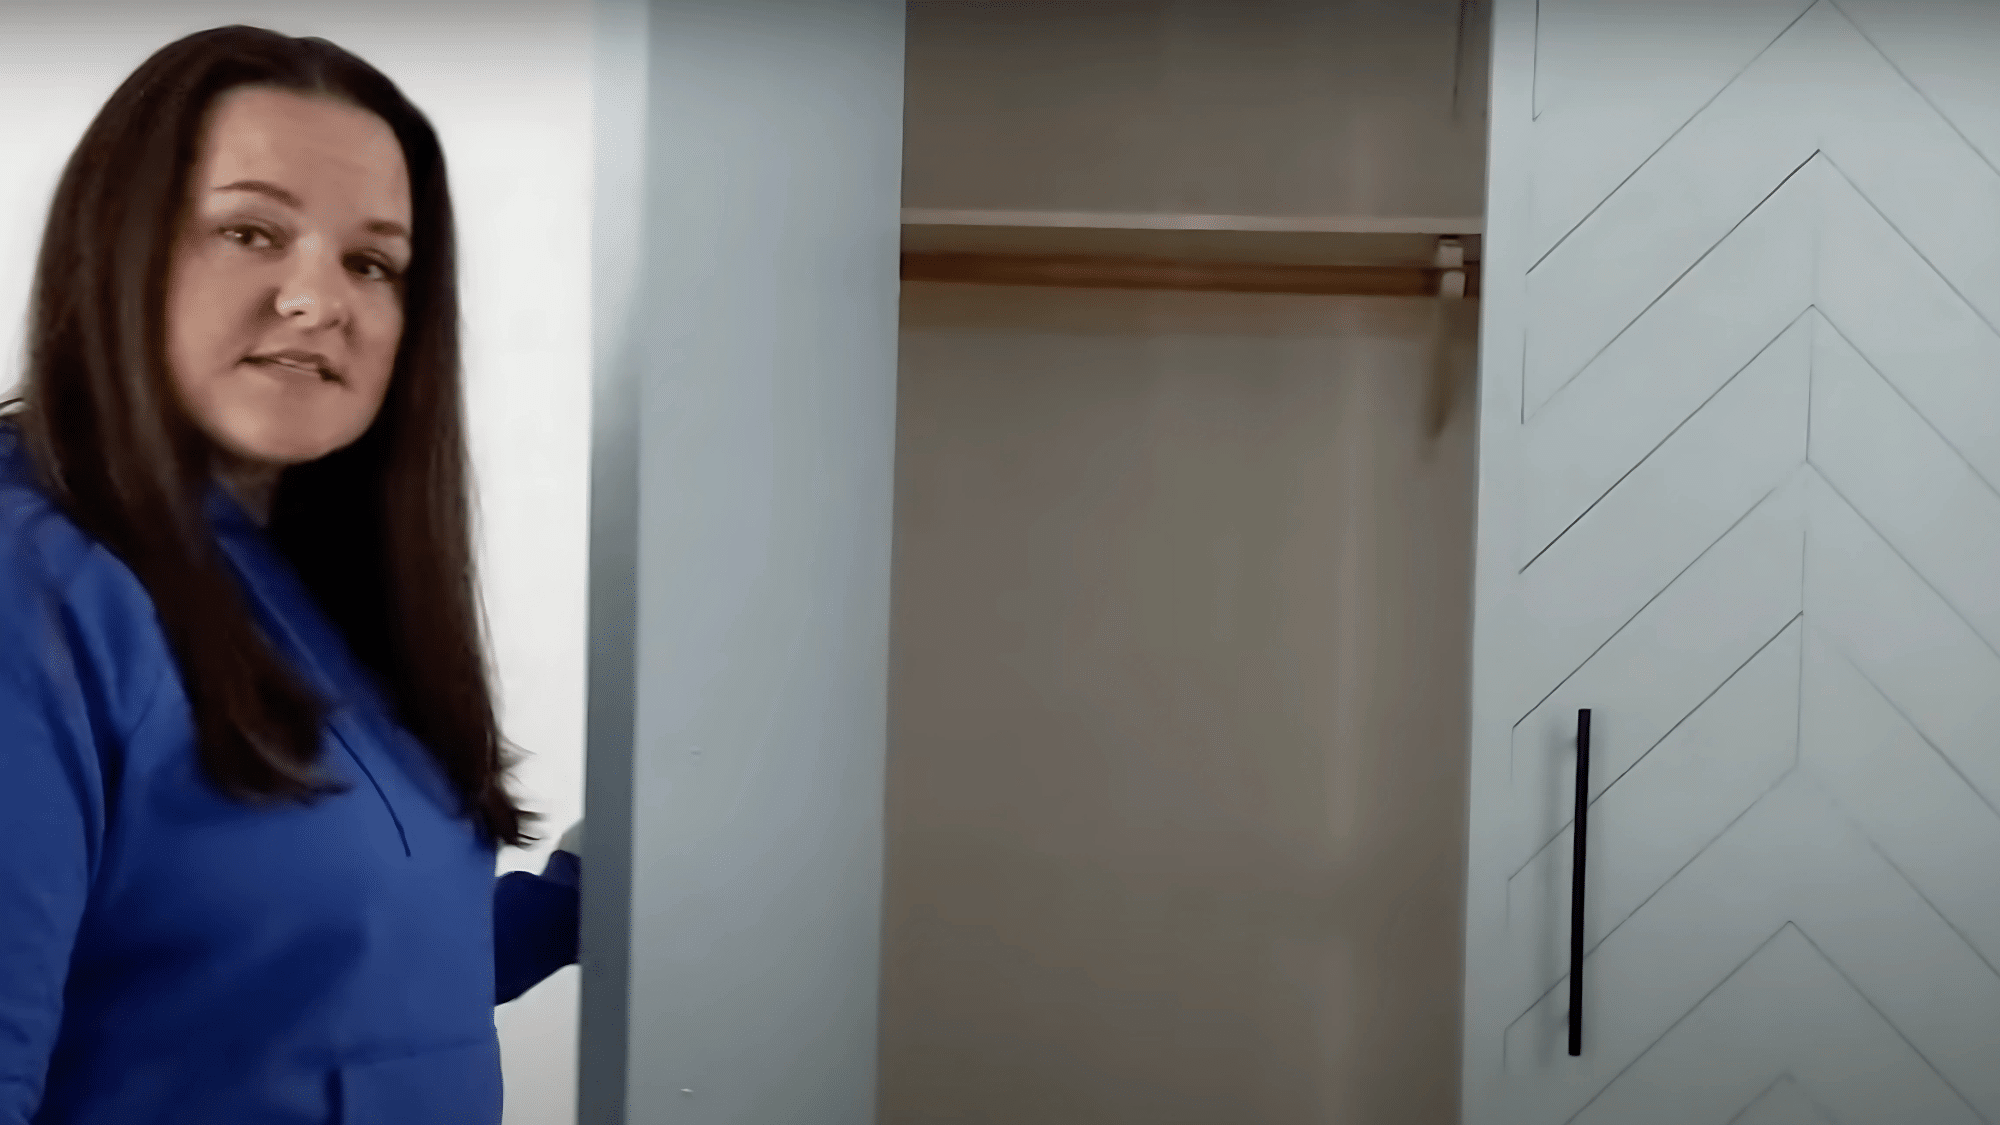
Start by clearing everything out of your closet—clothes, shoes, and anything that doesn’t belong. This gives you a blank canvas to work with and helps you take accurate measurements. Once emptied, remove any old closet rods, shelves, or built-ins that are no longer useful.
Give the interior a fresh coat of paint—white works great to brighten the space and make it feel larger and cleaner.
Step 2: Plan the Layout That Works for You
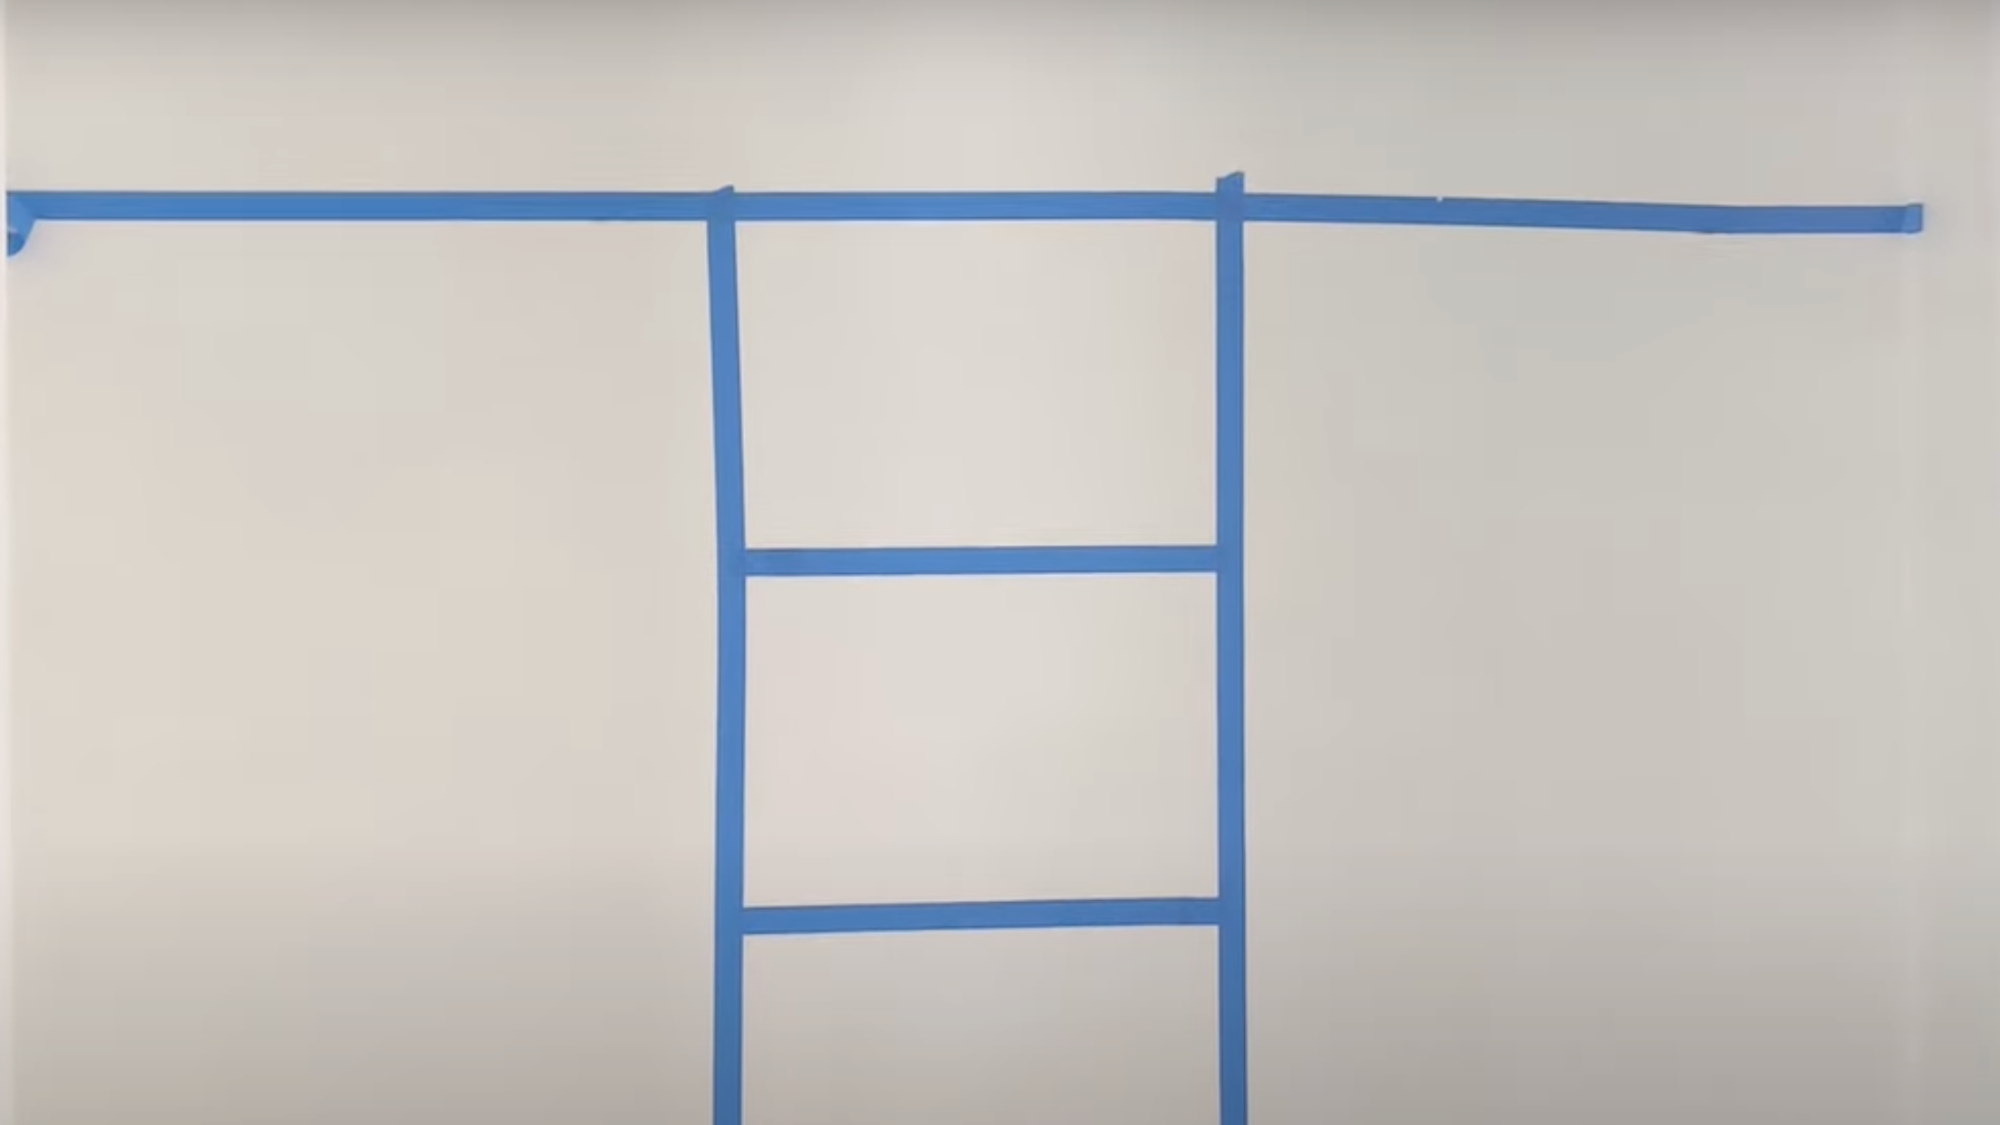
Before picking up a single tool, spend time thinking about what you actually need in your closet. Do you need more hanging space? More shelves? A spot for shoes or baskets?
Once you’ve figured that out, look for design ideas online (Pinterest is a great place to start) and sketch out a layout. Use painter’s tape to mark out shelf and rod placements inside the closet.
This helps visualize the space and gives you exact dimensions for cutting boards later.
Step 3: Choose the Right Materials and Tools
For this project, medium-density fiberboard (MDF) is a smart choice—it’s budget-friendly, strong, smooth, and easy to paint. Use 12-inch wide MDF boards for your shelves and side panels.
For a finished, custom look, add 1×2 or 1×1 pine boards as trim. You’ll also need basic tools like a circular saw or miter saw, a pocket hole jig, drill, nail gun, measuring tape, caulk, wood filler, and paint supplies.
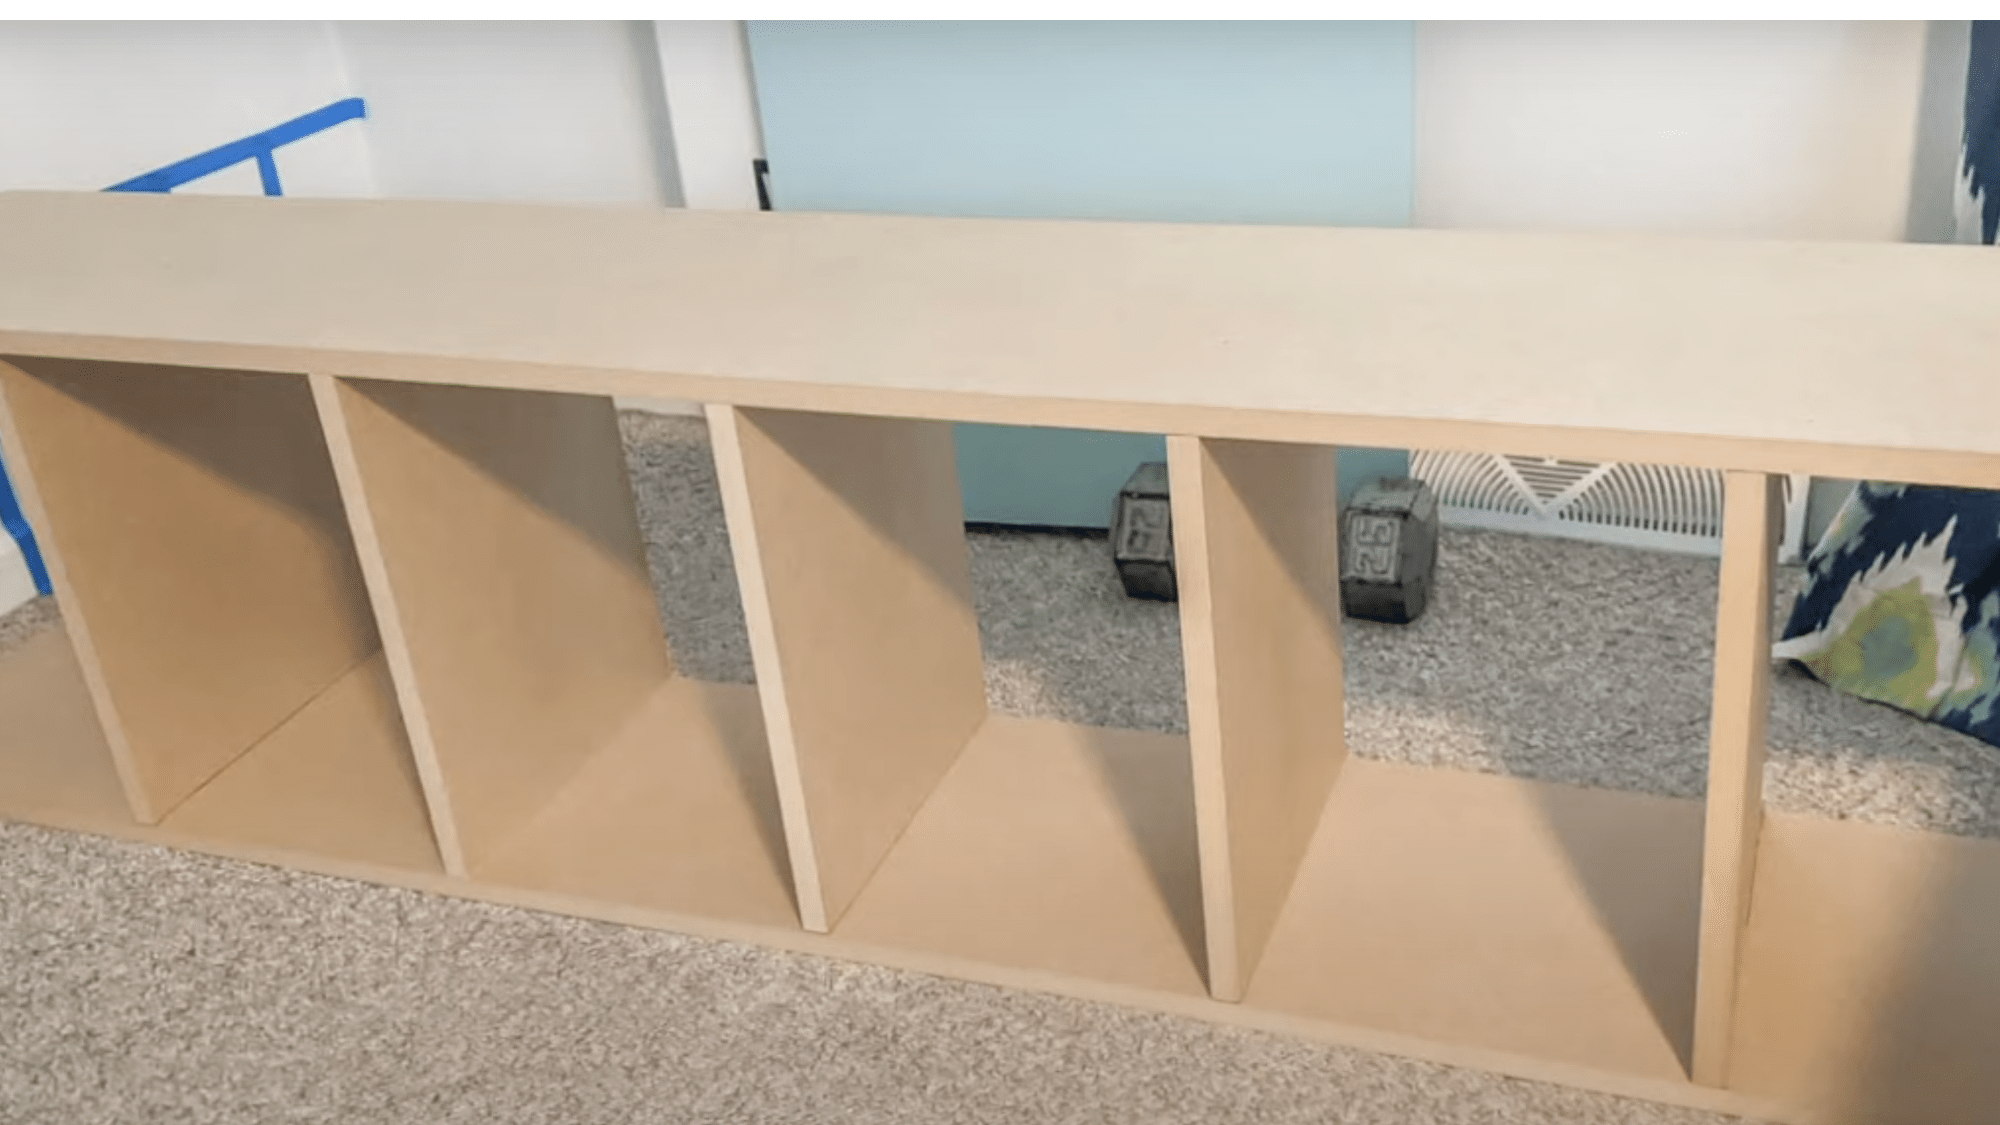
Step 4: Build the Center Shelf Unit
Begin construction by cutting the vertical side panels and the horizontal shelves to size. Drill pocket holes in the shelves for easy and sturdy assembly.
Lay one tall board flat, then attach the shelves with pocket screws. Flip the unit over onto the second tall board and repeat the process.
Once the middle section is built, carefully lift it into place inside your closet—it will become the foundation for organizing everything else.
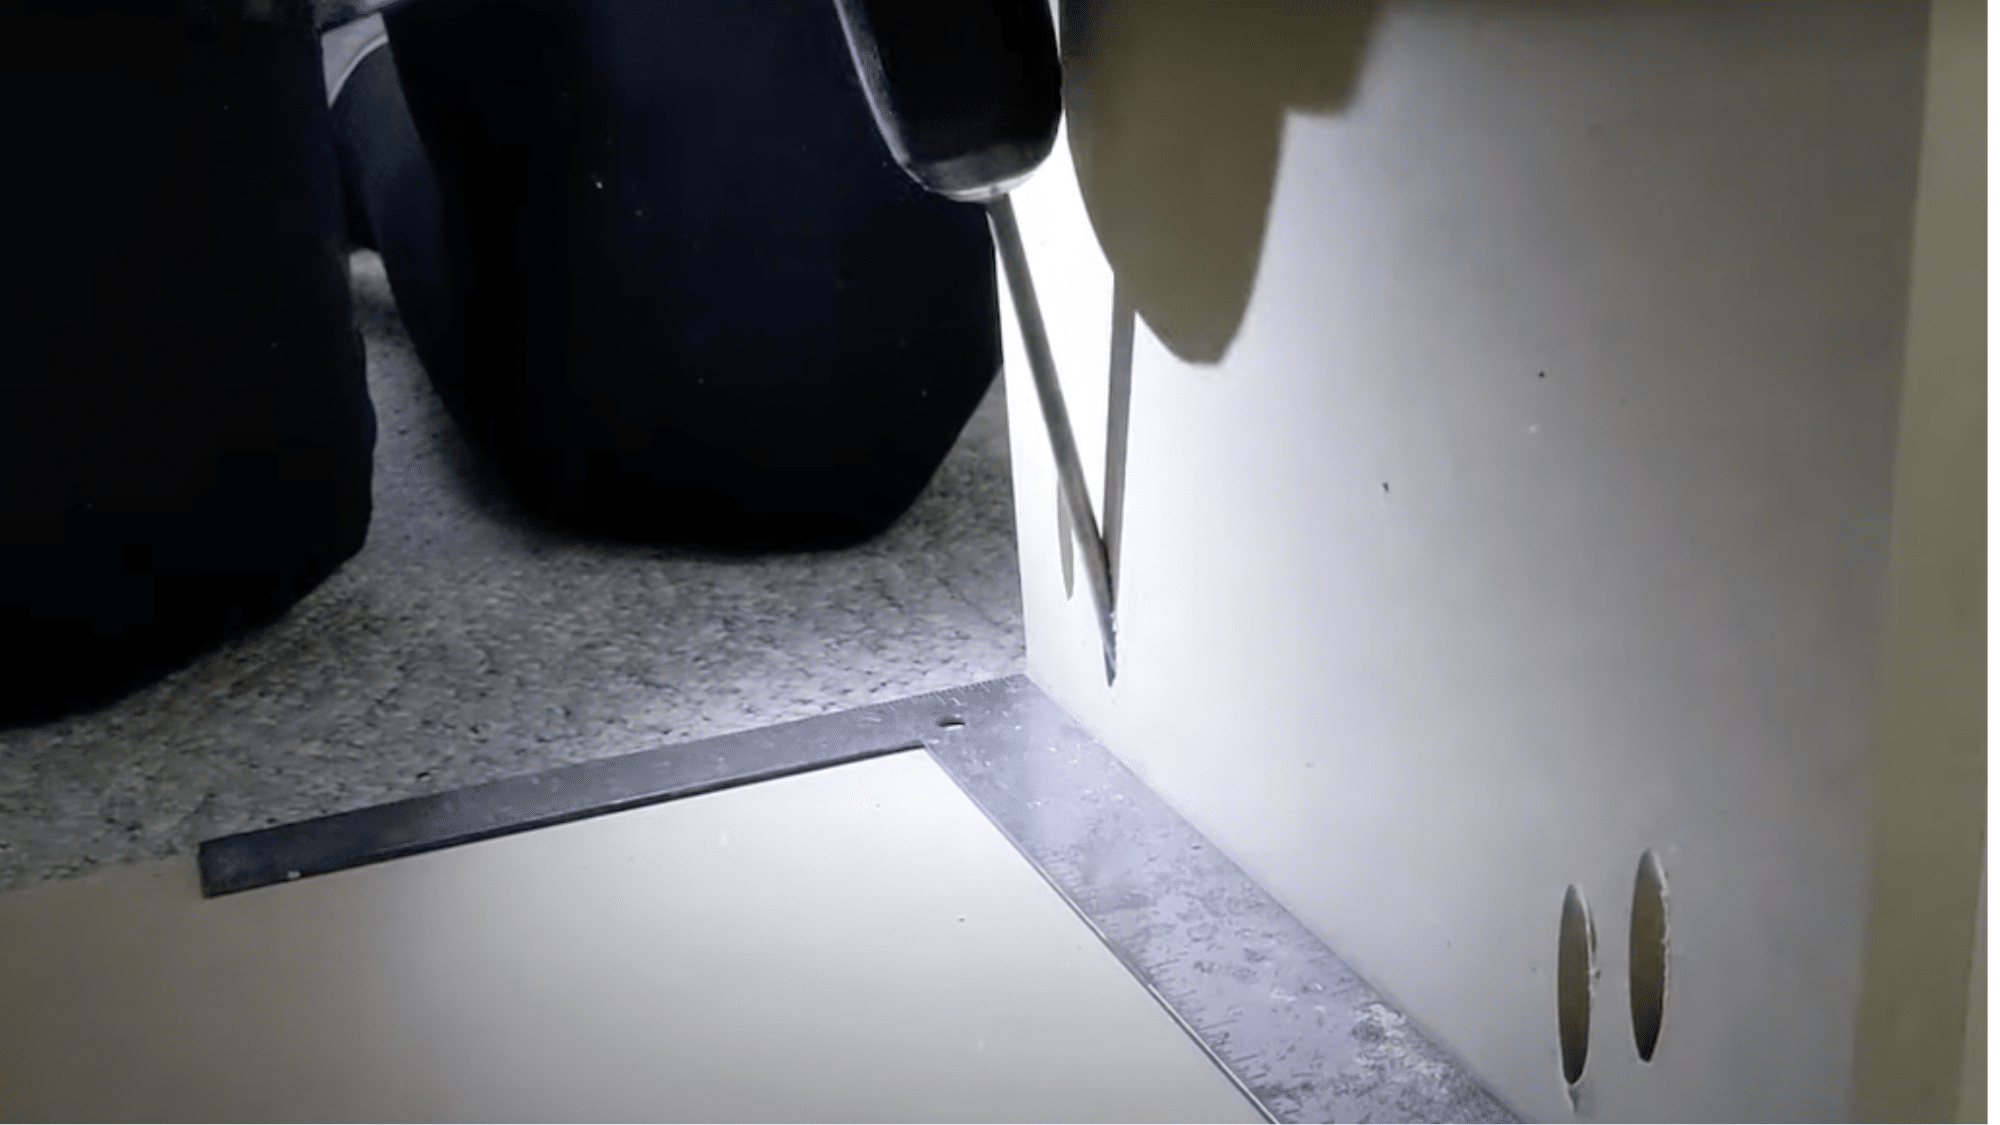
Step 5: Add Shoe Storage and Side Shelves
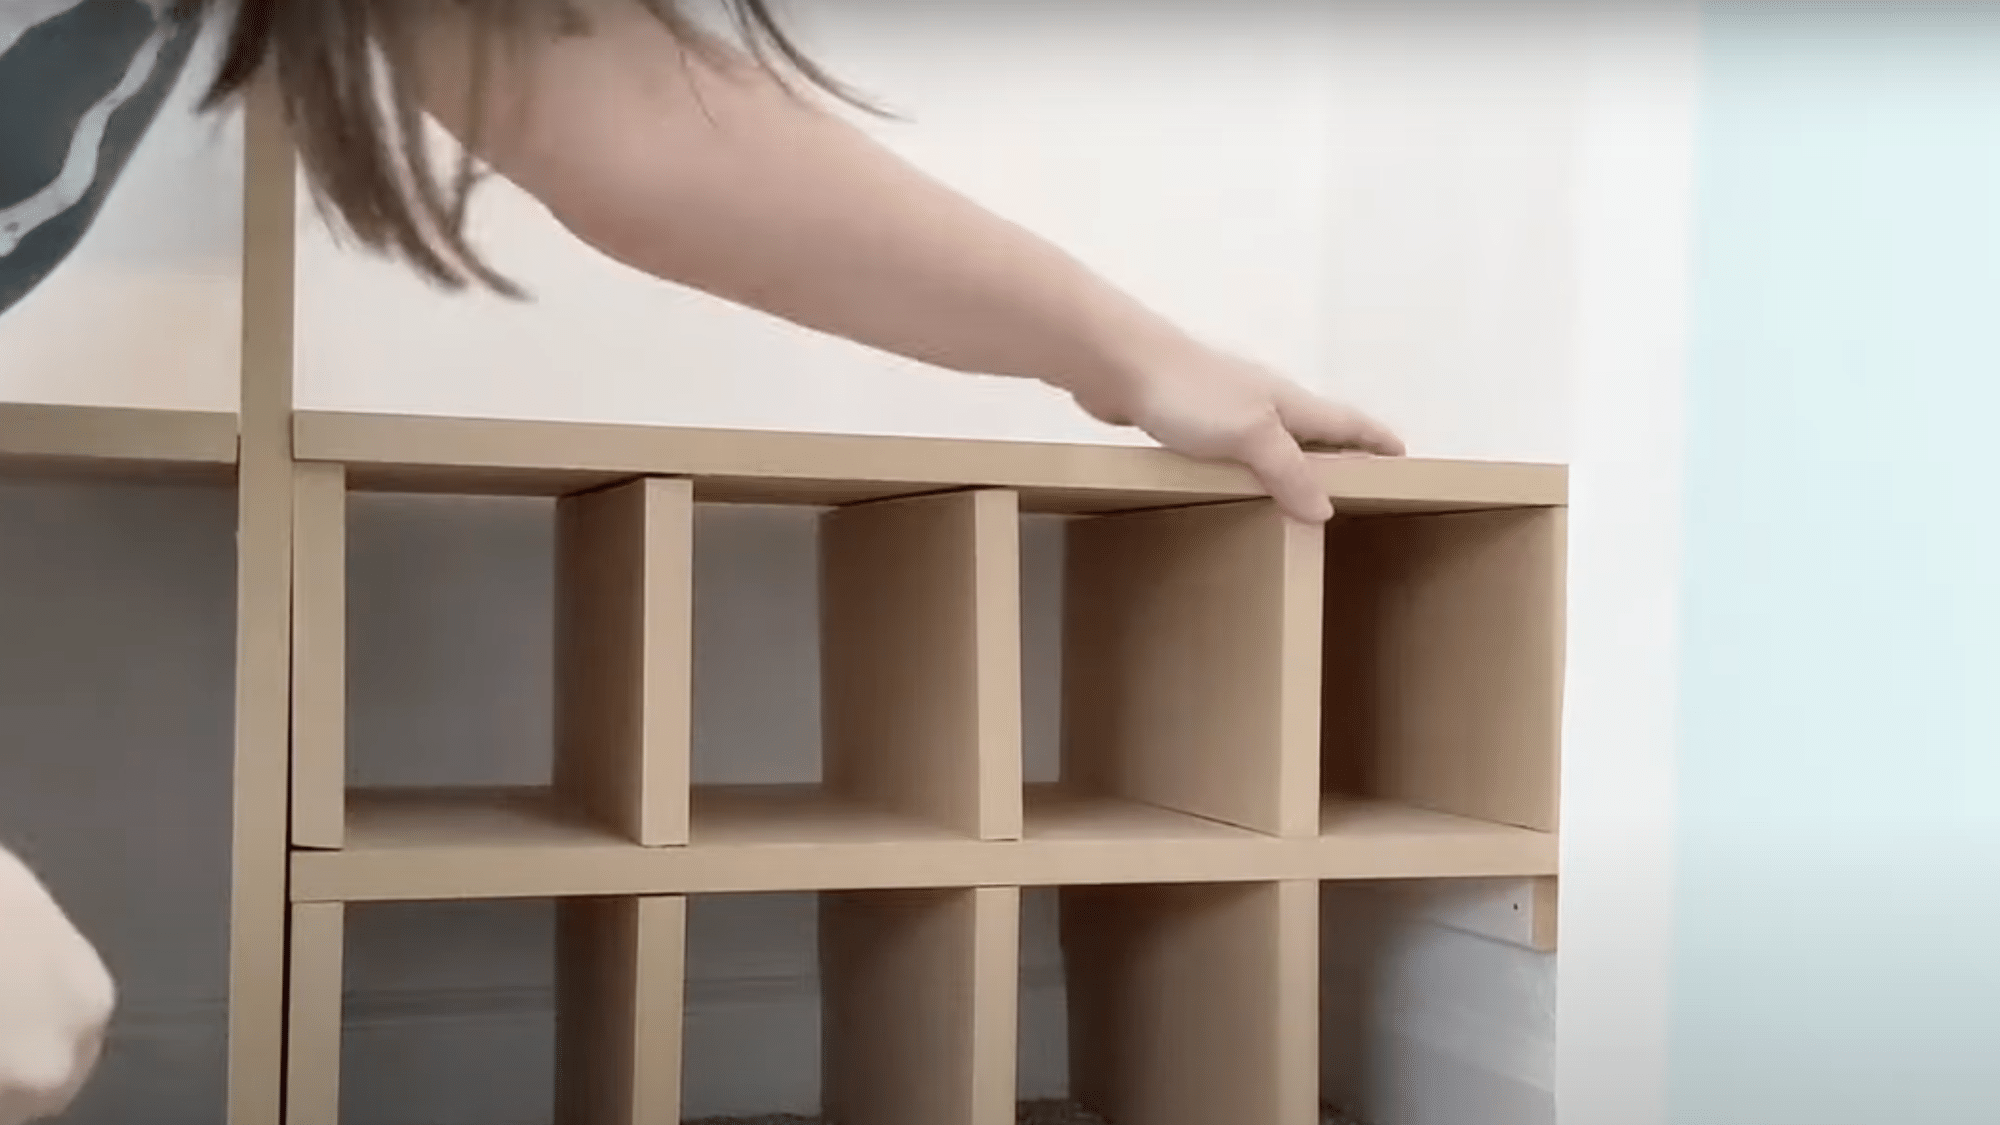
Next, focus on creating storage for your shoes and accessories. Attach small MDF support boards directly to the wall, especially near the bottom of the closet.
Place your shelf boards on top of the supports and secure them with a nail gun. On one side, consider building small cubbies using vertical dividers to neatly store sandals or small shoes.
These dividers help keep everything in its place and add to the custom-built look.
Step 6: Install the Top Shelf and Hanging Rods
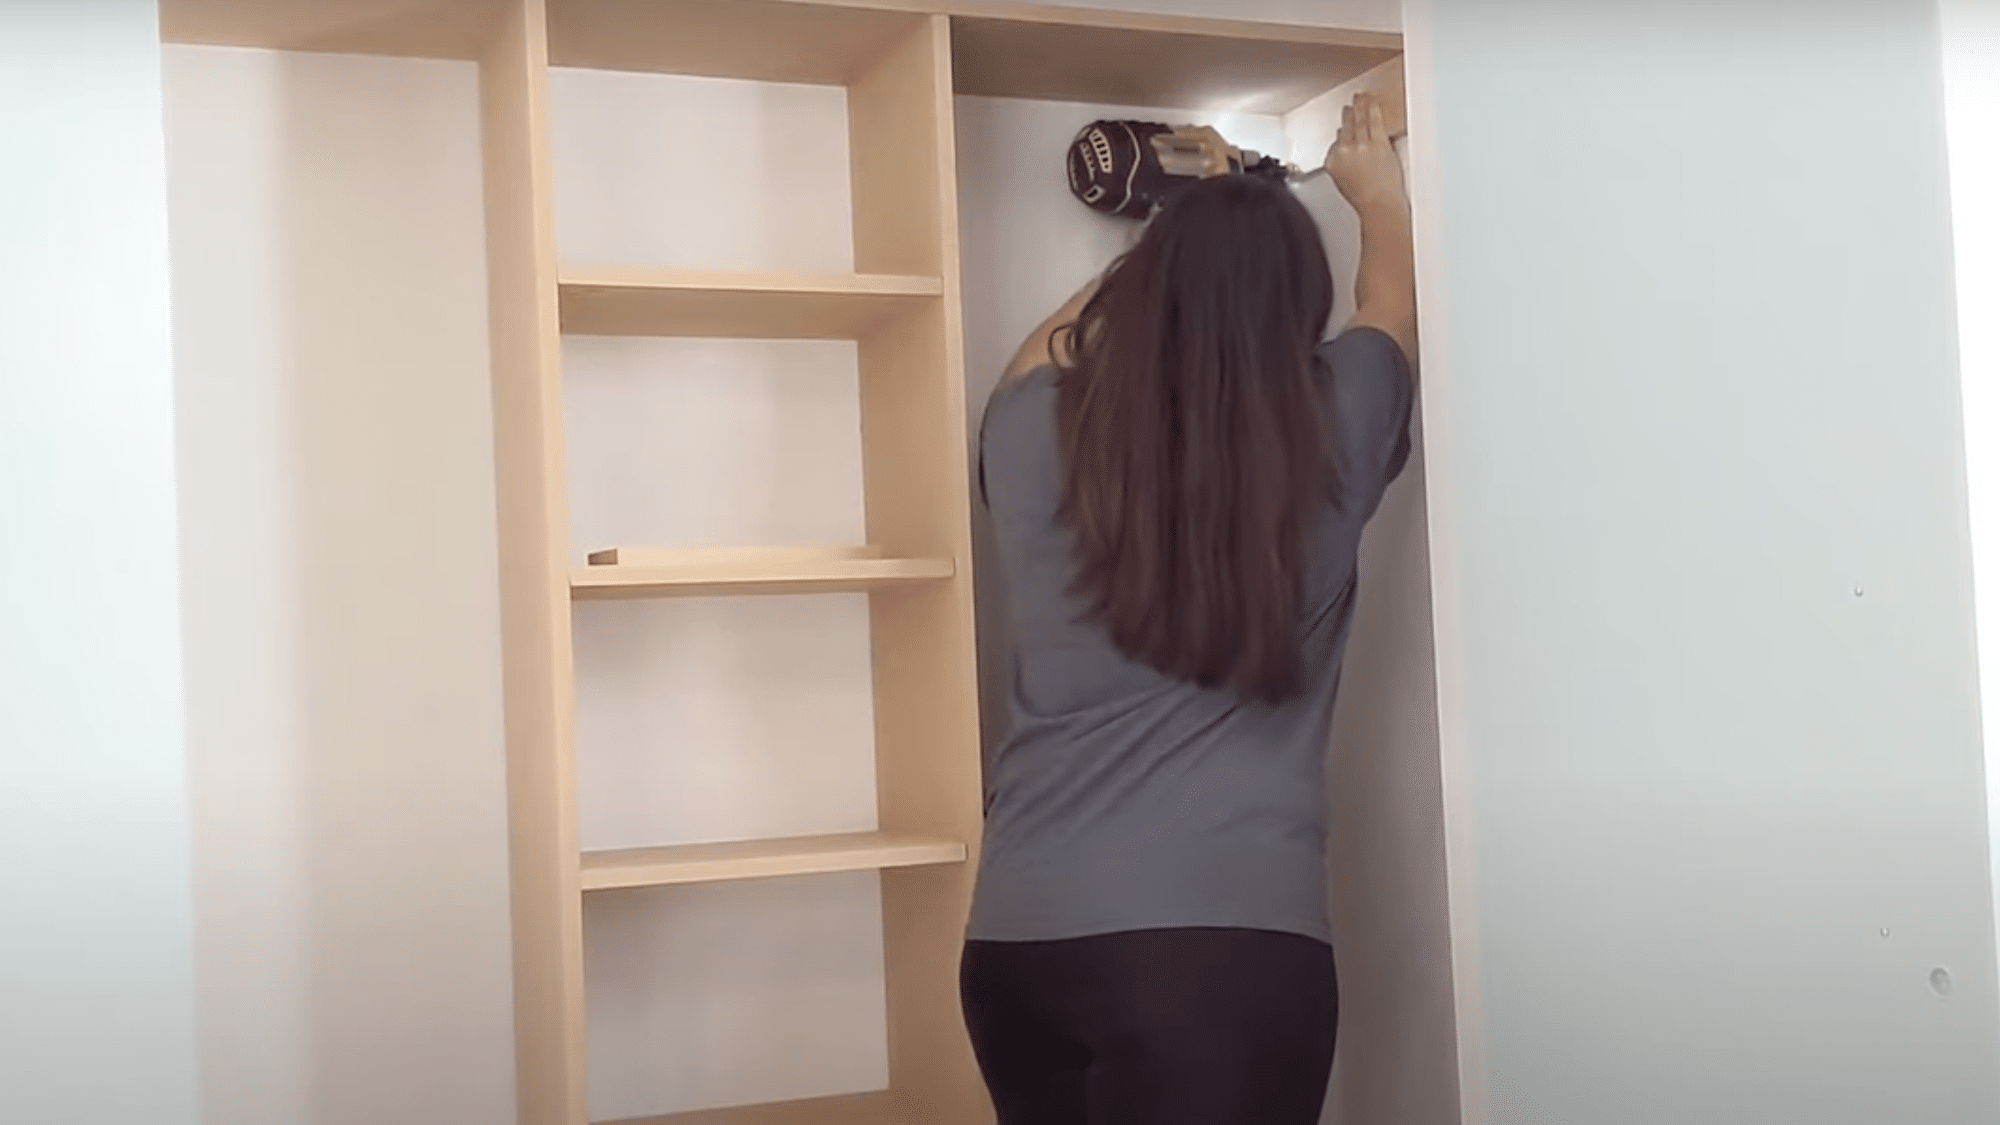
To make full use of vertical space, install a long top shelf near the ceiling by screwing wood supports onto each side wall. Place your top board on the supports and secure it.
Just below that, install a closet rod on each side for hanging clothes. This keeps your longer clothing items accessible and gives the closet a professional finish.
Step 7: Trim, Caulk, and Paint
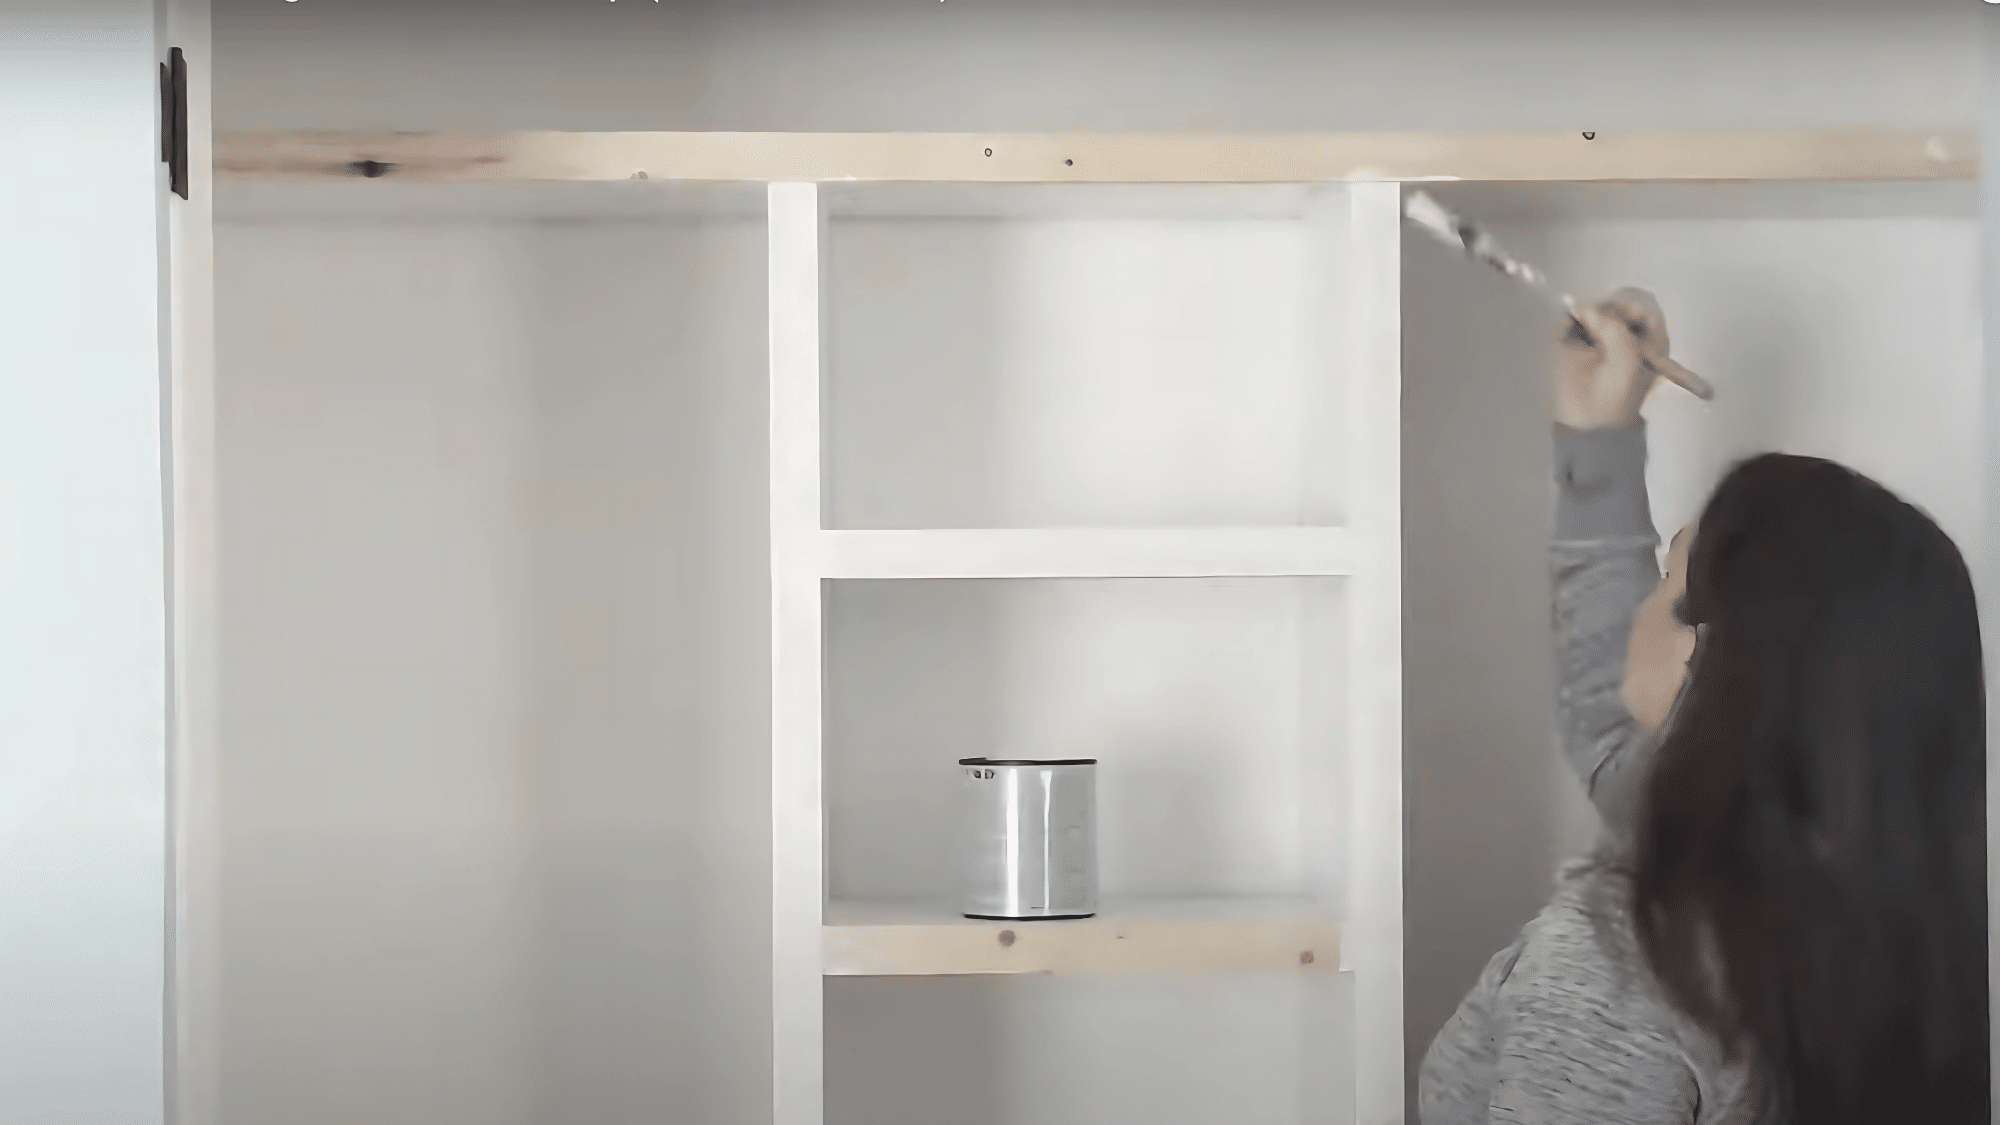
Now it’s time to make everything look polished. Add trim boards (1×2 or 1×1) to the front edges of each shelf and divider to give your closet a built-in feel. Use wood filler to cover nail holes and caulk along seams for a smooth finish.
Once dry, paint everything using a small foam roller for flat surfaces and an angled brush for corners. This step makes all the difference in making your project look high-end and complete.
Step 8: Organize and Enjoy Your New Closet
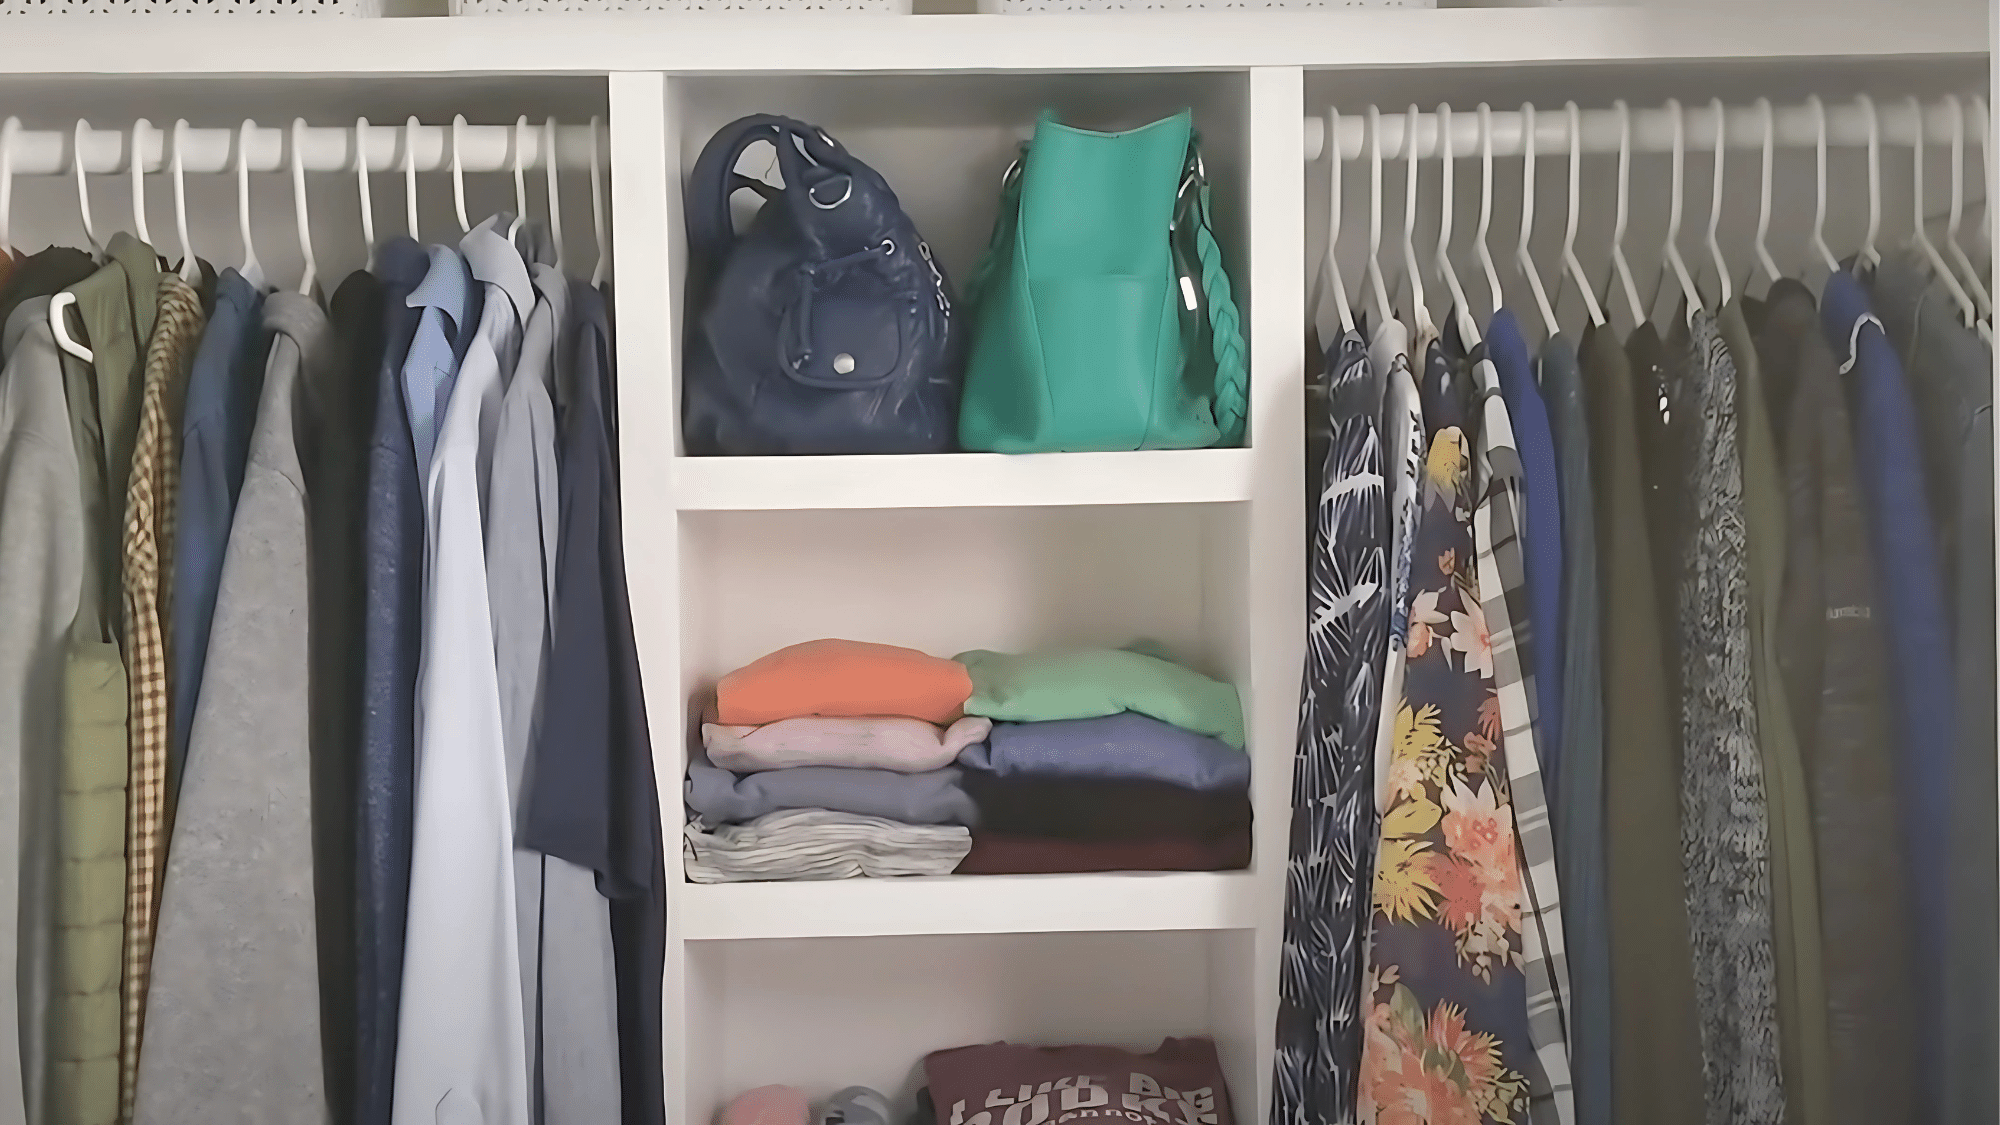
Once the paint is dry, it’s time to reload your closet. Use this moment to declutter—only bring back the clothes and shoes you truly use.
Arrange items so everything is easy to see and reach. The result is a clean, organized closet that looks custom-designed for your needs—and you did it all yourself!
Video Tutorial
Special thanks toLovely Etc. or providing valuable insights in their video, which I referenced while creating this guide.
Tips to Make It Easier and Look Better
Use free planning software from stores like IKEA or The Container Store to visualize your design before buying materials. Some even generate shopping lists based on your layout.
Don’t skip leveling! Even small gaps or tilts will make your whole closet look amateur. Take the time to get everything perfectly straight.
Keep all hardware in labeled baggies as you unpack the components. Nothing slows a project down like hunting for “that one special screw” among dozens.
Work in stages instead of trying to do everything at once. Complete the main structure before moving on to shelves, then rods, and then smaller components.
Total cost breakdown
| Item | Quantity | Estimated Cost (USD) | Notes |
|---|---|---|---|
| 12” MDF Boards (8 ft) | 4 boards | $80 ($20 each) | For shelves, vertical sides, and supports |
| 1×2 Pine Trim Boards | 5 boards | $15 ($3 each) | For front-facing shelf trim |
| 1×1 Pine Boards | 2 boards | $6 ($3 each) | For shoe cubby trim |
| Wood Screws | 1 box | $6 | For shelf and frame assembly |
| Pocket Hole Jig Kit | 1 kit | $25 | Reusable tool for making strong joints |
| Nail Gun (or Nails) | 1 tool or 1 box nails | $30–$60 (or $5 for nails) | Optional but helpful for trim work |
| Caulk | 1 tube | $4 | For sealing edges |
| Wood Filler | 1 tub | $5 | To fill gaps and nail holes |
| White Paint | 1 quart | $15 | For painting entire unit |
| Foam Roller + Brush Set | 1 set | $10 | For smooth and even paint finish |
| Closet Rods | 2 rods | $20 ($10 each) | For hanging clothes on each side |
| Wall Anchors (optional) | 1 pack | $5 | For extra support if attaching to drywall |
| Total Estimated Cost | | $221 – $251 | Depending on tools already owned and store pricing |
Conclusion: Ready to Make Over Your Closet?
A DIY closet makeover delivers major impact for a manageable project. You don’t need pro skills—just some planning, basic tools, and a weekend of your time.
The best part? You’ll feel the results every single day. Getting dressed becomes easier and more enjoyable when your clothes are organized, your shoes are visible, and everything has its place.
And unlike mass-produced solutions, your DIY closet will reflect your unique lifestyle and needs.
Ready to upgrade your closet? Grab that measuring tape and get started! Map out your space, sketch your design, and take it one step at a time.
When you finish, share your results in the comments, tag us in your photos, or reach out with questions. We’d love to see what you create—and cheer you on as you turn a blank wall into a space that works hard and looks great.
Looking for more ideas? Check out our other DIY Project guides to create a space that’s uniquely yours.
