Transform your plain windows into stunning focal points with this budget-friendly farmhouse trim project.
Perfect for DIY enthusiasts of any skill level, this step-by-step guide walks you through creating beautiful window trim that adds charm and character to your space.
We’ll show you how to measure, cut, and install trim pieces that give your windows a coveted farmhouse look while keeping costs low and results professional.
From selecting materials to adding those finishing touches, this tutorial breaks down each stage into manageable steps.
Whether you’re updating a single window or tackling your entire home, you’ll discover techniques that ensure clean lines and lasting results.
Get ready to enhance your home’s value and style with this achievable weekend project.
Tools and Materials Needed
Tools
| Item | Purpose |
|---|---|
| Finish nailer | To secure wood pieces with 2.5-inch nails. |
| Measuring tape | To measure the window frame and trim pieces accurately. |
| Saw | Cut wood pieces to the required lengths. |
| Sanding block | To smooth rough edges or wood filler. |
| Caulk gun | Apply caulk evenly to seal joints and gaps. |
Materials
| Item | Purpose |
|---|---|
| Primed wood pieces (1×4, 1×2, 1×6) | Used for bottom, side, and top trim construction. |
| Nails | To secure the trim and molding pieces in place. |
| Primer | To prepare the wood surface for painting. |
| Wood filler | To fill nail holes for a smooth finish. |
| Caulk | To seal gaps between joints and the window casing. |
| Paint | To provide a polished and professional look. |
DIY Farmhouse Window Trim: Step-by-Step Guide
Step 1 – Installing the Bottom Trim
Start with a clean, primed 1×4 board for your bottom trim. Measure and cut it precisely to extend beyond your window opening, allowing enough length to meet the future side trim pieces.
Position the board so it sits perfectly flush against your windowsill. Take extra care to ensure it’s level – this sets the foundation for your entire trim project.
Using your 16-gauge finish nailer, secure the board with 2.5-inch nails, placing them every 16 inches and about 1 inch from the edges. Keep your nail heads consistent and slightly recessed for a professional finish.
Double-check the board’s stability before moving forward.
Step 2 – Adding the Side Trim
With your bottom piece secure, focus on the vertical elements. Cut your primed 1×4 pieces to length, allowing them to rest firmly on the bottom trim.
Position each piece against the window jamb, checking for plumb with your level. This step requires precision – any misalignment will be noticeable in the final product.
Hold each piece firmly while securing it with your finish nailer, working from bottom to top. Space your nails evenly, maintaining the same distance from the edges as you did with the bottom trim.
Step 3 – Constructing the Top Trim
The top section creates that distinctive farmhouse look through layering. Begin by attaching your first 1×2, positioning it flat with a 1-inch overhang on both sides.
Next, place your 1×6 directly above, aligning its edges perfectly with your side trim – no overhang here. Complete the crown by adding your final 1×2 with that signature 1-inch overhang.
Secure each layer with nails, ensuring they’re properly countersunk. This three-piece design creates beautiful shadow lines and adds architectural interest to your window.
Step 4 – Adding the Finishing Molding
For those professional finishing touches, carefully rip your molding pieces to the specified 1-inch by 0.5-inch dimensions. These small but crucial elements bridge the gap between your trim and the window casing.
Work methodically around the window, fitting each piece snugly against the casing. Secure with appropriately sized nails, keeping them subtle and evenly spaced.
This final step frames your window beautifully and conceals any minor gaps, creating that seamless, built-in look that defines farmhouse style.
Video Tutorial
Check out this YouTube video by Country Girl Living for a detailed step-by-step tutorial on making a farmhouse window trim.
Enhancing Your Trim with Finishing Touches
1. Priming and Filling Gaps
- Apply quality primer to all unprimed wood surfaces, ensuring complete coverage for proper paint adhesion and longevity.
- Fill nail holes with wood filler, let dry completely, then sand smooth with fine-grit sandpaper. Run your hand over to check for any missed spots.
2. Caulking the Joints
- Cut the caulk tube at a 45-degree angle and apply a steady bead along all trim joints. Work in small sections for best control.
- Smooth caulk lines with your finger or specialized tool, wiping the excess with a damp cloth before it sets.
3. Painting the Trim
- Choose semi-gloss paint for durability. Clean surfaces thoroughly, then apply paint in long, even strokes following the wood grain.
- Apply two thin coats rather than one thick layer, allowing proper drying time between coats for a flawless finish.
Where can Farmhouse Window Trim be Used in Your Home?
Let’s explore how this timeless window trim design enhances various spaces in your home and adapts to different interior styles.
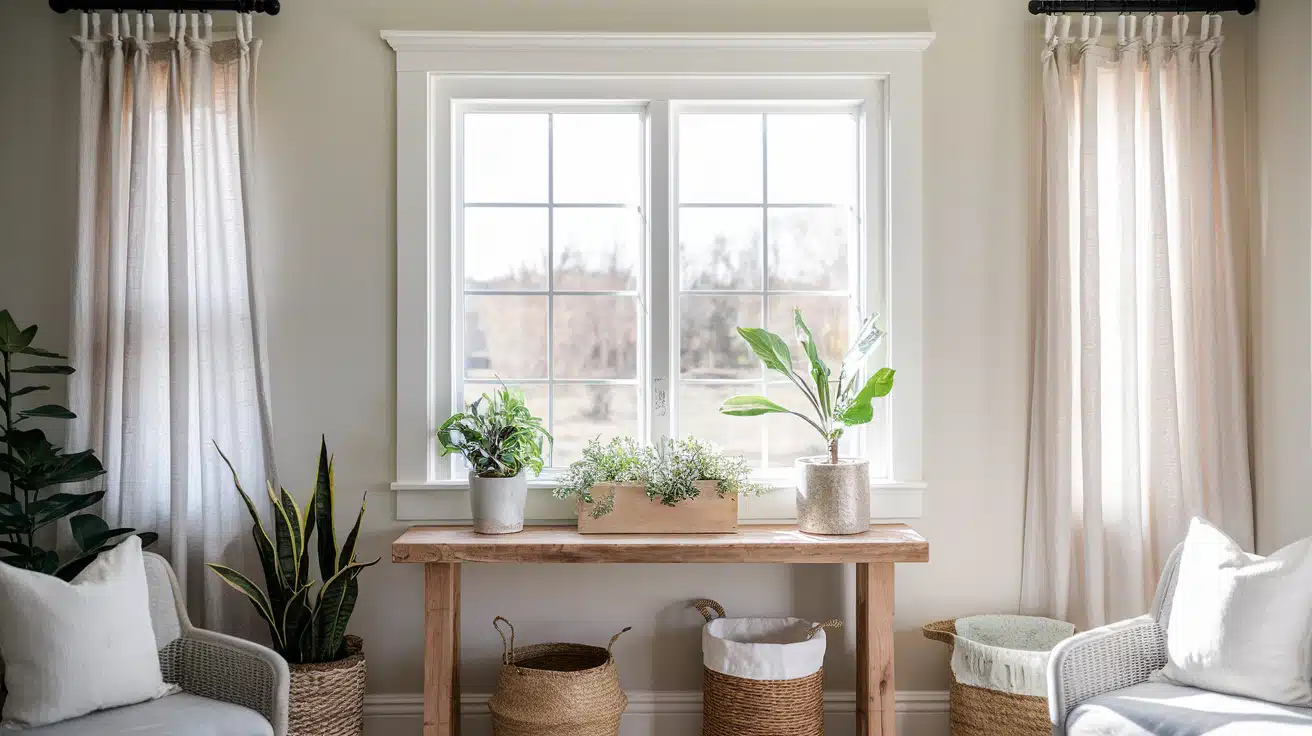
1. In the Living Room

Picture this classic trim framing a large bay window, where the crisp white finish creates stunning contrast against navy or sage walls.
The substantial profile adds architectural interest without overwhelming the space, making it perfect for both modern farmhouse and traditional living rooms.
The layered top piece draws the eye upward, making your ceiling appear higher and your room more spacious.
2. In the Kitchen

Above the kitchen sink, this trim style transforms a simple window into a focal point. The clean lines complement shaker-style cabinets beautifully, while the substantial framework feels proportionate to kitchen-scale windows.
When painted in classic white, it creates a fresh, bright feel that enhances natural light – perfect for those morning coffee moments.
3. In Bedrooms and Studies

The trim design takes on a softer feel in private spaces, especially when paired with subtle wall colors and flowing curtains.
In-home offices or studies frame the view while adding a touch of sophistication that enhances concentration and creativity.
The detailed craftsmanship particularly shines in master bedrooms, where it can anchor a sitting area or reading nook.
8 Must-Try Farmhouse Window Trim Styles for Your Home
1. Classic White Layered Trim

Imagine a bright, airy kitchen window framed with crisp white layered trim.
The 1×6 header board crowned with extended 1x2s creates that signature farmhouse silhouette, while bright white paint against soft gray walls makes the architectural details pop.
This style is special because the substantial trim transforms an ordinary window into an elegant focal point.
2. Natural Wood Warmth

Picture warm, stained pine trim with visible wood grain that brings rustic charm to a living room.
The natural finish contrasts beautifully with white walls, while the chunky proportions maintain that distinctive farmhouse character. The exposed grain adds texture and depth that paint simply can’t match.
3. Two-Tone Treatment

Envision a bedroom window where the main trim pieces wear a soft cream color, while the decorative top crown features a contrasting gray-wash finish.
This subtle two-tone approach adds visual interest while maintaining sophistication. It’s particularly striking when paired with vintage-inspired window hardware.
4. Extended Header Detail

Consider a dining room window where the top trim extends several inches beyond the side pieces, creating an exaggerated crown effect.
This bold architectural statement draws the eye upward and makes windows appear larger. The extended proportions work especially well with high ceilings.
5. Simplified Modern Farmhouse

Picture clean-lined trim with minimal ornamentation but generous proportions.
The streamlined design features straight edges and sharp corners instead of decorative molding, creating a contemporary take on farmhouse style that pairs beautifully with modern furnishings.
6. Historic Inspiration

Imagine window trim incorporating traditional rosette corner blocks at the top corners, blending Victorian-era details with farmhouse simplicity.
This historically inspired approach adds character while maintaining clean lines.
7. Mixed Material Magic

Consider trim that combines painted wood with metal accent pieces, like aged copper corner caps or dark iron rosettes.
These subtle metallic elements add unexpected interest while maintaining the farmhouse aesthetic.
8. Dramatic Scale Play

Picture windows where extra-wide 1×8 side pieces create bold vertical lines while a proportionally substantial header maintains balance.
This oversized approach makes a dramatic statement in large rooms with adequate wall space.
Conclusion
You’ve learned how to upgrade your windows from basic to beautiful with a few basic tools and materials. This farmhouse trim design brings character and polish to any room while staying true to timeless architectural principles.
Your newly acquired skills in measuring, cutting, and layering trim elements open up endless possibilities for future home enhancement projects.
Remember that patience during installation and attention to detail in the finishing stages make all the difference in achieving professional results.
Whether you choose classic white, warm wood tones, or creative mixed materials, this window trim style adapts beautifully to your unique space.
You’ve mastered a technique that enhances your home’s visual appeal and adds lasting value to your property.
