
Cutting perfect circles with a router can be tricky. Most woodworkers struggle with making smooth, exact circles without the right tools. I’ve faced this problem too.
But here’s good news: you can build your own router circle jig at home. This simple tool will help you make flawless circles from 2 inches up to 54 inches in diameter.
In this blog, I’ll show you how to build a useful circle jig from basic materials you might already have. You’ll learn each step of the building process, from choosing materials to making your first cut.
Ready to start making perfect circles? Let’s get to it.
Why Build Your Own Router Jig Instead of Buying One?
Making your own router circle jig offers many benefits over buying one:
- Cost savings: A store-bought jig can cost $40-100, while making one costs under $15 in materials.
- Custom sizing: Build to your exact needs rather than settling for standard sizes.
- Simple repairs: When you make it yourself, you know how to fix it if something breaks.
- Learning opportunity: Building tools helps you understand how they work.
- Immediate use: No waiting for shipping or store trips—build it today with materials on hand.
Many woodworkers find that making their own jigs gives them more control over their projects. Plus, there’s a sense of pride in using tools you built yourself.
Choosing the Right Plywood Thickness
The thickness of your plywood affects how well your jig works.
Plywood that’s too thick (1/2″ or more) limits your router bit depth, making the jig heavy and hard to handle. While it offers more stability, it’s less practical for most uses.
On the other hand, plywood that’s too thin (1/8″ or less) may warp or flex during use. It won’t hold screws well and tends to be less durable over time.
The ideal thickness (1/4″ to 3/8″) maintains good bit depth and stays flat during use. It’s strong enough to last yet light enough to handle easily. For most home woodworkers, 1/4″ Baltic birch plywood works best. It’s flat, smooth, and has enough layers to hold screws firmly.
What Makes a Circle Jig Accurate?
The accuracy of your circle jig depends on several key elements that work together. A good jig isn’t just about having the right parts – it’s about how these parts work together to create perfect circles every time.
When all components are properly designed and built, your jig will produce consistent results with minimal effort.
| Design Element | Why It Matters | Key Requirements |
|---|---|---|
| Pivot point stability | Center point determines circle accuracy | Must stay firmly in place during cutting, should create minimal holes in the workpiece, needs to allow smooth rotation. |
| Distance accuracy | Sets the exact circle diameter | Clear measurement markings, secure non-sliding attachment points, and exact placement of router bit relative to pivot |
| Base flatness | Ensures consistent cutting depth | Must remain flat to keep cut depth consistent, should not flex during use, needs a smooth bottom surface to glide easily. |
| Router attachment | Controls cut quality | Secure mounting that won’t shift, centered bit alignment, easy to attach and remove |
Design Planning
Before cutting any materials, plan your jig design:
1. Measure your router base – Note the mounting hole pattern and overall size
2. Decide your maximum circle size – This determines the jig arm length
3. Choose your pivot method – Options include:
- Screw or nail through base
- Dowel glued into the jig base
- Purchased pivot pin
4. Plan your measurements – Decide if you’ll:
- Add measurement markings
- Include multiple pivot holes
- Create slots for adjustability
5. Consider dust collection – Leave room for:
- Vacuum attachment
- Clear viewing of the cut line
- Chip ejection path
Taking time to plan will save you from mistakes later. Sketch your design on paper with all measurements before cutting any wood.
Steps to Build a DIY Router Circle Jig
Building your DIY router circle jig is a straightforward process that requires attention to detail. Follow these eight steps carefully to create a jig that will help you make perfect circles for years to come.
Tools and Materials You’ll Need:
| Category | Items Needed |
|---|---|
| Materials | 1/4″ plywood (12″ x 24″ piece), wood screws (to match your router base), 1/4″ dowel or nail for pivot point, clear adhesive ruler (optional), wood glue |
| Tools | Drill with bits, screwdriver, jigsaw or bandsaw, sandpaper (120 and 220 grit), ruler and pencil, router (that you’ll use with the jig), countersink bit, compass (for marking) |
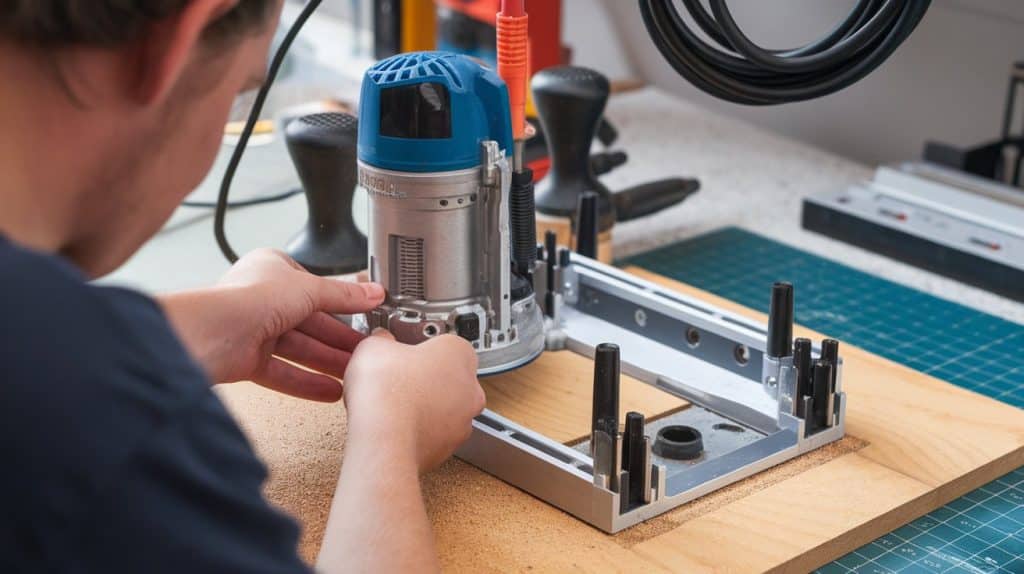
Step 1: Remove the Plunge Base
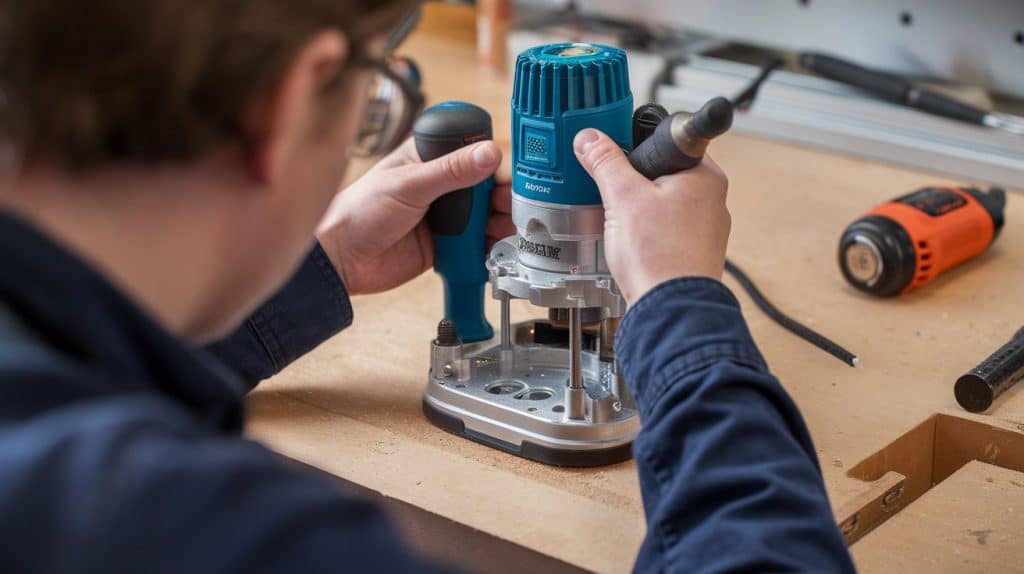
Take the plunge base off your existing Rockler jig or router to begin your custom build. Turn the router upside down, loosen the clamp screws, and carefully lift the motor from the base.
This gives you access to the mounting holes and lets you work with just the base portion.
Step 2: Cut the Jig Base from Plywood

Use 1/4″ plywood (thin enough to preserve cutting depth) and cut it to size using a table saw. Measure and mark a 12″ × 24″ rectangle, cut along the lines carefully, and sand all edges smooth with 120-grit sandpaper.
The thin plywood allows your router bit to reach deeper into your workpiece while still providing adequate support.
Step 3: Trace and Shape the Jig
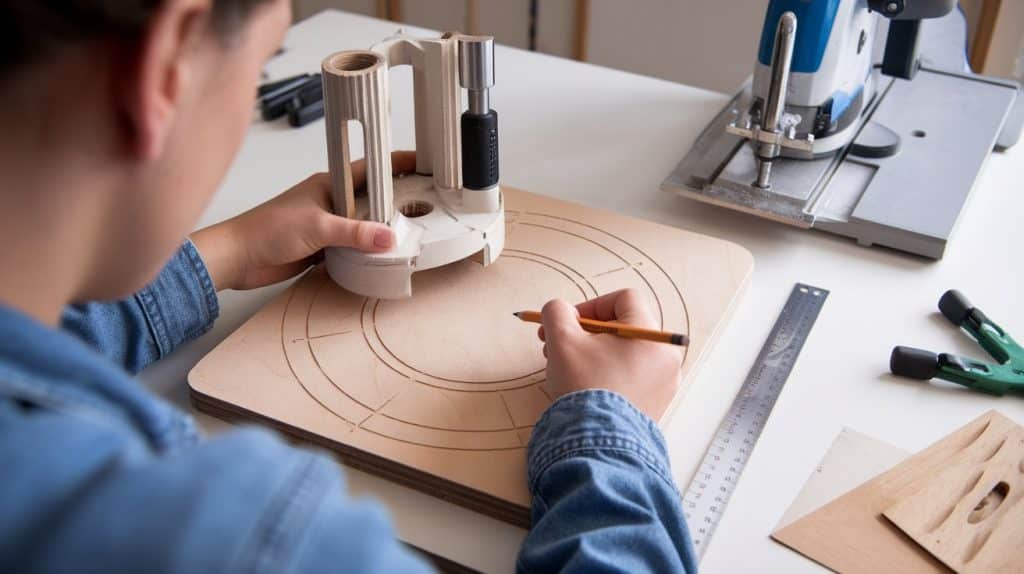
Use your old jig as a guide to mark mounting holes and optionally trace a rounded shape. Place the old jig on the plywood, trace around it, mark all mounting holes, and cut along the lines with a bandsaw.
Sand all edges until smooth. A rounded shape makes the jig easier to hold and reduces catching on your workpiece.
Step 4: Drill and Countersink Mounting Holes
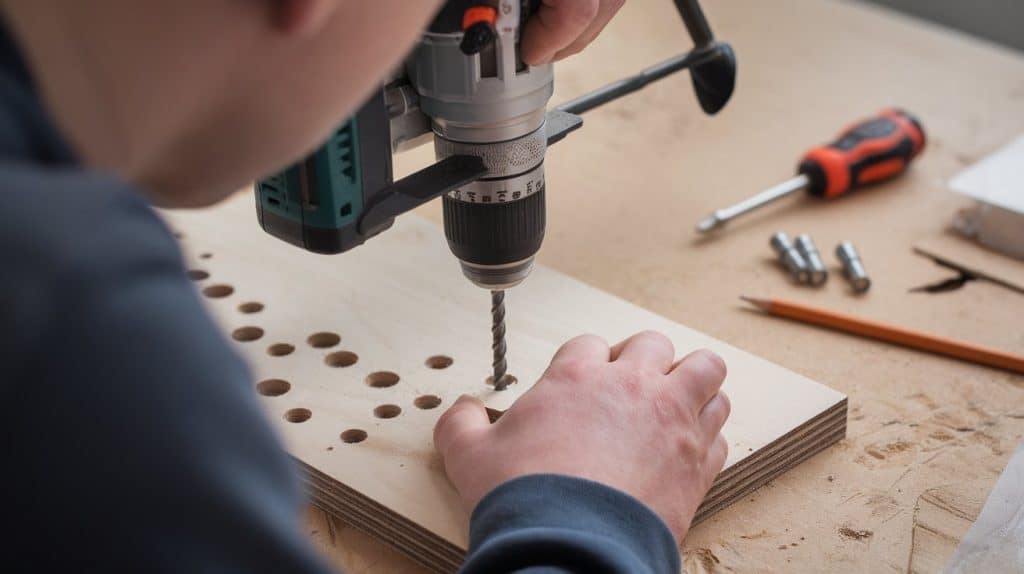
Drill the holes for attaching the plunge base and countersink them to keep screws flush with the surface. Mark centers of all mounting holes, drill holes slightly larger than your screws, and use a countersink bit on each hole.
Countersinking prevents screw heads from scratching your work surface during use.
Step 5: Make a Center Hole for the Router Bit
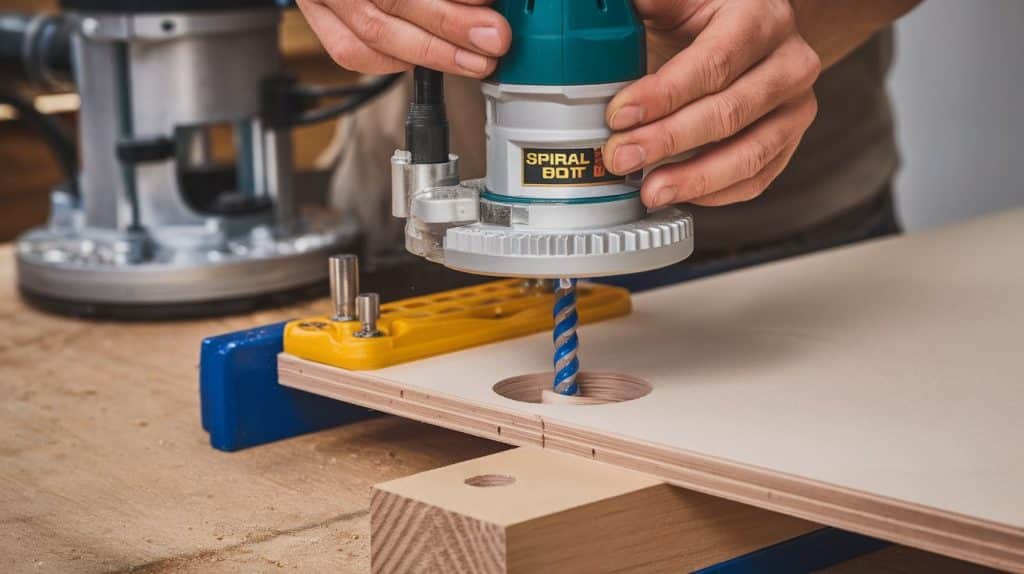
Attach the plunge base, insert a spiral cut bit, and plunge it through the plywood to make a perfectly centered hole. Attach the plunge base to your jig, insert the bit, lower it to make contact with the plywood, and plunge through.
If needed, remove the base and widen to 1″ with a Forstner bit for larger bits. This ensures your bit hole is perfectly aligned with your router.
Step 6: Attach the Pivot Point

Measure 27″ from the bit center (for a 54″ circle) and drill a pivot hole underneath. Measure carefully from the bit center, mark this spot on the underside of your jig, and drill a small hole for your pivot.
Use either the Rockler pin from your old jig, a small wood screw from underneath, or a 1/4″ dowel glued in place.
Step 7: Set Up for Cutting
Reattach the plunge base, place the pivot in your tabletop, and suspend the router cord from above to prevent tangling.
Properly set up your jig by reattaching the plunge base, placing the pivot in a small hole in your workpiece, and hanging the router cord from above. This setup prevents cord tangling and ensures the jig moves freely in a circle.
Step 8: Make the Cut in Passes
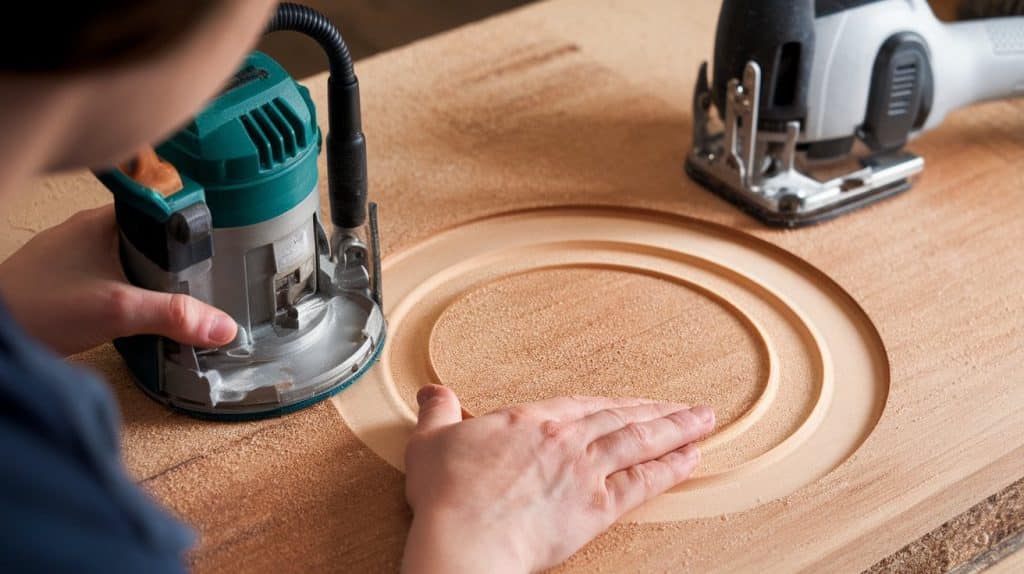
Route a shallow first pass (about 1/2″–3/4″), rough cut the rest with a jigsaw, then finish with a router. Start with a shallow first pass, move clockwise around your circle, and rough cut waste with a jigsaw.
Make a second router pass to finish the edge and sand the edge smooth with 220-grit paper for perfect results.
Mistakes to Avoid When Building Your Circle Jig
- Not checking router base alignment – Even small misalignments cause wobbly circles
- Using screws that are too short – They may pull out during use
- Making the jig arm too weak – Thin arms flex during cutting
- Neglecting to countersink screws – Protruding heads scratch work surfaces
- Putting the pivot too close to the bit – Limits your minimum circle size
- Using low-quality plywood – Can warp or split under pressure
How to Store and Maintain Your DIY Circle Jig
Store your circle jig properly to keep it working well:
- Hang it on a wall using a single hook or nail
- Store flat on a shelf (not leaning)
- Keep away from moisture and heat
- Clean dust from pivot holes after use
- Check screws for tightness before each use
- Apply paste wax to the bottom surface twice yearly
- Touch up any worn areas with sandpaper
Conclusion
Building your own router circle jig is both useful and satisfying. With just a few hours of work and basic materials, you now have a tool that makes perfect circles every time.
The key points to remember: use 1/4″ plywood for the base, ensure your pivot point is secure, and always cut in shallow passes. These simple steps lead to great results.
If you run into issues, check your measurements and make sure your router is firmly attached. Small adjustments often fix most problems.
What will you make with your new circle jig? From tabletops to decorative pieces, the options are endless. Your woodworking just became more precise.
Frequently Asked Questions
Can I Use This Jig with Any Brand of Router?
Most routers work with this jig, but you may need to adjust mounting holes to fit your specific router’s base.
How Do I Prevent Tear-Out when Routing Circles?
Use sharp bits, make shallow passes, and consider taping the cut line to minimize tear-out on delicate surfaces.
Is It Possible to Make Circles Smaller than 2 Inches with This Jig?
Making circles smaller than 2 inches is tricky and not recommended, as the router base may interfere with the pivot point.
