Many homeowners with small laundry rooms want extra space for folding clothes.
A table above the washer and dryer would help, but most store-bought options are costly and don’t fit well.
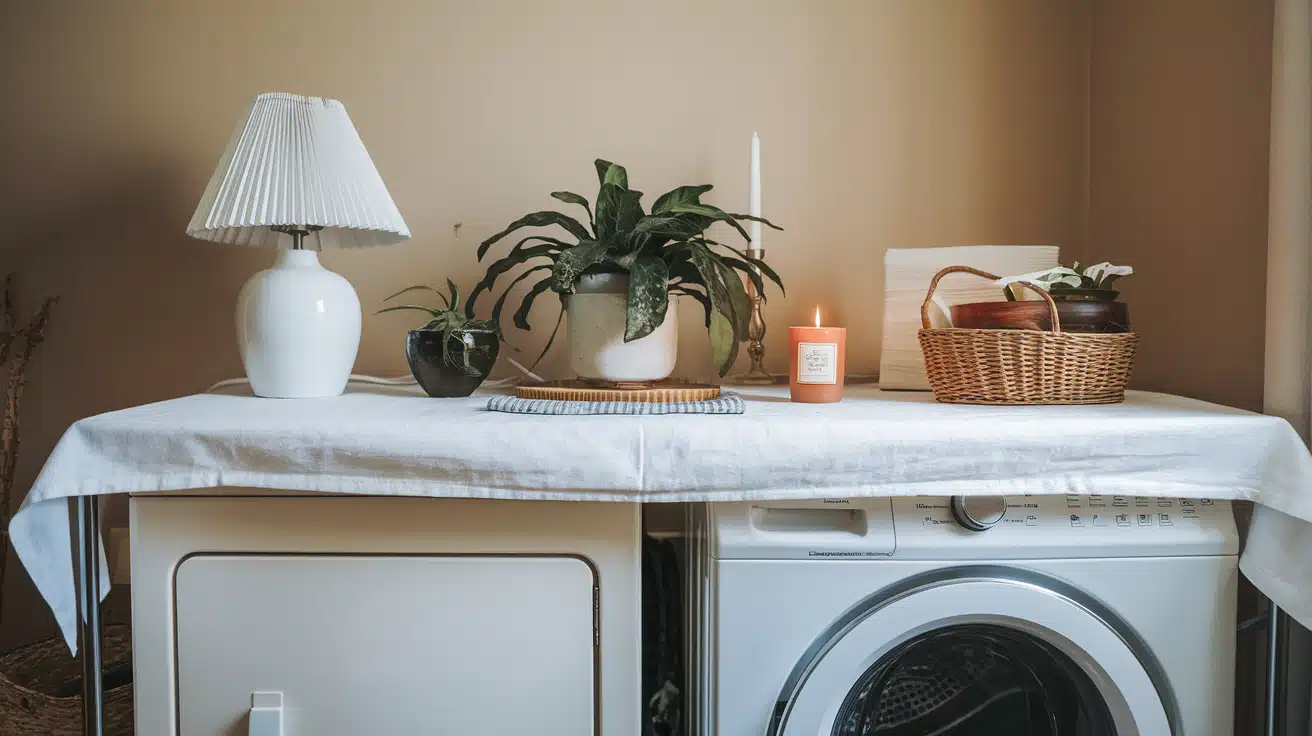
Building a simple folding table that sits over your washer and dryer costs less than $50 in materials.
The project takes only a few hours to complete and needs basic tools most homes already have.
This guide offers step-by-step instructions to create a sturdy, space-saving folding table.
You will learn which materials to buy, how to measure their space correctly, and tips for mounting the table safely.
The guide also includes useful add-ons to make laundry tasks easier.
Tools and Materials Required
Required Tools
|
Category |
Item |
Quantity |
Notes |
|
Power Tools |
Electric Planer |
1 |
For smoothing surfaces |
|
Power Tools |
Belt Sander |
1 |
For final finishing |
|
Power Tools |
Circular Saw |
1 |
For cutting boards |
|
Hand Tools |
Clamps |
4-6 |
For glue-up process |
|
Hand Tools |
Measuring Tape |
1 |
For accurate measurements |
|
Hand Tools |
Pencil |
1 |
For marking cuts |
Required Materials
|
Category |
Item |
Quantity |
Notes |
|
Lumber |
2×8 Pine Boards |
3 pieces |
Length based on washer/dryer width |
|
Hardware |
Wood Glue |
1 bottle |
Waterproof wood glue recommended |
|
Hardware |
Wall Brackets |
2-3 pieces |
Heavy-duty mounting brackets |
|
Hardware |
Mounting Screws |
8-12 pieces |
3-inch wood screws |
|
Hardware |
Wall Anchors |
4-6 pieces |
If mounting into drywall |
Step-by-Step Guide to Build a Folding Table Over Washer and Dryer
Step 1: Preparing the Wood
Cutting and Sizing the Boards
First, measure the width and length of the space above your washer and dryer. Take these numbers and add two extra inches on each side. This gives you room to trim the edges later for a perfect fit.
Cut your 2×8 boards based on these measurements. Make small marks with a pencil where you need to cut. It’s better to cut the boards slightly longer at first. You can always trim them shorter if needed.
Making Clean Board Edges
Look at the edges of your boards. You’ll notice they have curved sides. These curves can cause gaps when you join the boards together. Use your saw to cut off these curved parts. This makes the edges straight and flat.
This step might seem small, but it matters. Flat edges help the boards fit together without spaces between them.
The end result? A smooth table top that’s easy to clean. Plus, you won’t need to sand as much when you finish the project.
Step 2: Making Adjustments
Back Corner Modifications
Check if your space needs cutouts in the back corners of the boards. These might help the table fit better around pipes or wall fixtures.
Use a saw or jigsaw to cut these sections based on your notes. You can skip this step if you want a plain, straight edge instead. Put the boards in place to check the fit before you continue. This helps catch any sizing issues early.
Joining the Boards
Now it’s time to connect the boards to make one solid top. Put wood glue on the edges where the boards meet. Press them together and put clamps on both ends and the middle.
The clamps should be snug but not too tight. Wait 24 hours for the glue to set completely. This makes sure your table stays in one piece.
No clamps at home? You can use pocket hole screws to hold the boards together.
Step 3: Making the Surface Smooth and Even
Working with the Electric Planer
When you take off the clamps, you might see that some spots are not level. Run the electric planer over these areas first. Then, work back and forth across the entire table top.
Here’s a helpful tip: point the planner toward a wall while you work. This makes cleaning up the wood shavings much easier. A flat, even surface will help you sand the table properly in the next step.
Keeping Glue Clean and Tidy
Too much glue can make it hard to sand later. Try this simple trick: put painter’s tape on the board edges before you add glue. When the glue dries, just pull off the tape.
If glue gets on the wood, wipe it off right away with a damp cloth or scrape it with a putty knife. Taking care of glue early means less work when you sand and a better-looking table at the end.
Step 4: Making the Surface Smooth
Getting Started with Your Sander
Start smoothing the wood with your belt sander. This helps take out bumps and dried glue spots. Start with rough sandpaper, then use smoother ones as you go.
A well-sanded surface looks better and feels nice to touch. Don’t forget to sand the edges and corners until they’re soft to prevent splintering.
Making Clean Edges
The next step is to cut the edges straight. This makes sure your table fits just right on top of your washer and dryer.
Take your time with measurements – the old saying “measure twice, cut once” works well here. When you plan your first cuts, add a bit extra to the size. This way, after you trim the edges, your table will be the perfect size.
Note: All the sanding steps take place before you put any finish on the wood. A steady hand and careful work make all the difference in how your table looks in the end.
Step 5: Setting Up Your Table
Making Your Table Stable
Put your new table on top of your washer and dryer. Check that it fits well and doesn’t move. Add wall brackets or wood blocks on each side to keep it steady.
You can put small rubber pieces under the table to keep your machines safe and make them less noisy when running.
Keeping Your Table Clean
Add a coat of water-proof sealer to keep your table looking good. This helps stop water spots and makes spills easy to clean up. Just wipe the table with a soft, wet cloth when needed. Your table will stay useful and nice-looking with just a bit of care.
Video Tutorial
Check out this YouTube video for a detailed step-by-step tutorial on Building a Folding Table Over Washer and Dryer
Common Mistakes to Avoid
Wrong Measurements: Taking quick measurements leads to problems. Measure the total width of both machines together. Add 1-2 inches extra on each side. Don’t forget to check the depth from the wall to the front of your machines.
Poor Wood Choice: Some builders pick thin boards that bend under weight. Use 2×8 boards for the main surface. These thick boards stay flat and hold up well over time. Skip-pressed wood or particle board – they don’t last in damp spaces.
Skipping the Drying Time: Many people rush through the glue-up process. Let the glue dry for at least 24 hours. Moving or working on the boards too soon makes weak spots on your table.
No Support Points: The table needs strong support on both sides. Some folks only put brackets on one side. This makes the table tip when you put weight on it. Add sturdy brackets or supports on both ends.
Forgetting About Machine Access: Make sure you can still open your washer and dryer lids. Some tables block the machine controls or doors. Leave enough space to reach all parts of your machines easily.
Conclusion
Building a table for your laundry space doesn’t need to be hard. This simple wooden table gives you the perfect spot to fold clothes without spending too much money.
Plus, it fits right on top of your washer and dryer.
The best part? You made it yourself. Each time you fold clothes or sort through fresh laundry, you’ll get to use something you built with your own hands.
The solid wood surface will last for years, and the clean design works well in any laundry room.
Remember to measure twice, take your time with each step, and focus on making the table stable. Your careful work will pay off every time you do laundry.