
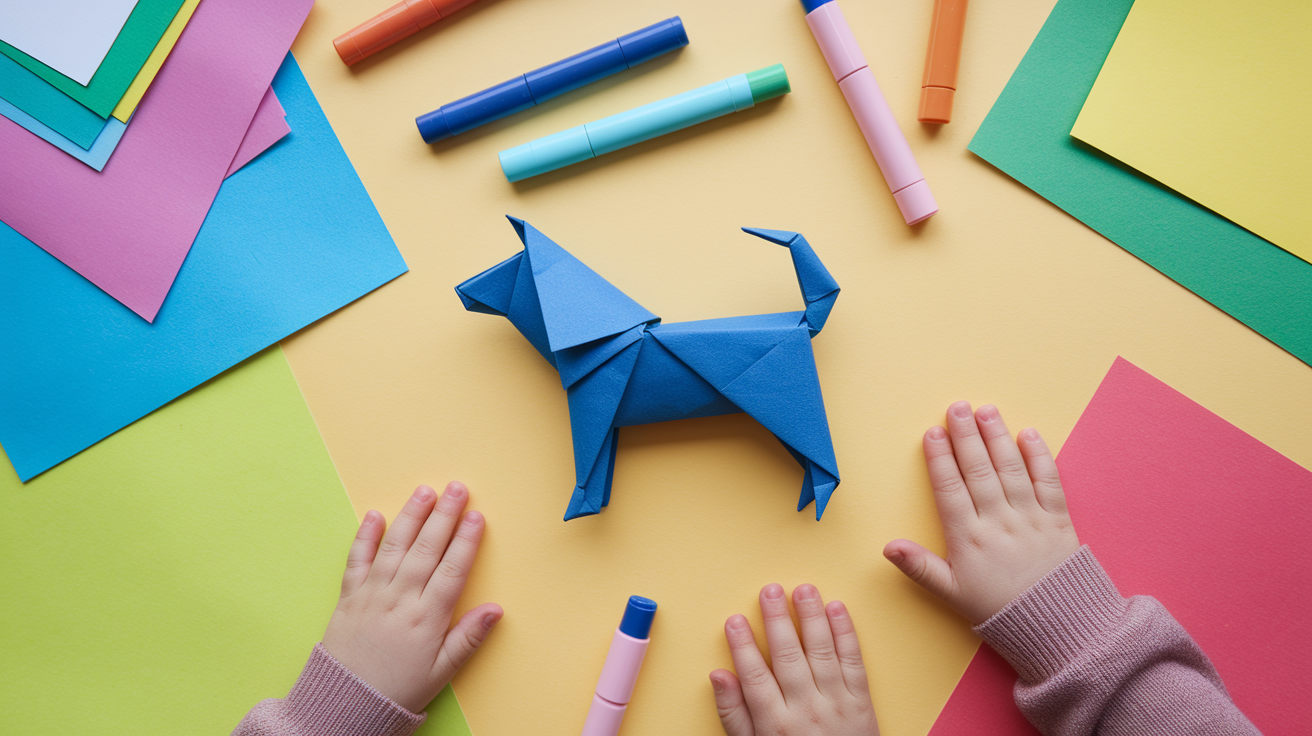
Ever looked at a sheet of paper and thought, “I could turn that into a cute puppy”? With this origami guide, you can!
Paper folding isn’t just fun—it’s a chance to make something special with your own hands. No fancy tools needed, just paper and a bit of patience.
Ready to fold your way to a paper pup? This guide breaks everything down into simple steps that anyone can follow, from selecting the right paper to adding those final touches to your dog’s ears.
So grab a sheet of paper, find a comfy spot, and let’s start folding. By the end, you’ll have an adorable paper dog to show off to friends and family.
Your origami journey starts with a single fold—and ends with a wagging paper tail!
What Is Origami and Why Make an Origami Dog?
Origami is the ancient Japanese art of paper folding. It began over a thousand years ago, often been used for religious or ceremonial purposes. Today, it’s a creative and educational craft enjoyed around the world, requiring only a single sheet of paper—no scissors or glue.
Benefits of Origami
- Improves focus and hand-eye coordination
- Encourages patience and problem-solving
- Boosts creativity and spatial awareness
- Promotes mindfulness and relaxation
Why Start with a Dog?
The origami dog is a perfect beginner project. It utilizes simple folds, yet produces a cute and expressive figure. Dogs are familiar, fun, and loved by kids and adults alike. This makes it ideal for:
- First-time origami learners
- Family craft time
- School and classroom activities
Materials You’ll Need to Make an Origami Dog
| Material | Description |
|---|---|
| Square Origami Paper | The ideal size is 6 x 6 inches (15 x 15 cm); it is thin and foldable, available in both plain and patterned designs. |
| Pencil or Pen (Optional) | Used to draw eyes, nose, or mouth on the dog’s face. |
| Googly Eyes (Optional) | Fun decorative option for a playful look. |
| Glue (Optional) | For attaching eyes or adding paper decorations. |
| Markers/Crayons (Optional) | To add color or patterns to the finished dog. |
Easy Origami Dog Instructions – Step-by-Step Guide
Step 1: Fold both diagonals
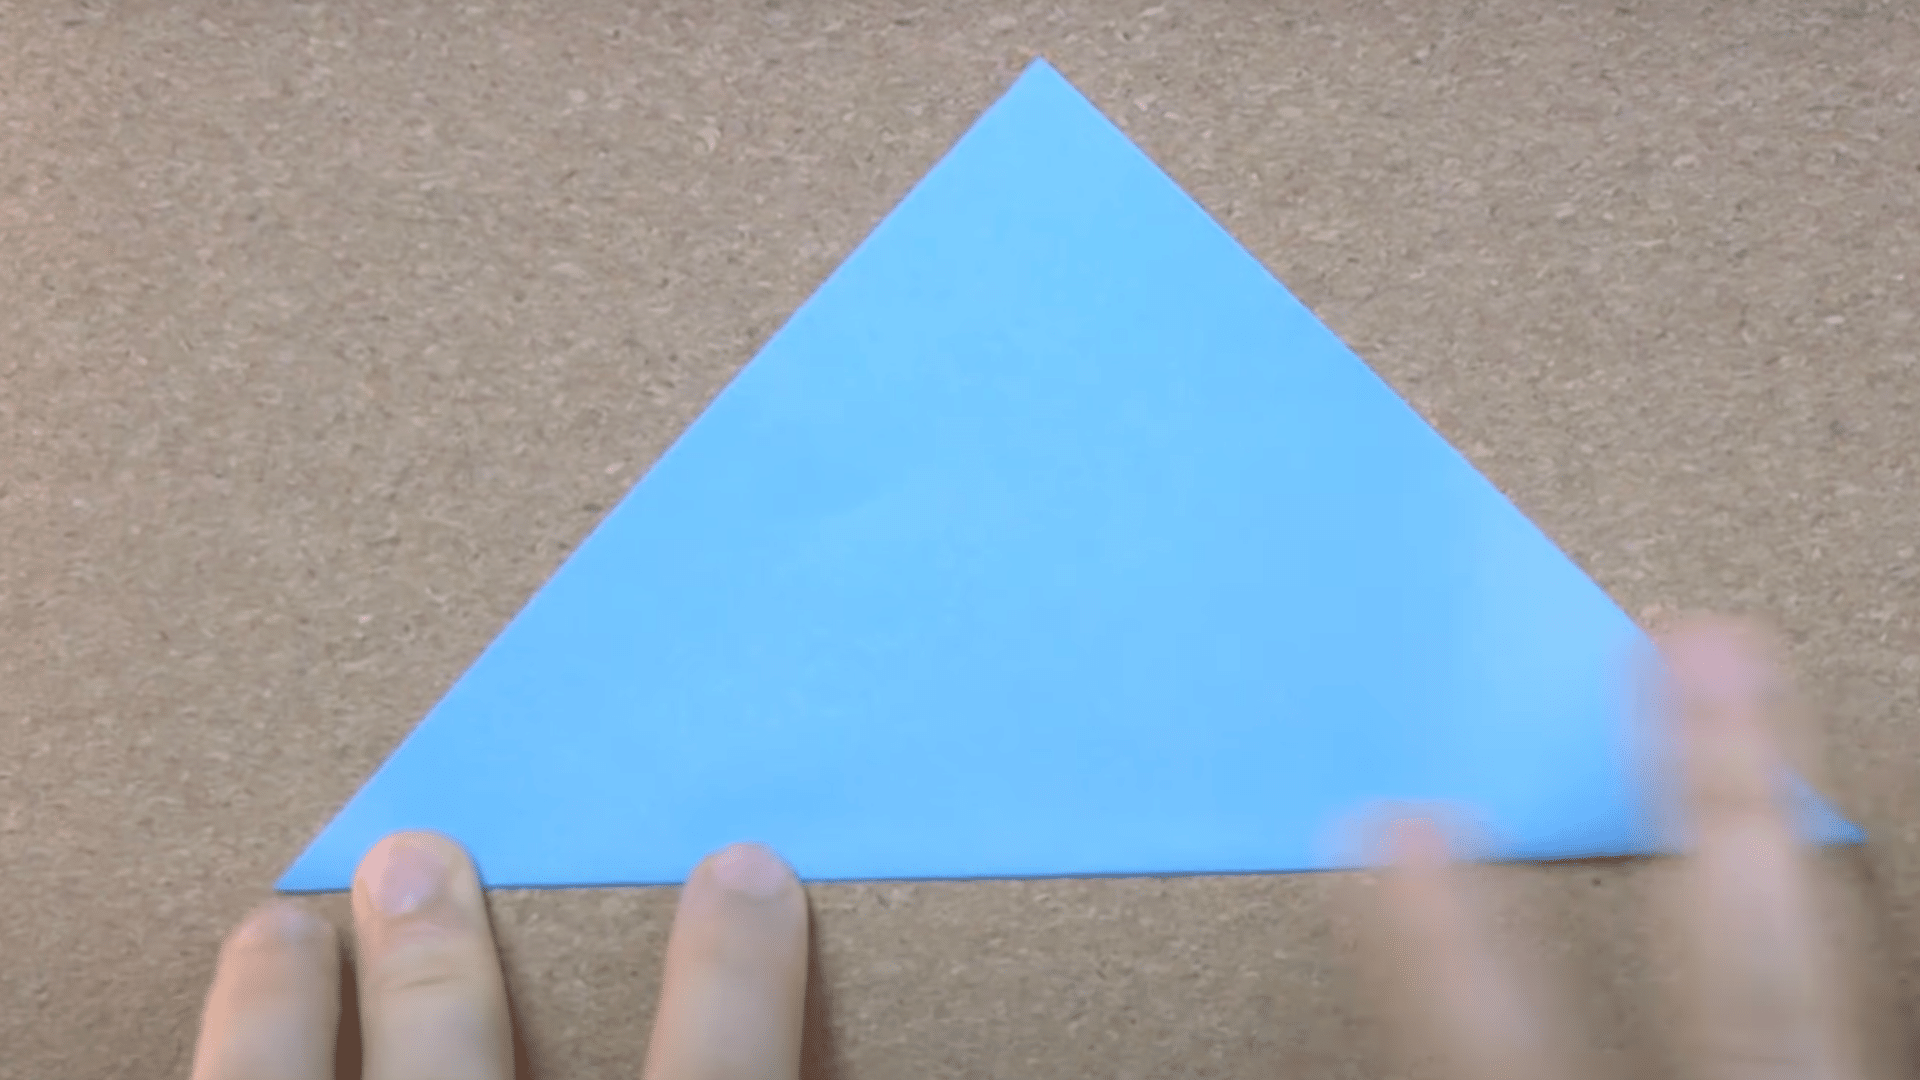
Start by folding the paper diagonally to prepare a solid base.
- Ensure the paper is right-side up if dual-colored.
- Fold both diagonals precisely.
- Accuracy here affects all later folds.
Step 2: Fold three corners inward
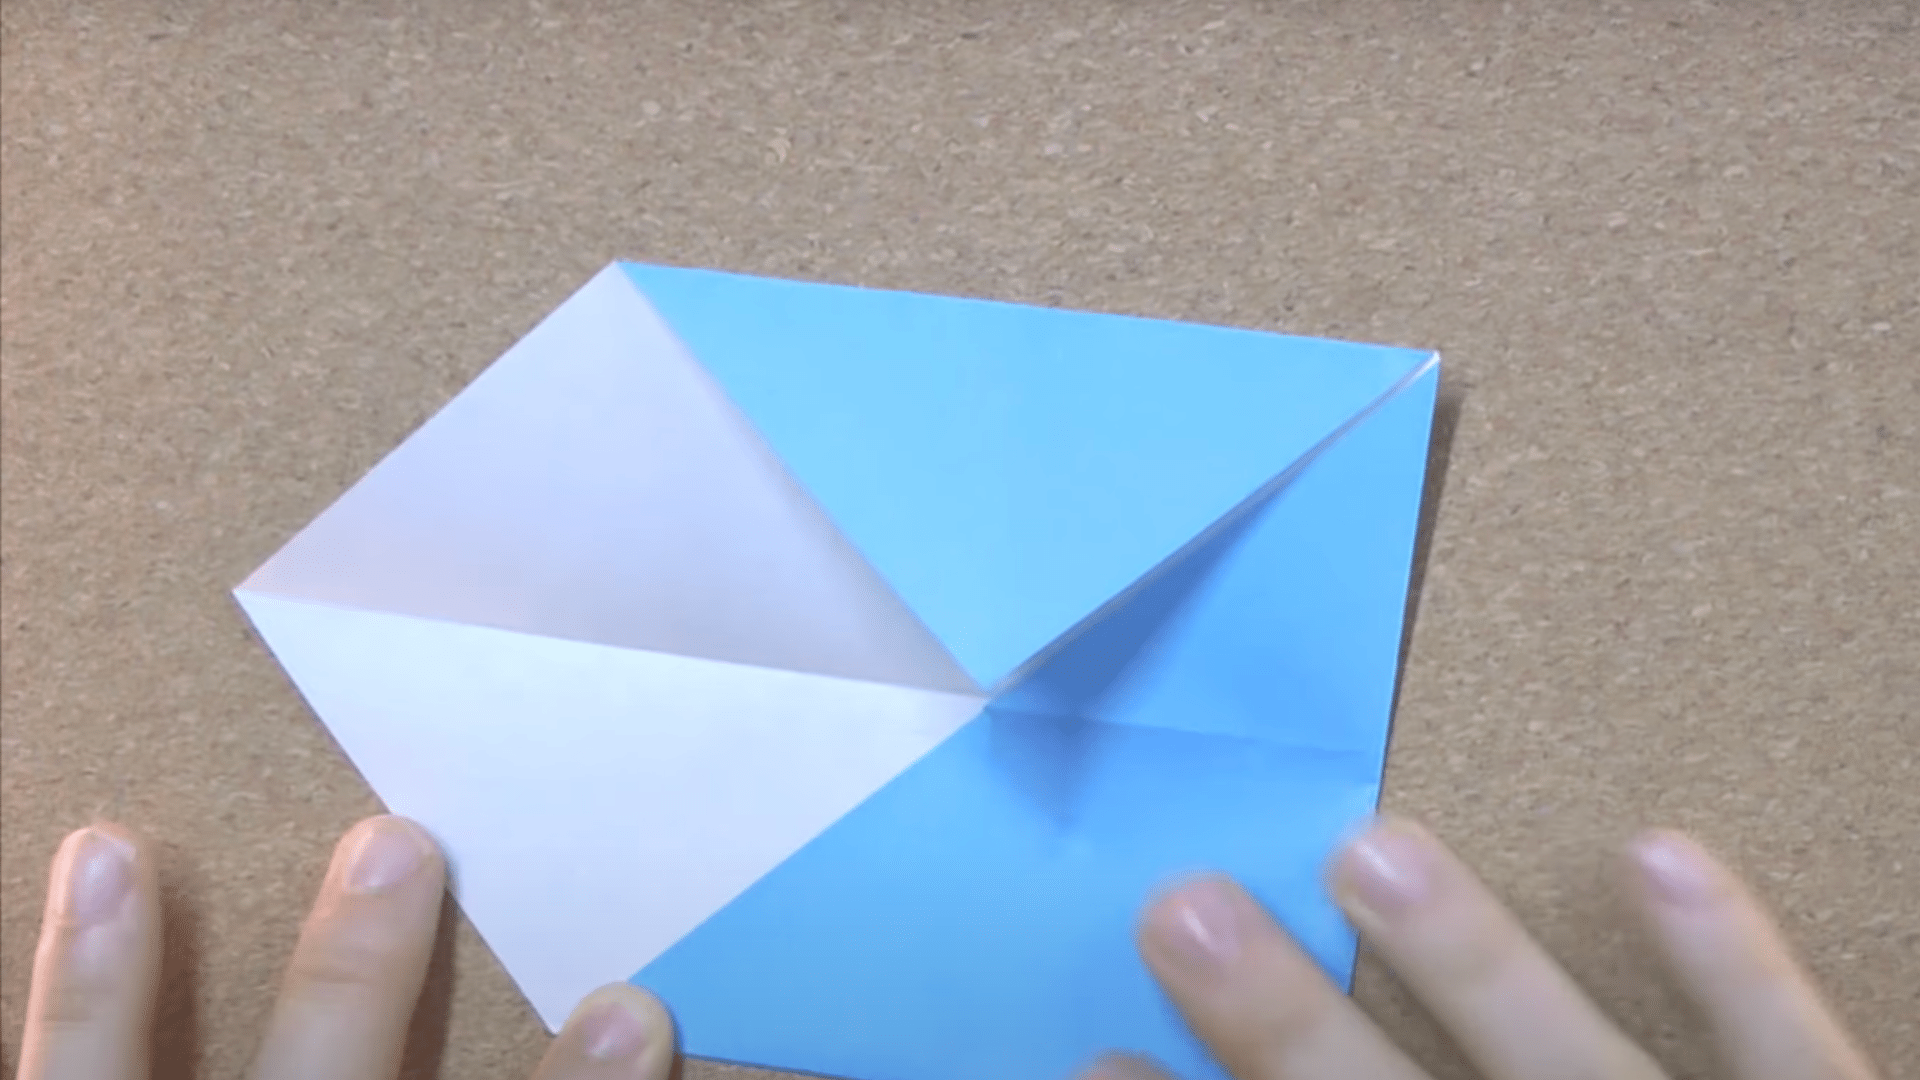
Create a triangle-based structure by folding inward.
- Bring the three corners towards the center.
- This is like a blind’s fold but with only three corners.
- Leave one corner untouched.
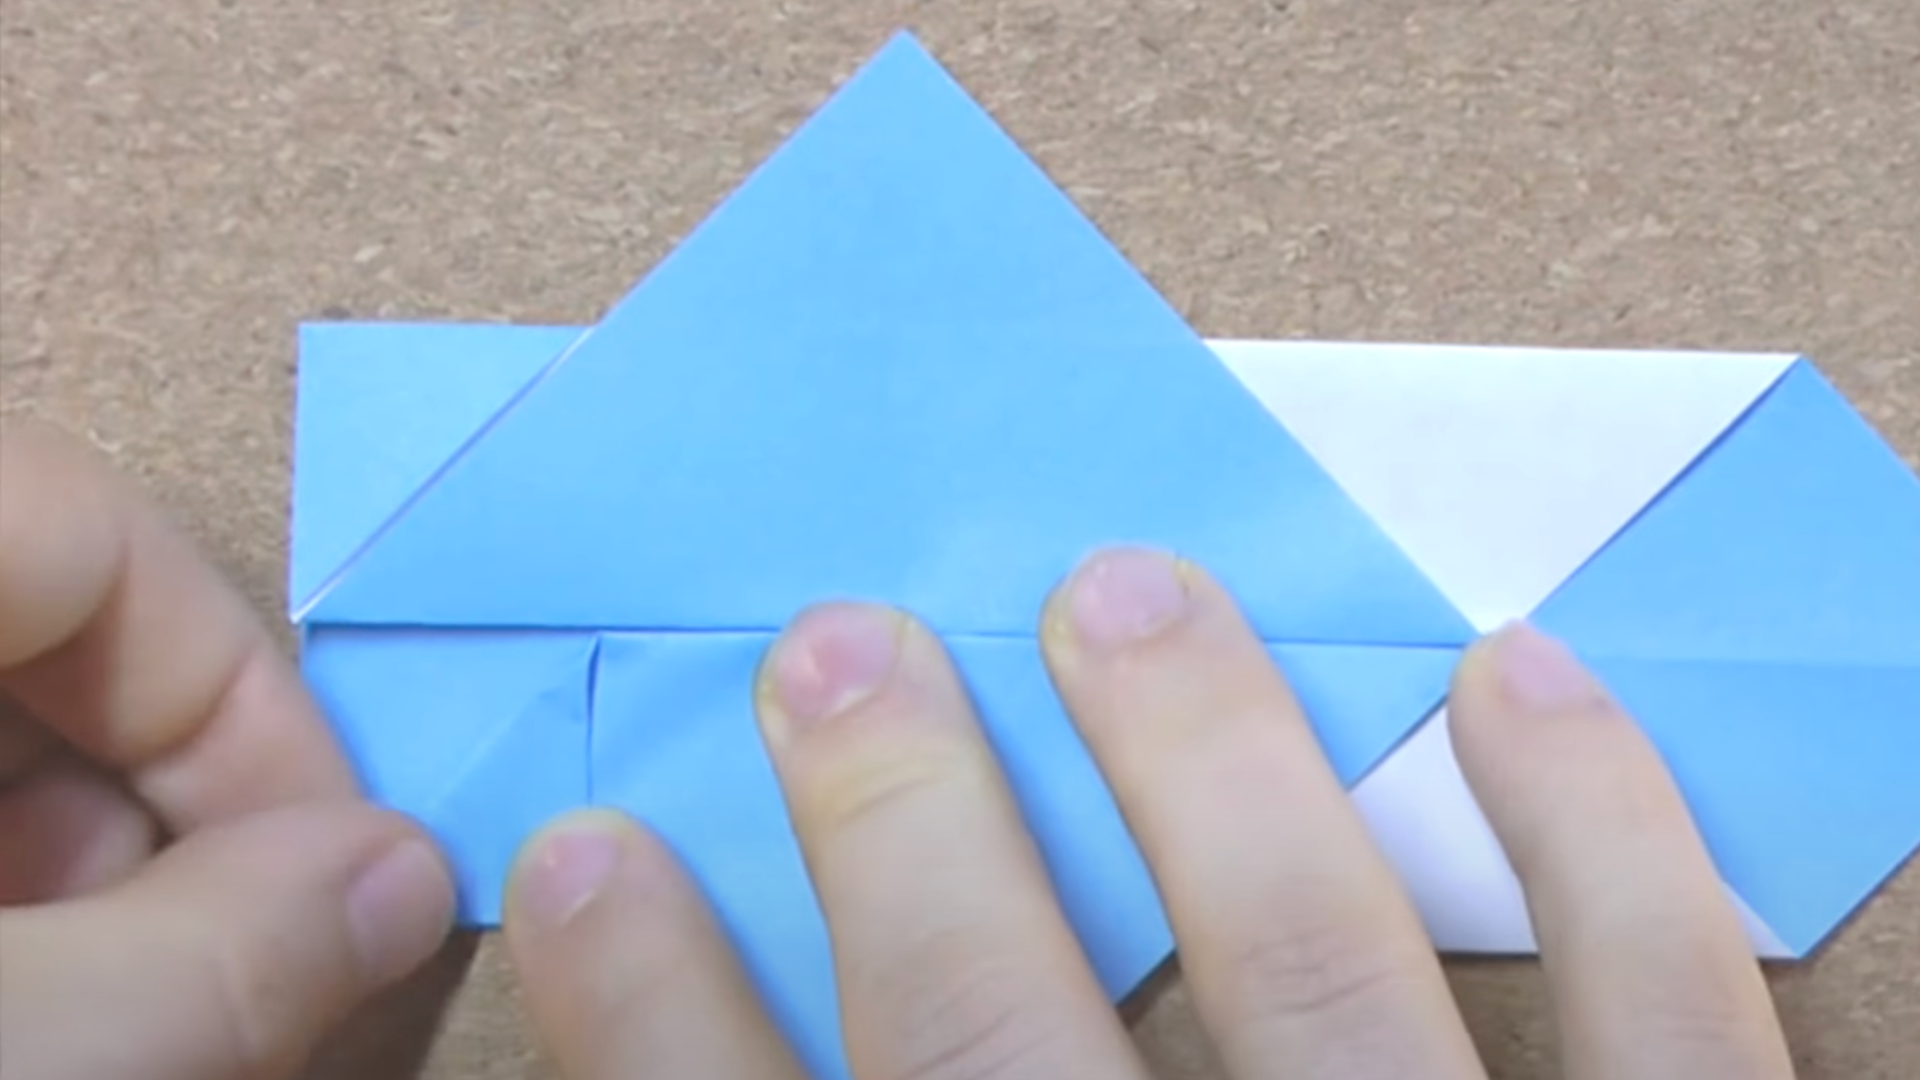
Step 3: Fold the lower edge to the center

Form the base by folding up and releasing the corner.
- Turn the model over.
- Fold the bottom edge to the center crease.
- Let the bottom corner stick out.
Step 4: Fold the edge to the center again
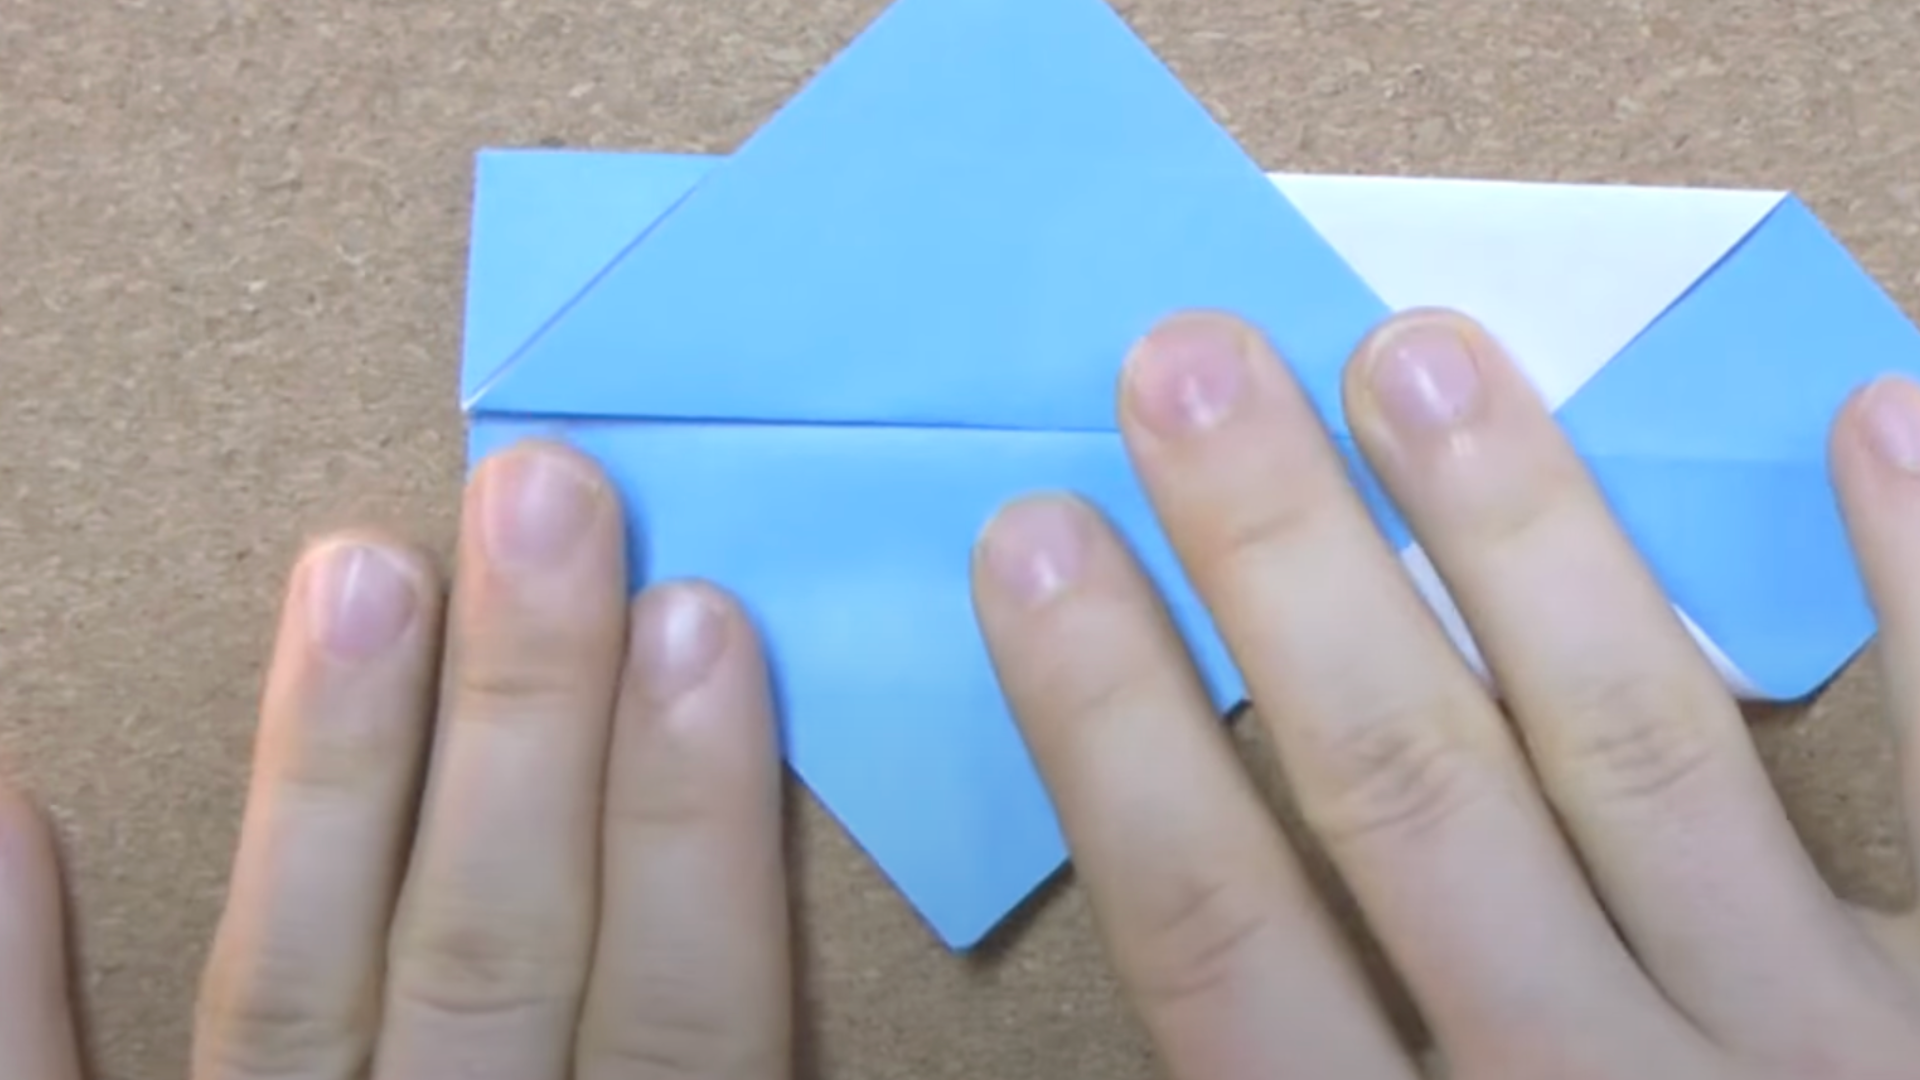
This helps shape the sides and releases another corner.
- Rotate the paper away from you.
- Fold the next edge to the center.
- Let the corner release again.
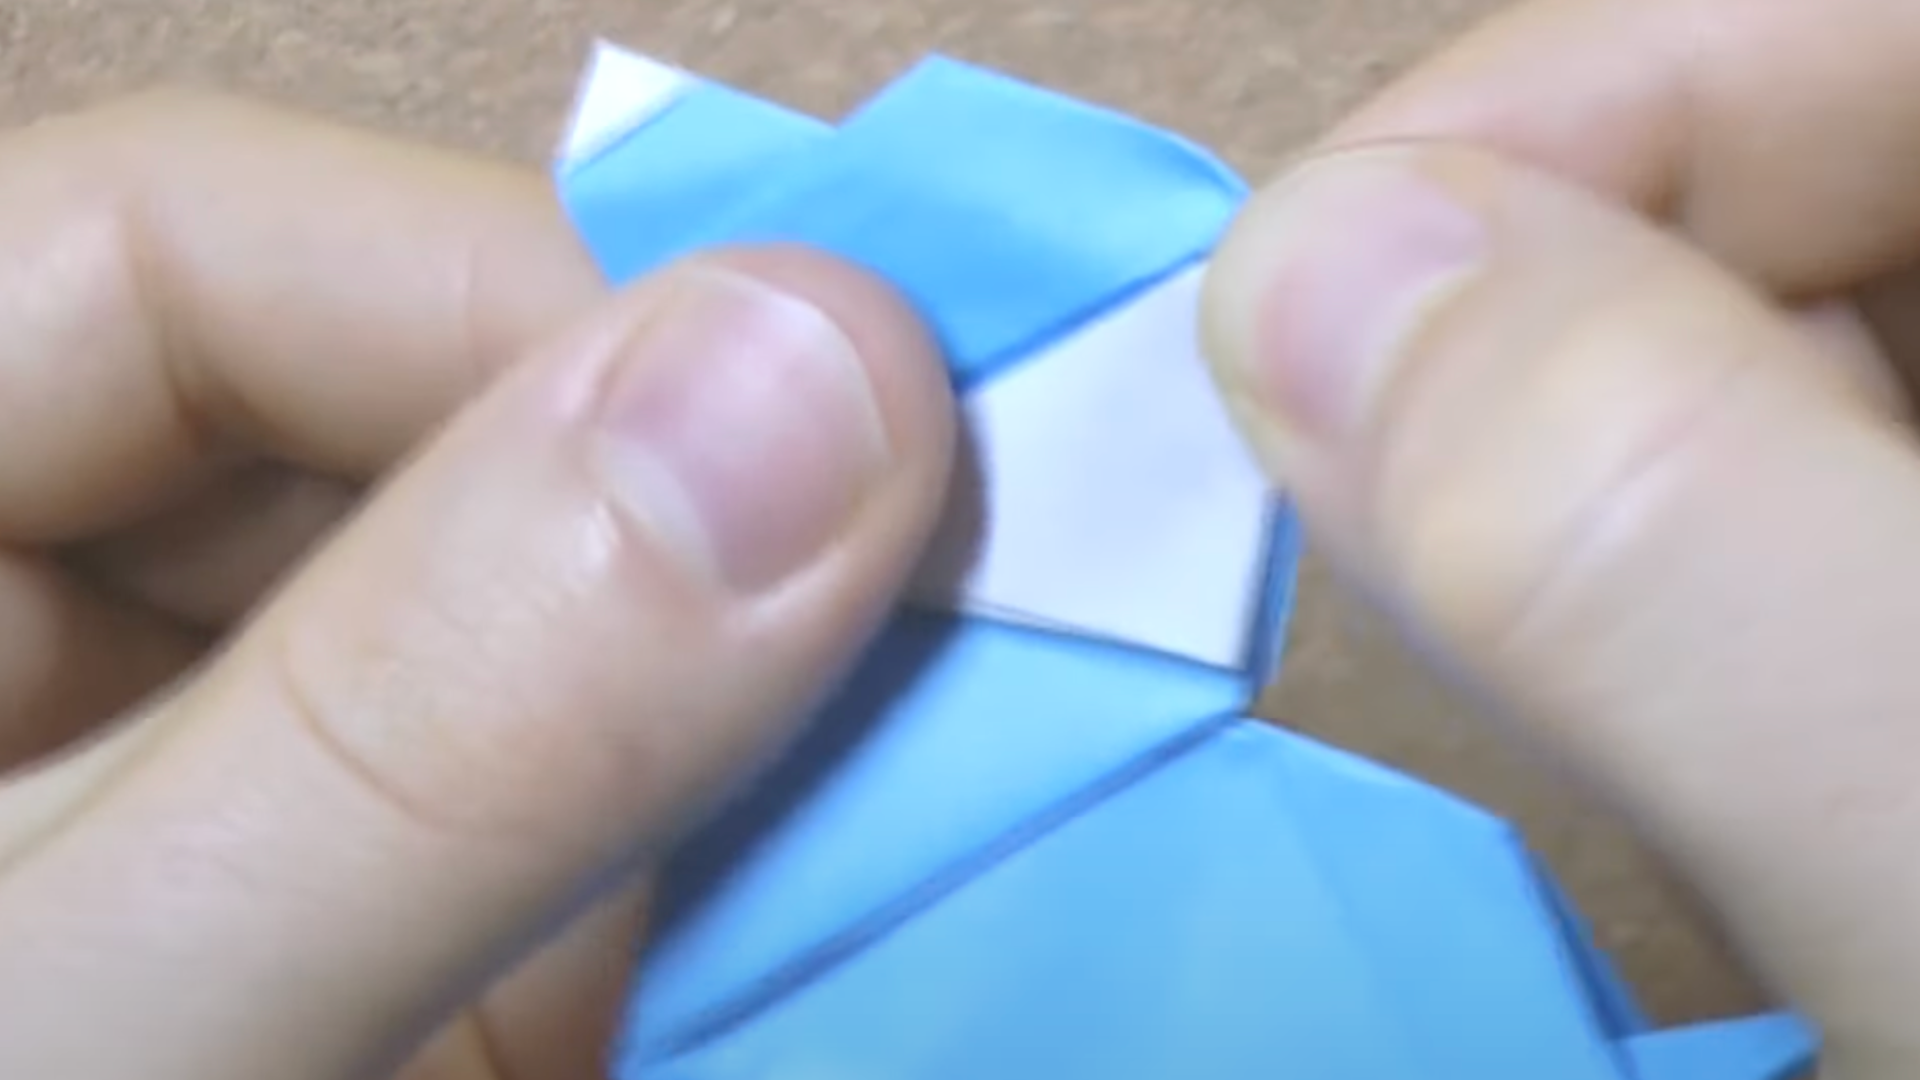
Step 5: Perform squash folds
Begin creating more volume with squash folds.
- Pre-crease at a 45° angle.
- Lift and press down the top layer.
- Repeat on the other corner.
Step 6: Create connecting folds
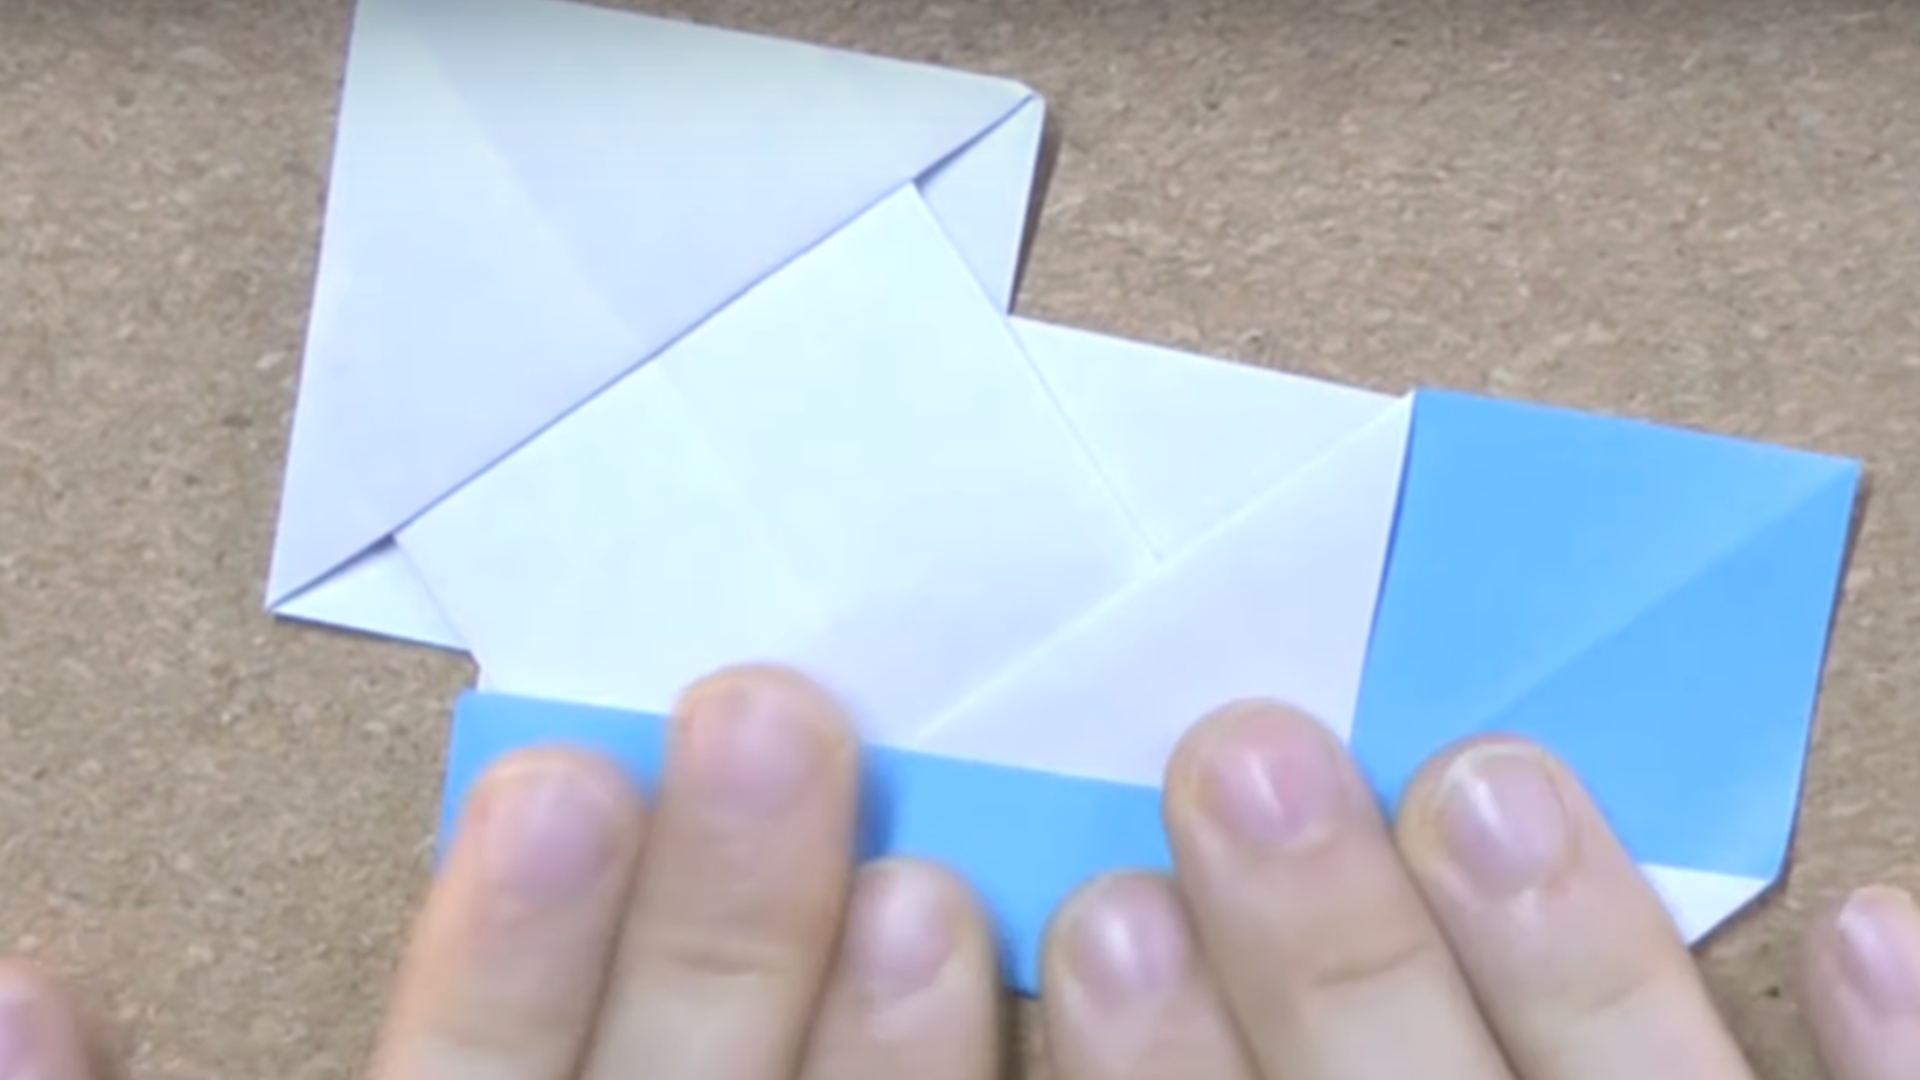
Make strong creases that connect specific points.
- Fold from one corner to another.
- Flatten precisely into a 90° angle.
- Repeat the process on the opposite side.
Step 7: Form a giant rabbit ear
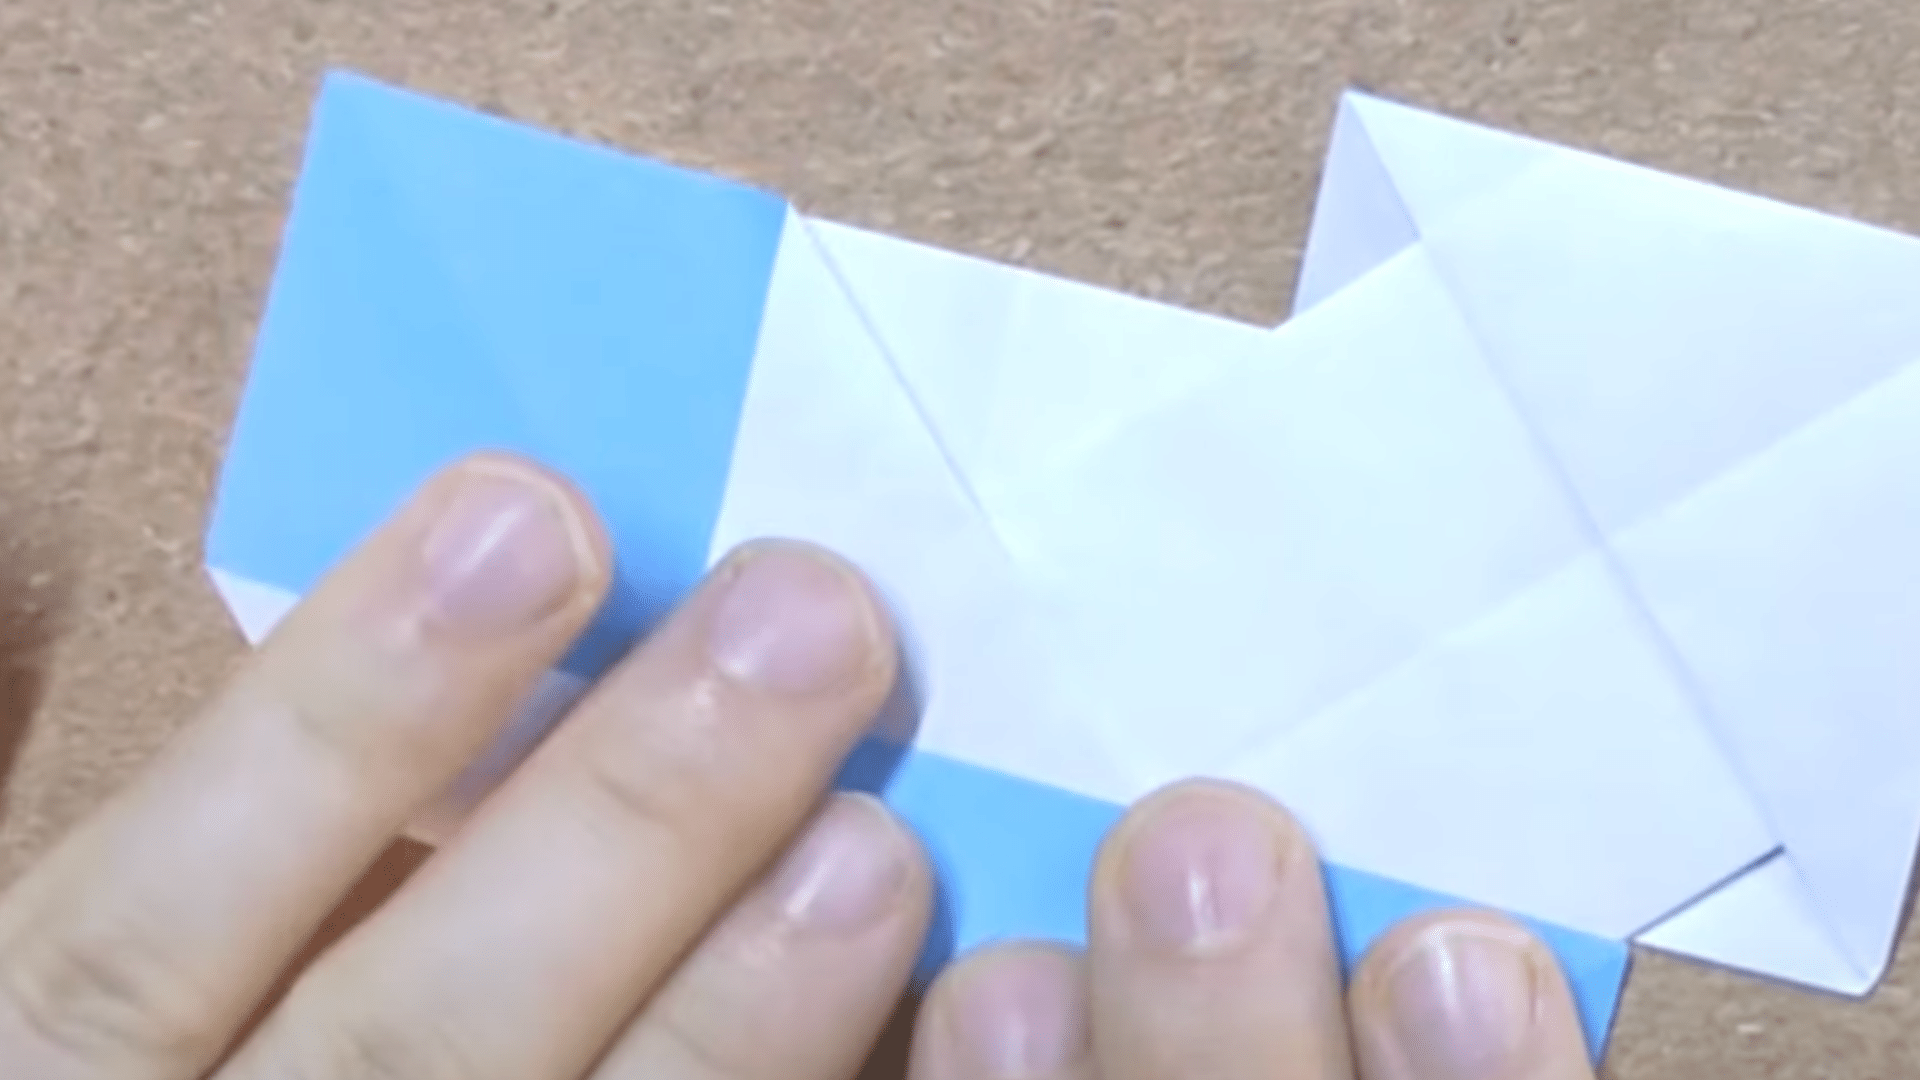
Bring the sides together to form a standing flap.
- Fold both sides toward the center simultaneously.
- Push and crease upward and downward.
- This forms a new central flap.
Step 8: Fold the flap behind
Tuck in the flap to streamline the model.
- Fold the flap behind the structure.
- Flip the model over to ensure precision.
- Flatten everything securely.
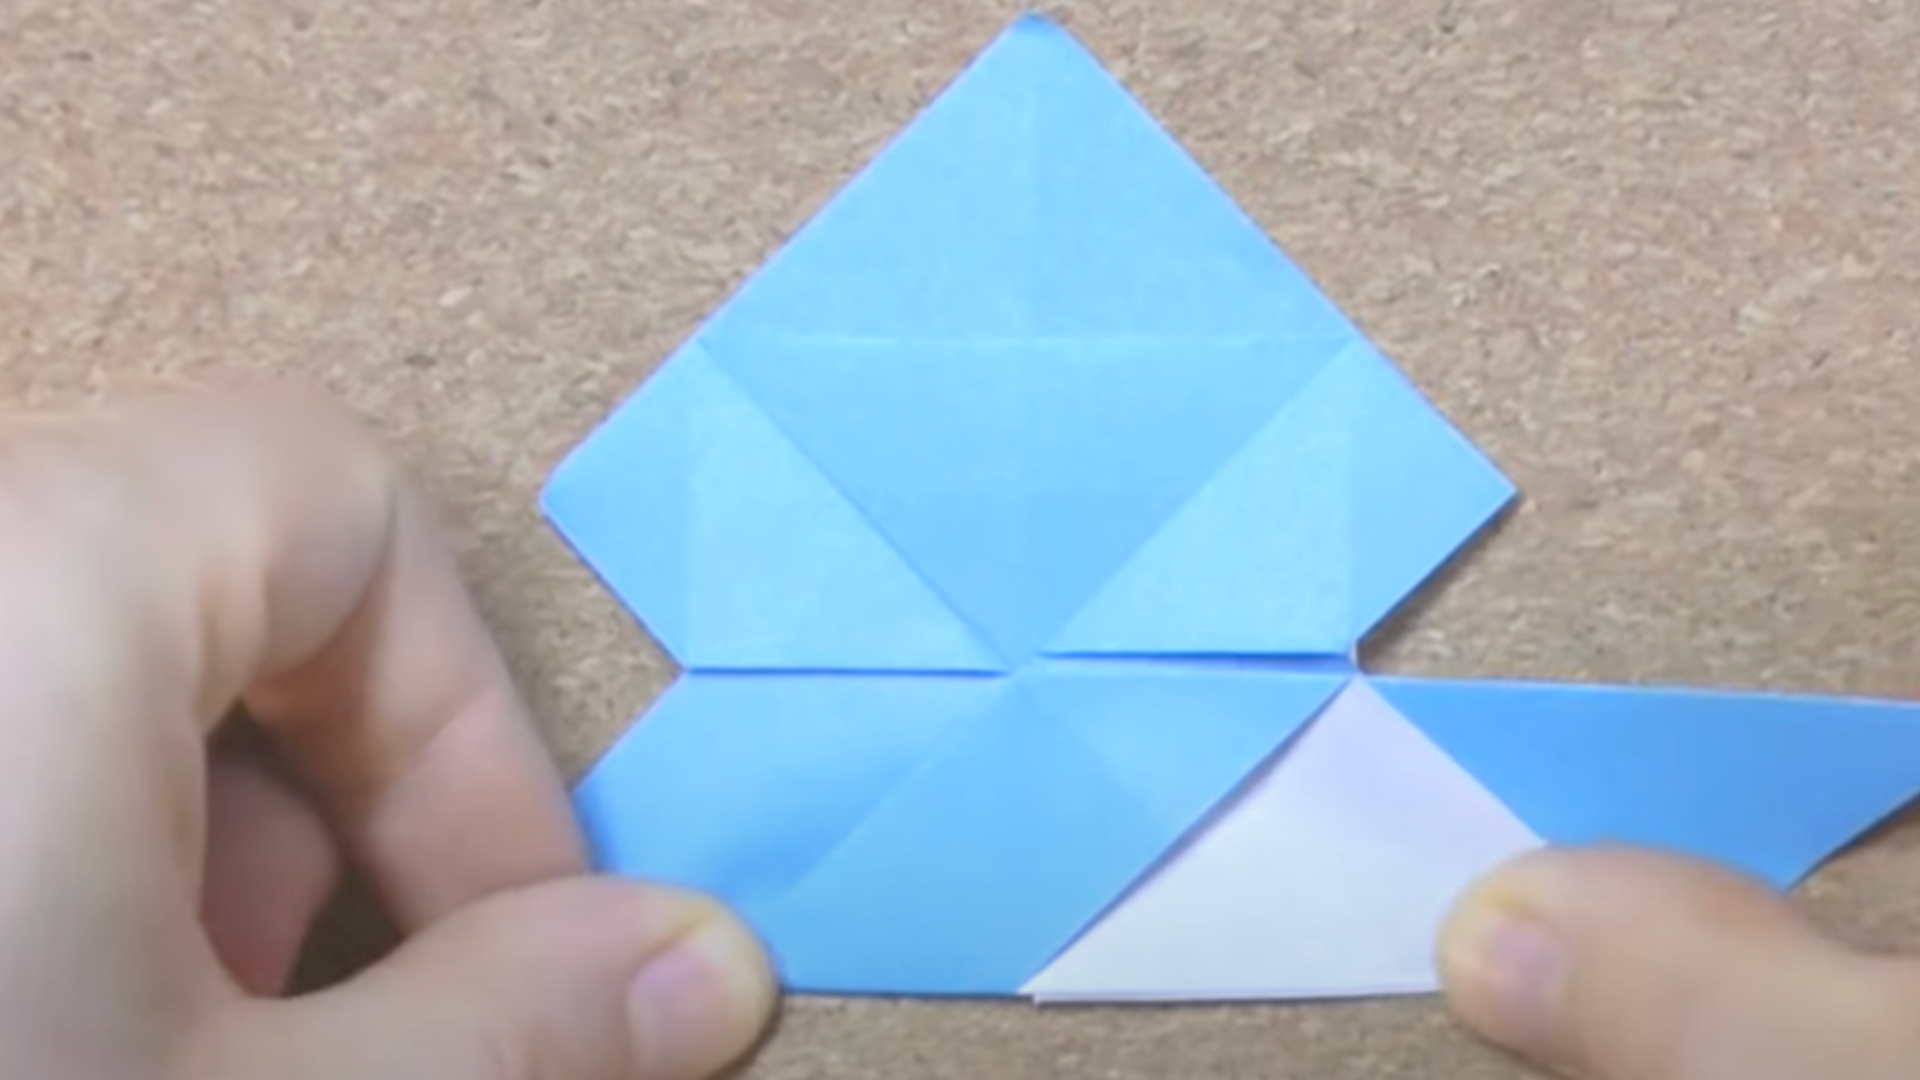
Step 9: Start shaping the tail
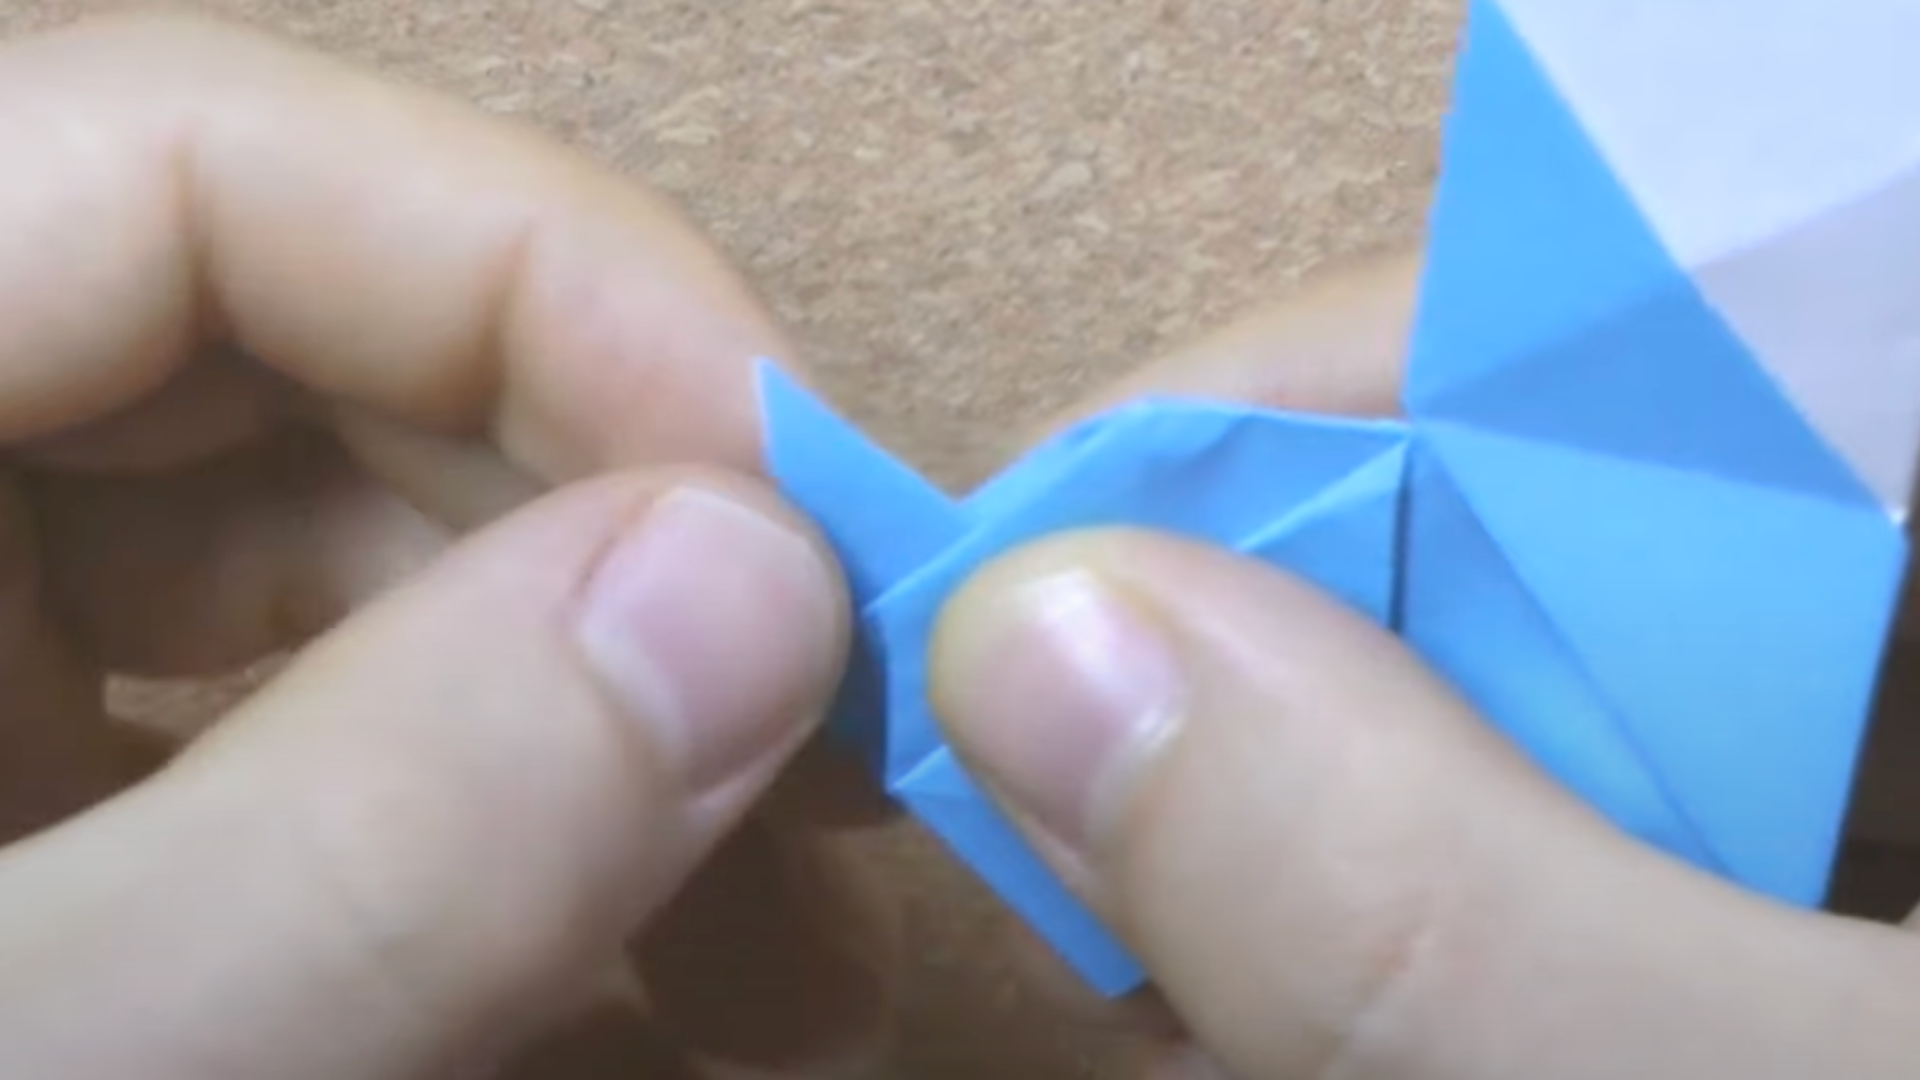
Use a crimp fold to position the tail correctly.
- Make two angled creases.
- Pull apart layers and use mountain folds.
- Perform two inside reverse folds to form the crimp.
Step 10: Shape along the color change
Use the paper’s color to create a visually appealing shape.
- Fold along the color change line.
- Fold the visible triangle in half.
- Flatten it gently.
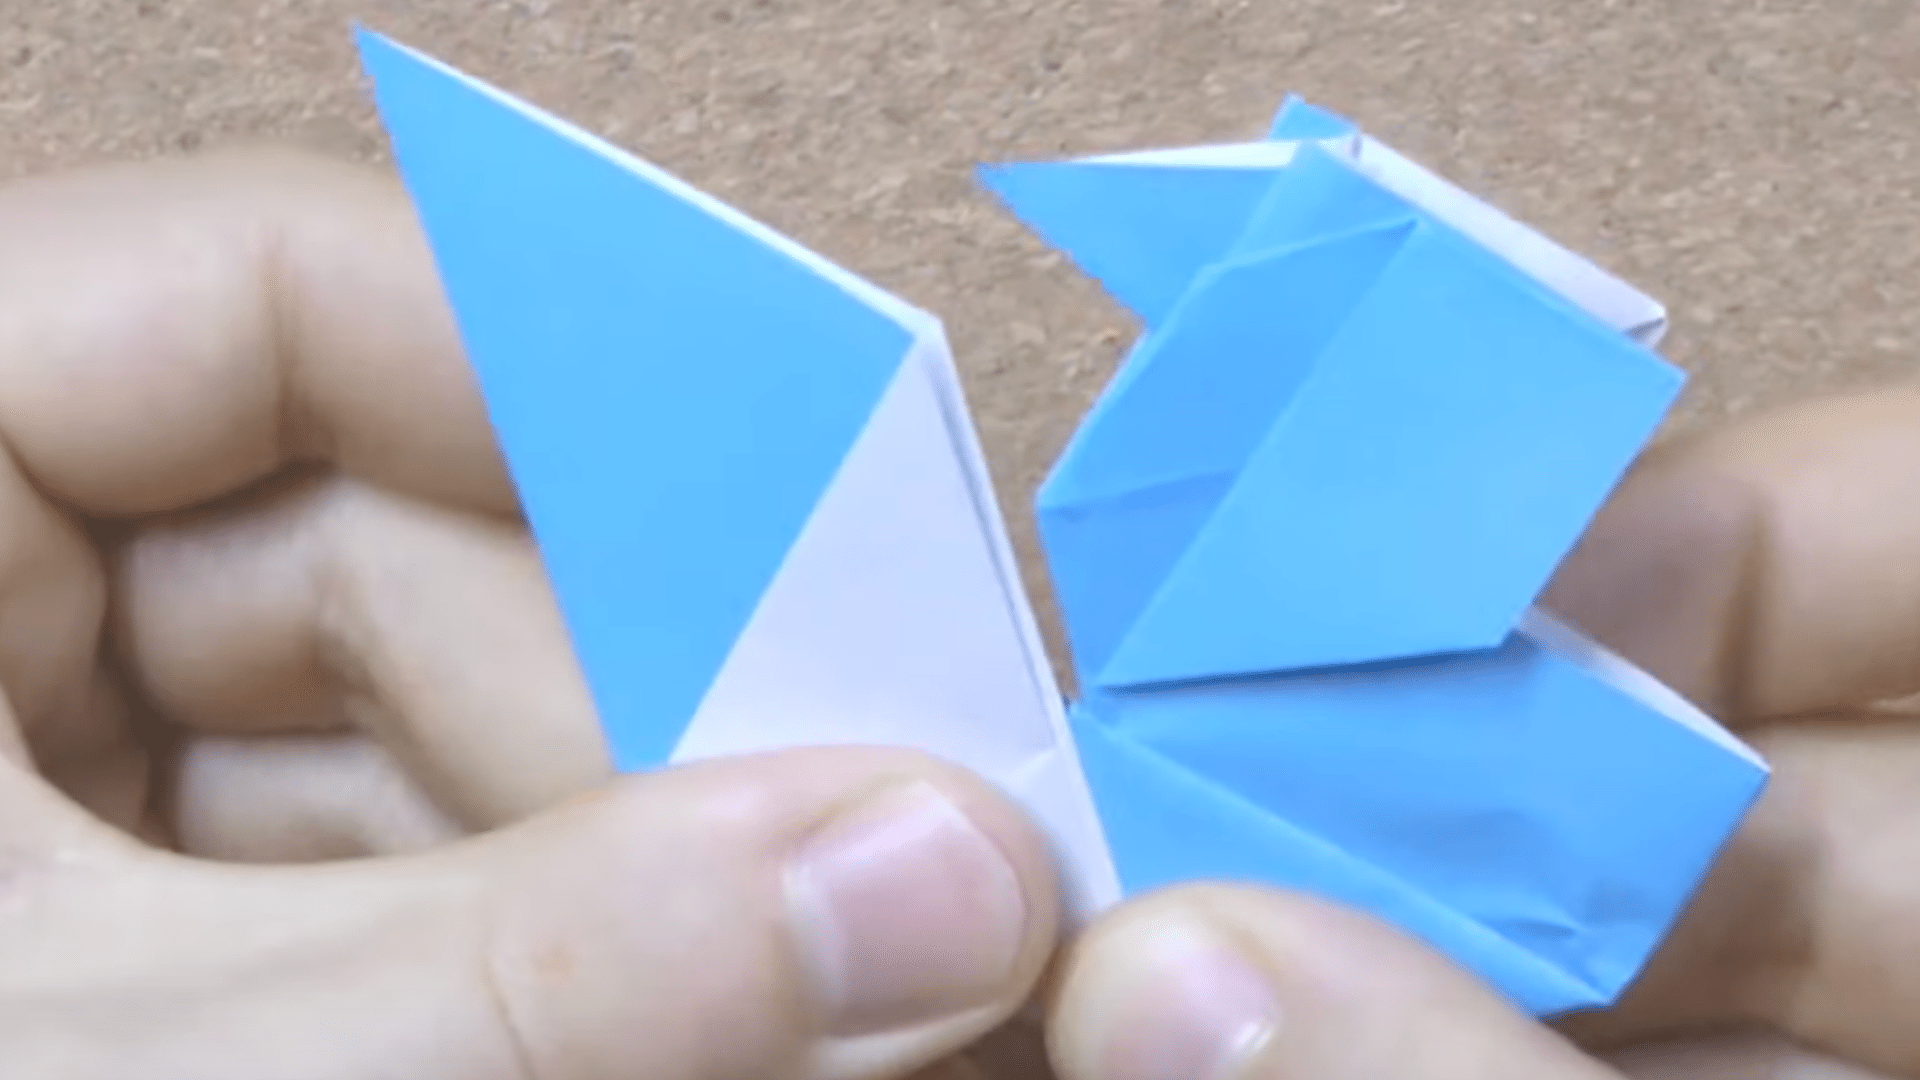
Step 11: Open layers and squash
Spread the layers and squash them to form volume.
- Separate the paper layers outward.
- Perform a giant squash fold on each side.
- Lay the model down.
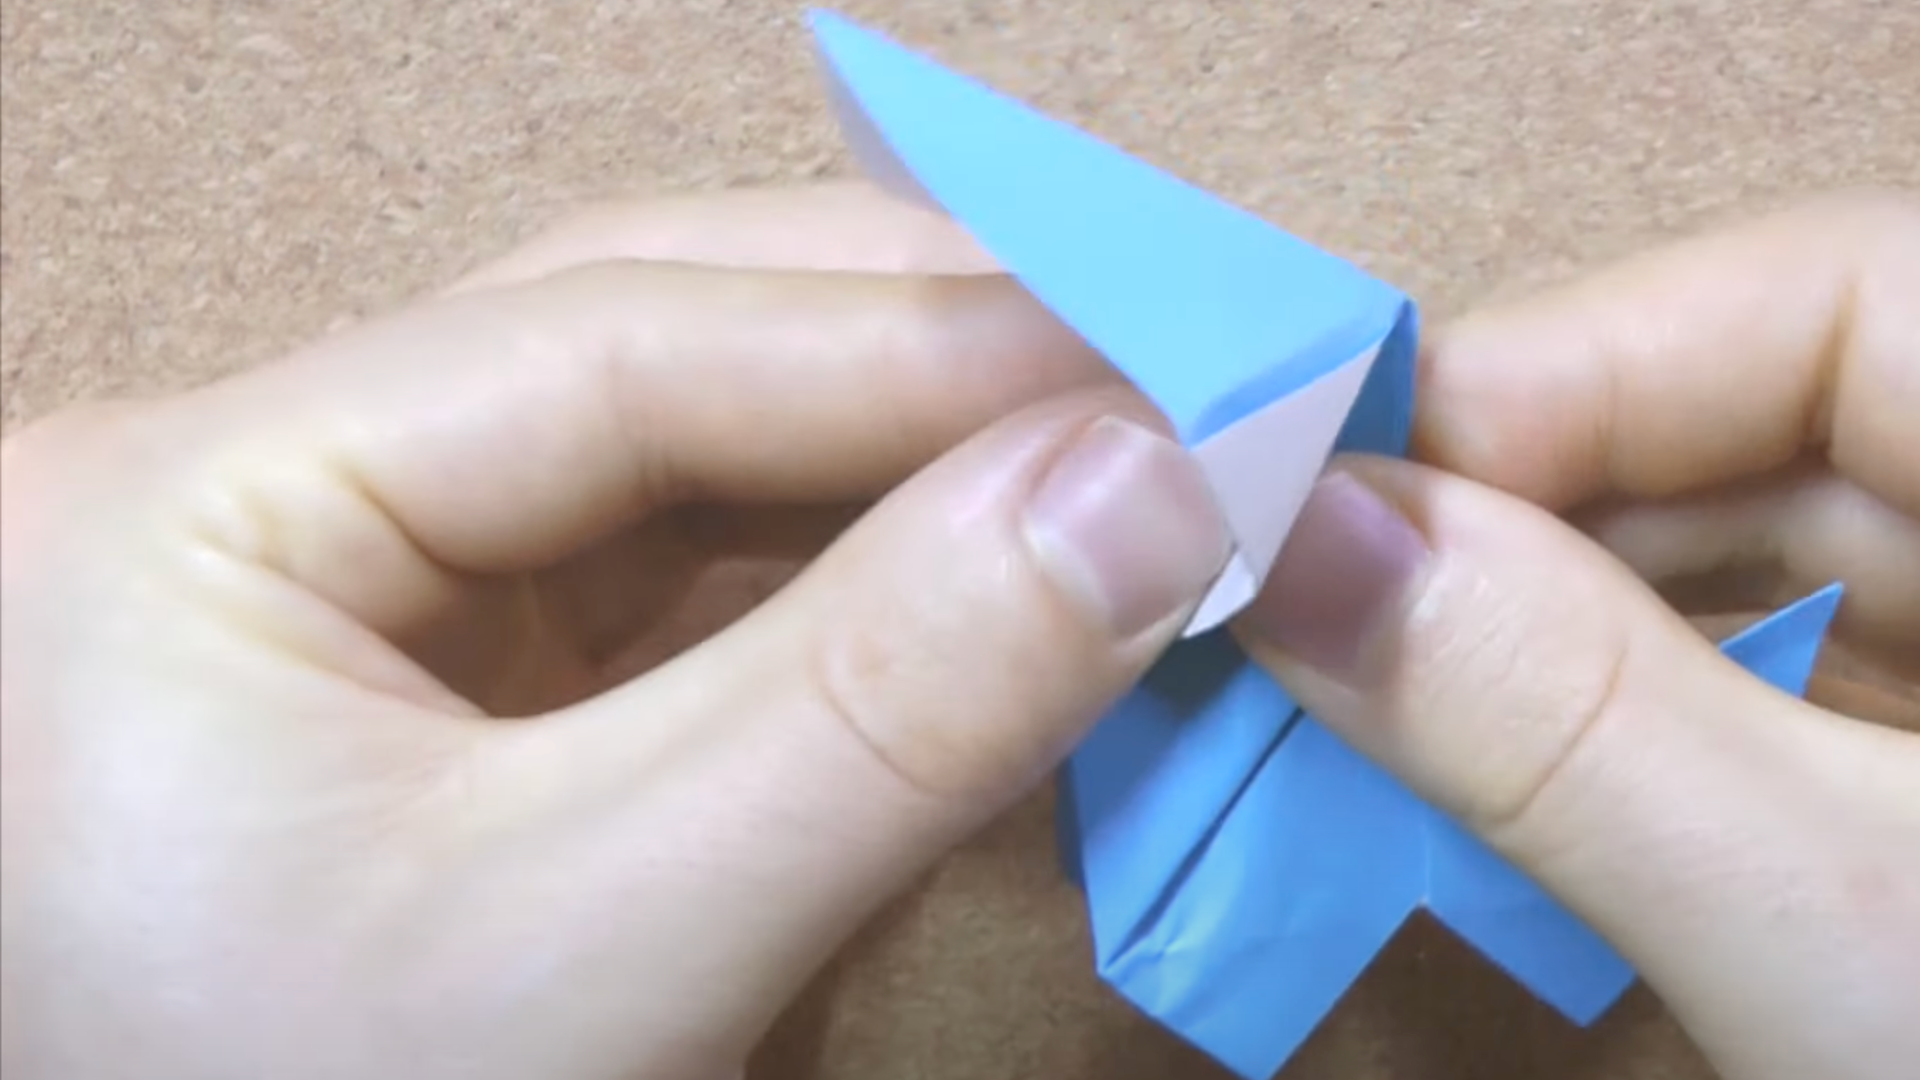
Step 12: Form the head

Round off the head using folds and crimps.
- Fold back a small corner to round the head.
- Add a crimp similar to the tail fold.
- Fold the tip back multiple times for a wide nose.
Step 13: Final structural folds
Refine the shape with belly and mountain folds.
- Unfold and separate layers.
- Make two mountain folds that meet.
- Similarly, add two belly folds.
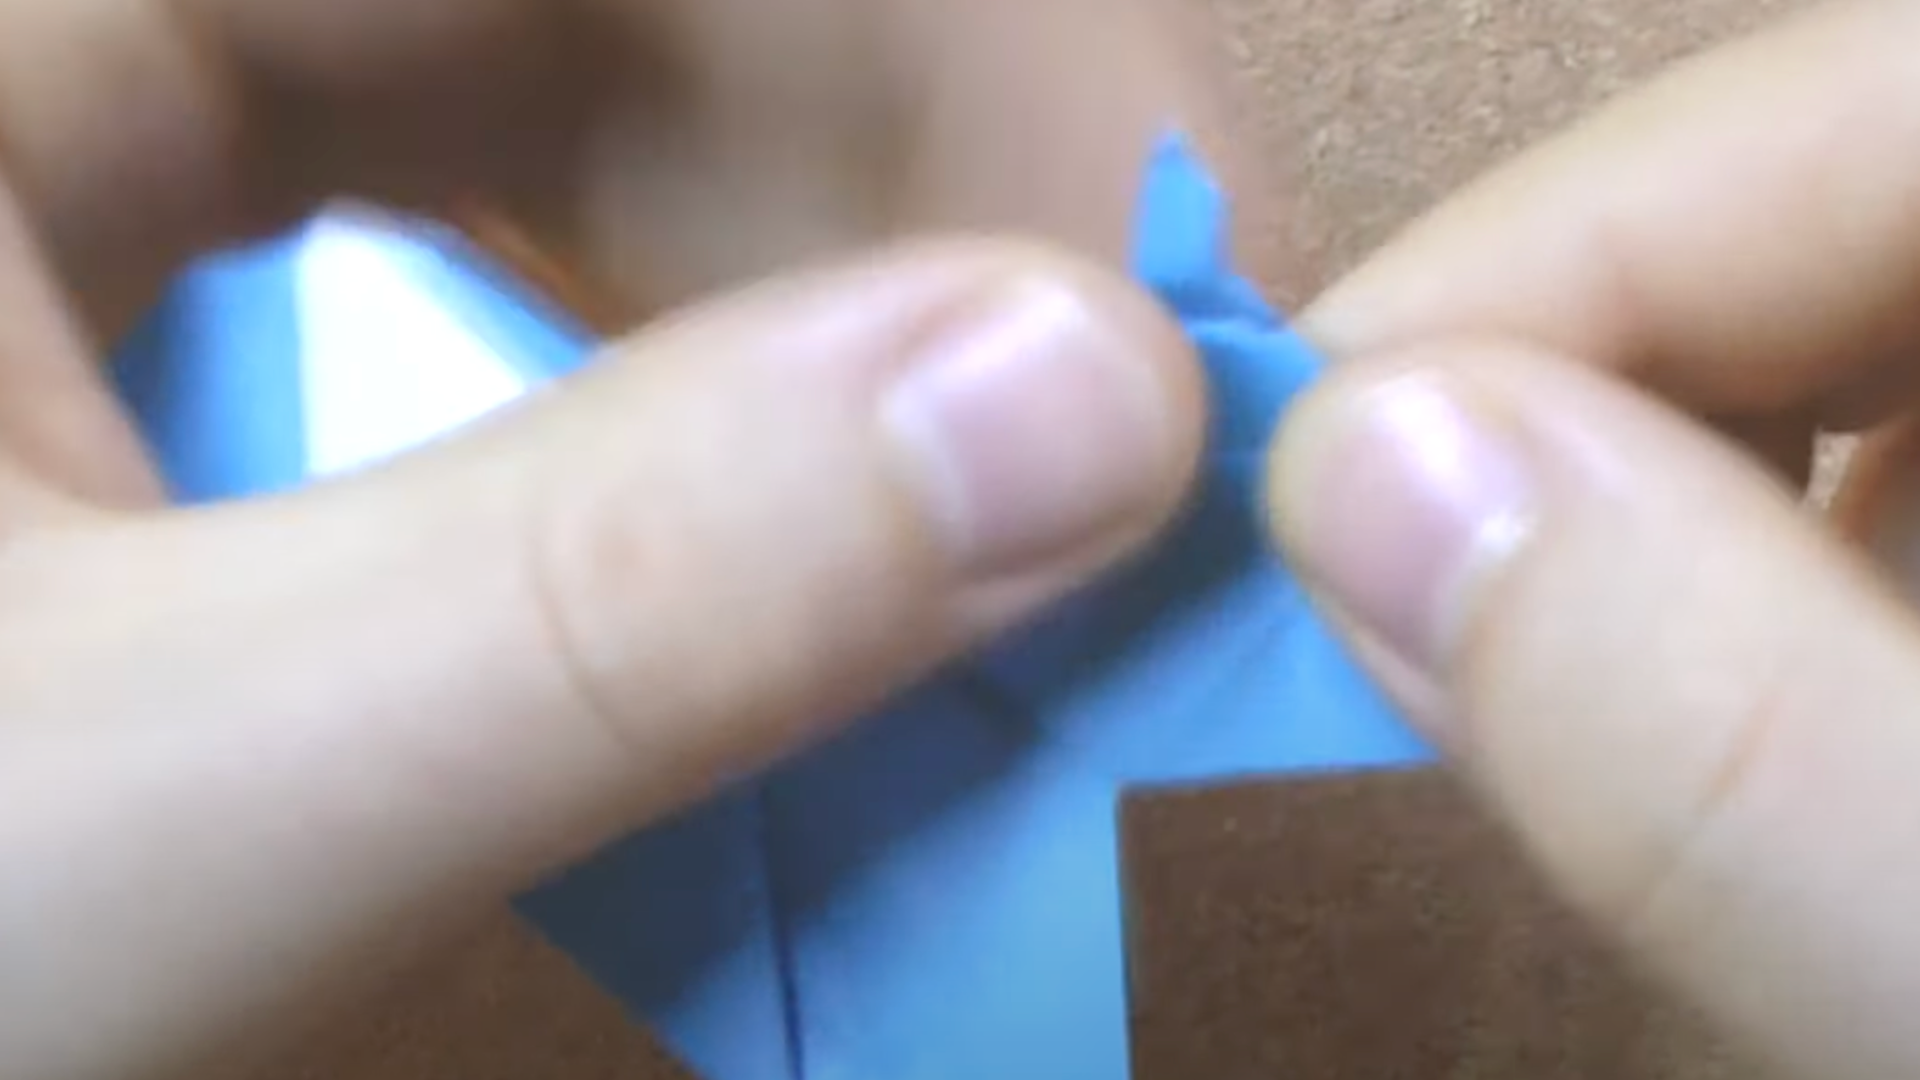
Step 14: Finish the nose and tail
Add the final touches to achieve realism and balance.
- Fold back the nose tip.
- Tuck the tail corners inward to shrink the tail.
- Adjust to taste — this part is an artistic decision.
Video Tutorial
Special thanks to Tavin’s Origami Instructions for providing valuable insights in their video, which you can refer to while creating this guide.
Fun Variations: How to Customize Your Origami Dog
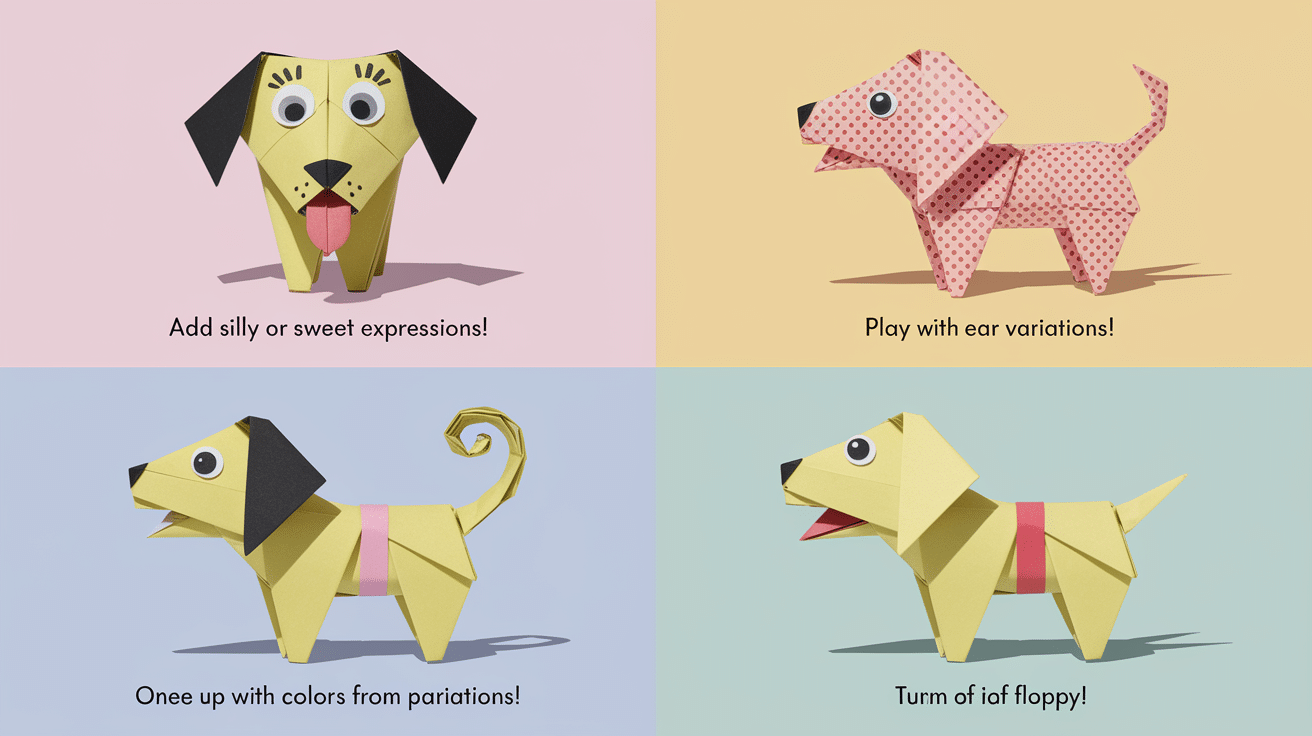
Add a personal touch to your origami dog with these easy and fun customization ideas that boost creativity and engagement.
- Draw Fun Faces: Use markers to add eyes, a nose, a tongue, or even silly expressions—great for kids to create different dog personalities.
- Use Unique Paper: Try patterned, dual-color, or recycled paper to give your dog a playful or stylish look.
- Change Up the Tail and Ears: Fold the tail longer or curl it, and tweak the ears to be floppy or pointy for different styles.
- Add Tiny Details: Fold small paws, a collar, or even a bow to make your dog more lifelike and cute.
- Make It a Puppet: Attach it to a stick or fold it to move—perfect for mini puppet shows or creative play.
Conclusion
And there you have it—your very own paper pooch! With just a few folds, you’ve turned a simple square into a charming origami dog that’s sure to bring smiles.
Remember, practice makes perfect. If your first few attempts don’t look quite right, keep trying. Each fold gets easier with time.
The beauty of origami lies not just in the finished piece, but in the calm moments spent creating it. Your hands are busy, your mind focused—it’s like a mini meditation session.
Why not make a whole pack? Try different paper sizes and colors to create a family of paper pups.
Ready to show off your new skill? Take a photo of your origami dog and share it with us using #OrigamiPups—we’d love to see your creations!
