
Sewing a pillowcase is one of those projects that feels instantly rewarding. It’s simple, relaxing, and in just a few minutes, you end up with something soft, useful, and completely handmade.
I love that it’s beginner-friendly yet still delivers a clean, professional finish.
I’ll walk you through every detail, from cutting the fabric to sewing perfect French seams that hide every raw edge.
You don’t need fancy tools or hours of work, just some fabric, your sewing machine, and a bit of patience. Let’s start stitching a pillowcase you’ll be proud to use every day.
How to Sew a Pillowcase
Before sewing your pillowcase, it helps to know a few basics. You’ll need a sewing machine, an iron, pins or clips, and a ruler or rotary cutter for clean cuts.
Always wash and press your fabric first, as it prevents shrinking later. Keep your seams straight and use a ¼-inch seam allowance for accuracy. Don’t rush through pressing; it keeps everything neat.
A French seam is perfect for beginners because it hides raw edges and adds strength.
Once your tools are ready, set up your workspace, thread your machine, and let’s start sewing.
Let’s Make a Pillowcase in 10 Minutes
If you’ve ever wanted to make something useful and quick, this pillowcase is perfect. It’s beginner-friendly, looks store-bought, and the French seam keeps the inside clean and strong. Let’s make one together.
Materials Required
| Piece | Standard Size (inches) | King Size (inches) | Fabric Needed/Tools |
|---|---|---|---|
| Body | 27 × WOF | 36 × WOF | 7/8 yd (standard) or 1 1/8 yd (king) |
| Cuff | 11 × WOF | 11 × WOF | 3/8 yd |
| Accent | 2½ × WOF | 2½ × WOF | 1 strip |
| Tools | – | – | Sewing machine, iron, ruler, pins or clips |
Pro Tip: “A hot iron is your best sewing partner; press after each seam to keep everything crisp and precise.”
Step 1: Press the Accent Strip
Start by folding the accent strip wrong sides together along the long edge and giving it a firm press.
This step makes the strip neat and ready to become the decorative band between the body and the cuff.
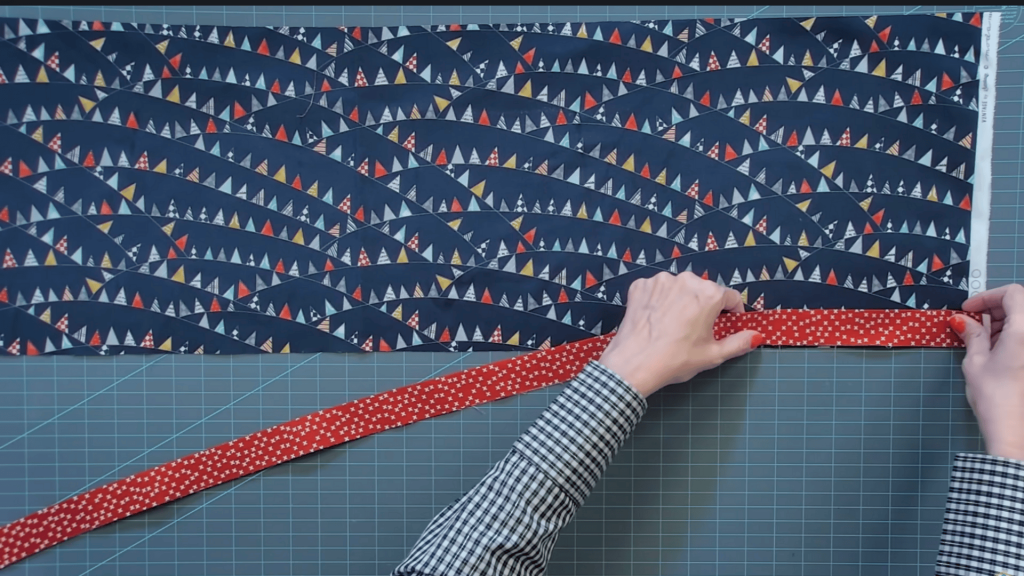
Step 2: Layer the Fabrics
Lay the cuff right side up on your workspace. Place the accent strip along its top edge, aligning raw edges.
Then lay the body fabric right side down over both. Smooth it out and pin through all layers to keep everything in place.
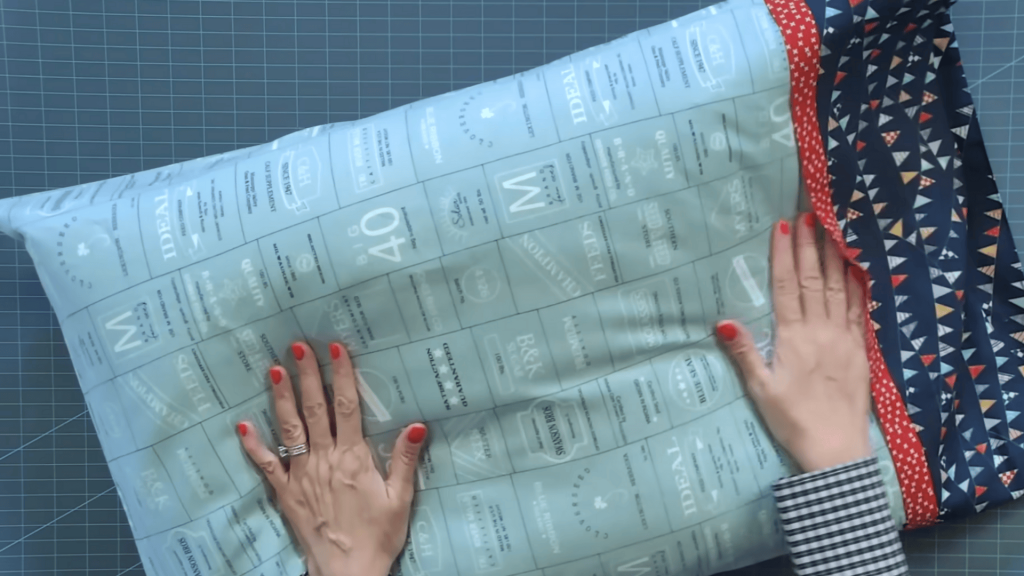
Step 3: Make the Burrito Roll
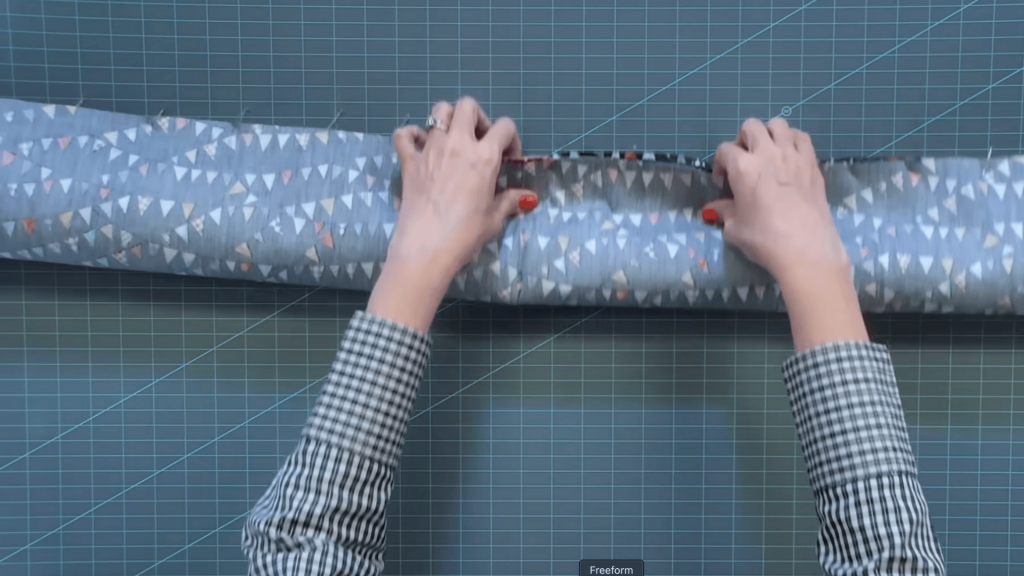
Roll the body fabric toward the pinned edge until there’s just a narrow roll. Fold the cuff’s free edge up and over to meet the pinned edge, enclosing the roll inside.
Pin across again so all layers, like the cuff, accent, and body, are secured together.
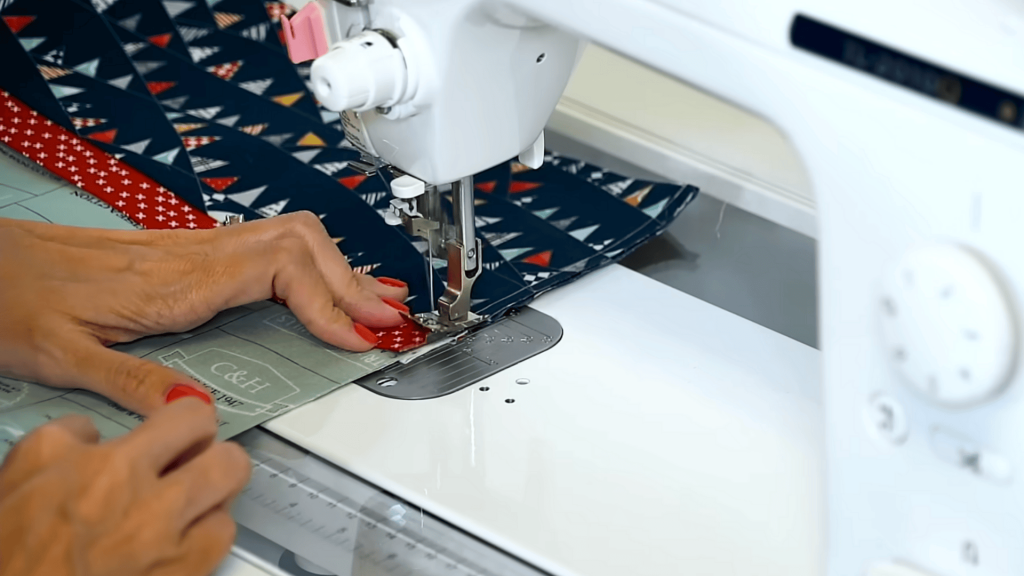
Step 4: Sew the Cuff Seam
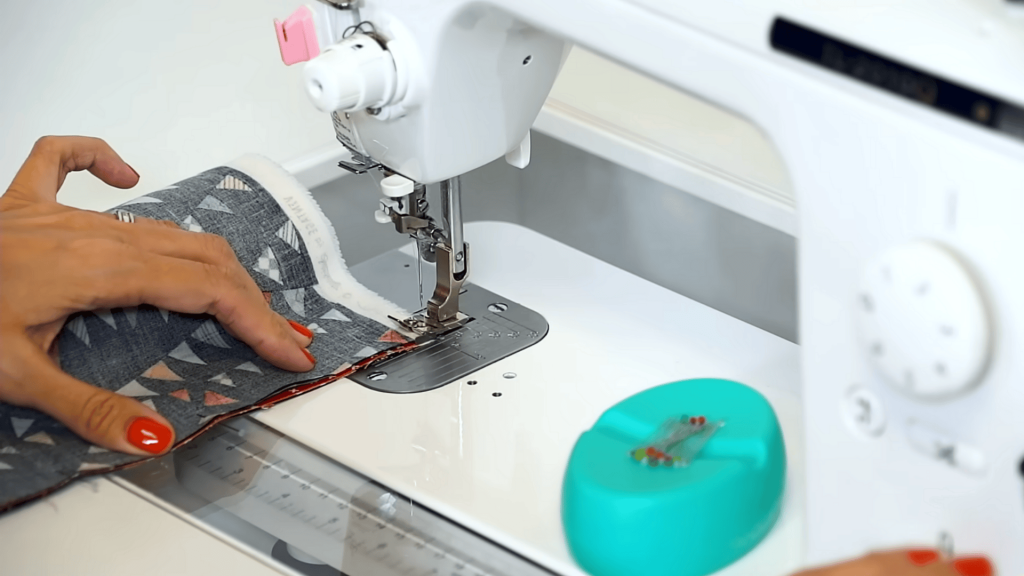
Sew along the pinned edge using a ¼-inch seam allowance. Backstitch at the beginning and end.
Once done, pull the rolled body out through one end and watch the cuff flip right side out with a clean, hidden seam.
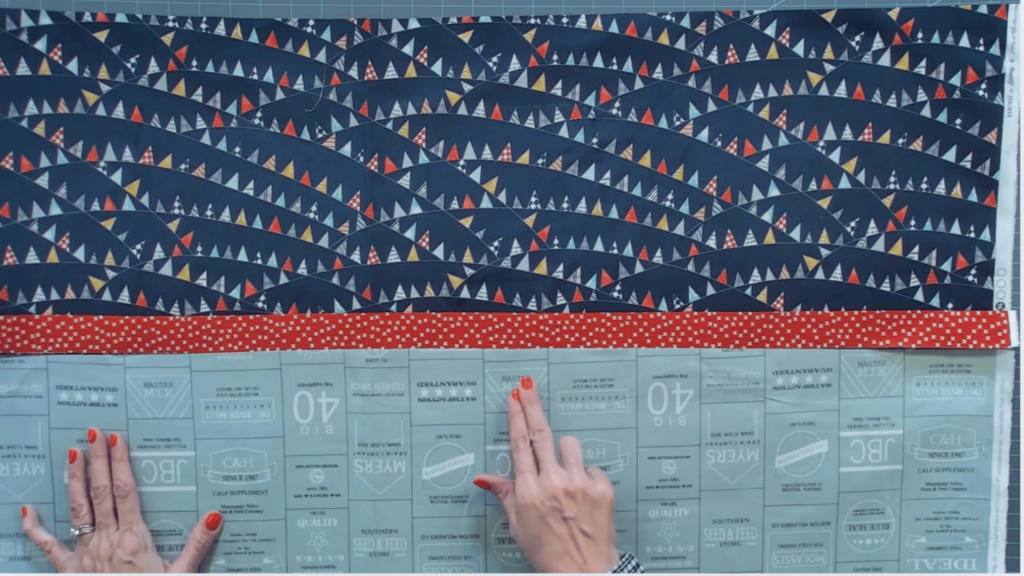
Step 5: Square and Trim

Align the edges of the cuff and body neatly. Trim off selvages and straighten the sides so all edges are clean.
This step makes sure the corners line up perfectly when sewing the sides and gives the pillowcase a tidy shape.
Step 6: Sew the First French Seam
With wrong sides together, sew down one side and across the bottom using a ¼-inch seam. Don’t worry; it feels backward, but it’s right.
Clip the bottom corner slightly to reduce bulk when you turn it inside out later.
Step 7: Sew the Second French Seam

Turn the pillowcase right sides together and press the edges flat. Sew the same side and bottom again using a 3/8-inch seam allowance.
This encloses the first seam, creating a smooth, finished inside that looks completely professional.
Step 8: Finish and Press
Turn the pillowcase right side out once more and press it well. The seams should feel flat and the cuff crisp.
Always slide in a pillow right away; it’s the most satisfying part, seeing that clean, polished result you just made.
Video Tutorial
Special thanks to Fat Quarter Shop for providing valuable insights in their video, which I referenced while creating this guide.
Tips for Sewing a Pillowcase
Before you finish your first pillowcase, a few small habits can make a big difference. These simple tips will help you sew cleaner seams and get a crisp, professional finish every time.
- Prewash fabric: It prevents shrinking later and makes the pillowcase softer.
- Use a sharp needle: Fresh needles keep your stitches even and prevent skipped seams.
- Press often: Iron after every seam for smooth, professional results.
- Trim threads as you go: It keeps your work clean and avoids tangles.
- Test your stitch length: A medium-length straight stitch works best for most cotton fabrics.
Take your time, enjoy the process, and your pillowcase will turn out beautifully every single time.
Conclusion
Sewing a pillowcase is one of those simple projects that never stops being fun. It’s fast, beginner-friendly, and gives you something practical you can actually use.
Once you master this method, you’ll want to make sets for every room, or even as gifts.
The French seam keeps things neat, the color combinations are endless, and the results always feel satisfying. Now that you know exactly how to do it, pull out your favorite fabrics and give it a try.
I’d love to hear how yours turned out, so share your results or questions in the comments below.
Frequently Asked Questions
What Size Fabric Do I Need for A Standard Pillowcase?
For a standard size (20″×26″ pillow), cut about 27″×40″ for the body and a cuff strip roughly 11″ deep across the width of fabric.
What Fabric Is Best to Use for A Pillowcase?
Choose smooth, tightly-woven fabrics like cotton or linen: avoid heavy or stretchy materials for best results.
What’s the Benefit of Using a French Seam for A Pillowcase?
A French seam hides raw edges inside the case for a clean finish and extra durability.
