
Have you ever looked at old books collecting dust and wished you could give them new life? Book page roses are the perfect answer.
These handmade flowers change forgotten pages into beautiful decorations anyone can create.
No fancy craft skills needed. Just a few simple folds turn yellowed paper into delicate blooms that last forever.
They create thoughtful gifts, unique wedding decorations, or add a cozy touch to your own home. The best part? They cost almost nothing to make.
Ready to turn those dusty pages into something special? This step-by-step guide will show you exactly how to craft these charming paper roses, even if you’ve never made anything by hand before.
Why Book Page Roses are So Popular?
Book page roses have gained widespread attention for good reasons; they combine beauty, meaning, and simplicity in ways few other paper crafts can match.
- Vintage Look: The aged pages and classic fonts give each rose a soft, timeless beauty.
- Sentimental Value: Roses made from meaningful books or letters carry a deep personal connection.
- Sustainable Crafting: They creatively recycle old books, turning them into eco-friendly art pieces.
- Ideal for Home Decor: Create elegant, rustic accents for bookshelves, tables, and walls.
- Thoughtful Handmade Gifts: Personalize roses with meaningful pages for unforgettable keepsakes.
- Customizable Designs: Use aged, printed, or colored pages to match any style or theme.
Materials You’ll Need

Before you begin your project, gather all the necessary supplies to ensure a smooth and enjoyable process.
Here’s a simple list of everything you’ll need, along with a few helpful tips for choosing the best materials.
| Material | Purpose | Tips |
|---|---|---|
| Old Book Pages | Main material for crafting | Choose books with thicker or vintage pages for the best results |
| Scissors | Cutting out shapes and designs | Use sharp scissors for clean edges |
| Glue Gun | Assembling and sticking parts together | A fine-tip glue gun gives better control |
| Floral Wire | Adding structure to projects like flowers or garlands | Thinner wire bends easily without tearing pages |
| Pencil | Tracing designs before cutting | Light sketching prevents heavy marks on pages |
Step-by-Step Instructions to Make Book Page Roses
Creating book page roses is easier than you might think, thanks to just a few simple techniques. Follow these step-by-step instructions to craft your own beautiful, lasting blooms from old pages.
Step 1: Gather Your Materials

Begin by preparing all the necessary materials for your beautiful book page rose.
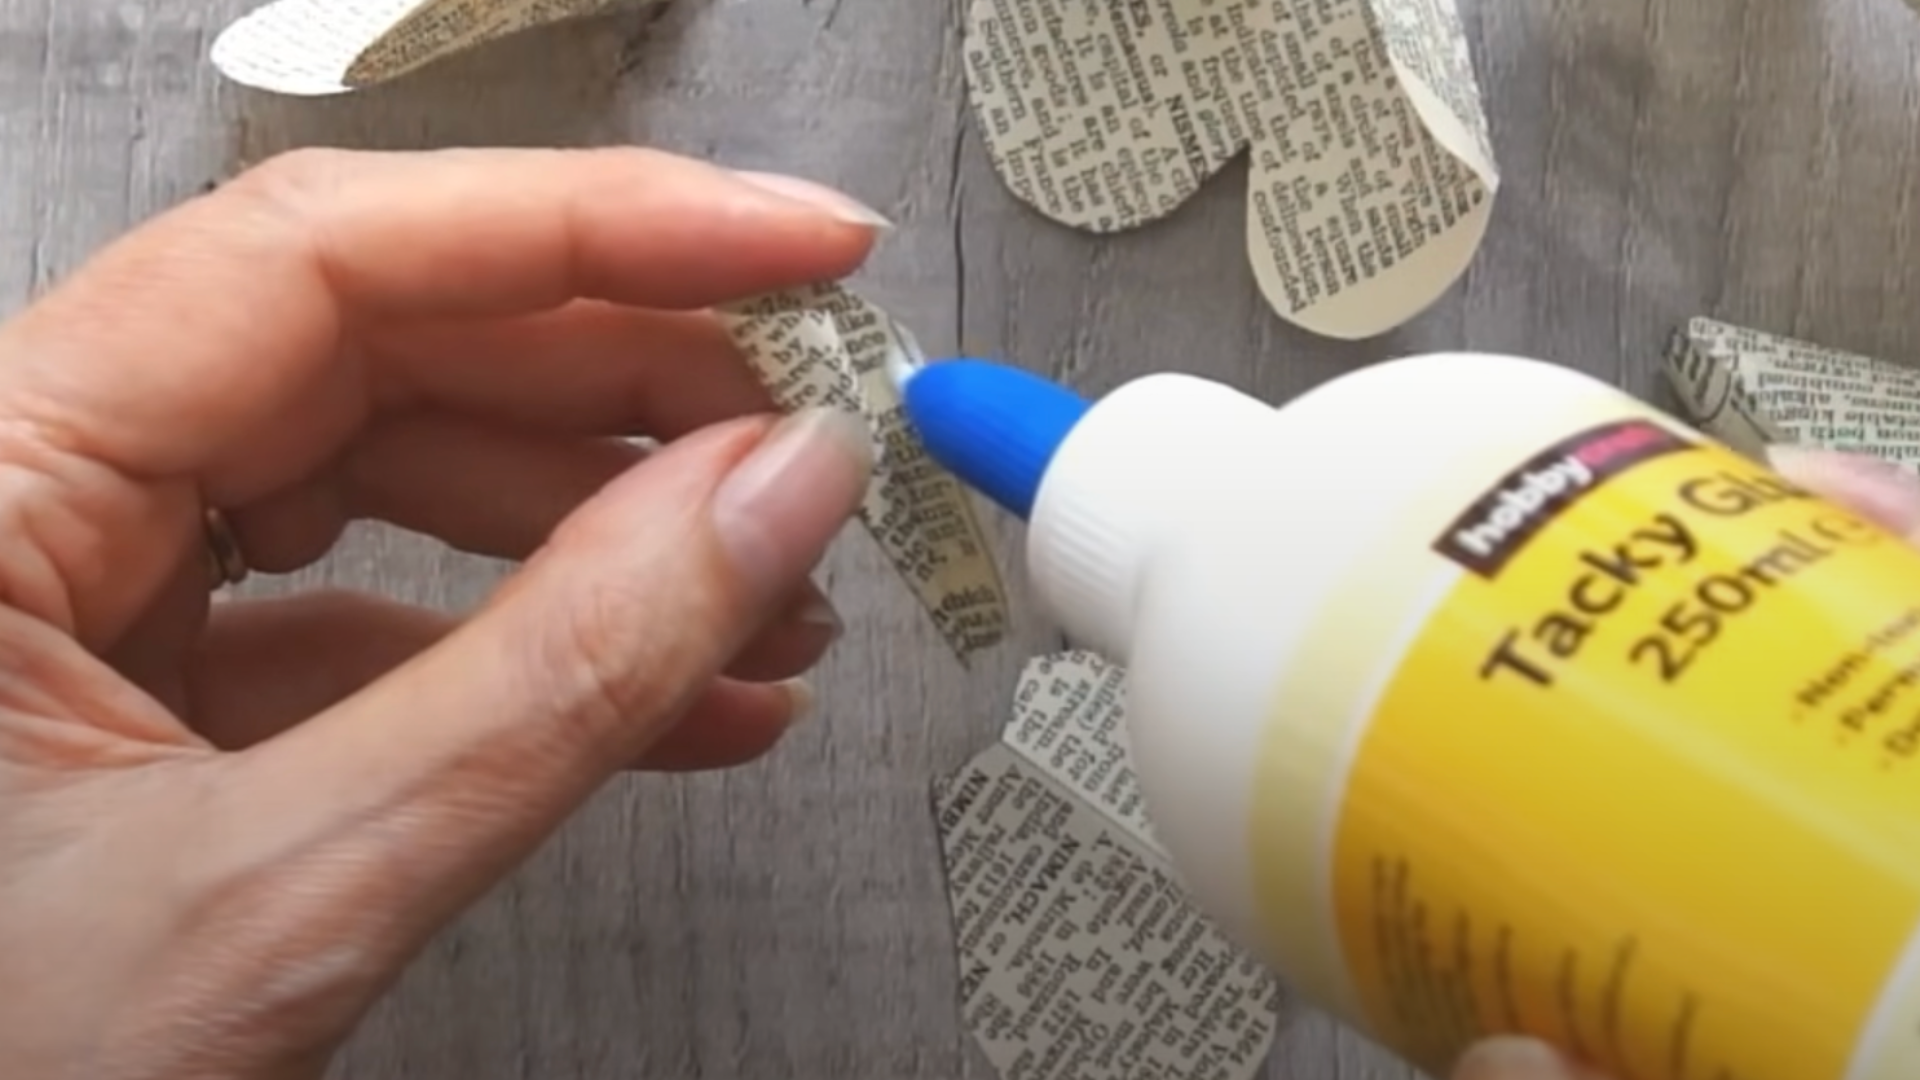
Use book pages, copy paper, magazines, or any paper of your choice. Choose any glue you have: tacky glue, hot melt glue, or regular craft glue.
For stems, you can use straws, garden canes, pipe cleaners, or small sticks.
Step 2: Create Paper Squares
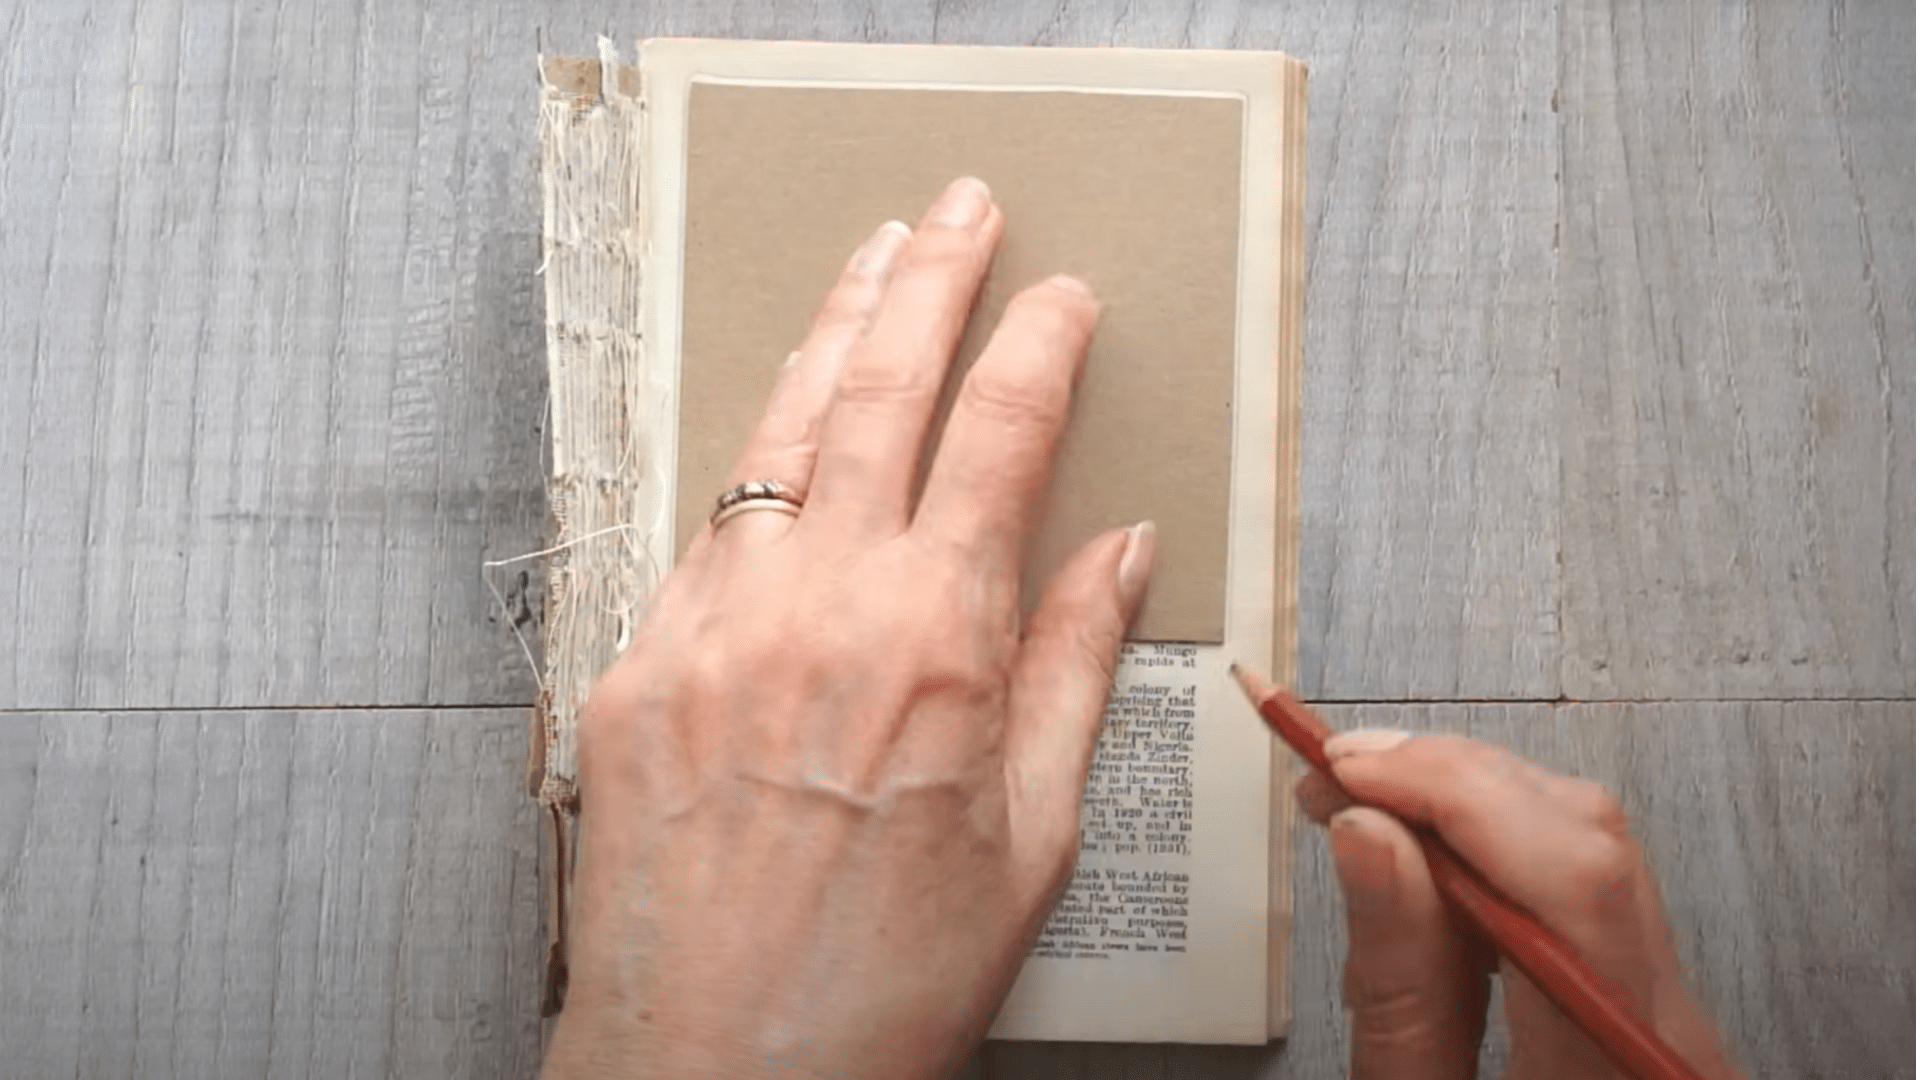
Cut out perfect squares to begin shaping your rose petals. Measure and cut three squares, ideally 4 inches by 4 inches, for easier handling.
Use a ruler and pencil for precise marking or make a reusable template. Stack and cut multiple pages together to save time.
Step 3: Fold and Cut Petal Shapes
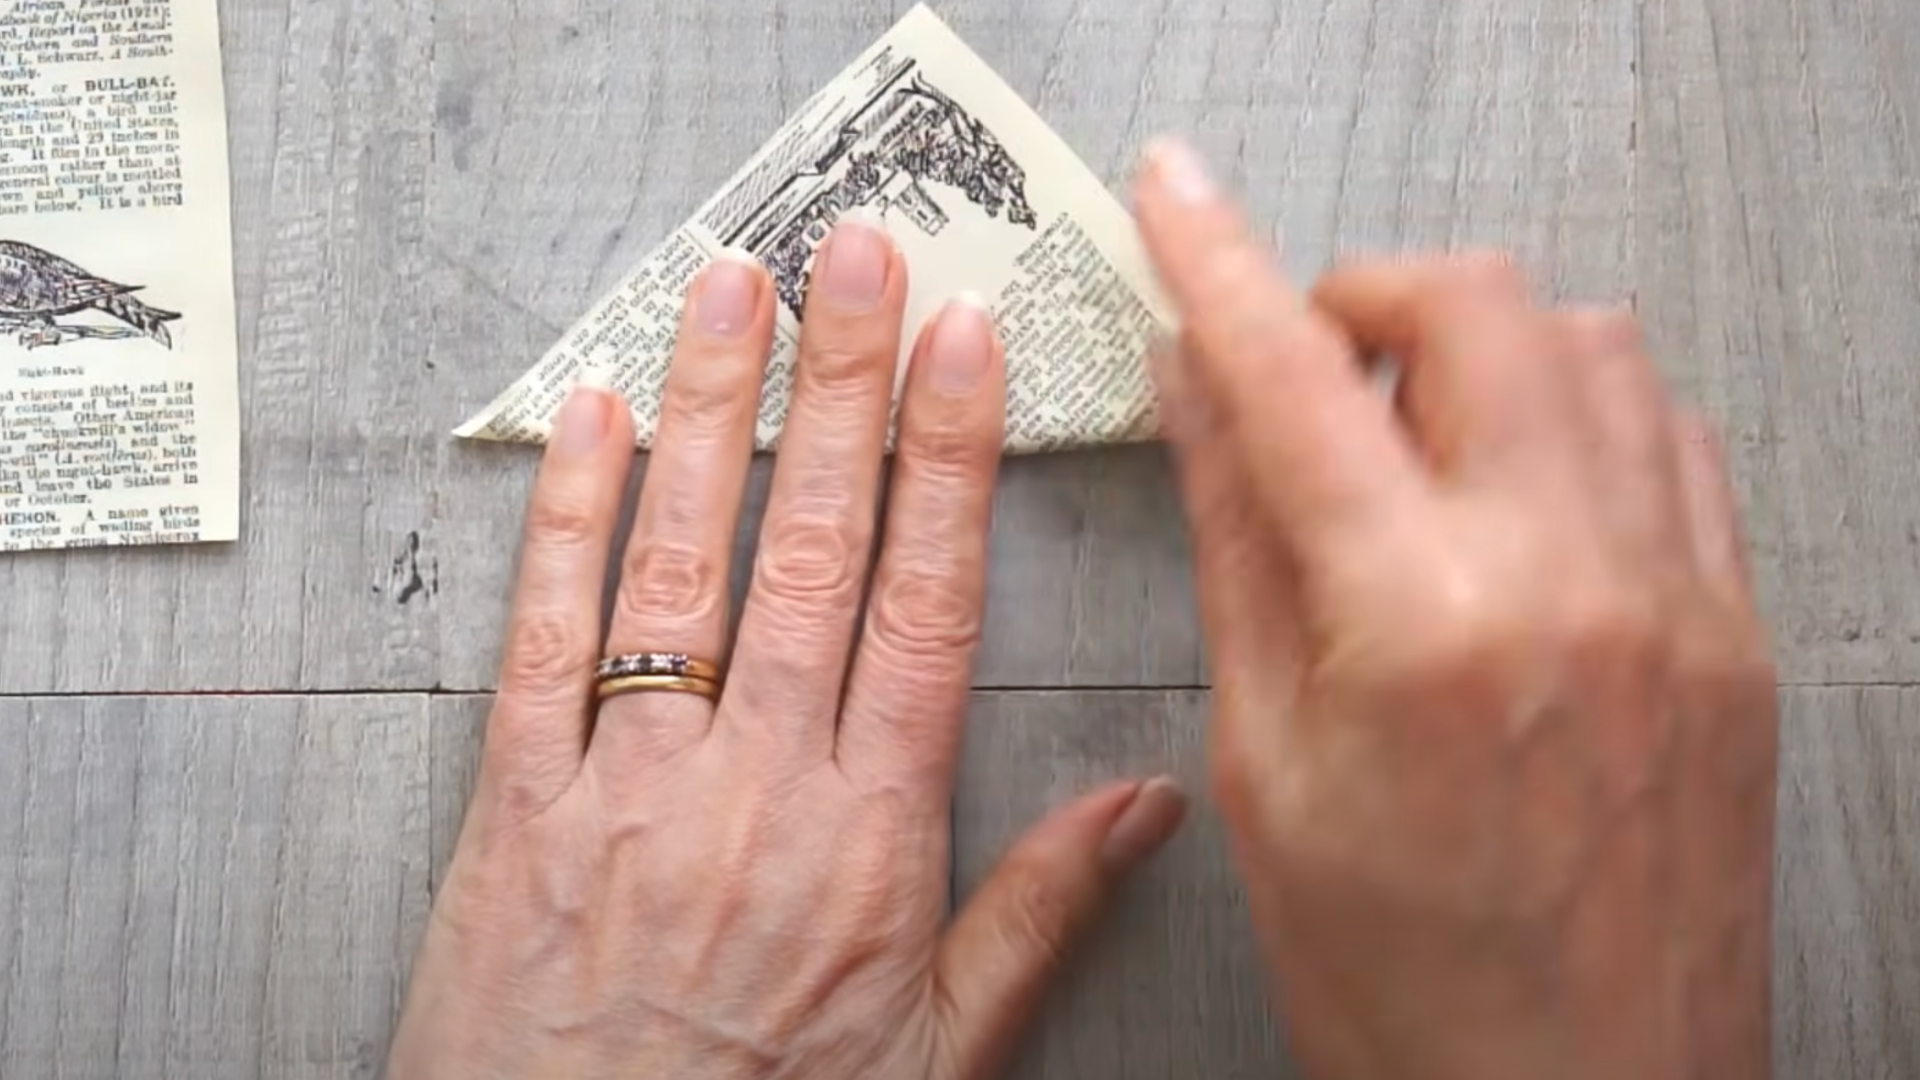
Shape your paper squares into petals by carefully folding and cutting them. Fold each square into a triangle three times.
Cut a sweeping curve at the open end to form an ice cream cone shape. Repeat the folding and cutting for all three squares.
Step 4: Trim and Prepare Petal Sections
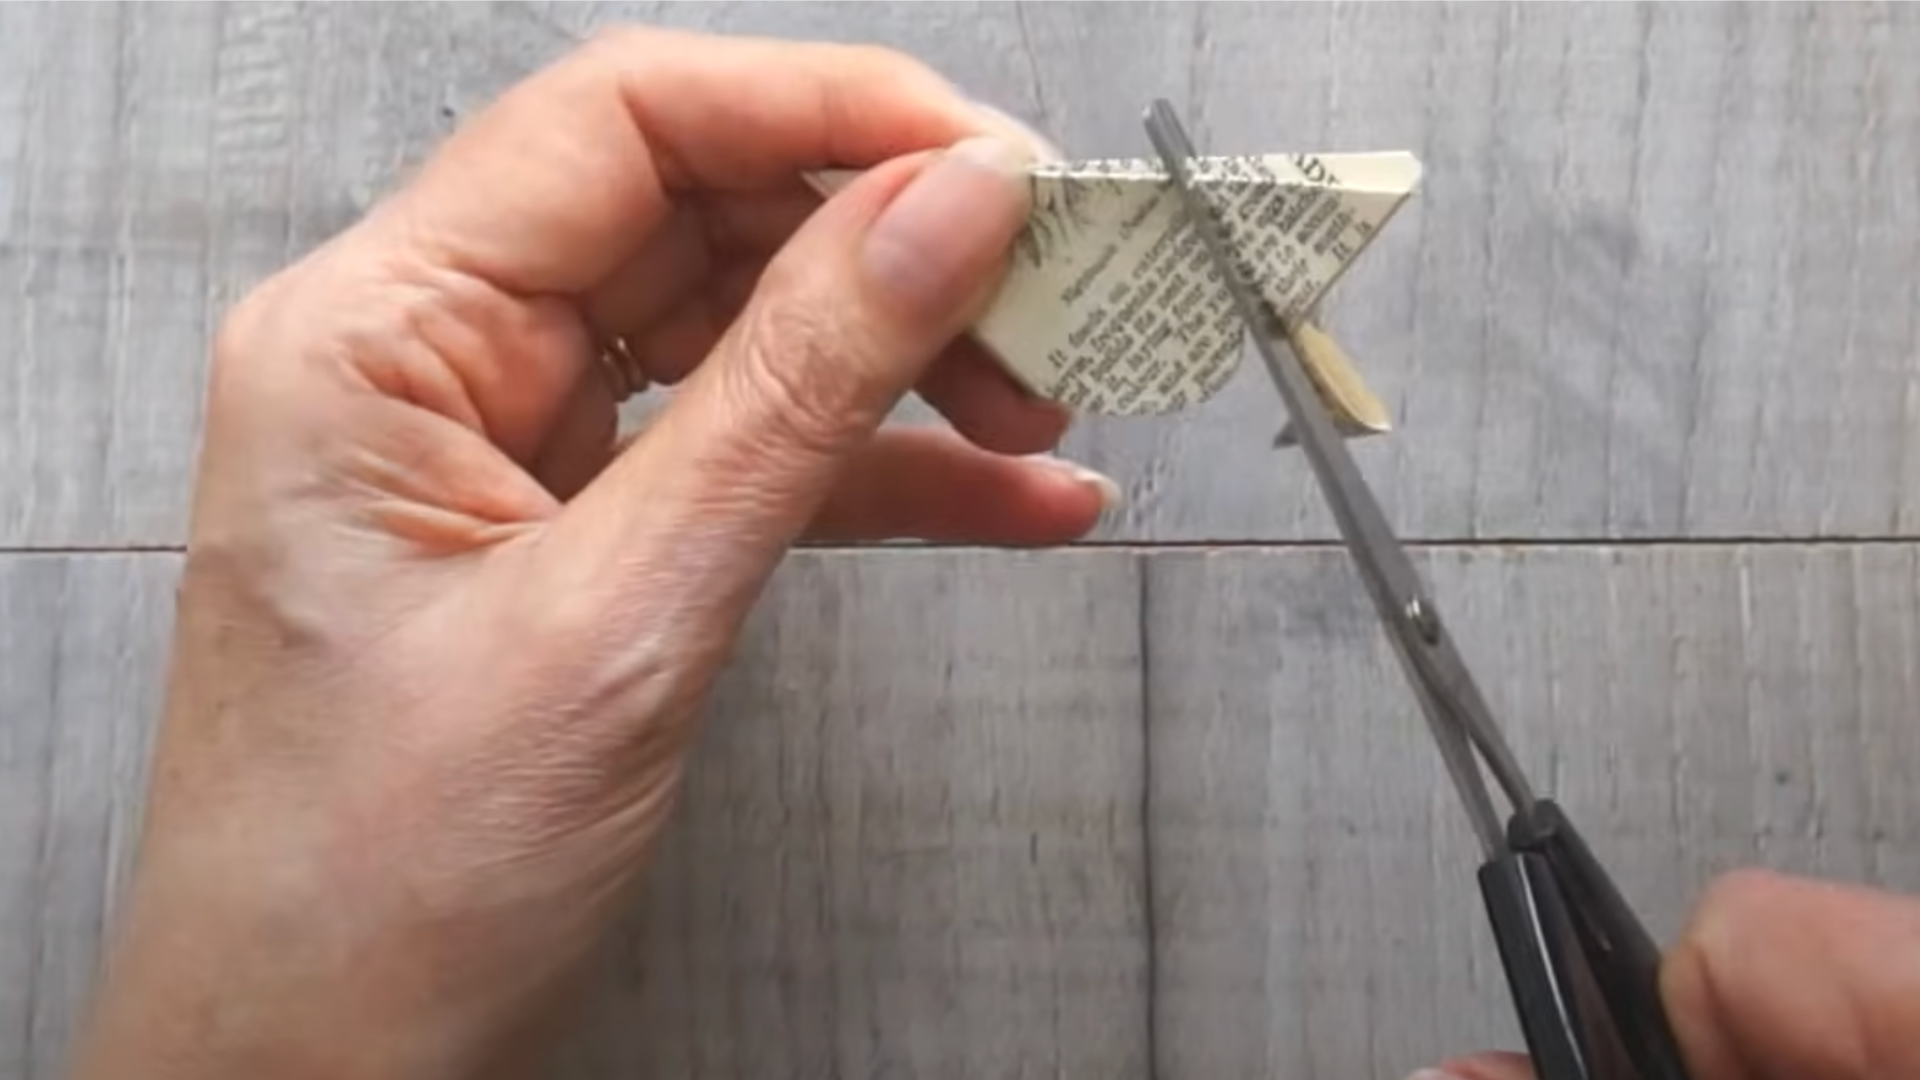
Cut and organize the petal rings that will form your layered rose. Cut the pointed tip off each folded piece to create an opening.
Open each folded piece and cut out 1, 2, and 3 petals, respectively. You should end up with six sections of varying pedal counts.
Step 5: Glue the Petal Rings
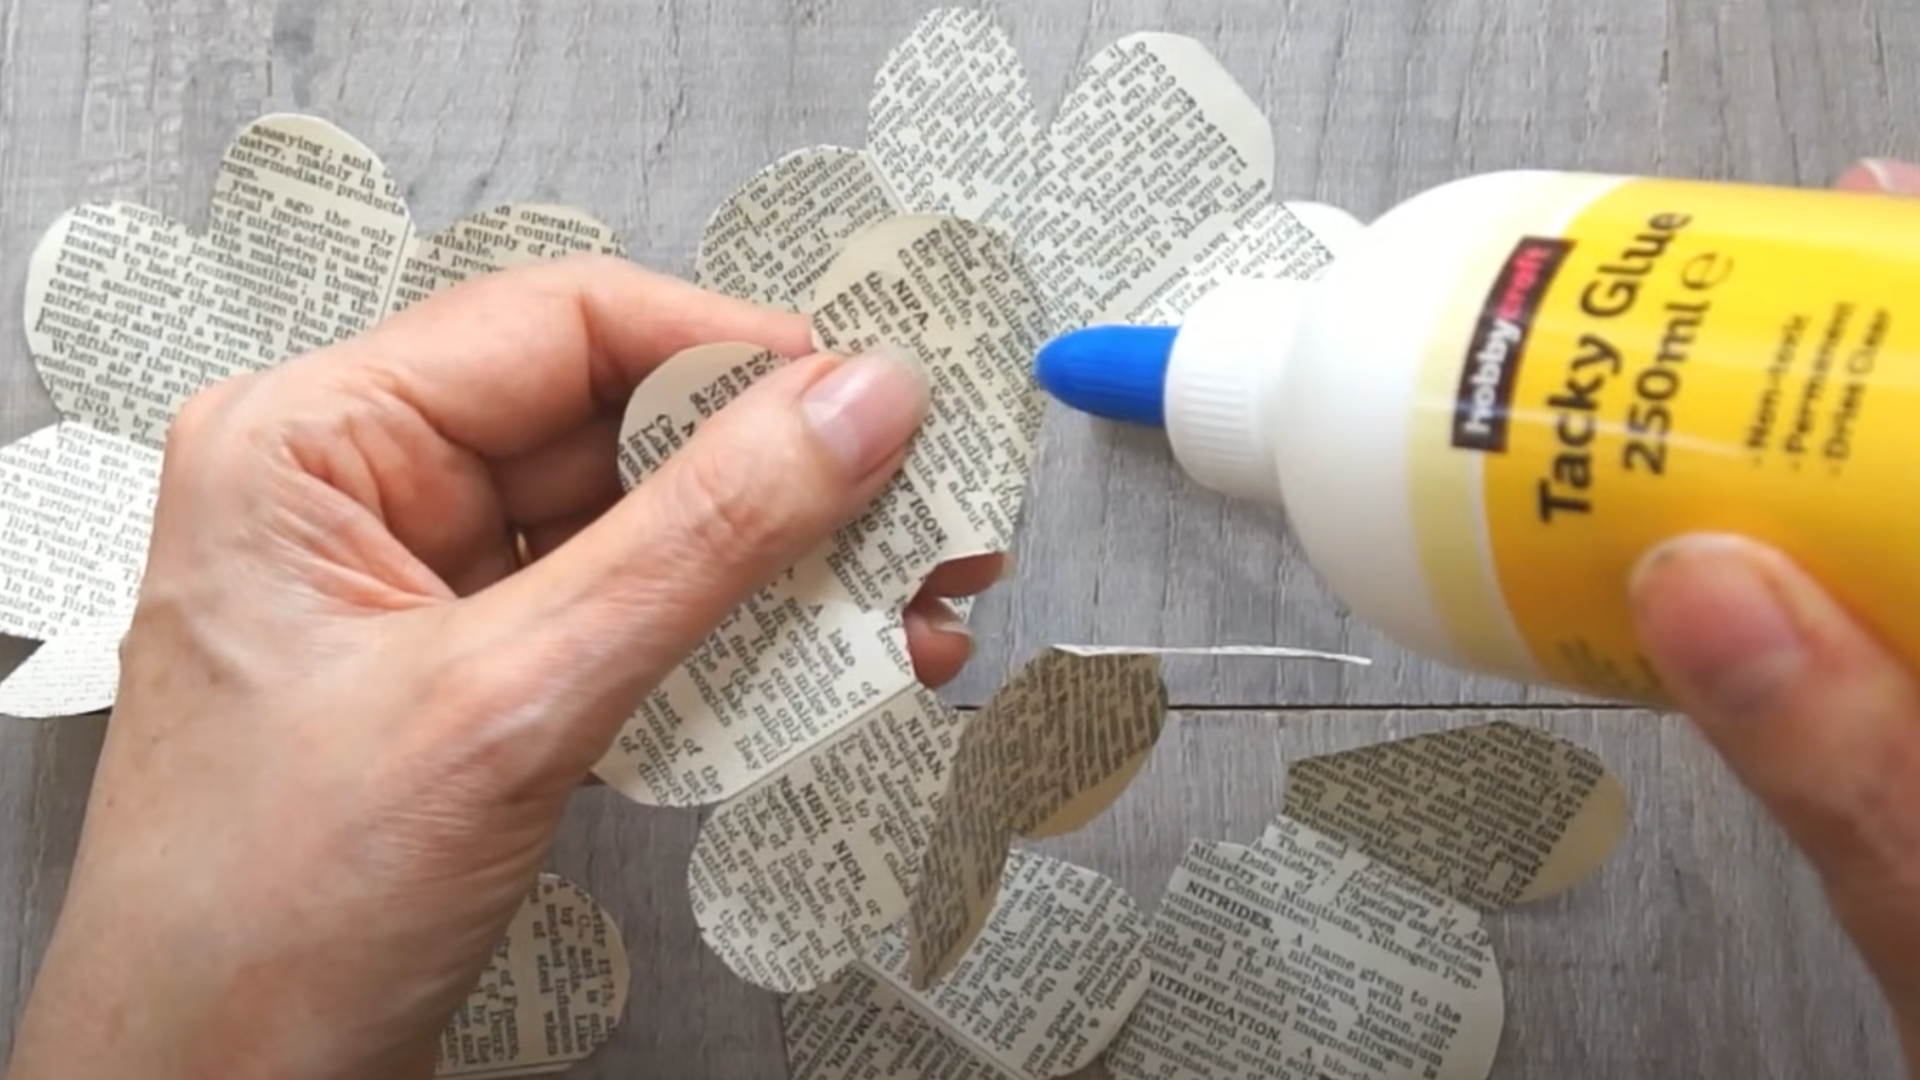
Start forming the flower shape by gluing the petal rings. Apply glue to one edge of each petal ring and join the ends.
Clip or hold pieces in place until the glue dries. Glue the sections with 3, 4, 5, and 6 petals first.
Step 6: Create the Rose Center
From the tight, beautiful center that gives your rose a realistic look.
Roll the single petal tightly to form the rosebud center. Secure the rolled petal with glue. Repeat the same with the two-petal piece.
Step 7: Curl the Petal Edges
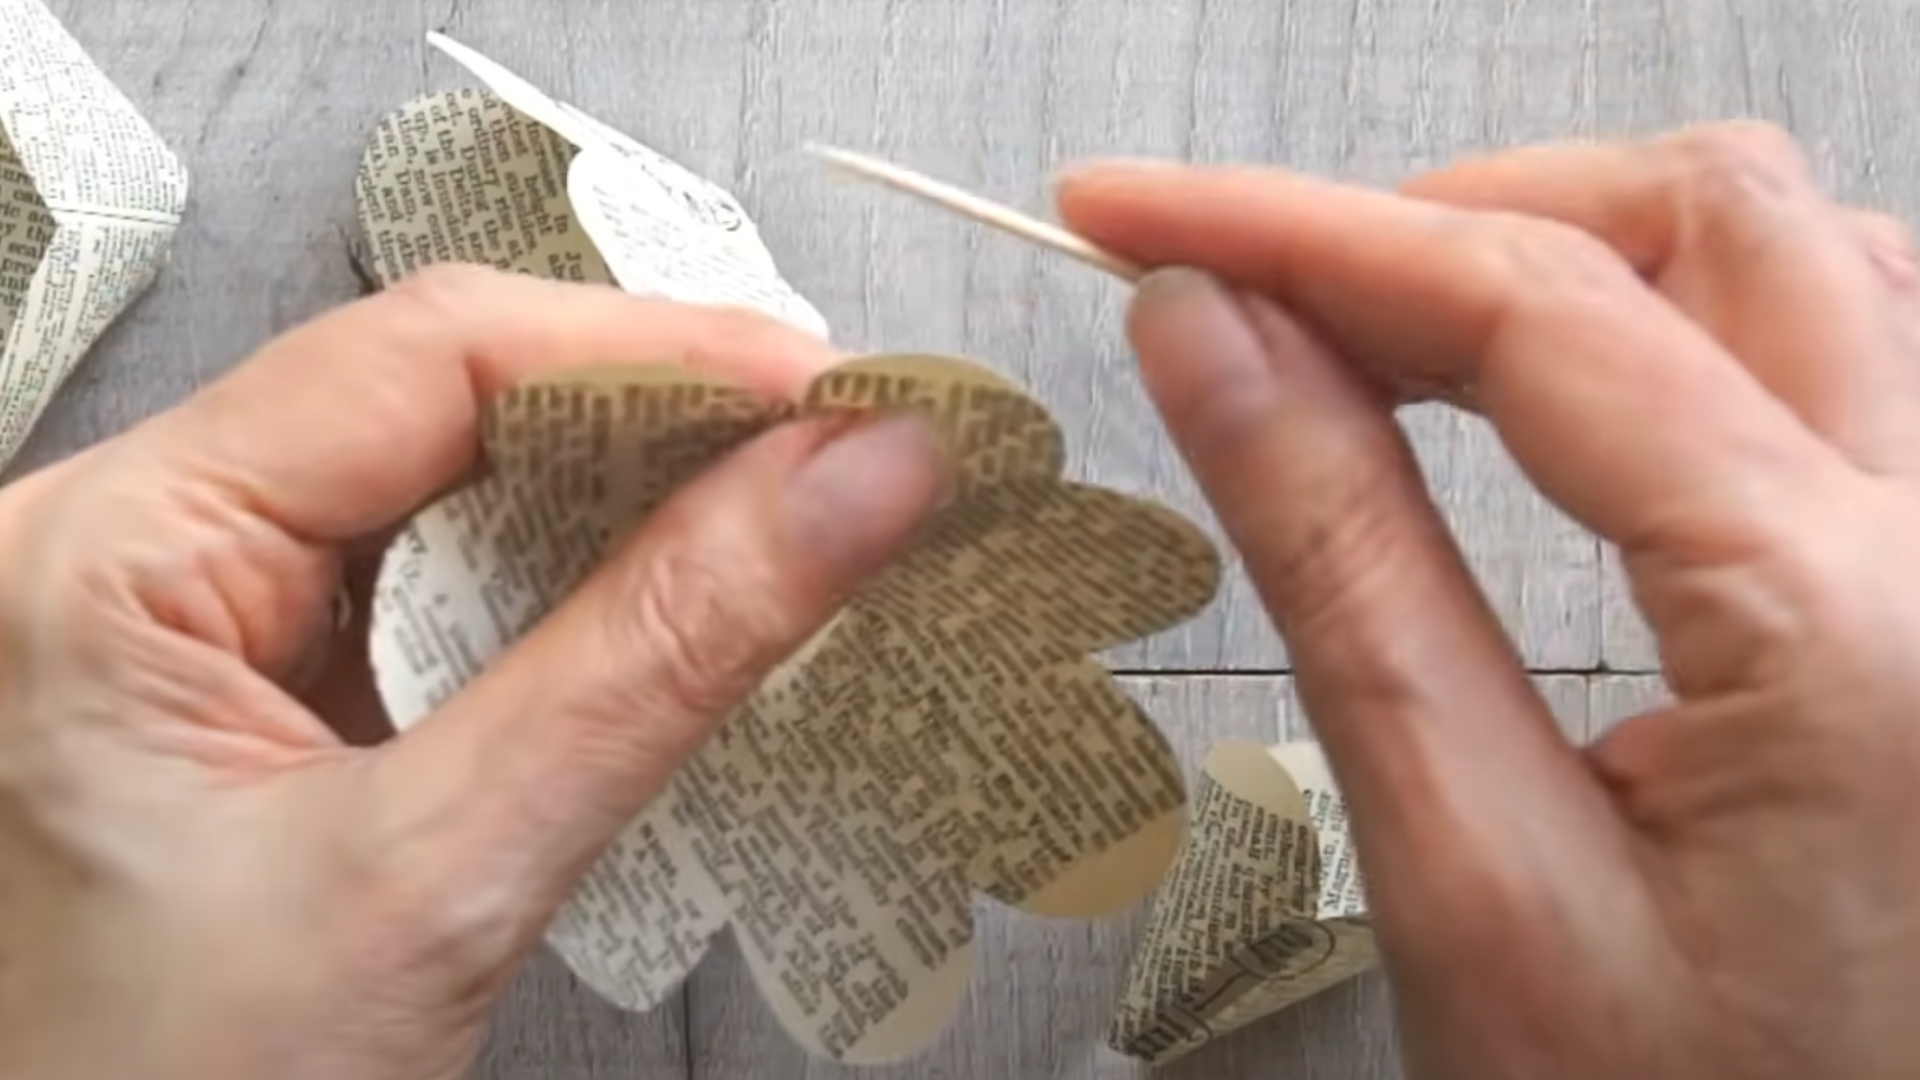
Give the rose a soft, natural look by curling the petal tips. Use a toothpick, cocktail stick, or nail tool to curl petals downward.
Curl all large petals but leave the tightly rolled centers untouched. This step helps your rose appear more lifelike and delicate.
Step 8: Assemble the Rose
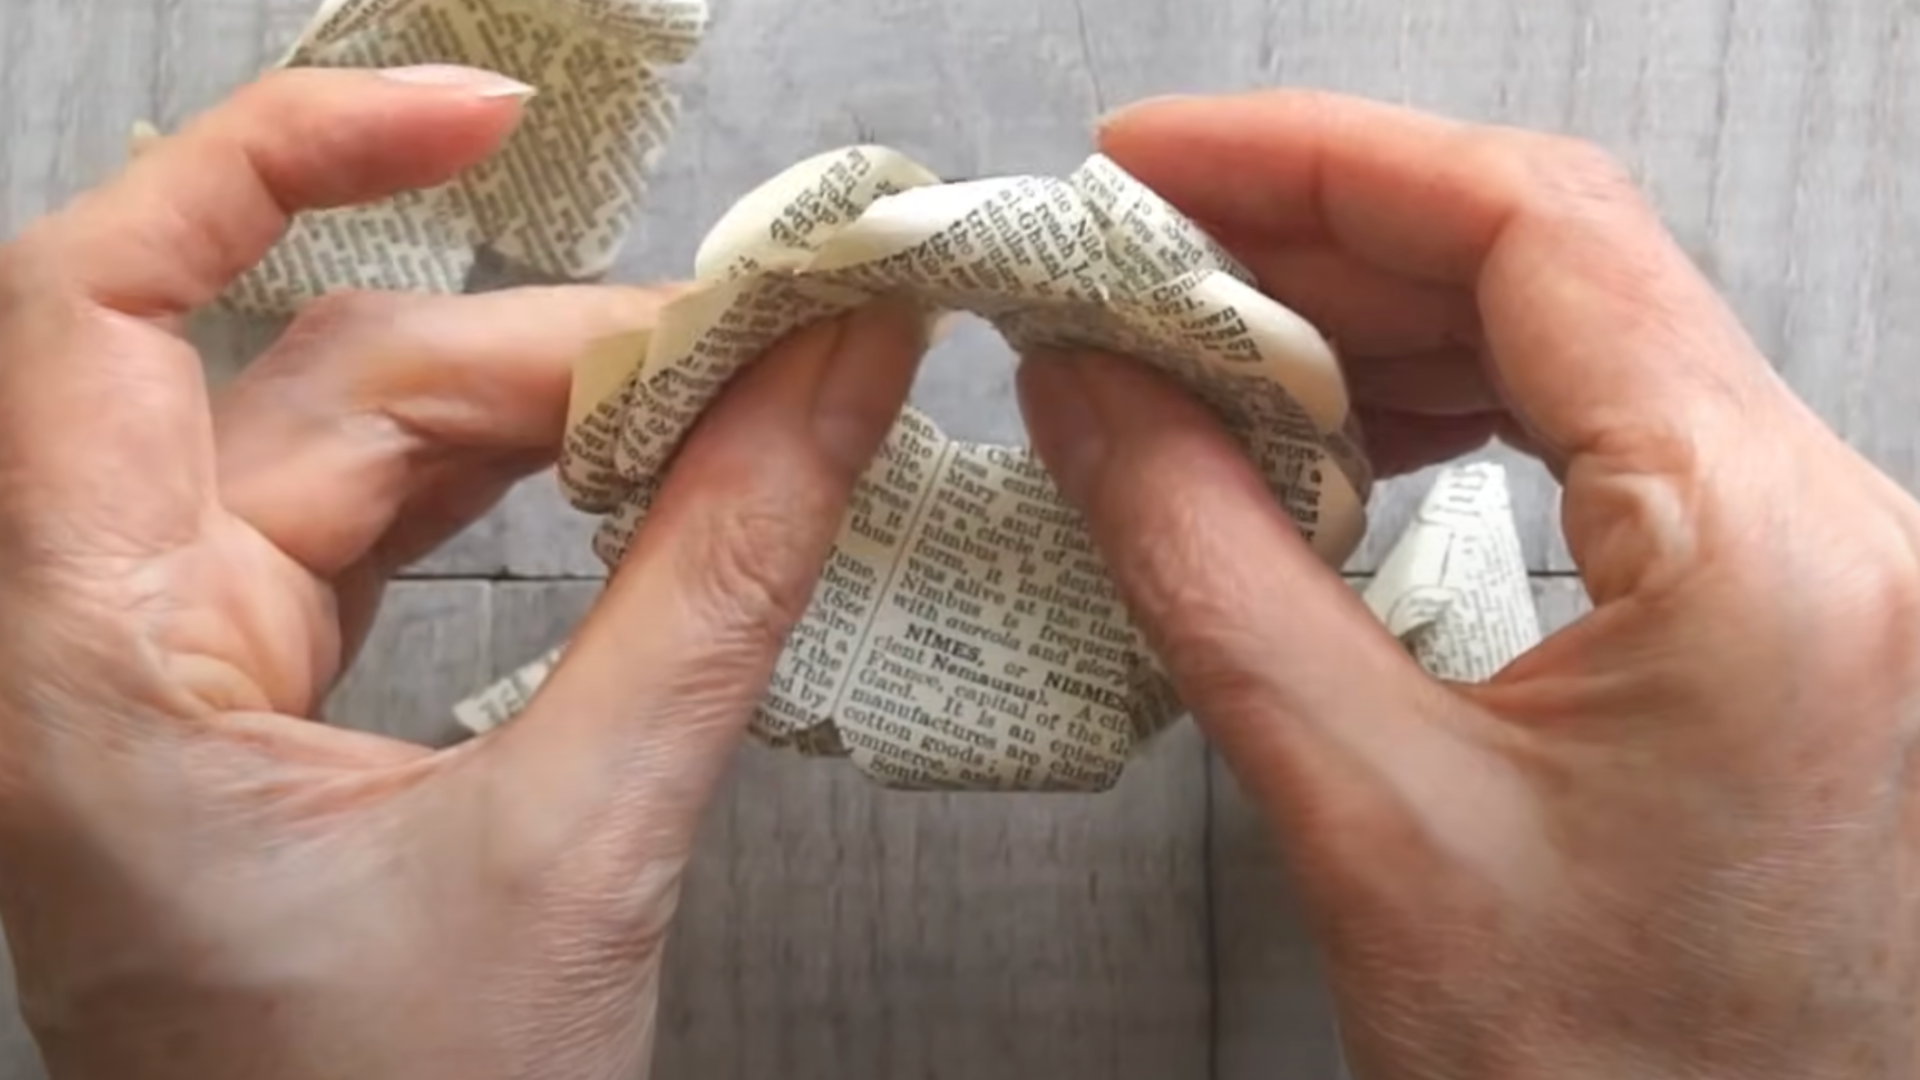
Build the full rose by layering and gluing each petal ring.
Glue the largest ring first and insert the next smaller one inside it. Continue stacking until all petal sections are used. Insert and secure the rose center last for a complete bloom.
Step 9: Attach a Stem
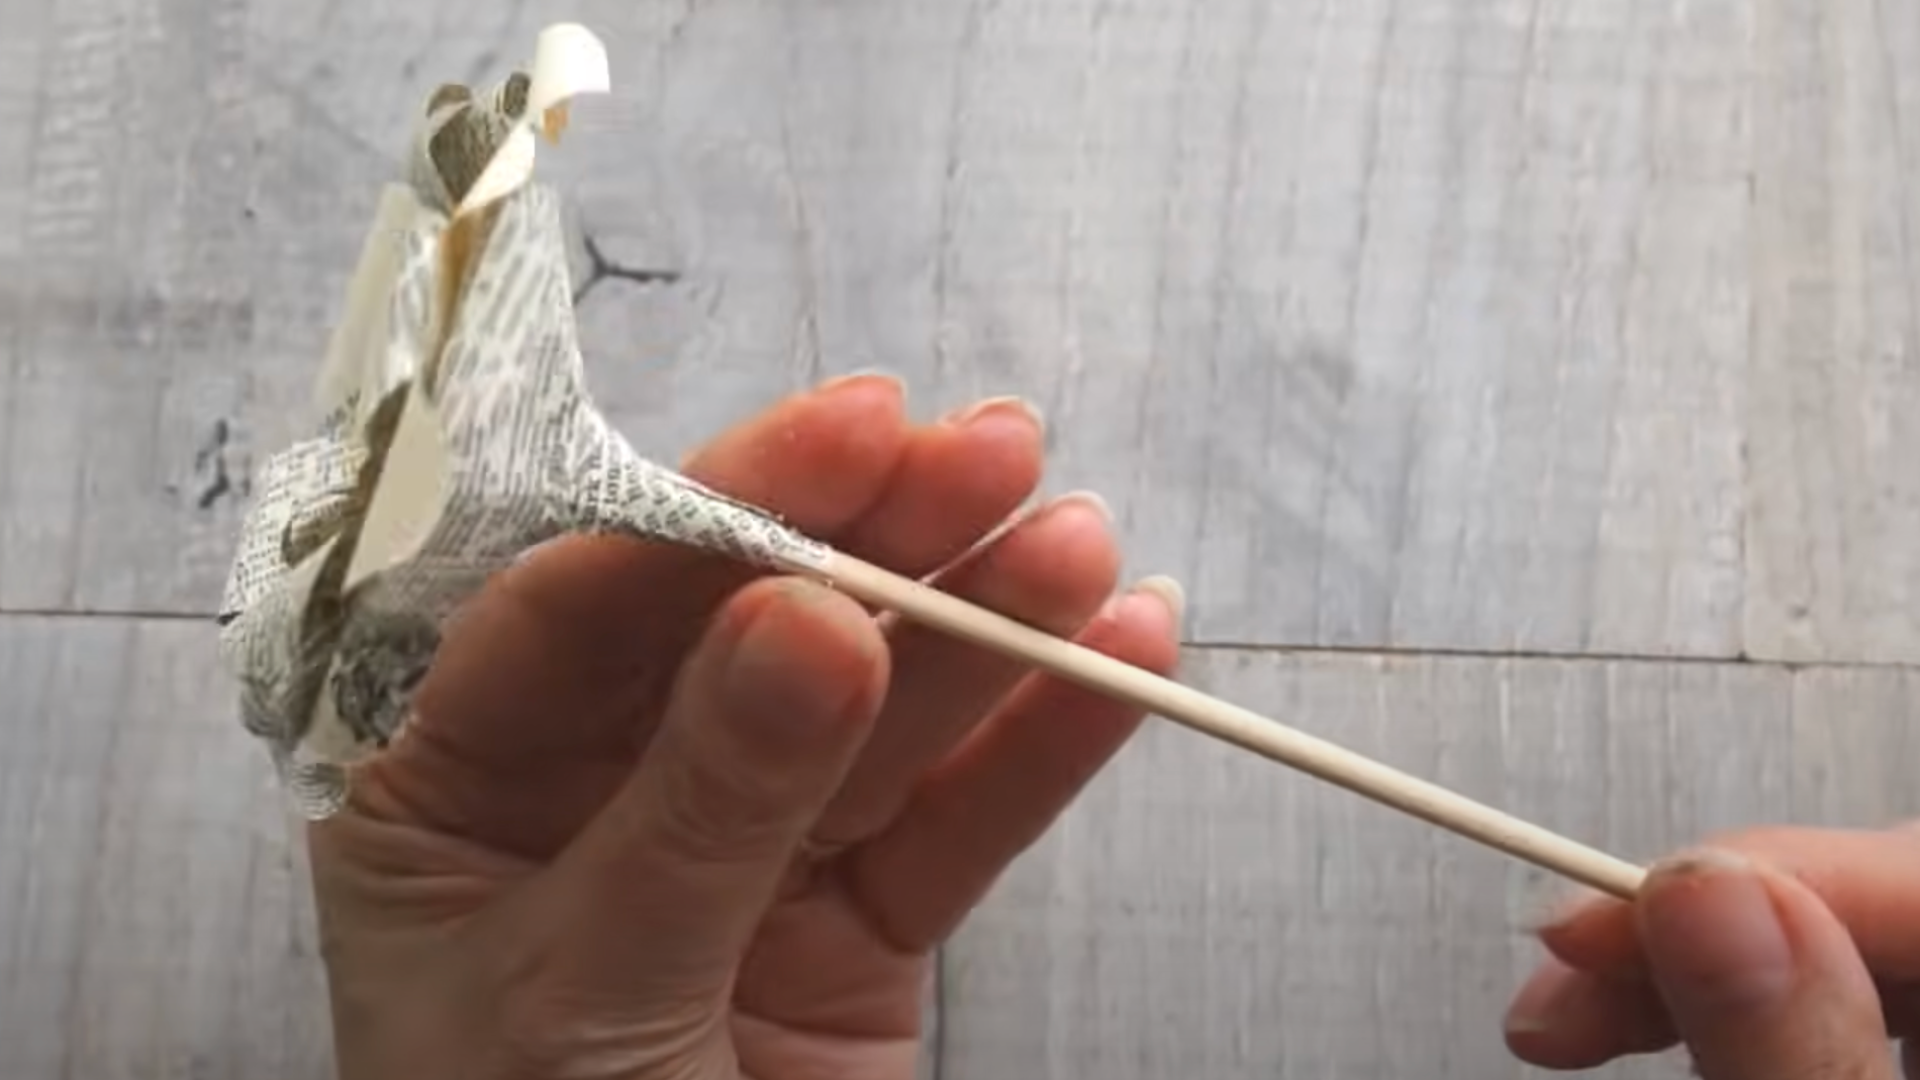
Prepare your rose for display by adding a sturdy stem.
Glue or tape a thin stick through the rose if possible. If using a thick straw, secure it with tape at the back of the flower. Cover the stem with green floral tape for a polished finish.
Video Tutorial
Special thanks to Christine’s Crafts for providing valuable insights in their video, which you can refer to while creating this guide.
Creative Ideas to Use Your Book Page Roses
Book page roses are versatile and can add a beautiful vintage charm to many projects. Whether for gifts, weddings, or home decor, there are endless creative ways to showcase them.
-
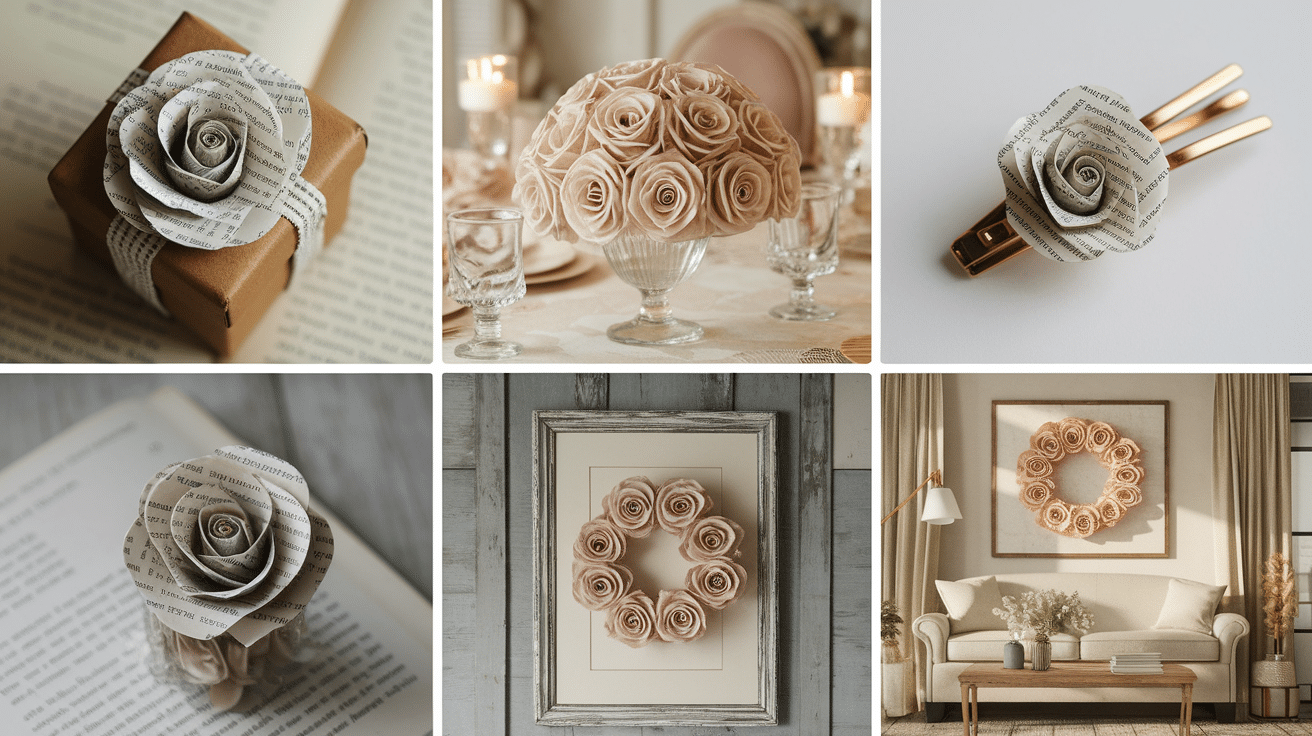
Decorate Gift Boxes or Create a Paper Flower Bouquet
Attach a single book page rose to a gift box for a unique finishing touch. Or gather multiple roses to create a pretty handmade bouquet perfect for special occasions. -
Use Them for Wedding Centerpieces, Table Decor, or Photo Backdrops
Place book page roses in vases as romantic centerpieces, scatter them on tables, or design a floral backdrop. They bring a timeless, literary feel to weddings and other special occasions. -
Attach to Hair Clips, Wreaths, or Wall Art for a Unique Look
Use your roses as charming accessories by attaching them to hair clips. You can also craft wreaths or frame them as wall art for a personalized touch in your home decor.
Troubleshooting Common Mistakes
Sometimes little issues can pop up while making your book page roses, but don’t worry! Here’s how to easily fix the most common problems.
- What to do if petals fall off: Use a stronger glue, such as hot melt, and hold the petals in place for a longer period to set properly.
- How to fix roses that look too flat: Add extra petal layers or gently reshape existing petals by curling them tighter for more depth.
- Tips for repairing a torn paper: Reinforce the tear with a small extra piece of paper and glue it securely from the back.
Final Thoughts: Craft Your Story with Every Rose
Turning book pages into roses isn’t just crafting—it’s giving stories new life. These paper blooms bring charm to any space without incurring a significant cost.
Remember, patience matters most. Your first rose might not be perfect, but each one gets better. The gentle curl of pages, the subtle hints of text—these details make your creations special.
Keep old books around for practice. Share this craft with friends for a cozy afternoon together, or make a bunch for thoughtful gifts that last longer than real flowers.
Ready to change those dusty books into something beautiful? Grab that paperback from your shelf and start folding! Comment on your favorite step. Happy crafting!
