
Are you tired of acrylic paint peeling off your wooden crafts? Many artists face this common problem when they skip proper preparation. Paint needs the right base to stick well and last long on wood surfaces.
I know how disappointing it feels when your hard work flakes away after just a few weeks. Good news – with the right prep steps, your acrylic paint will stay put and look great for years.
This blog shows you the exact process to get wood ready for acrylic paint. You’ll learn which tools work best, which steps matter most, and how to avoid the mistakes that ruin countless projects.
With just a little extra time spent on preparation, your wooden pieces will hold paint better and look more professional.
Can You Paint Wood with Acrylic?
Yes, acrylic paint can be used on wood, and it’s a popular choice for both crafts and furniture due to its versatility, fast drying time, and vibrant color range.
For best results, the wood should be cleaned, sanded, and primed before painting. This helps the paint adhere better and last longer. Once painted, sealing with a clear topcoat or varnish adds durability and protects the finish from moisture and wear.
Why Prepping Wood is Crucial for Acrylic Paint?
Acrylic paint needs a smooth, clean surface to bond properly. Without good prep, several problems can occur:
- Paint won’t stick well and may peel off quickly
- Wood grain might show through your colors
- Natural oils in the wood can cause spotty coverage
- Moisture from the wood can bubble under the paint
- Rough spots will make your finished piece look uneven
Taking time to prep creates a base that helps your paint last longer and look better. It’s the step that separates basic projects from professional-looking results.
Choosing the Right Type of Wood
The type of wood you select affects how well your paint adheres and how your finished project looks. Not all woods are equal when it comes to accepting acrylic paint.
1. Softwoods for Simple Projects
- Pine: Widely available and affordable, but knots may cause staining
- Cedar: Natural oils help it resist decay, good for outdoor items
- Basswood: Fine grain makes it ideal for detailed craft projects
2. Hardwoods for Lasting Results
- Oak: Durable with obvious grain that shows through thin paint
- Maple: Smooth finish after proper sanding, takes paint evenly
- Birch: Low grain visibility, fewer flaws, works for most paint jobs
3. Manufactured Woods for Smooth Finishes
- MDF: No grain pattern, uniform texture, perfect for even color
- Plywood (cabinet grade): Stable with minimal warping, good for larger pieces
- Hardboard: Slick surface when sealed correctly, popular for art panels
For beginners, I suggest starting with birch plywood or MDF as they require less prep work while still giving professional-looking results.
To ensure durability and longevity, it's crucial to choose the right paint for your wood projects. For a comprehensive guide on selecting the best paint for wood floors, check out this resource
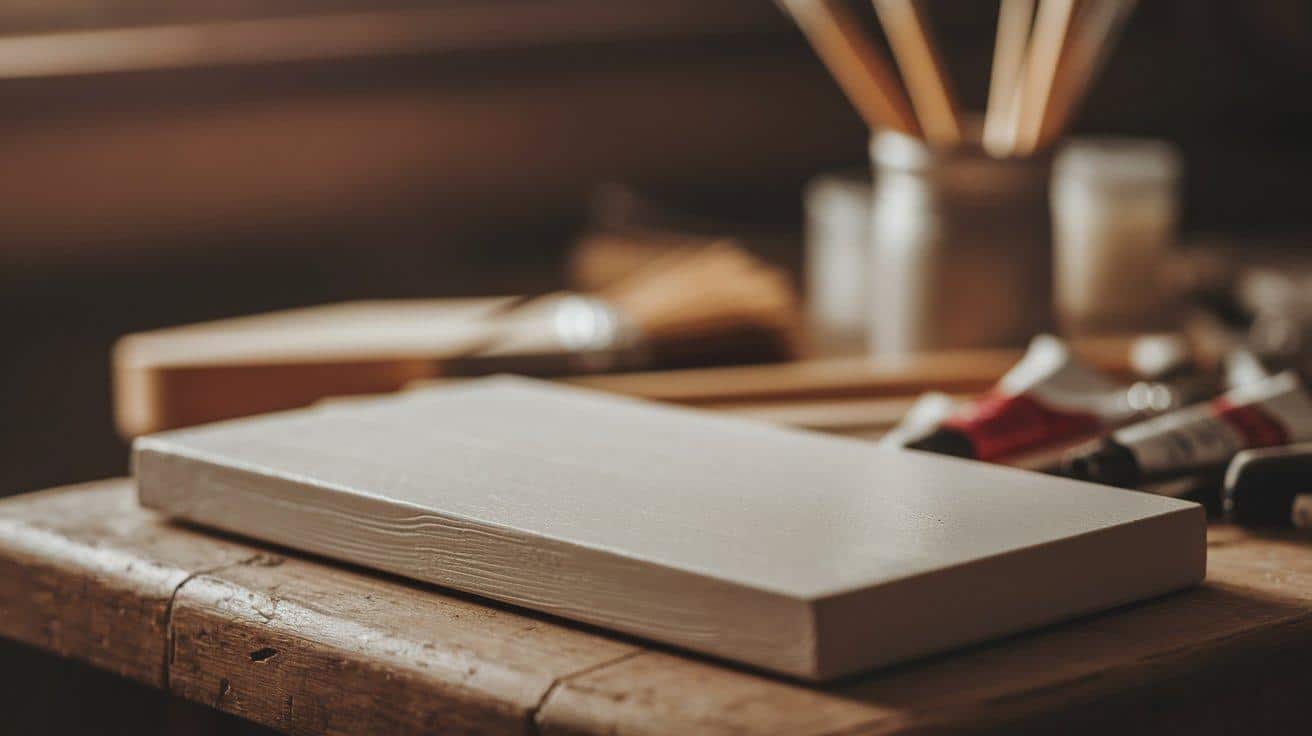
Tools and Materials You’ll Need
Having the right supplies ready before you start will make your wood prep process smoother and more effective. Here’s everything you’ll need for professional results:
| Category | Item | Purpose |
|---|---|---|
| Essential Tools | Sandpaper (120-220 grit) | Smooths surface |
| Sanding block or electric sander | Ensures even sanding | |
| Clean cloths & tack cloth | Removes dust | |
| Quality paintbrushes | Applies primer evenly | |
| Putty knife | Spread wood filler | |
| Protective gear | Keeps you safe | |
| Materials | Wood filler | Fills imperfections |
| Wood primer or gesso | Creates a paint base | |
| Mild soap | Cleans the wood surface | |
| Denatured alcohol | Removes oils | |
| Drop cloth | Protects the work area | |
| Optional Items | Wood conditioner | Prevents blotchiness |
| Fine steel wool | Extra-smooth finish | |
| Small containers | Holds primer | |
| Painter’s tape | Creates clean edges |
Having these items gathered before you begin saves time and prevents interruptions during the prep process.
Step-by-Step Guide to Prepping Wood for Acrylic Paint
Proper preparation is the key to a successful acrylic paint project on wood. Each step builds on the previous one to create the perfect painting surface.
Step 1: Clean the Wood
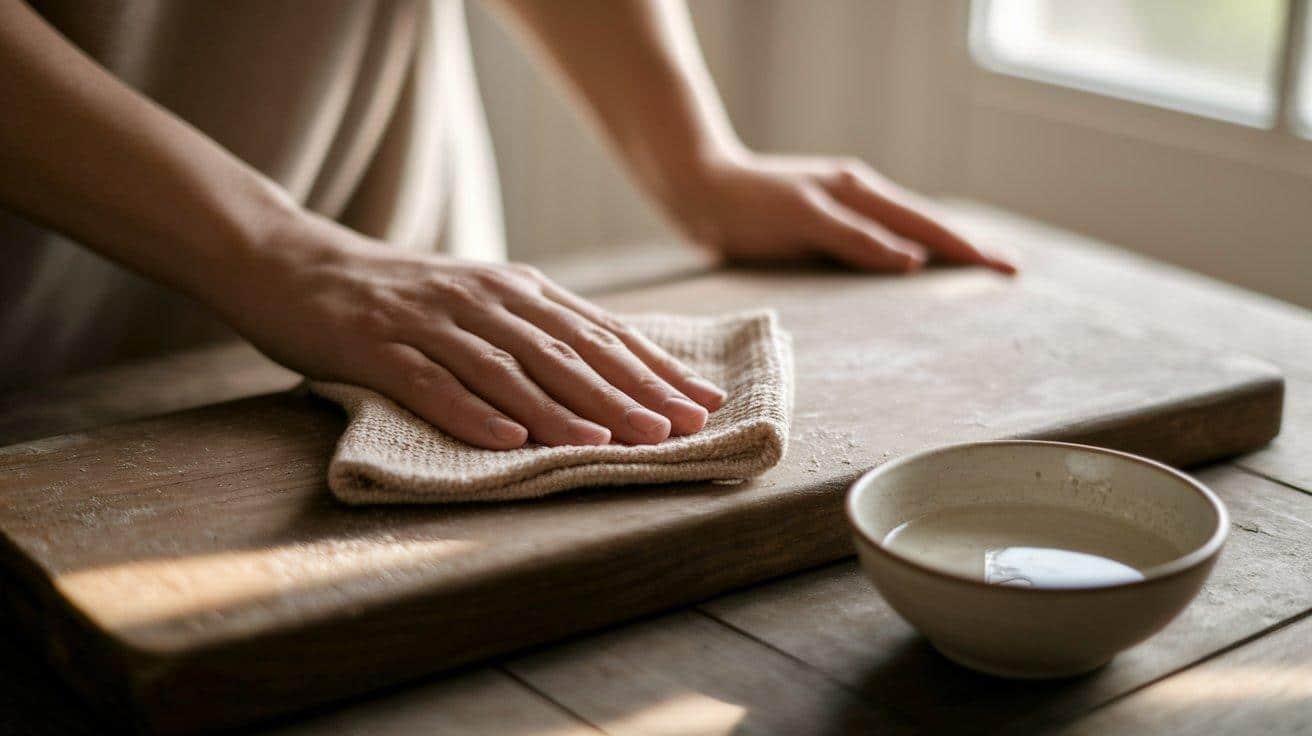
Wood collects dust, oils, and dirt that can prevent paint from sticking properly. Start with a clean slate for the best results.
Wipe the surface with a slightly damp cloth to remove surface dust. For grimy areas, use a mild dish soap solution, but avoid soaking the wood as excess water causes warping. Allow the wood to dry completely for at least 24 hours before moving to the next step.
Step 2: Sand the Surface
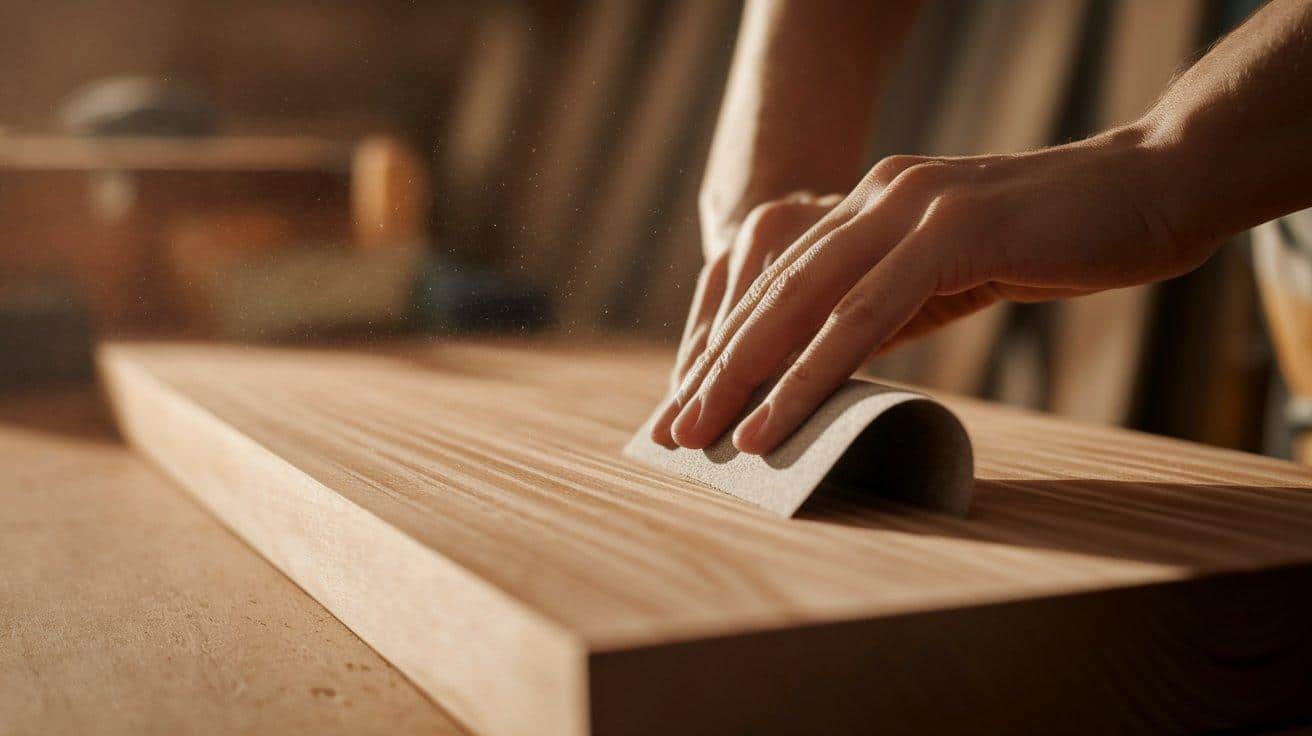
Sanding creates tiny scratches that help primer and paint bond to the wood. It also removes any rough spots or old finishes.
Start with medium-grit sandpaper (120-150) and work your way to fine-grit (180-220). Always sand in the direction of the wood grain to avoid visible scratches. The surface should feel smooth like satin when you run your hand over it.
Step 3: Fill Cracks or Holes
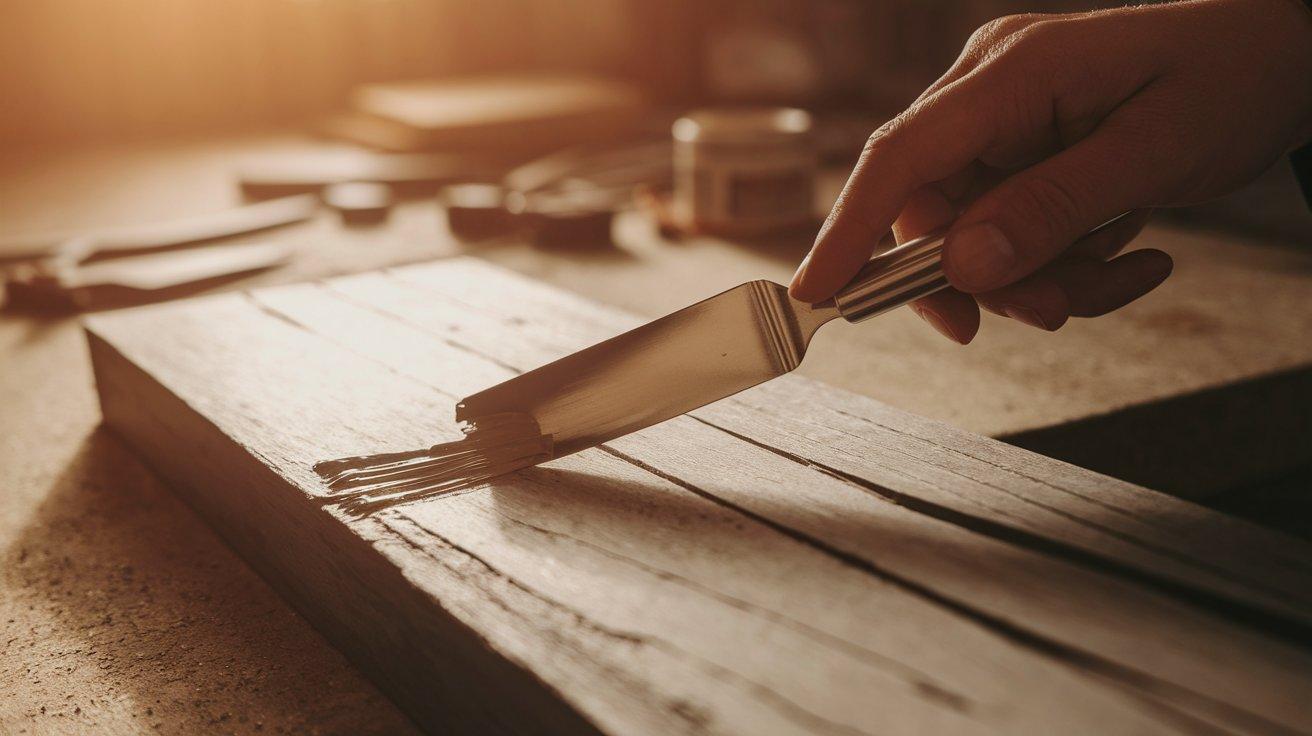
Wood often has small flaws that need fixing before painting. These imperfections will show through your finished paint job if not addressed.
Apply wood filler to any holes, cracks, or knots using a putty knife. Press the filler firmly into the spaces and leave it slightly higher than the surface, as it will shrink while drying. Once dry, sand the filled areas until they’re level with the surrounding wood.
Step 4: Remove Dust
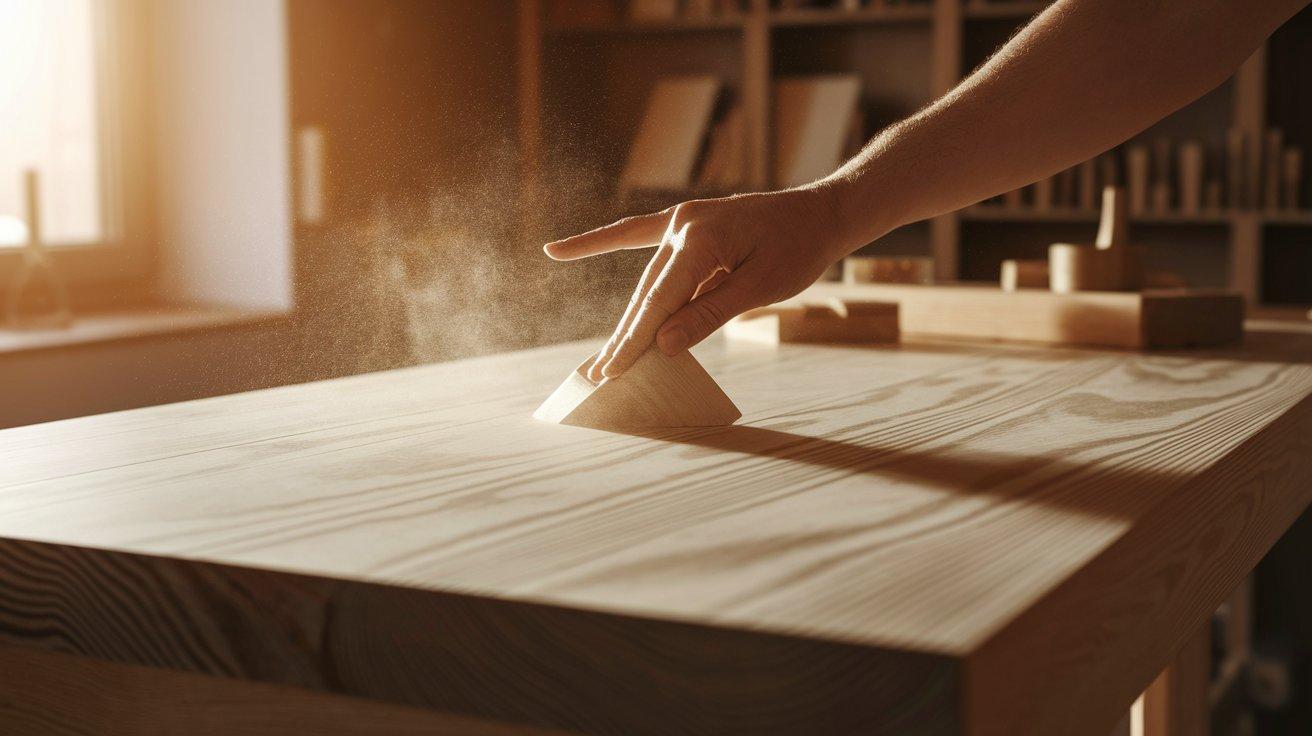
Even tiny dust particles can ruin your paint finish, so thorough dust removal is essential.
Methods to Remove Dust:
| Method | Pros | Cons |
|---|---|---|
| Tack Cloth | Catches finest dust, leaves no residue | More expensive, one-time use |
| Vacuum with Brush | Good for large projects, reusable | May miss the finest particles |
| Microfiber Cloth | Reusable, works well | Not as effective as a tack cloth |
| Compressed Air | Gets into tight spaces | It can just blow dust around |
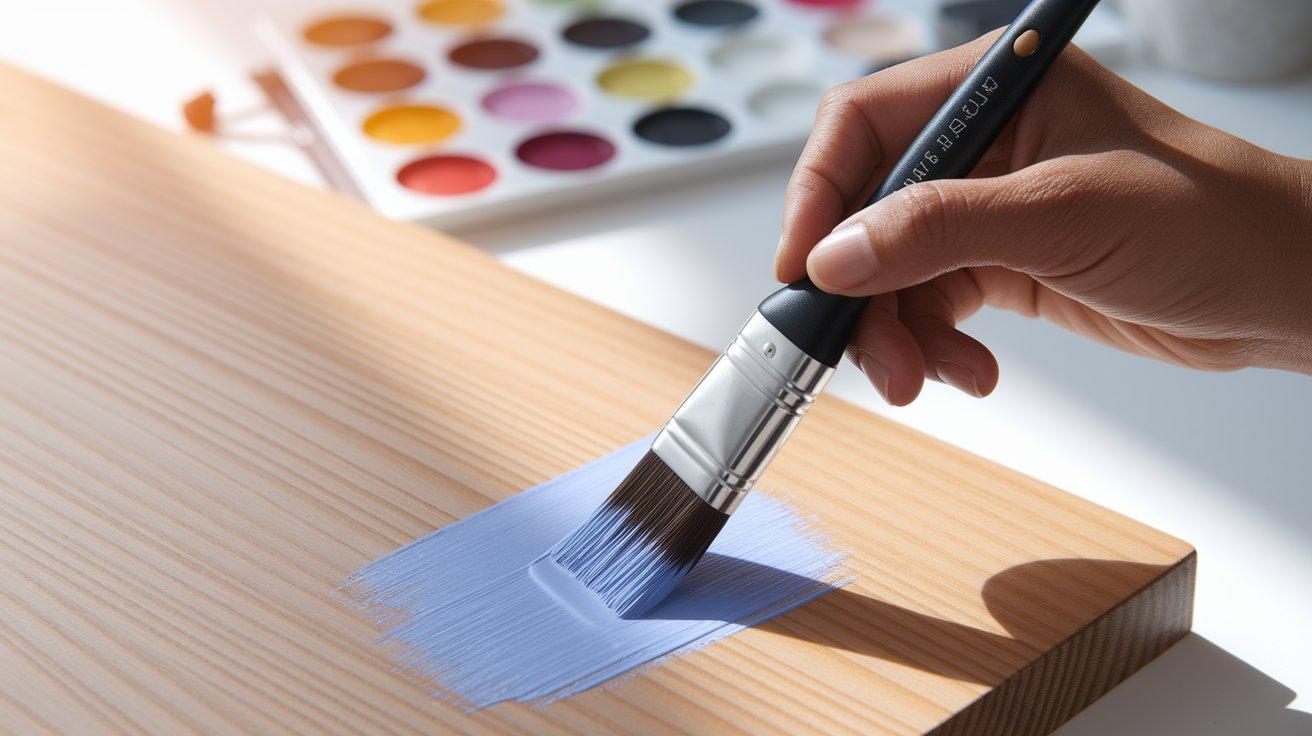
Step 5: Apply Primer or Gesso

Primer creates the perfect base for acrylic paint to stick to wood. It seals the wood and provides a uniform color base.
Wood primer works best for furniture and larger projects, while acrylic gesso is ideal for art pieces. Apply your chosen primer in thin, even coats using a quality brush.
Allow each coat to dry completely before adding another, and sand lightly between coats with 220-grit paper for an extra-smooth finish.
Step 6: Let It Cure
This waiting period is crucial for a successful paint job. Most primers need 24 hours to fully cure, depending on temperature and humidity. The surface should feel completely dry and not tacky before you begin painting.
Rushing this step often leads to adhesion problems, so use this waiting time to plan your painting approach and gather your painting supplies.
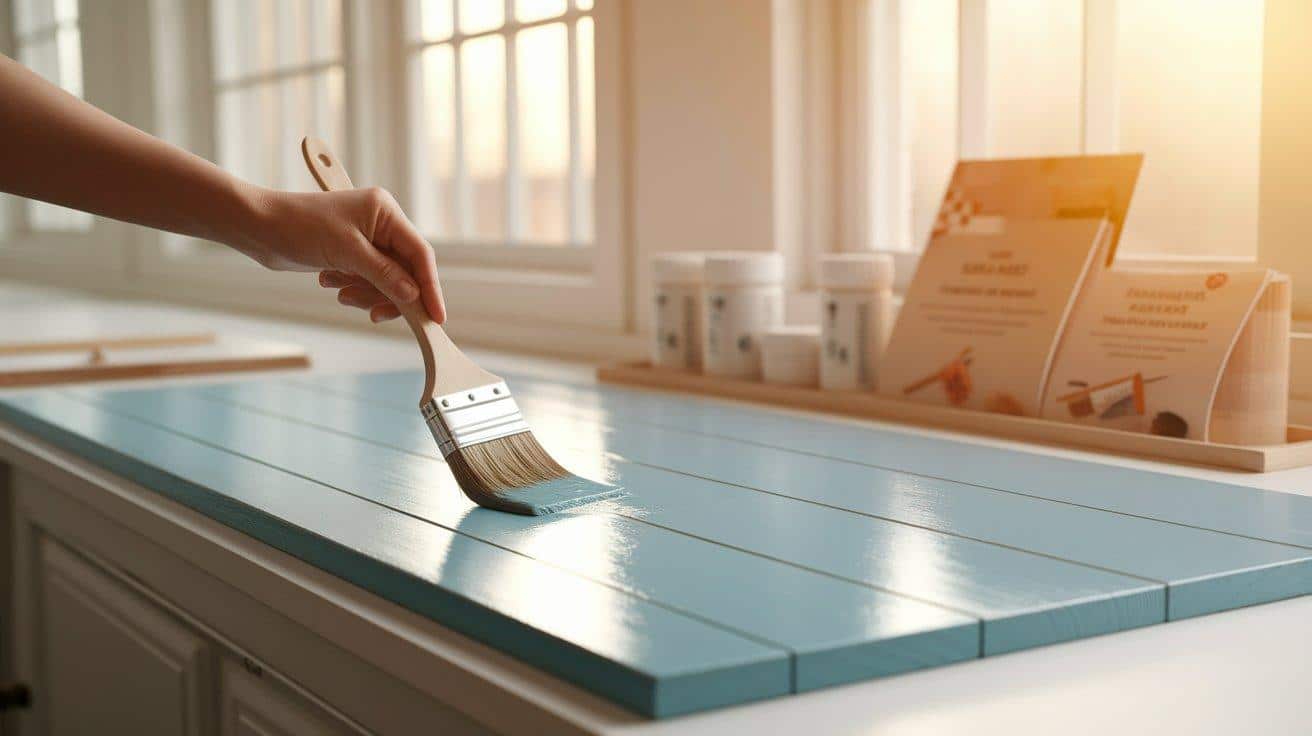
Step 8: Apply Acrylic Paint in Layers
Start with thin coats of acrylic paint using a quality synthetic brush for the smoothest finish. Allow each layer to dry completely for about 20-30 minutes before adding the next one.
Keep your strokes in one direction and maintain a wet edge to avoid visible lines in your work. Add multiple thin layers rather than one thick coat for better color depth and fewer brush marks.
Step 9: Seal Your Finished Piece
Let your painted piece dry for at least 24 hours, then apply a clear water-based sealer in thin, even strokes. Choose matte finish for a natural look or gloss for a shiny surface.
Apply 2-3 coats of sealer for the best protection, waiting the time stated on the product label between coats. This final step prevents chips, water damage, and extends the life of your painted wood.
Common Mistakes to Avoid
- Skipping sanding between primer coats – Too much primer builds up and creates an uneven base.
- Using old or dirty brushes – Old bristles leave streaks, and dirt ruins your finish.
- Rushing the drying times – Paint that looks dry might still be wet underneath.
- Over-sanding soft woods – Too much pressure creates dips that show through paint.
- Using the wrong primer – Not all primers work for all projects.
- Painting in poor conditions – High humidity or cold temperatures affect how paint dries.
- Neglecting to seal knots – Wood knots can bleed through paint even years later.
6 Tips for Advanced Preparation
For those who want even better results, try these expert techniques:
- Raise the grain by misting wood with water, then sand again when dry
- Use wood conditioner on pine and other soft woods that absorb paint unevenly
- Tint your primer toward your final color to improve coverage
- Sand with 320-grit between the final primer coat and the first paint layer
- Test your process on scrap wood from the same piece you’re painting
- Keep track of batch numbers when buying supplies for large projects
Conclusion
Preparing wood properly before applying acrylic paint makes all the difference in your final results. Each step – from cleaning and sanding to priming and curing – builds a foundation for paint that stays put and looks good.
The extra time spent on prep pays off with projects that won’t chip, peel, or look uneven. These steps work for small crafts and large furniture pieces alike.
Now you have the knowledge to prep your wood surfaces the right way. The next time you paint wood, you’ll notice how much better your colors look and how much longer they last.
What wood project will you paint first? Let us know in the comments!
Frequently Asked Questions
How Long Should I Wait Between Applying Primer and Acrylic Paint?
Wait at least 24 hours for the primer to fully dry. In humid conditions, you might need to wait up to 48 hours for the best results.
Can I Paint Directly on Wood without Sanding if It’s Already Smooth?
No. Even smooth wood needs sanding to create tiny scratches that help paint stick. Without sanding, your paint will likely peel off quickly.
What Should I Do if My Wood Has a Strong Smell or Is Treated?
For smelly or treated wood, seal it with shellac-based primer before normal priming. This blocks odors and prevents chemicals from affecting your paint.
