
Ever stared at a Command strip on your wall, afraid to touch it because you might rip off half your paint? You’re not alone in this struggle!
The truth is that most people remove Command strips completely wrong. They pull them straight out from the wall and end up with paint chips, torn drywall, or sticky residue that won’t come off.
But what if I told you there’s a super simple trick that makes Command strips come off cleanly every single time?
I’ve helped thousands of people master this technique, and now I’m going to share it with you.
If you’re redecorating, moving out of a rental, or just want to relocate your wall decor, this method will save your walls and your sanity. Let’s get those Command strips off the right way!
Do Command Strips Damage Walls?
The short answer is no; when removed correctly, Command strips won’t damage your walls at all. However, using the wrong removal technique can cause problems you’ll want to avoid.
This is probably the first thing on your mind, right?
Command strips are made to come off cleanly without leaving marks or damage. But (and this is important) only if you remove them the right way.
If you just yank them off, you might end up with peeled paint or torn drywall.
Nobody wants that! The trick is knowing the proper technique, which I’ll teach you right now.
How to Take Off Command Strips in The Right Manner
Follow these four simple steps, and you’ll never have to worry about wall damage again. Each step builds on the previous one, so don’t skip ahead!
Step 1: Take Off the Hook or Decoration
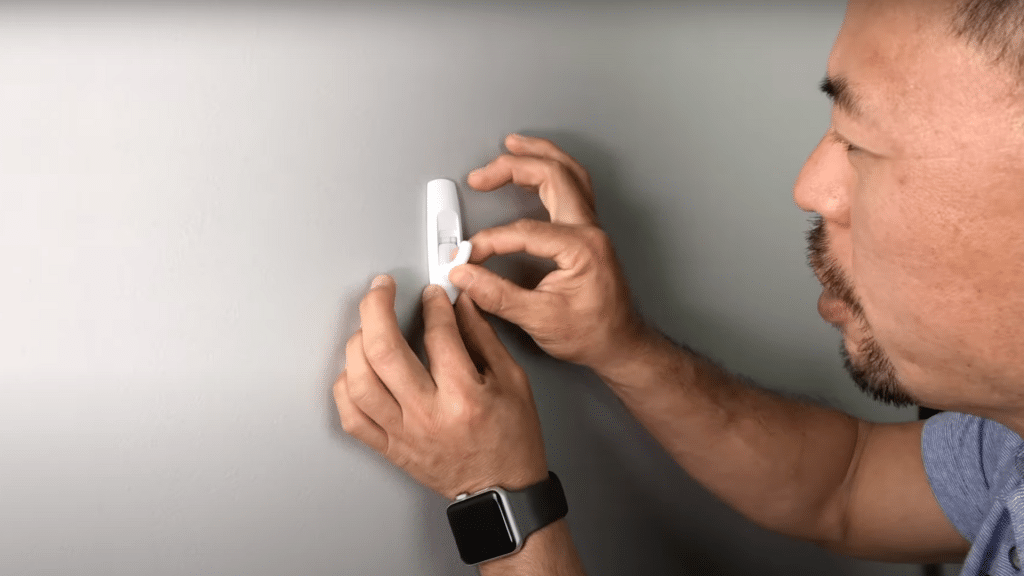
Start by lifting off whatever you have hanging on the Command strip. This gives you access to the actual adhesive tab underneath.
Be gentle when removing your decoration; you don’t want to pull the whole strip off accidentally. Just lift it straight up and set it aside safely.
Step 2: Find the Tab
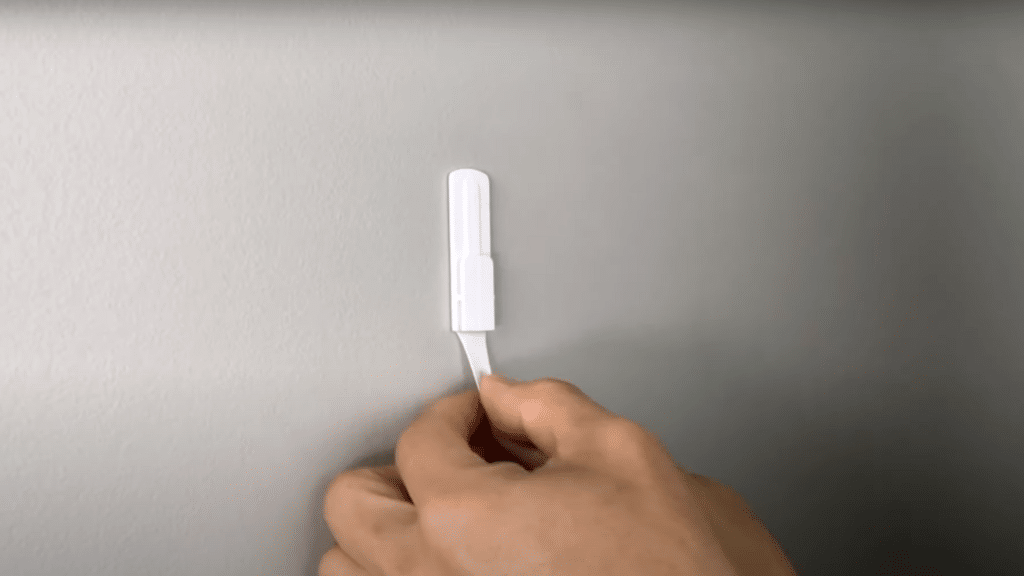
Look for the clear plastic tab sticking out from the Command strip.
This little tab is your key to getting the strip off without any mess. Sometimes the tab might be tucked behind the strip, so you may need to feel around the edges to locate it.
The tab is usually white or clear and should move freely when you touch it.
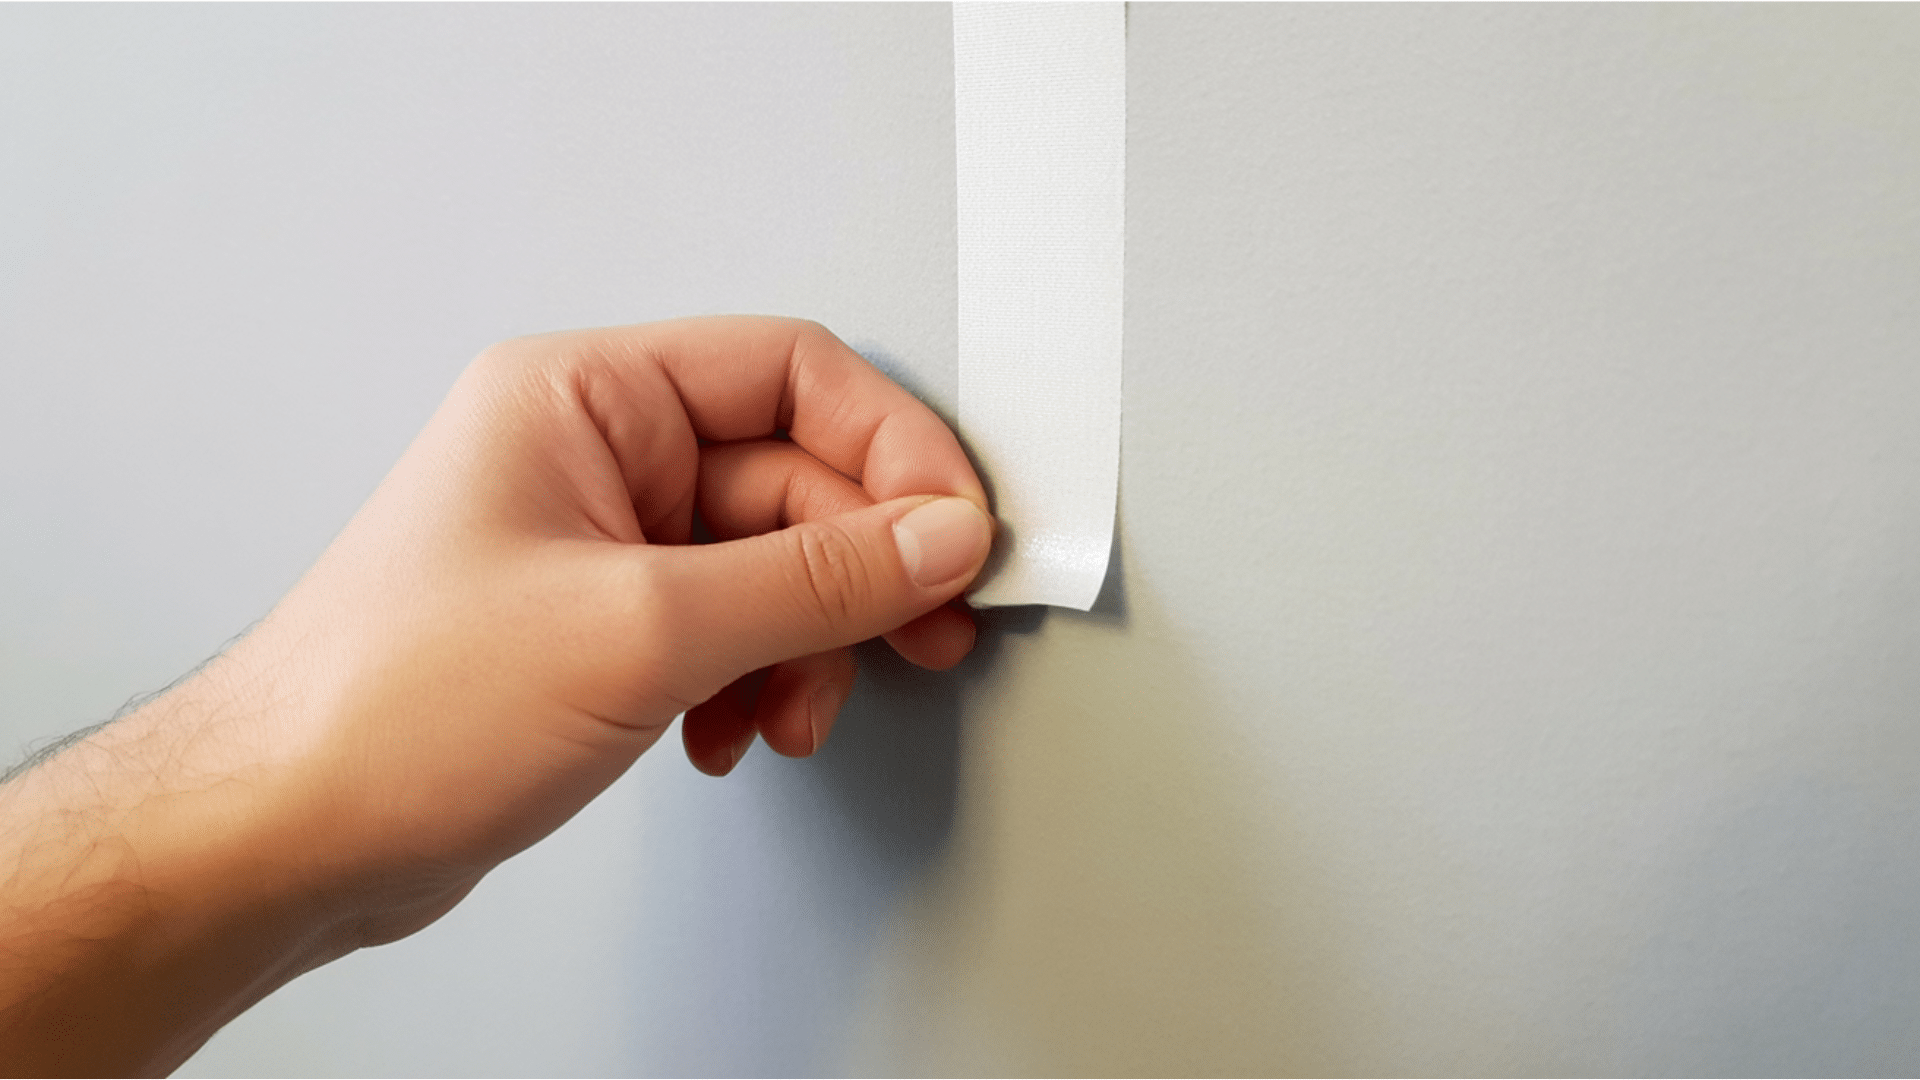
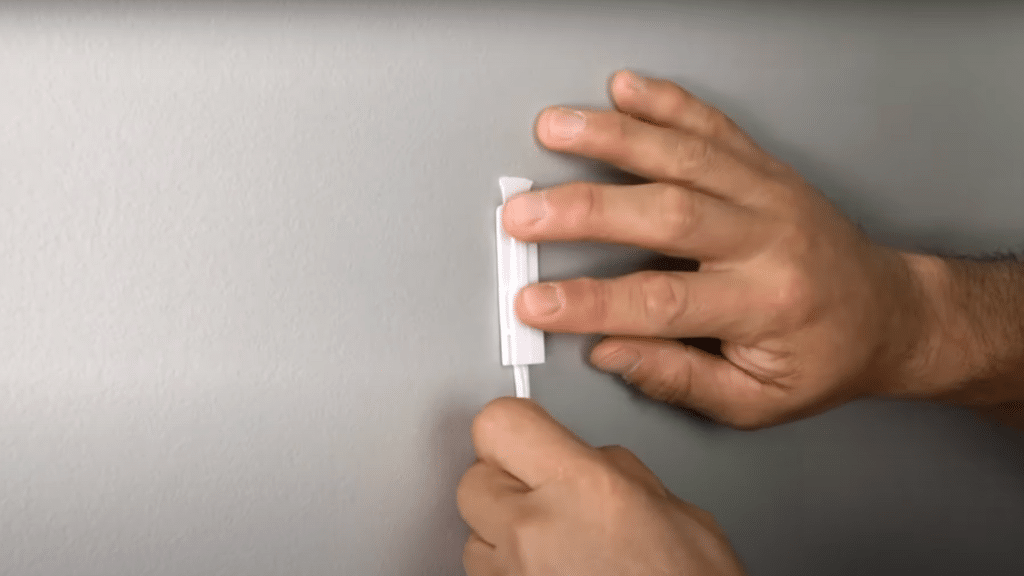
Step 3: Pull Down, Not Out
Here’s where most people mess up! Don’t pull the tab away from the wall; that’s a recipe for disaster. Instead, grab the tab firmly between your thumb and finger, then slowly pull it straight down along the wall surface.
Think of it like you’re stretching a rubber band. You want to stretch the adhesive, not rip it off the wall.
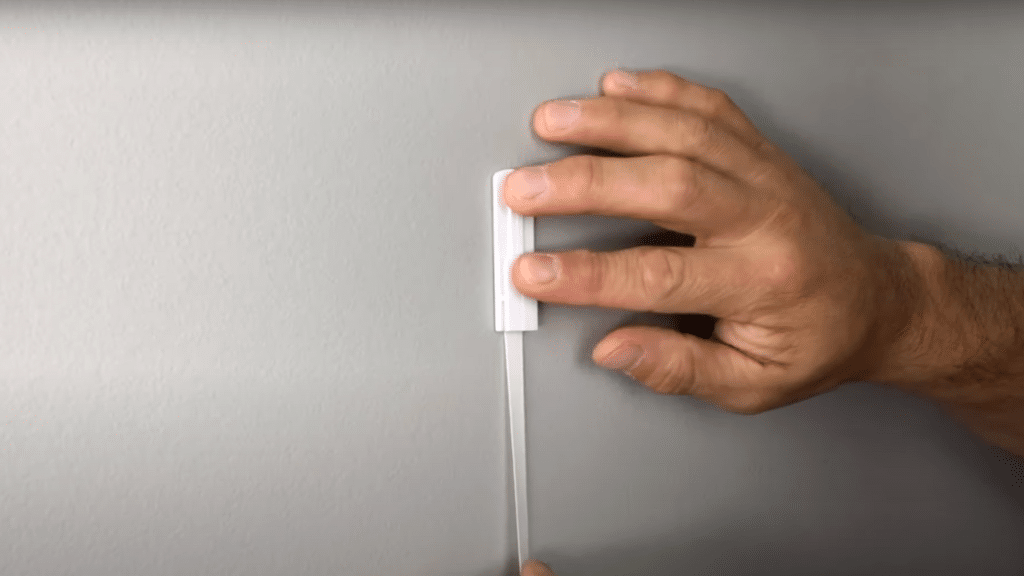
Step 4: Keep Going Slowly
As you pull down, you’ll see the adhesive getting longer and thinner. Keep pulling until the whole strip comes off completely. Don’t rush this part; slow and steady wins the race!
The adhesive should stretch out like a long, thin piece of plastic before it finally releases from the wall.
Video Tutorial
Check out this video by Ed Tchoifor a comprehensive guide. You’ll see exactly how to grip the tab and what the stretching motion should look like.
What About Different Types of Paint?
Most of the time, Command strips come off just fine. But if your paint wasn’t applied properly or it’s really old, you might see a tiny bit come off with the strip.
This doesn’t happen often, but it’s worth mentioning.
Even if a small spot of paint comes off, it’s still better than having nail holes in your wall that you’d have to patch up later.
Usually, any paint issues are minor and can be touched up easily.
What If the Tab Breaks?
Don’t panic if the tab snaps while you’re pulling it. It happens sometimes, especially with older Command strips.
If this occurs, you can try to grab the remaining bit of tab with your fingernails or use a hair dryer on low heat to warm up the adhesive, then try again.
You can also gently work at the edges with a plastic scraper. The video I mentioned above shows you exactly what to do if you run into this problem.
Pro Tips for Success
These extra tips will help you become a Command strip removal expert. Use these tricks whenever you’re dealing with stubborn strips or tricky situations.
| Tip | What to Do | Why It Helps |
|---|---|---|
| Take Your Time | Don’t rush the removal process | Rushing leads to mistakes and potential wall damage |
| Use Heat If Needed | Apply a hair dryer on low heat to stubborn strips | Softens the adhesive for easier removal |
| Clean Up After | Wipe the area with a damp cloth once it is removed | Removes any leftover residue for a clean finish |
| Test First | Try removing a small, hidden Command strip first | Helps you practice the technique without risk |
Following these tips will make the difference between a smooth removal and a frustrating experience that could damage your walls.
Ready to Remove Your Command Strips Like a Pro?
Now you know the secret that most people never learn: always pull down, never pull out! This simple technique has saved countless walls from damage and helped people confidently use Command strips over and over again.
Remember, Command strips are meant to make your life easier, not stress you out.
With this method, you can redecorate whenever you want without worrying about your walls. The key is patience and the right technique.
And if you’re also tackling home improvement projects like removing old caulk, check out our guide on how to handle that too. It’s another easy fix for a clean, fresh home.
Frequently Asked Questions
Can I Reuse Command Strips After Removing Them?
No, Command strips are designed for single use only. Once the adhesive stretches during removal, it loses its sticking power and won’t hold items securely if reapplied.
How Long Should I Wait Before Removing a Newly Applied Strip?
Wait at least one hour after application before hanging anything, and 24 hours before removal for best results. This allows the adhesive to fully bond with the wall surface.
What Should I Do if There’s Sticky Residue Left on The Wall After Removal?
Gently rub the area with a damp cloth or use a small amount of adhesive remover on a soft cloth. Avoid harsh chemicals that might damage your paint or wall finish.