
Have you noticed that gross, peeling caulk around your shower that won’t come clean no matter how hard you scrub?
You’re not alone; most homeowners face this frustrating problem every few years. Old caulk isn’t just an eyesore; it can silently lead to hidden damage if left unchecked.
Many people think removing caulk requires special tools or professional help. The truth is simpler than you might expect. With basic household items and proper technique, anyone can do this job.
I’ll show you exactly how to remove even the most stubborn old caulk without damaging your surfaces.
This step-by-step method works every time and costs almost nothing.
What is Caulk?
Caulk is a flexible sealing material that fills gaps and joints. It prevents water from getting into spaces between surfaces. Most bathrooms use silicone or acrylic caulk around tubs and showers.
Silicone caulk: This works best in wet areas because it resists moisture. It stays flexible for years without cracking. This type of bond strongly to most bathroom surfaces.
Acrylic caulk: It costs less but doesn’t last as long in wet conditions. It can shrink over time and allow water to seep through. Many contractors prefer silicone for bathroom applications.
Both types come in tubes that fit into caulking guns. The material stays workable for several minutes after application. It then cures into a waterproof seal.
Why Caulk Is Essential?
Caulk helps prevent moisture from slipping behind walls or beneath floors, reducing the risk of hidden water issues. It also seals gaps around fixtures to block air leaks and keep bugs from entering small openings.
Other practical benefits include:
- Fungus Control – Helps reduce the chance of mold in damp zones
- Sound Control – Helps limit noise between rooms
- Consistent Temperatures – Aids in maintaining indoor comfort
- Easier Cleaning – Keeps edges neat and less prone to buildup
Problems Caused by Old or Failing Caulk
Old caulk creates serious problems that get worse over time. Here’s what happens when caulk starts failing.
- Water damage: This tops the list of serious problems from bad caulk. Moisture gets behind tiles and into wall cavities. This can rot wooden framing and create expensive repair bills.
- Mold and mildew growth: It happens when water sits in damp areas. Black spots appear along caulk lines and spread to nearby surfaces. These fungi can cause health problems for sensitive people.
- Structural issues: It starts to develop when water reaches load-bearing materials. Wooden studs can weaken and compromise wall stability. Floor joists may also suffer damage from persistent leaks.
- Unpleasant odors: These come from mold, mildew, and trapped moisture. Your bathroom starts to smell musty even after cleaning. The smell gets worse over time as the problem spreads.
- Higher utility bills: This results from air leaks around windows and doors. Gaps in caulk let conditioned air escape and outside air enter. Your HVAC system works harder to maintain comfortable temperatures.
Step-By-Step Guide: How To Remove Old Caulk
Removing old caulk requires patience and the right technique. Follow these steps carefully to avoid damaging your surfaces while getting a clean removal.
Tools and Materials Needed:
Getting the right tools makes caulk removal much easier and safer. Here’s everything you need for the job.
| Essential Tools | Optional Items | Safety Equipment |
|---|---|---|
| Utility knife | Citrus-based caulk remover | Safety gloves |
| Plastic putty knife | Nylon bristle brush | Safety eyewear |
| Rag or cloth | Fan |
Step 1: Cut the Caulk
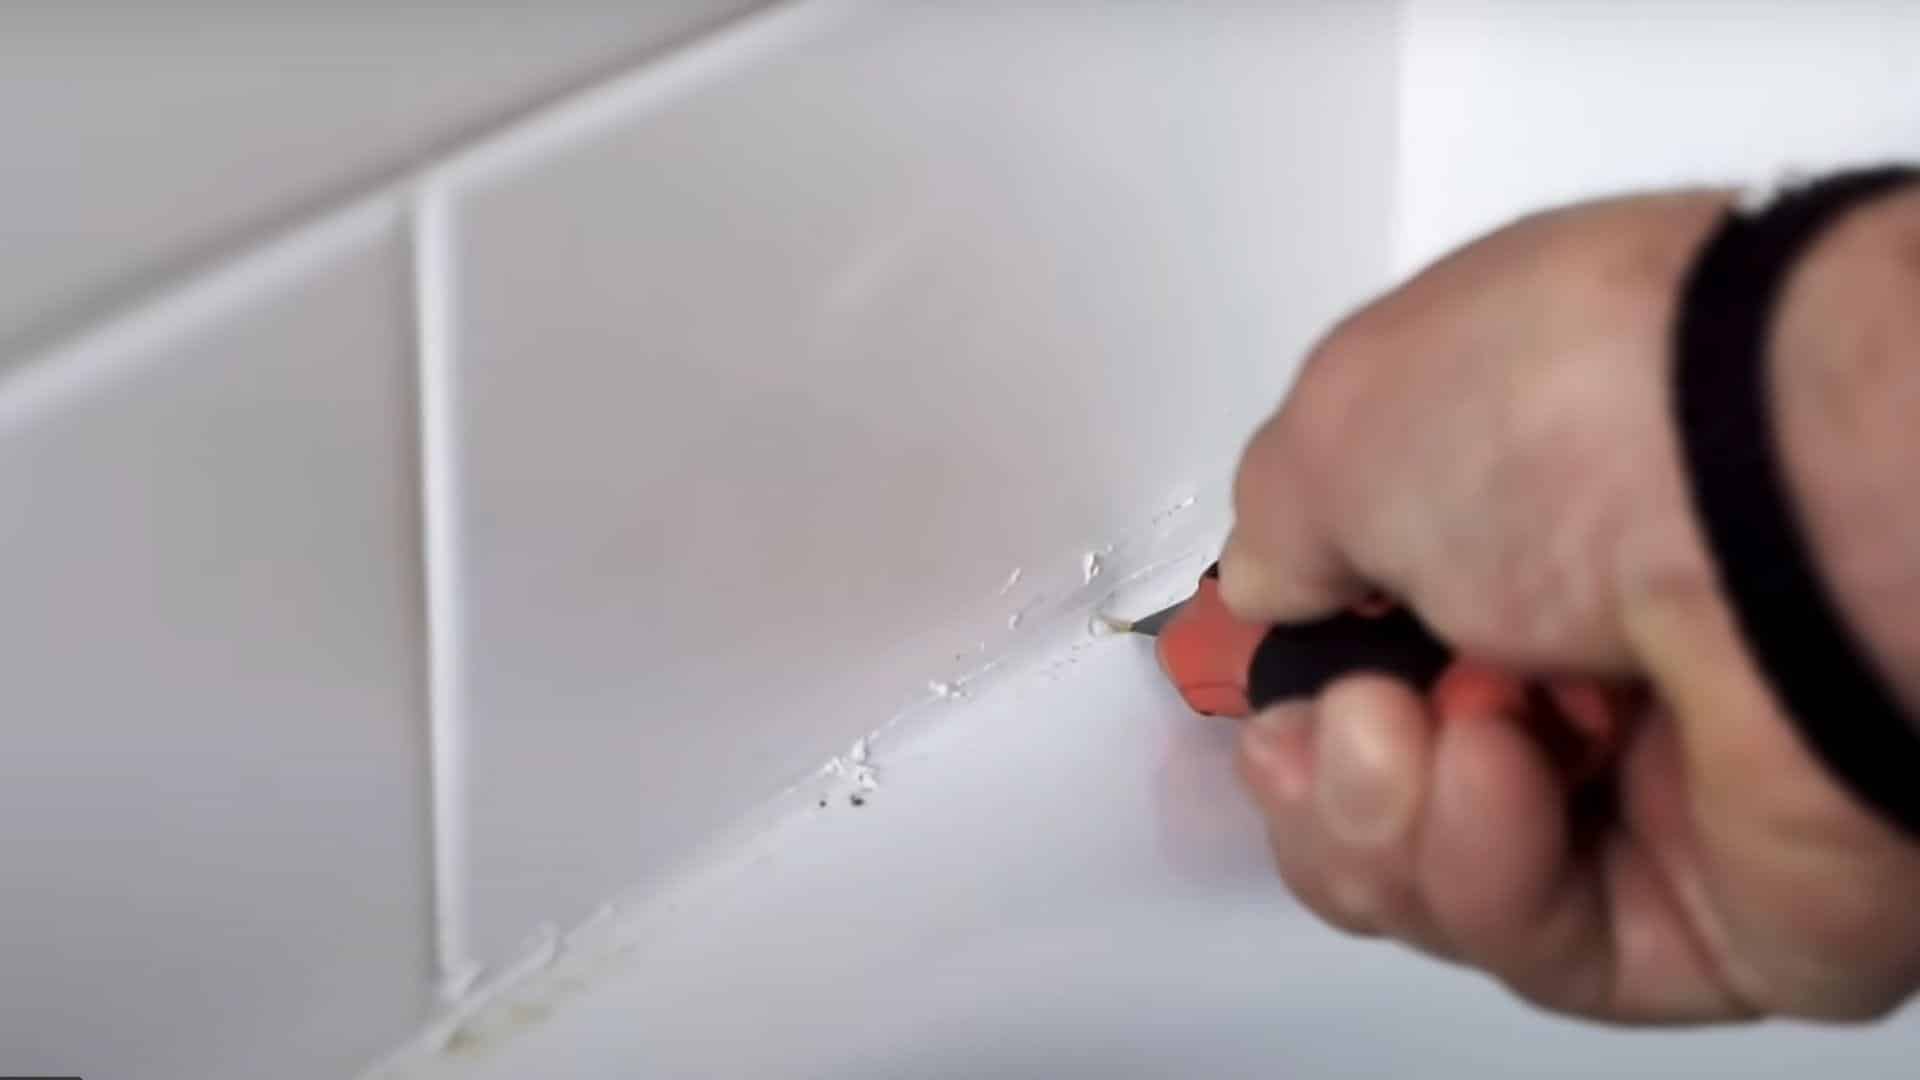
Use a really sharp utility knife and be very careful since these blades are extremely sharp. Take the knife along the edge carefully, right along the tub, to cut out that caulking and break the bond. Take your time because if you slip, you could scratch the tub permanently.
Work on both the bottom edge along the tub and the top edge where it meets the tile. Cut and break that bond on the top edge as well to completely free the old caulk.
Step 2: Loosen and Pull out The Caulk
Once you cut the bonds, start pulling that caulking out carefully from the joints. Work slowly and steadily to remove as much material as possible in larger pieces. Keep the tub drain closed with a rag so debris doesn’t go down the drain.
Pull out sections systematically rather than trying to remove everything at once. The older the caulking you get out, the better your new caulk will stick later.
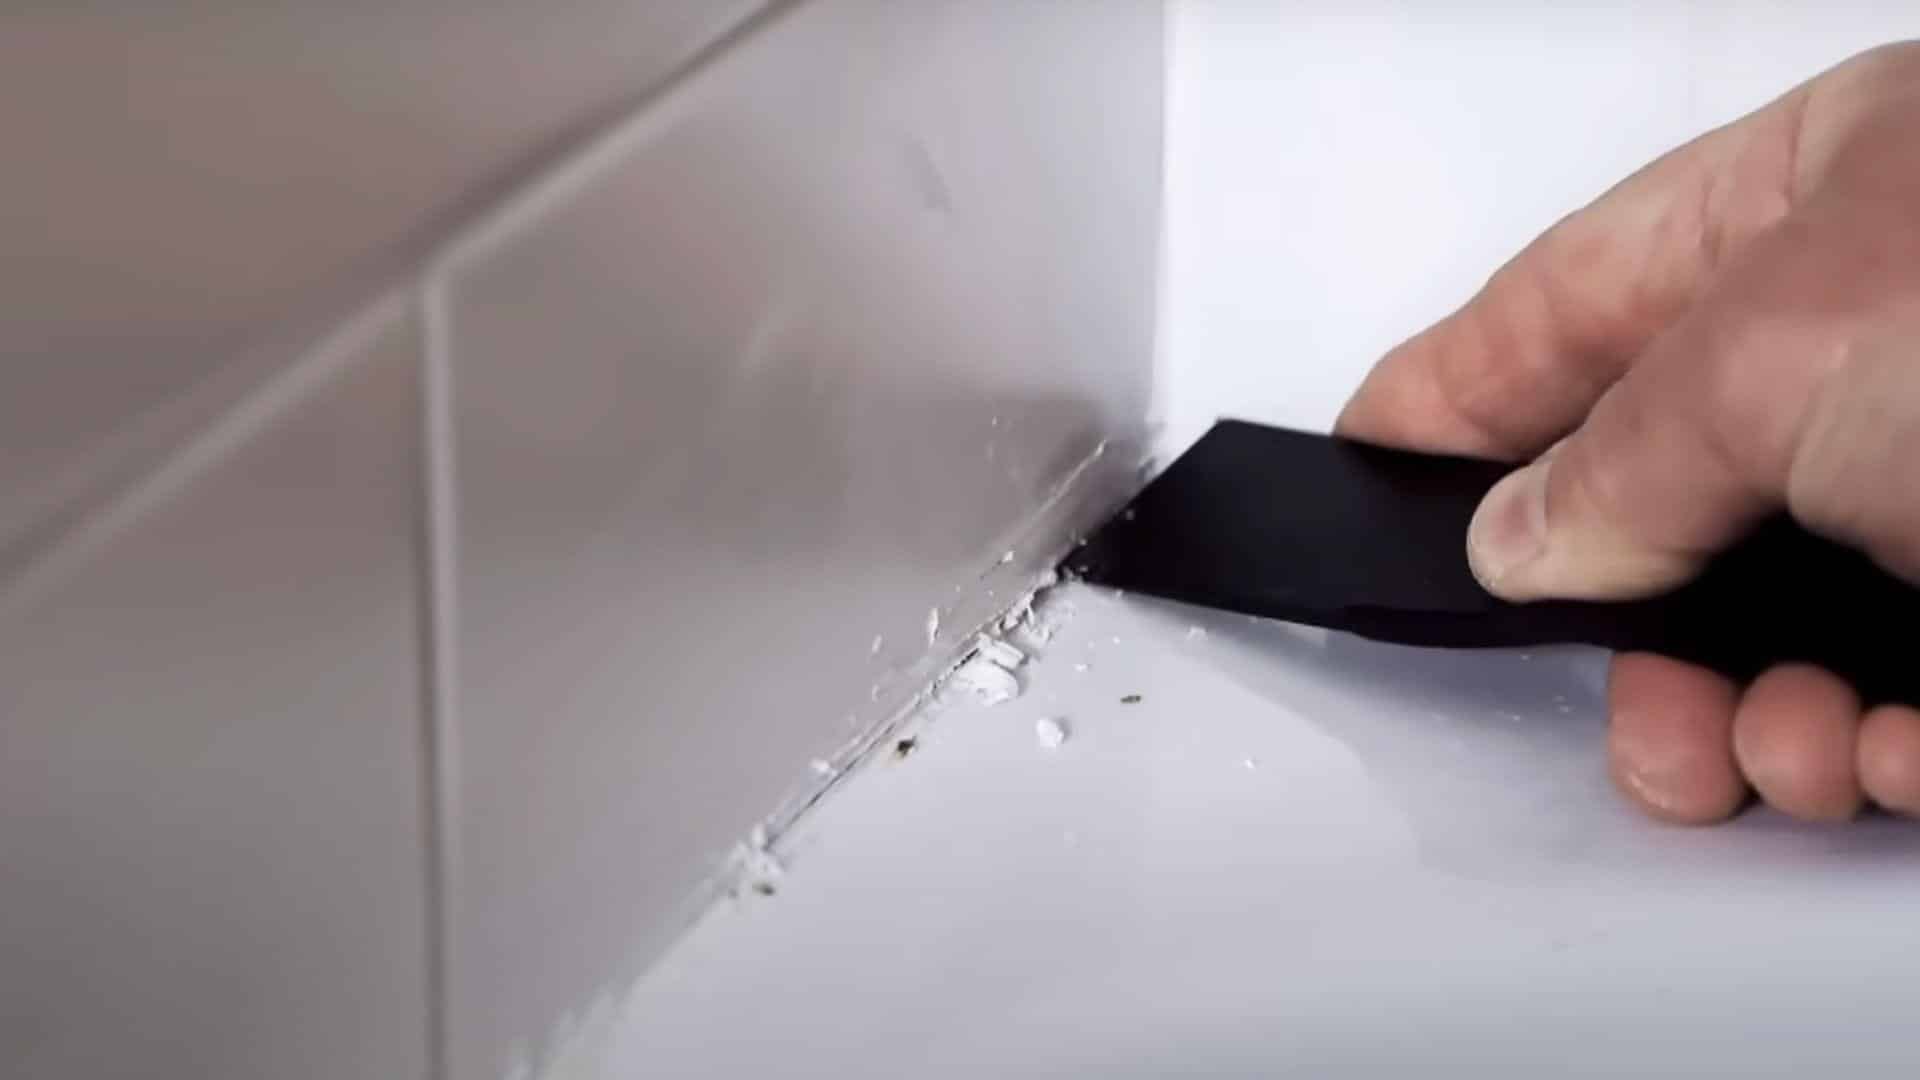
Step 3: Scrape Remaining Caulk
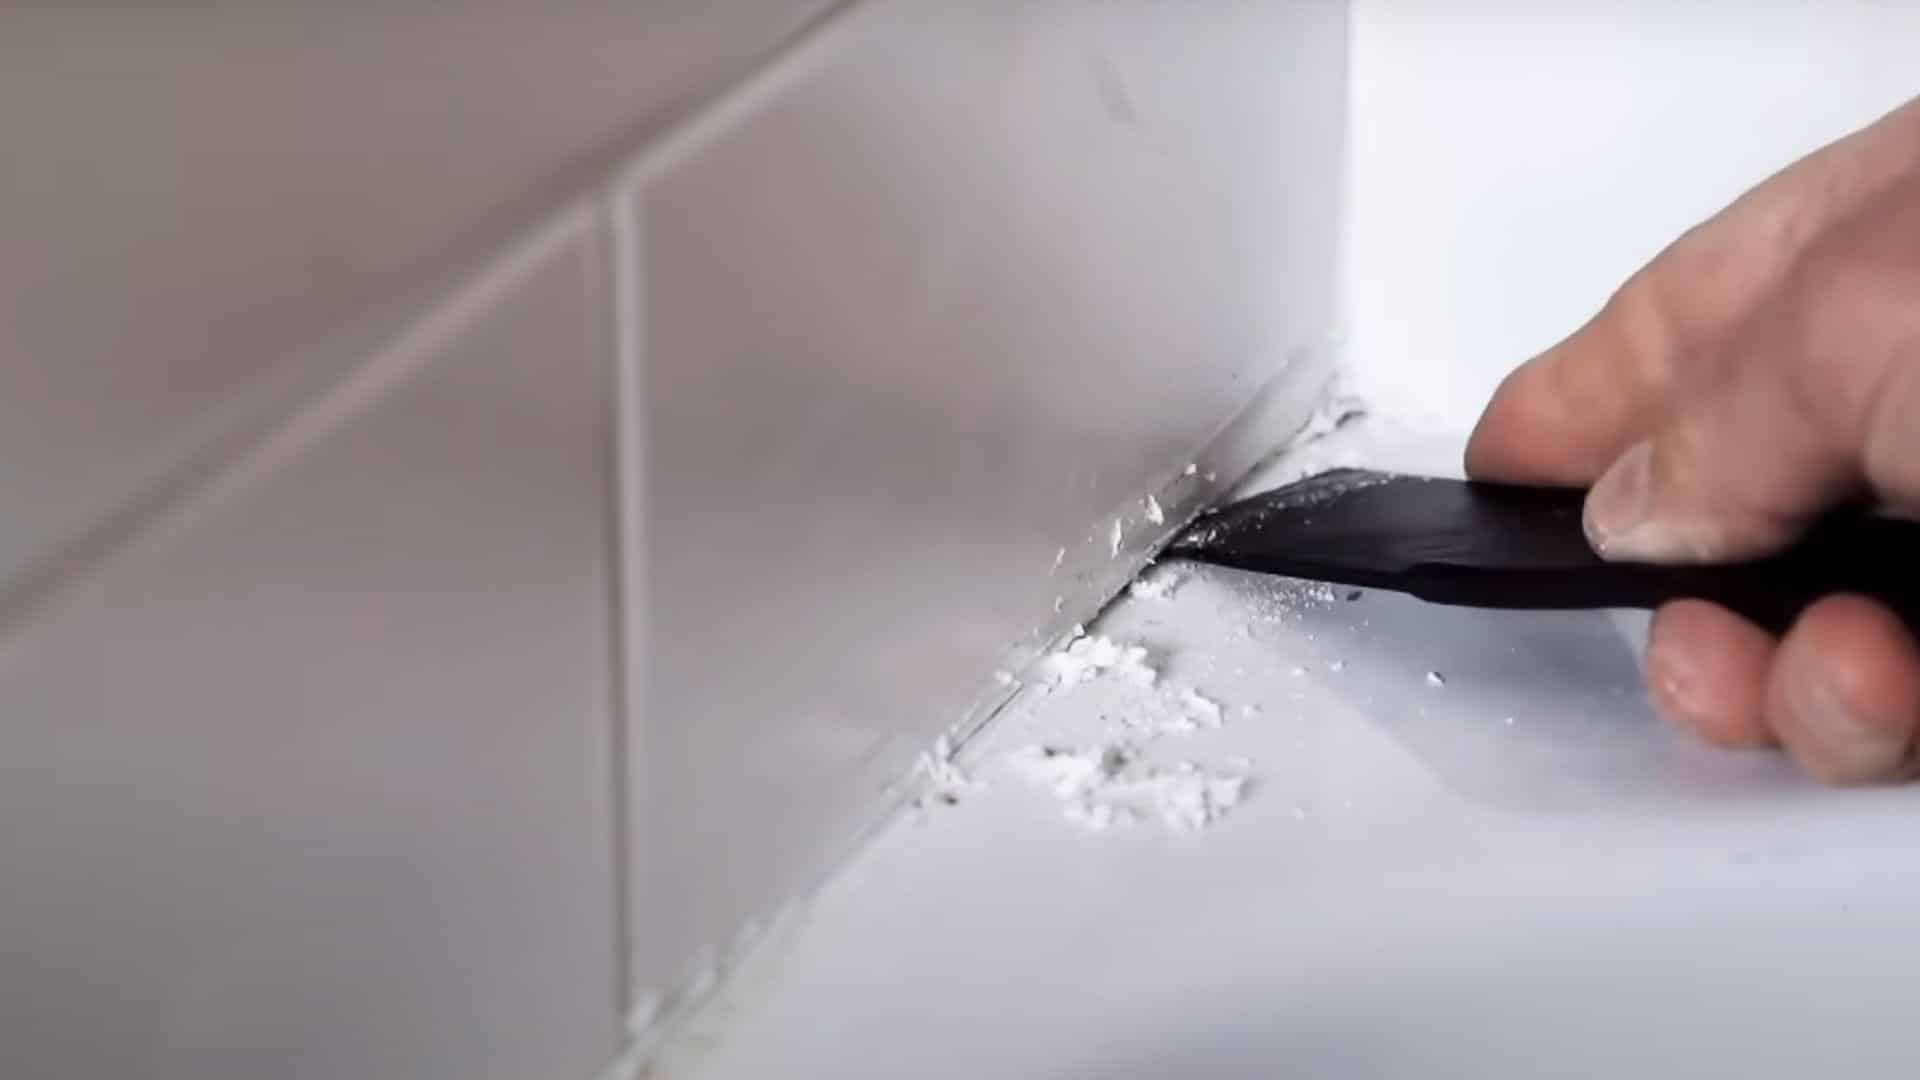
Use a plastic putty knife to dig out the remaining old caulking after pulling out the loose pieces. These knives have a sharp edge but won’t scratch the tile or tub like metal tools would. Work your way between digging out caulk and using the utility knife for stubborn spots.
Continue scraping to create a clean gap where the new caulking can properly grab and stick. Don’t rush this step since thorough removal prevents future adhesion problems.
Step 4: Apply Citrus-Based Cleaner (if Needed)
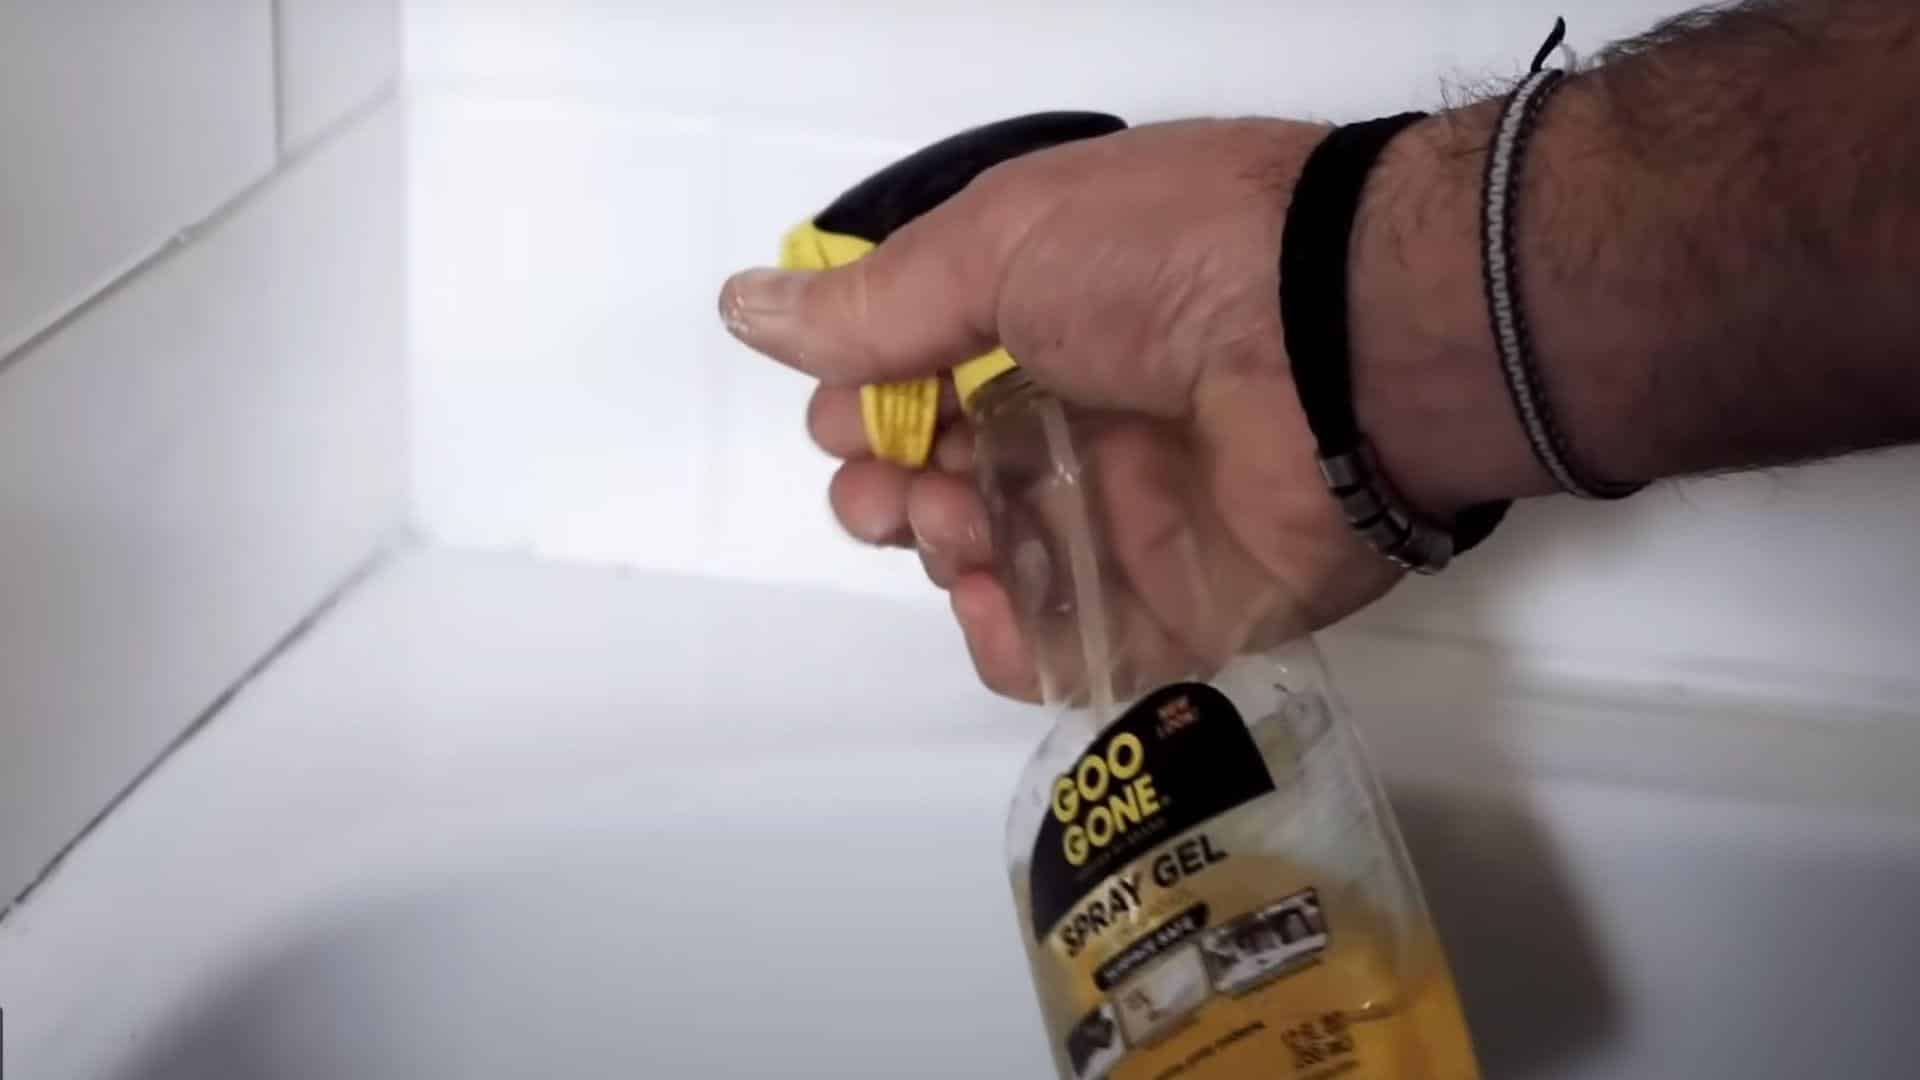
For stubborn residue that won’t scrape off, spray citrus-based cleaners on the problem areas. Let that sit for about 10 minutes to soften the remaining adhesive material. These cleaners work naturally without harsh chemicals that might damage surfaces.
Apply the cleaner generously to areas with thick buildup or old, hardened residue. The waiting time allows the citrus oils to break down stubborn bonds.
Step 5: Scrub the Area Clean
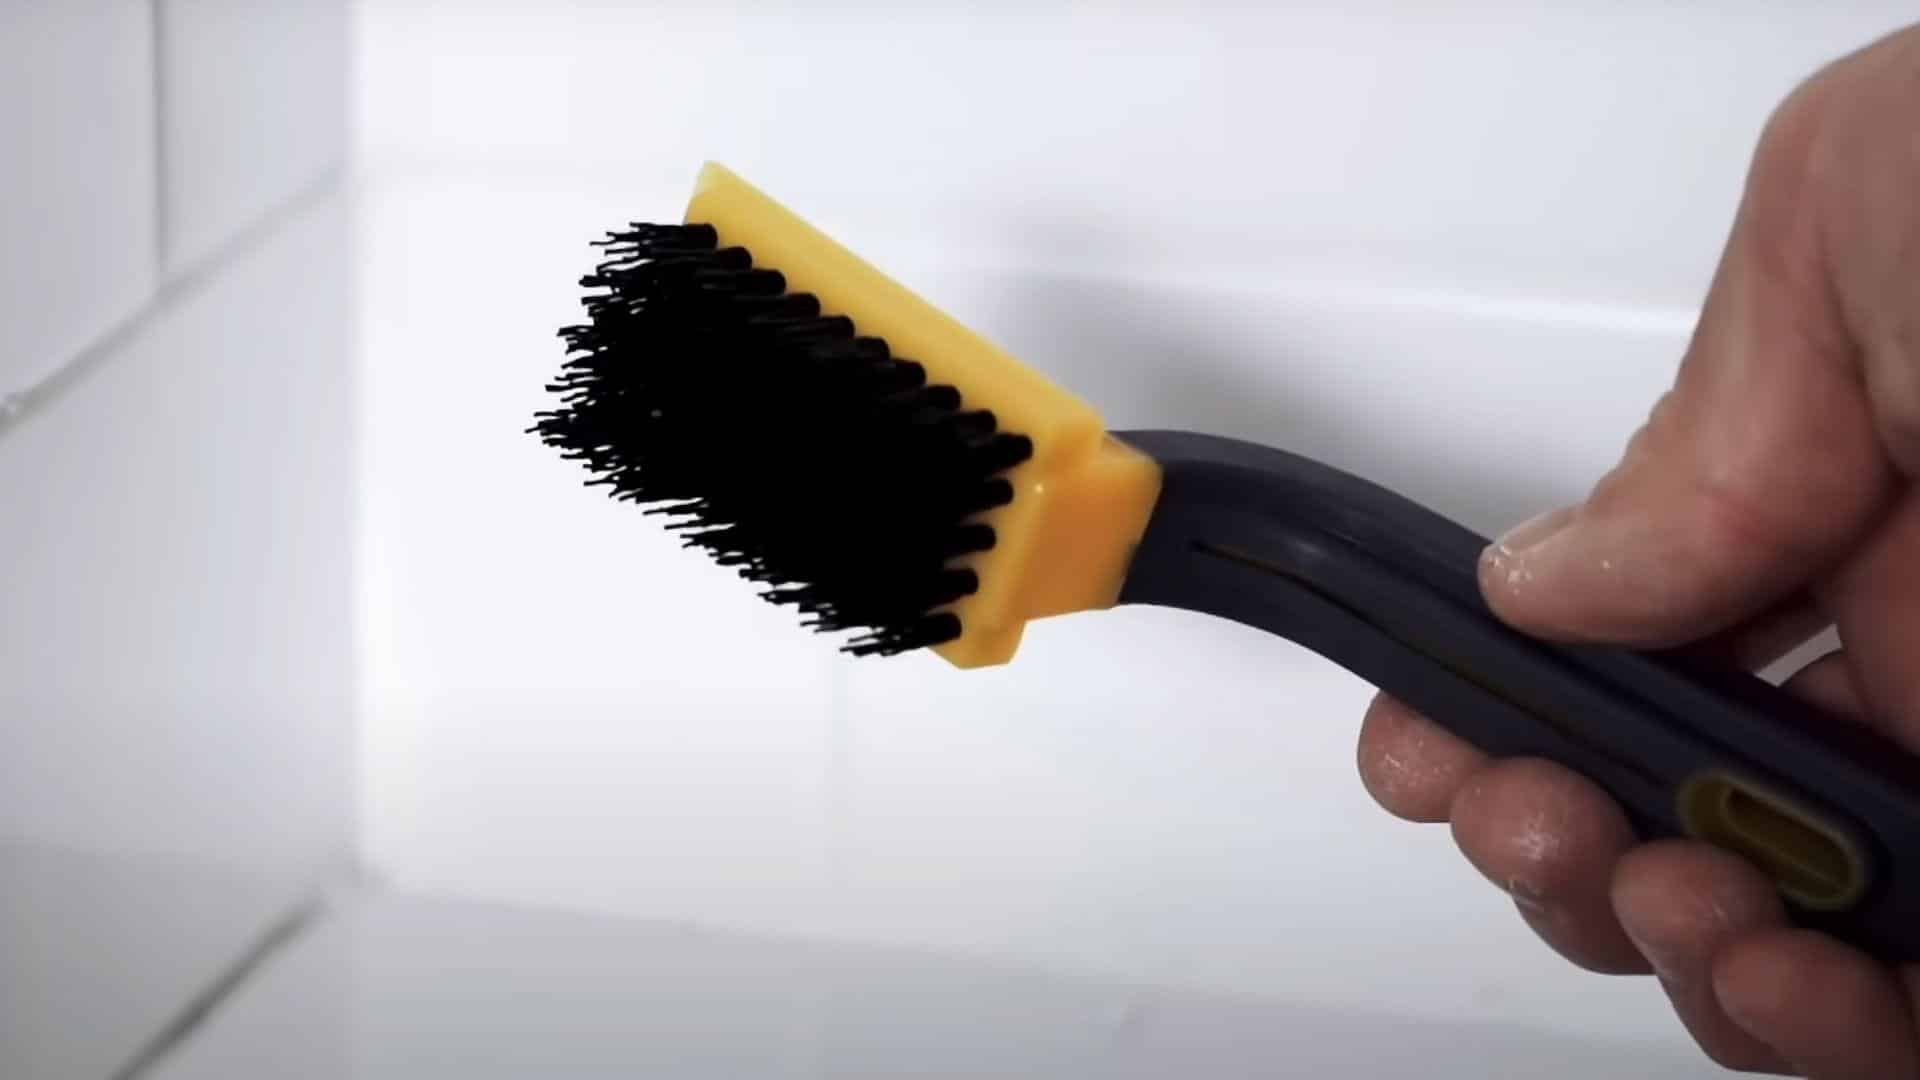
Use a nylon-bristle stripping brush that looks like a giant toothbrush to really clean up the joints. Work your way into that gap thoroughly to remove all traces of old material and cleaner residue. Scrub in circular motions to get into corners and tight spaces.
Follow up with a damp rag once everything looks clean to wipe away loosened debris. Make multiple passes until the surface feels completely smooth.
Step 6: Dry the Area Completely
Make sure the cleaned area dries really well before applying new caulking. You could even put a fan on it to speed up the drying process in humid conditions. Proper drying prevents adhesion problems with your new caulk.
Wait at least 24 hours in most conditions, longer if the humidity is high. Touch the surface to ensure it feels completely dry before proceeding.
Video Tutorial
Check out the video for more insights! Watch a step-by-step demonstration of how to remove old caulk using these simple steps.
By – Ace Hardware
Tips for A Clean Removal
These expert tips help you avoid common mistakes and get professional results. Small details make a big difference in how smoothly the job goes.
- Work in good lighting to see all the old caulk clearly, and set up additional lamps if your bathroom lighting isn’t bright enough. Shadows hide residue that will cause problems later.
- Take breaks when your hands get tired since fatigue leads to mistakes and potential injuries.
- Keep tools sharp throughout the job for best results, since dull utility knife blades tear caulk instead of cutting cleanly.
- Remove caulk when it’s at room temperature because very cold caulk becomes brittle while hot caulk gets gummy.
- Start with the most manageable sections to build confidence before tackling challenging areas.
Final Thoughts
Removing old caulk takes patience, but it isn’t as hard as most people think. The right tools make this job much easier and help you avoid surface damage.
Clean removal sets you up for success when applying new caulk. Taking time to do this step properly saves hours of frustration later.
Most homeowners can complete this project in one weekend. The money saved by doing it yourself pays for quality replacement materials.
Remember to maintain your new caulk with regular cleaning and inspection. Good caulk protects your home and keeps your bathroom looking great.
Have you ever tried removing old caulk earlier? Share your experience in the comments below and let us know which tip worked best for you!
Frequently Asked Questions
Does Rubbing Alcohol Remove Old Caulk?
Rubbing alcohol works on water-based caulk in some cases. Old or layered caulk from years of repairs often needs stronger caulk-removing solutions from home improvement stores.
Does WD-40 Remove Silicone?
WD-40 softens and loosens silicone sealant but doesn’t completely dissolve it. It makes the material easier to scrape off with tools or blades during removal.
What Is the Lifespan of Caulk?
Polyurethane caulk lasts 10 to 20 years normally, but may need replacement after 2-3 years if exposed to direct sunlight or harsh conditions regularly.
