
Ever wonder how that Christmas tree magically shrunk to fit in such a small box at the store?
Your artificial tree needs to be returned to its original packaging, but it seems impossible. The branches have expanded during the holidays, and that compact box looks way too tiny now.
Most people get frustrated and just cram everything inside. This damages the branches, bends the frame, and makes next year’s setup a nightmare. Your tree ends up looking flat and unnatural.
But there’s a simple system that works every time. I’ll show you the exact steps to pack your Christmas tree back into its box without damaging anything.
Follow this method, and you’ll have your tree stored appropriately in a few minutes, ready for a perfect setup next year.
Why Proper Tree Storage Matters?
Storing your Christmas tree correctly protects your investment and saves you money. Most artificial trees cost $100-$300, so proper care keeps them looking fresh for years.
Proper storage protects your investment and keeps your tree full and lifelike for years. Damaging wire branches during disassembly or storage can cause sections to appear sparse and bent. Once internal wires snap, the tree loses its shape, often beyond repair.
The original box is designed for your tree’s exact dimensions. Random storage methods take up more room and often damage the branches. Here’s why proper storage matters:
- Prevents branch breakage: Keeps wire frames intact.
- Maintains fullness: The Tree keeps its original shape.
- Saves storage space: Uses minimal room in your home.
- Extends lifespan: Well-stored trees last 10-15 years.
- Easier setup: No time spent fixing damaged sections.
6 Steps to Pack the Tree Back in The Box
Follow these steps in order to pack your tree safely and efficiently. This method prevents damage to connection points and makes the entire process much easier to manage.
Tools and Materials You’ll Need
Gather these items before you start taking apart your tree. Having everything ready makes the job much faster and easier.
- Your artificial Christmas tree: Remove all decorations first.
- Original box: The box your tree came in.
- Instruction manual: Shows how to take it apart.
- Packing tape: To seal the box.
- Clean rag: To dust off the tree sections.
Step 1: Open the Original Box
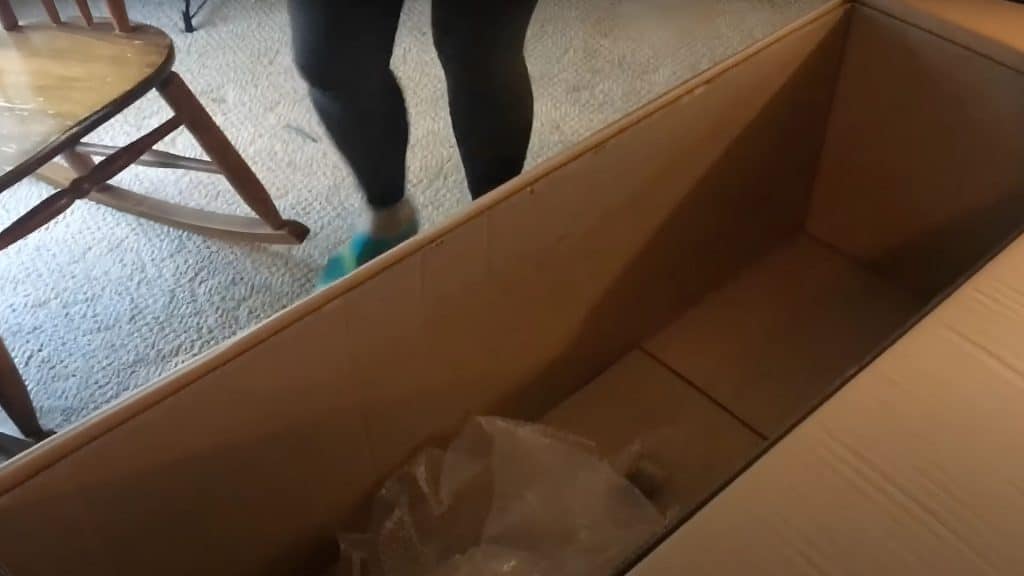
Find your tree’s original packaging and open it carefully without tearing the cardboard. Keep all the box flaps intact because proper sealing is needed later. Check the condition of the box to make sure it can hold the weight again.
Look inside the box for any plastic bags, foam padding, or protective covers that came with your tree originally. These items protect smaller parts like the tree stand or connection hardware during storage.
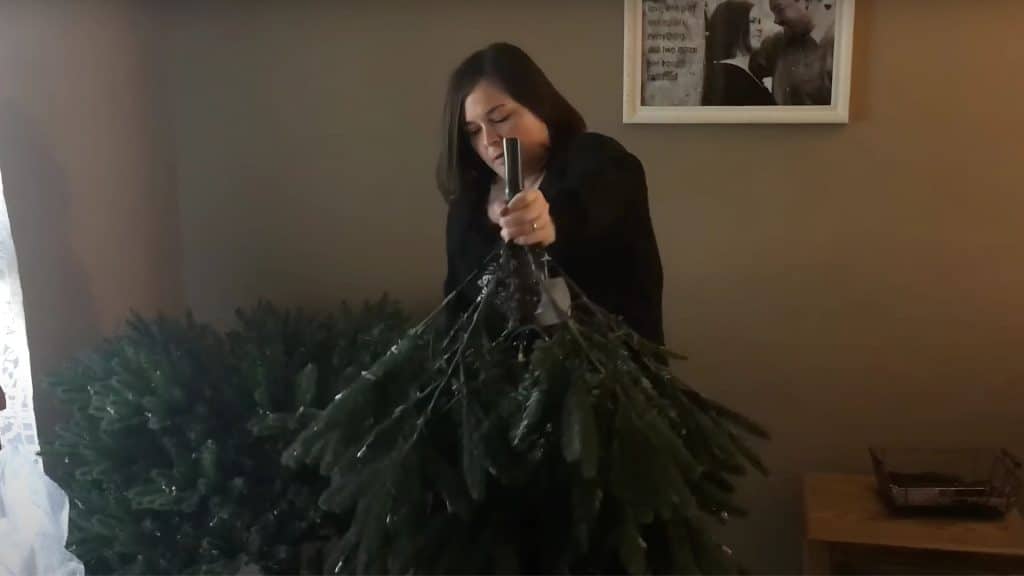
Step 2: Remove the Top Section

Start with the highest section of your tree, which is usually the smallest and lightest piece. This section may need gentle compression since the branches don’t fold down like the lower sections. Lift the top section straight up without twisting or turning it sideways.
Most tree sections simply lift off their connection points when pulled straight up. Place this section in a clean area where it won’t get knocked over or damaged while working on the other sections.
Step 3: Detach the Middle Section
Remove the next section down using the same straight lifting motion used for the top. Pop the middle section off by lifting straight up from the connection point. Turn this section upside down to allow the hinged branches to fall naturally into their folded position.
The branches on the middle sections are designed with hinges that automatically fold when the section is inverted. This folding mechanism makes packing much easier than forcing branches into position manually.
Step 4: Remove the Bottom Section and Stand

Take off the lowest tree section from the stand carefully, as this piece is usually the heaviest. The stand simply comes off by lifting the bottom section straight up. Turn the bottom section upside down so the hinged branches fold down naturally.
Remove the tree stand separately from the bottom section. Clean any water, tree preservative, or debris from the stand before packing it away. A clean stand prevents rust and odors during storage.
Step 5: Secure the Tree for Storage
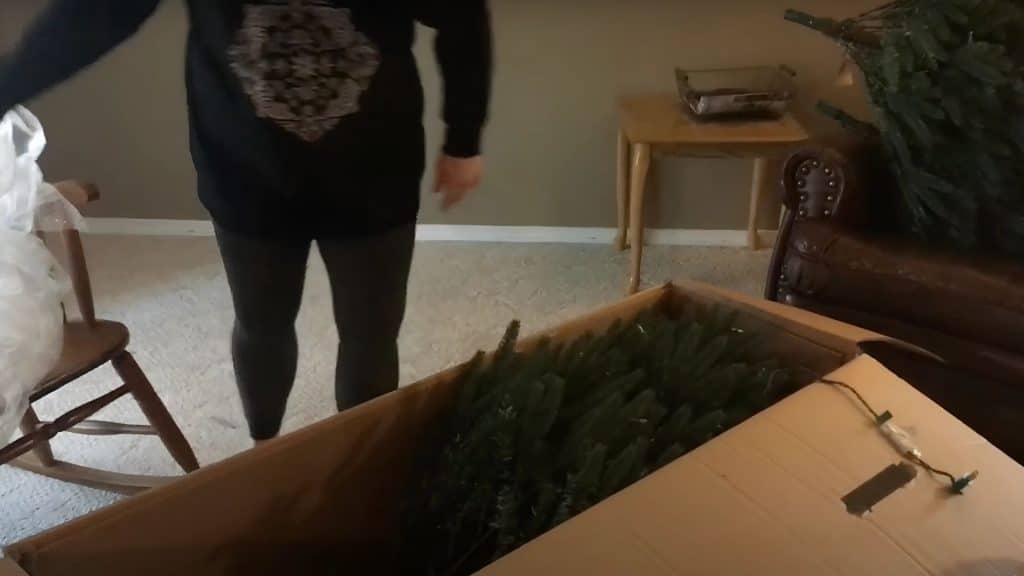
Place each section back in the original box with branches in their folded positions. The hinged design allows most branches to stay folded without additional securing. Only the top section may need gentle positioning to fit properly in the box.
Pack sections in reverse order of removal – bottom section first, then middle sections, then the top piece. This order ensures proper weight distribution and prevents crushing of smaller sections.
Step 6: Seal the Box
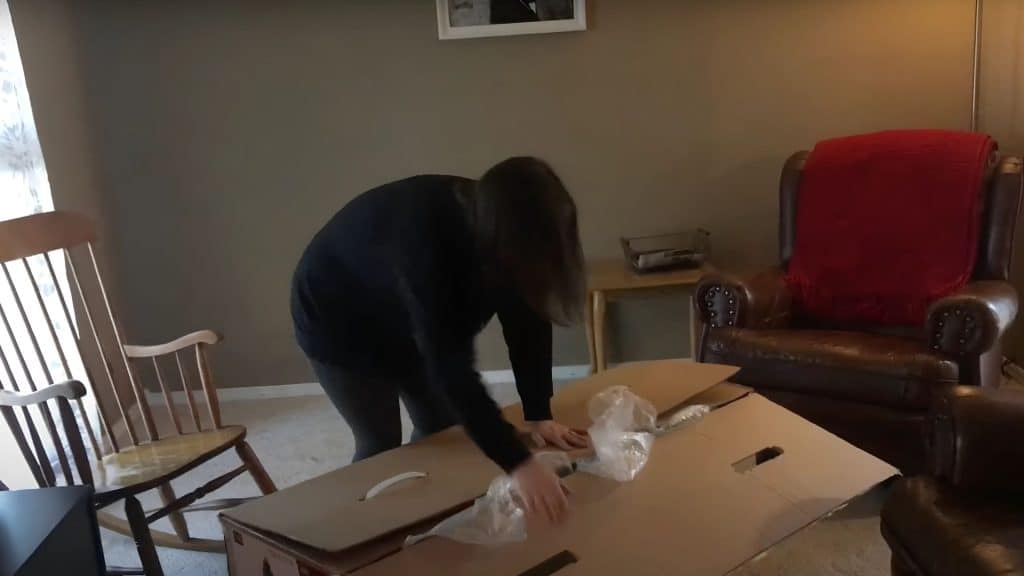
Close all box flaps in the proper order and seal with packing tape. Use one or two pieces of tape to hold the box closed securely. The original box design should close easily when sections are packed correctly.
Label the box clearly for easy identification next year. Store in a dry location to prevent moisture damage during the off-season.
Video Tutorial
Check out the video for more insights! Watch a step-by-step demonstration of how to put the christmas tree back in the box.
By – MagnoliaStreetGarden
Pro Tips for Easier Tree Storage
These storage tips help protect your tree and make next year’s setup much smoother. These steps help avoid long-term damage and keep next year’s setup smooth.
1. Work in Good Lighting
Choose a well-lit area for disassembly and packing. Poor lighting makes it harder to see connection points and can lead to forcing parts that should come apart easily.
Good visibility helps spot any loose parts or damage that needs attention. Natural daylight or bright indoor lighting works best for this task.
2. Have a Helper for Large Trees
Get assistance when handling trees over 7 feet tall. These larger models have heavy sections that are awkward to maneuver alone, especially the bottom portion.
Two people can position sections more safely and reduce the risk of dropping or damaging parts. Extra hands also speed up the entire packing process.
3. Check Weather Conditions
Avoid packing your tree on very humid days if possible. High humidity can cause metal parts to develop condensation, leading to rust problems during storage.
Dry conditions help ensure your tree goes into storage completely moisture-free. This prevents mold, mildew, and corrosion issues over the storage period.
Common Mistakes to Avoid When Boxing Your Tree
These common errors can damage your tree or make storage unnecessarily difficult. Avoiding these mistakes keeps your tree in perfect condition for years.
- Never force sections apart when they feel stuck.
- Don’t forget to remove tree toppers and small decorative items.
- Avoid using torn or damaged boxes for storage.
- Keep boxes away from damp basements and humid areas.
- Don’t cram extra holiday items into the tree box.
- Never ignore the weight limits printed on box labels.
- Don’t skip reading the instruction manual before starting.
- Avoid rushing through the packing process.
Conclusion
Packing your Christmas tree back in its box doesn’t have to be stressful. Follow the simple steps we covered, and your tree will fit perfectly every time. Work from top to bottom and take your time with each section.
Good storage habits preserve your tree’s quality and eliminate the need for costly replacements. A well-packed tree lasts years longer than one stuffed carelessly into storage.
Remember to clean your tree before packing and store it in a dry location. These small steps keep your tree looking fresh and full.
Ready to make next year’s setup easier? Start planning your storage space now and keep these tips handy for smooth packing.
Frequently Asked Questions
Is It Better to Store a Christmas Tree in A Bag or A Box?
Storage bags work better than boxes for artificial Christmas trees. Bags protect from dust and moisture while allowing some air flow. Boxes can get damaged and torn during storage.
How Do You Weight Down a Christmas Tree?
Add weights to the tree base for extra stability. Use sandbags, rocks, or water-filled containers around the stand. Hide weights under your tree skirt for a clean look.
Can I Wrap My Tree in Plastic Wrap?
Never wrap trees in plastic or non-breathable materials. These trap moisture and damage the tree over time. Use breathable fabric covers or original packaging instead.
