Ever started painting and halfway realized you forgot the primer?
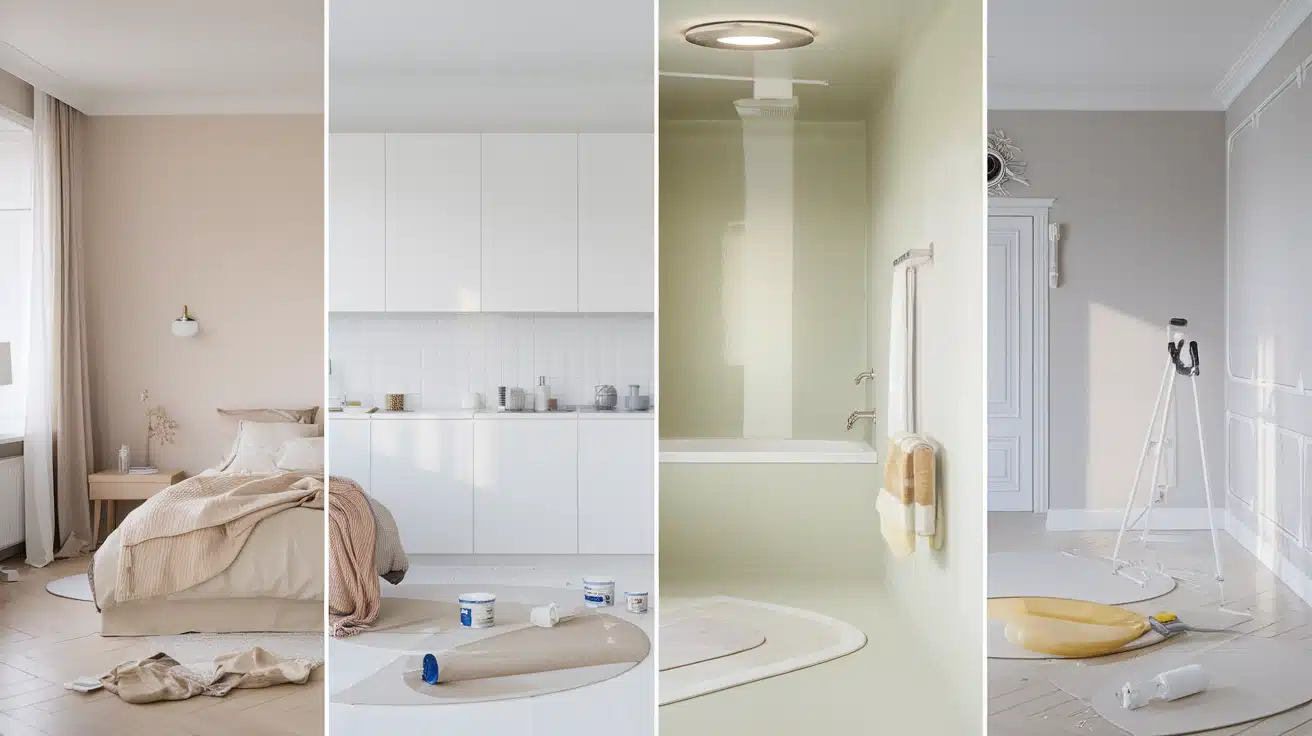
I’ve been there too. Painting each room in your home requires a unique approach—what works for your living room won’t necessarily work for your bathroom or kitchen.
I’ve created this room-by-room painting checklist to save you time, money, and the frustration of multiple hardware store trips.
If you’re refreshing your bedroom with a cozy new color or tackling a moisture-prone bathroom, having the right supplies and knowledge before you start makes all the difference.
In this guide, I’ll walk you through exactly what you need for every space, helping you catch those details most people overlook until it’s too late.
Core Painting Tools and Materials
Before diving into the specifics of each room, let’s cover the essentials that apply to any painting project. Having these items ready before you start will save countless trips to the hardware store and ensure your project flows smoothly from start to finish.
Must-Have Tools for Every Painting Project
Whether you’re refreshing a bathroom or transforming your living space, these basics form the foundation of your painting arsenal:
- Paint: Choose colors based on room function and lighting. Pick durable finishes for high-traffic areas and save money with economical options in less-used spaces.
- Primer: Essential for dark colors, bare surfaces, and stains. Quality primer creates an ideal base, reducing topcoats needed and saving time and money.
- Application tools: Quality matters! Microfiber rollers for walls, angled brushes for trim. Keep various sizes handy to tackle any painting challenge with confidence.
- Protection materials: Canvas drop cloths outlast plastic. Painter’s tape ensures clean lines. Good prep takes time but delivers professional results worth the effort.
- Access equipment: A sturdy ladder, extension pole, and plenty of stir sticks help you reach all areas safely while keeping paint properly mixed throughout.
Prep & Cleaning Supplies You’ll Be Glad You Had
Proper surface prep dramatically improves final results:
- Surface repairs
Keep caulk, wood filler, and various grits of sandpaper on hand to address imperfections. Patching compounds like spackling paste are perfect for small wall holes, while deeper repairs might require more substantial fillers.. - Cleaning supplies
Gather plenty of cleaning rags and a degreaser like TSP (trisodium phosphate) cleaner for kitchen and bathroom surfaces. For most rooms, a simple solution of mild soap and water works well to remove dust and light grime.
Don’t Skip These Pre-Painting Steps
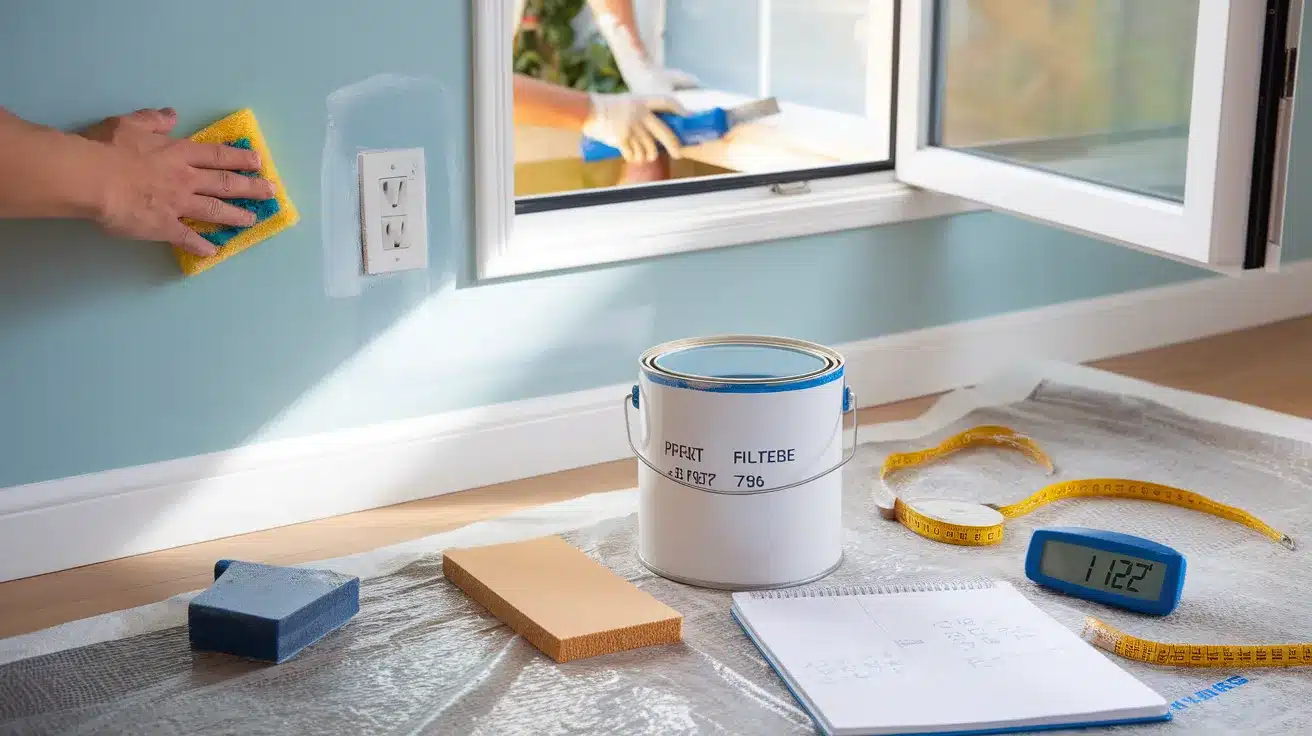
These preliminary steps are often overlooked but make all the difference:
Clean Surfaces Are aMust: Thoroughly remove dust, grease, cobwebs, and other contaminants that can interfere with paint adhesion. Pay special attention to areas around light switches, door frames, and baseboards where hands frequently touch.
Repair First, Paint Later: Fill holes, patch cracks, and sand rough areas to create a smooth, uniform surface. Allow patched areas to dry completely before sanding and priming.
Watch the Weather: Check that your space has adequate ventilation and maintains a temperature between 50-85°F (10-29°C) for optimal paint application and drying. Extreme conditions can affect how paint flows, adheres, and cures.
Know How Much Paint You Actually Need: Calculate your needs accurately by measuring each wall’s square footage and checking the paint manufacturer’s coverage rates.
A good rule of thumb: one gallon covers approximately 350-400 square feet with one coat, but textured or previously unpainted surfaces may require more.
Painting Living Rooms & Bedrooms
These personal spaces deserve special attention as they’re where you spend most of your time and express your style most freely.
Checklist
- Choosing the Right Finish for Each Space
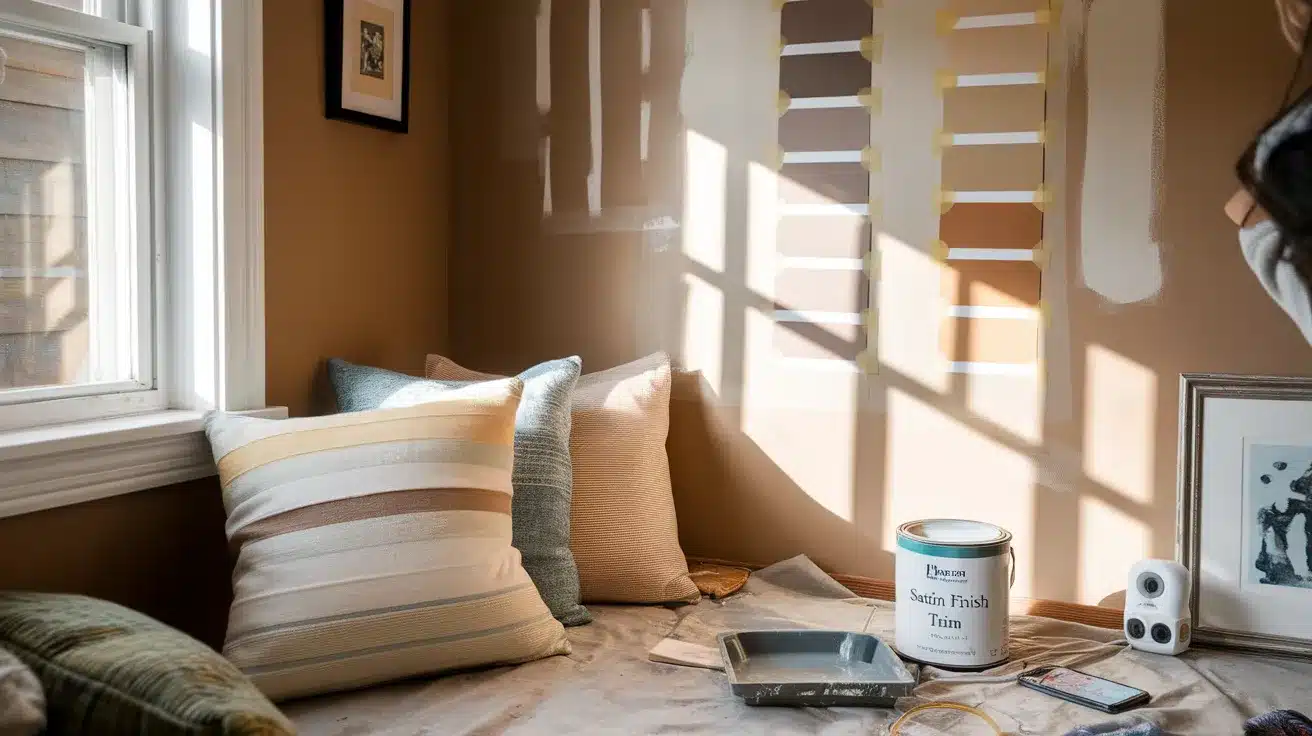
Flat or matte finishes hide wall imperfections beautifully but can be harder to clean, making them ideal for adult bedrooms and formal living spaces with less traffic. Reserve satin finishes for trim, which needs to stand up to more frequent cleaning. -
Picking Colors That Feel Just Right:
Warm and neutral tones foster a cozy atmosphere and provide versatile backgrounds for décor changes. Consider how natural and artificial lighting affects your chosen colors at different times of day. - Plan for Wall Décor Before You Paint:
Before painting, plan for future wall hangings by installing anchors or marking nail positions. This forethought prevents damaging fresh paint later.
Pro Tips for Painting Peacefully
- Natural light assessment: View paint samples during different times of day in the actual room to avoid surprises. Colors can appear dramatically different under morning sunlight versus evening lamps.
- Strategic painting: Tackle accent walls first when your energy and attention to detail are highest. These focal points often require the most precision and deserve your freshest efforts.
- Entertainment: Queue up music or podcasts before starting – they make the time pass quickly and turn the project into an enjoyable experience rather than a chore. Choose upbeat content that keeps your energy high throughout the process.
Kitchen & Dining Room Painting Guide
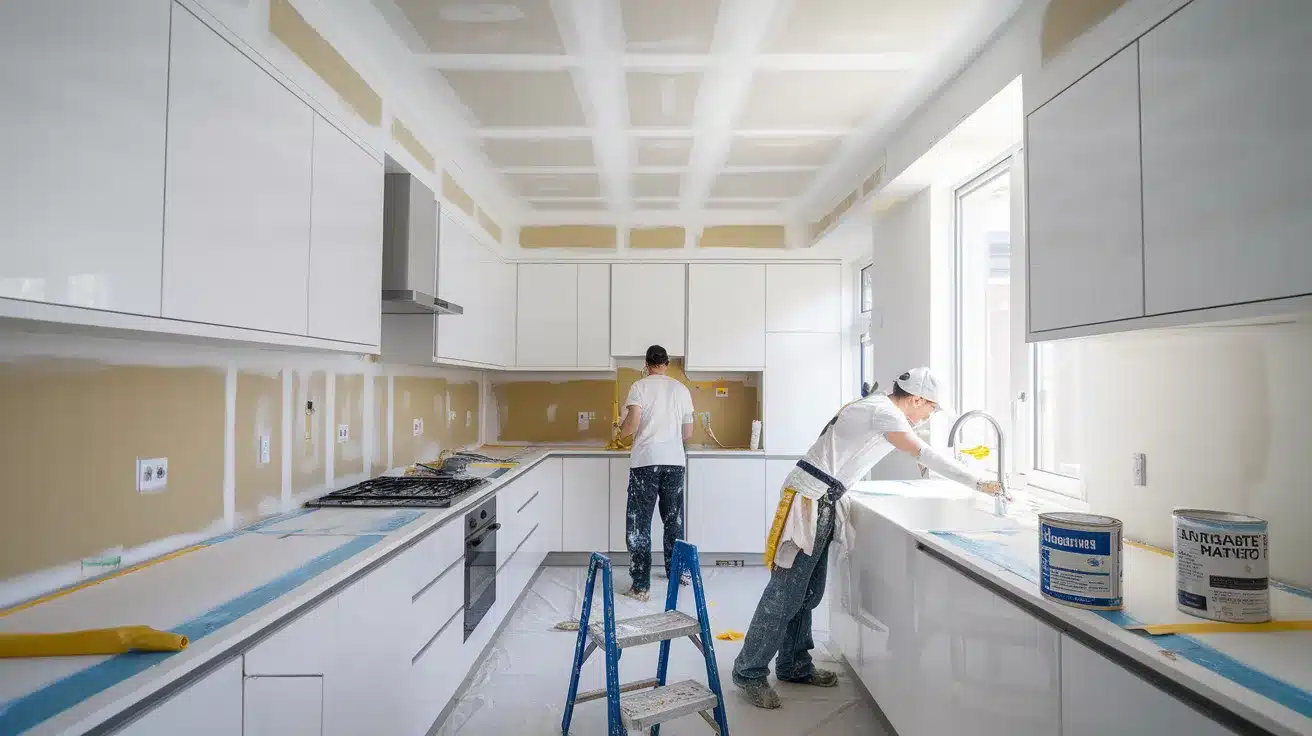
Kitchens present unique challenges with their exposure to moisture, grease, and frequent cleaning needs.
Checklist
- Best Paint Finishes for High-Traffic, Messy Zones:
Select grease-resistant, scrubbable paints in semi-gloss or satin finishes. These withstand repeated cleaning without breaking down and resist the inevitable splatters from cooking activities. - Clean First—Always:
Kitchen surfaces accumulate invisible layers of cooking oils and residues that can ruin paint adhesion. Clean all surfaces with a degreaser or TSP solution, rinse thoroughly, and allow to dry completely before painting. - Taping Techniques That Save You Time Later:
Meticulously tape around appliances, cabinets, and backsplashes to achieve clean lines. The extra time spent here prevents costly mistakes and tedious touch-ups later.
Pro Tips
- Ceiling attention: Don’t neglect kitchen ceilings – cooking steam rises and can cause discoloration and staining over time. A quality ceiling paint with mold and mildew resistance provides lasting protection.
- Special areas: Invest in mold-resistant paint formulations for areas near sinks and water sources. The additional cost is minimal compared to the extended durability and peace of mind these specialized products provide.
Painting Bathrooms the Smart Way
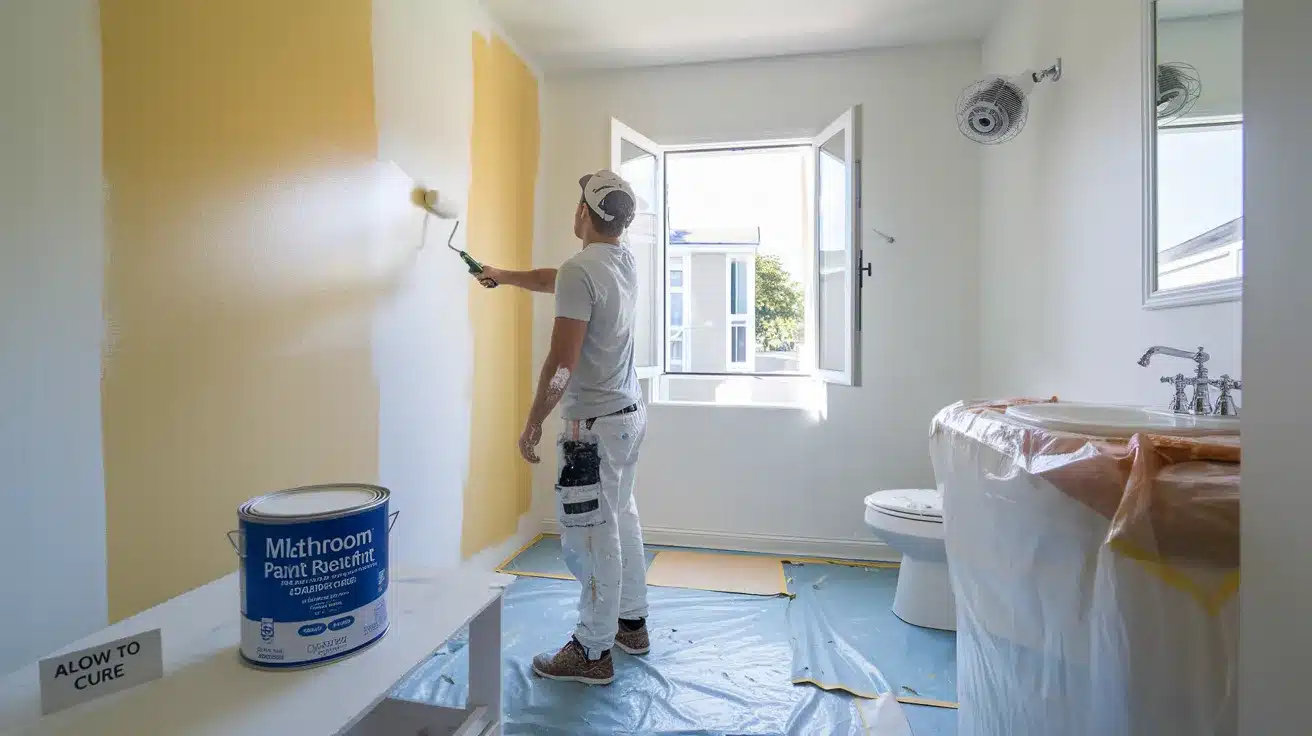
High humidity and temperature fluctuations make bathrooms particularly challenging painting environments.
Checklist
- What to Use in Humid Environments:
Use mildew-resistant primers and bathroom-grade paints specifically formulated to withstand constant moisture. Look for products labeled for bathroom use that contain antimicrobial additives. - Ventilation Tips That Matter
Ensure excellent airflow during and after painting. Run exhaust fans and open windows when possible to promote proper drying and curing.
Pro Tips
- Timing Your Paint JobRight: Avoid painting immediately after shower use when humidity levels are highest. Early morning or after the bathroom has been unused for several hours provides ideal conditions.
- Curing = Longevity: Allow paint to fully cure (often 3-7 days depending on the product) before resuming normal shower use and humidity levels. This patience pays off with a longer-lasting finish that resists peeling and mildew.
Hallways & Entryways Need Extra Love
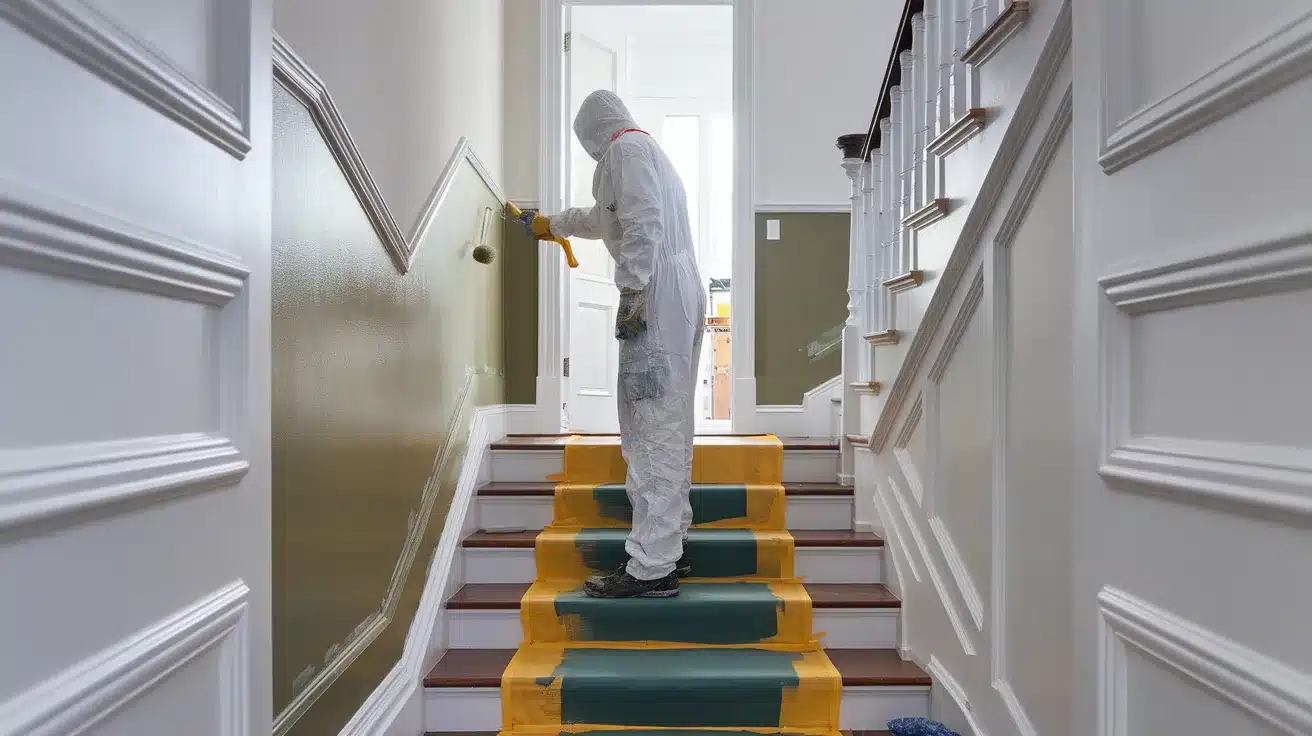
These high-traffic transition zones require special consideration for durability and ease of maintenance.
Checklist
- Finishes Built for Daily Wear and Tear:
Choose wipeable eggshell or satin finishes that stand up to frequent touching, bumping, and cleaning. These areas see more contact than almost any other part of your home. - Stay Ready for Touch-Ups:
Keep touch-up paint clearly labeled and accessible for quick repairs of scuff marks and dings that inevitably occur in these busy areas. - Don’t Forget the Floor Protection:
Take extra precautions to protect stairs and flooring from drips and spills, as these areas often have complex architectural features that make painting more challenging.
Pro Tips
- Detail Tools for Narrow, High-Impact Areas: Mini rollers prove invaluable in narrow spaces and allow for more controlled application in tight corners and along stairs.
- Detail work: Use painter’s tape with extra care on baseboards and corners in entryways, as these areas draw the eye immediately upon entering your home and set the tone for overall quality.
Ceilings, Trim, and Doors—Your Framing Finish
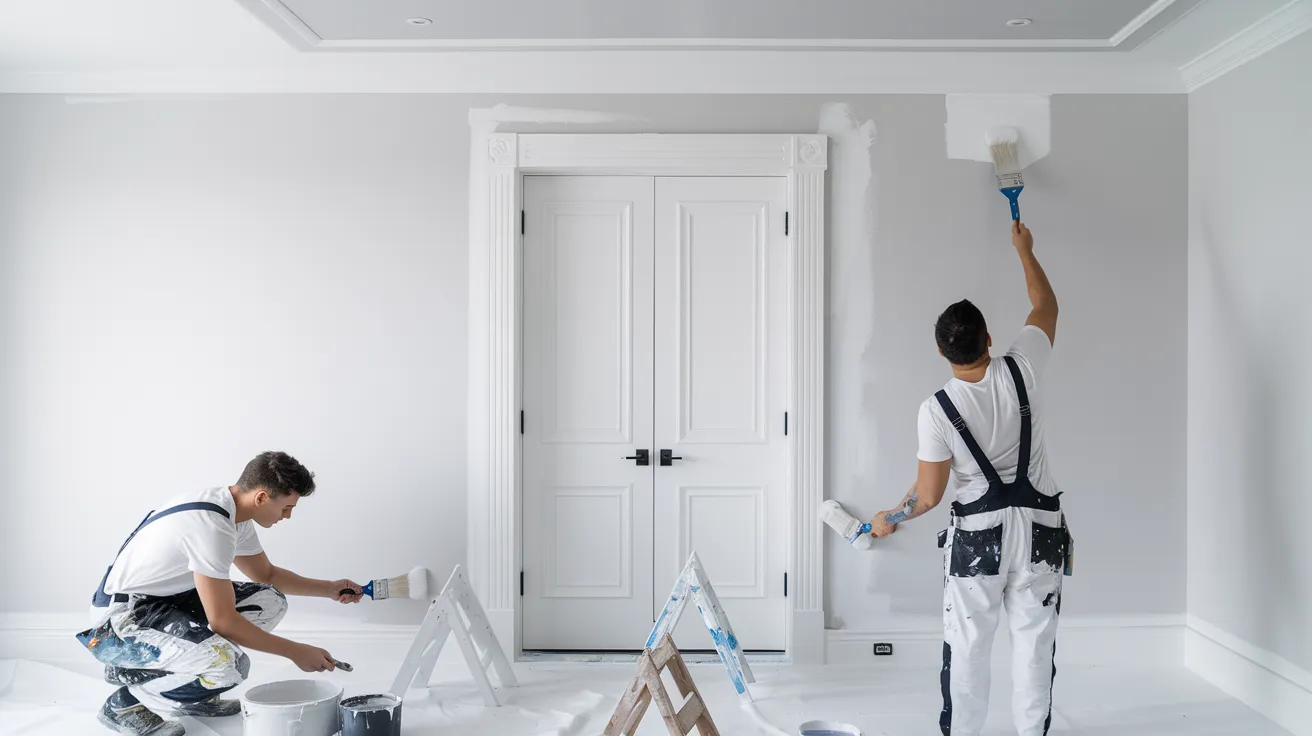
These elements frame your spaces and deserve specialized attention.
Checklist
- Choosing the Right Paint for Ceilings:
Choose flat white paint for ceilings to minimize glare and hide imperfections. The non-reflective nature of flat paint helps ceilings visually recede and makes rooms feel more spacious. - Durable Paints for High-Contact Trim and Doors:
High-gloss or semi-gloss finishes on trim and doors not only look elegant but also withstand cleaning and touching better than flatter finishes. The slight sheen creates an attractive contrast with wall finishes. - Tools That Help You Cut In Like a Pro:
Invest in quality angled brushes for cutting clean lines where ceilings meet walls and around trim work. The right tool significantly reduces the need for touch-ups.
Pro Tips
- Follow the Right Painting Order: Always work from top to bottom – ceilings first, then walls, and finally trim. This sequence allows you to fix any drips or mistakes as you move downward through the space.
- Door painting: Use painter’s pyramids or small wooden blocks to elevate doors when painting, allowing access to edges without waiting for one side to dry completely. This technique speeds up the process significantly and reduces the chance of smudges from repositioning.
Common Painting Mistakes to Avoid
Even experienced painters make these mistakes – staying vigilant helps avoid them:
- Skipping Primer Can Cost You: Skipping primer when painting over dark colors, glossy surfaces, or stains almost always leads to disappointing results and more work later. When in doubt, prime.
- Prep Work Isn’t Optional: Failing to properly clean or sand patched areas creates noticeable texture differences in the finished surface. Take the time to feather edges of repairs and prime these areas specifically.
- Sheen Missteps Happen—Choose Wisely: Choosing the wrong sheen for the room’s purpose and traffic level can result in surfaces that show wear too quickly or highlight imperfections unnecessarily.
- Don’t Paint in the Dark: Painting in dim conditions guarantees missed spots and uneven coverage. Use bright, portable work lights to ensure you can see all surfaces clearly.
- Remove Tape at the Right Time: Leaving painter’s tape on too long after painting can result in peeling when removed. Follow product instructions carefully – most tapes should be removed while paint is still slightly wet for cleanest lines.
- Label Your Leftovers for Future Touch-Ups: Not properly marking leftover paint with color name, room, and date leads to confusion and waste later. Create a simple labeling system for future touch-ups.
Smart Alternatives and Pro Tips
These innovative approaches can enhance your painting projects:
- Spray Painting for Faster, Smoother Results: Consider spray painting for furniture, railings, or detailed areas where brushes and rollers struggle to provide even coverage. The learning curve is worth the superior finish on complex surfaces.
- Use Peel-and-Stick Samples Before Committing: Peel-and-stick paint samples offer more accurate color assessment than traditional paint swatches and eliminate the need for messy sample pots on your walls.
- Try Self-Leveling Paints or Paint + Primer Combos: Self-leveling paints and paint-primer combinations save time and often provide more consistent results, especially for less experienced painters.
- Tinted Primer = Better Bold Color Results: Using tinted primer under bold colors increases their vibrancy and often reduces the number of topcoats needed, saving both time and materials.
- Use Apps to Preview and Calculate Quantities: Leverage mobile apps that allow you to preview colors in your specific space or calculate precise paint quantities based on room dimensions.
- Make It Social—Invite Friends to Help: Make painting a group activity with friends or family. The work goes faster, and the shared experience creates lasting memories along with your refreshed space.
Conclusion
Every room tells its own story through color, finish, and preparation. By following this room-specific approach to painting, you’ll create spaces that not only look professional but also withstand their unique challenges.
Kitchens will resist grease, bathrooms will repel moisture, and living areas will maintain their beauty for years to come.
Remember that patience during preparation often determines your final results more than brush technique or paint quality. Taking time to understand each room’s needs—from the right primer to the appropriate finish—turns painting from a dreaded chore into a rewarding project.
Armed with this knowledge, you’re ready to tackle any room with confidence, knowing exactly what each space requires for a lasting, beautiful finish.